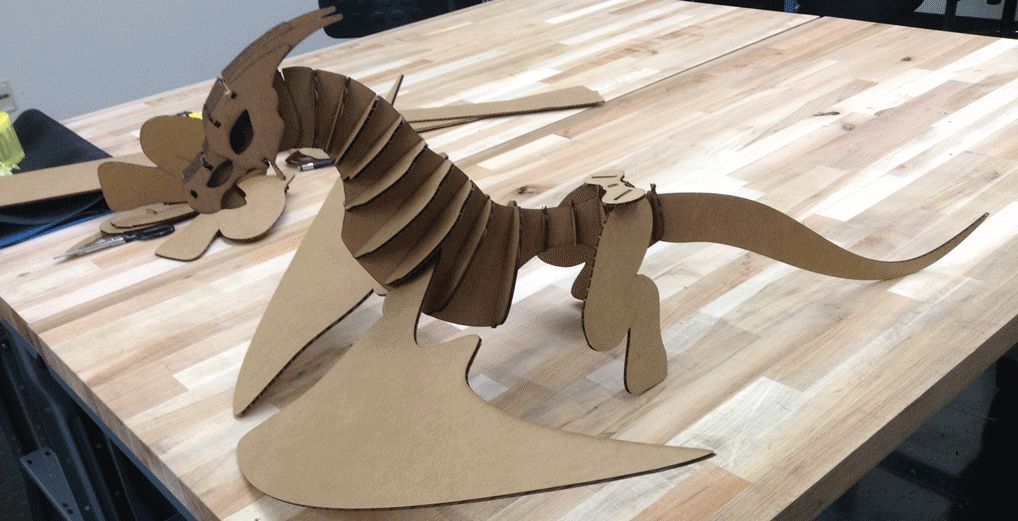
Here there be dragons
The topic for this week was press-fit construction. The assignment: build a press fit construction kit.
I started by brainstorming possible project ideas and looking at the websites of previous classes. My favorite idea that I came up with was building a 3D dragon (inspired by the giant stegosaurus installation at the MIT Media Lab last year). To keep with the theme of construction kits, I thought it would be fun to make interchangeable heads, wings, and tails for the dragon (like paper dolls, but 3D and DRAGONS). I sketched up some different head and body shapes to see which caught my eye. In the process I accidentally noticed something striking: you can simulate an eye in 3D by layering cardboard with different size holes for the eye socket.
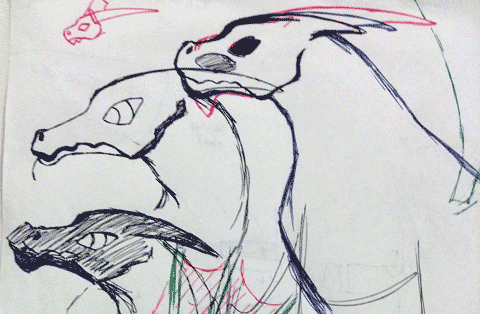
I chose my favorite of the sketched designs to use for my base model. About 5 hours into modeling I realized that it really wasn't feasible to make more than one of each part of the dragon. I decided to stick with my single model and get that one looking as good as I possibly could in the short timeframe I had.
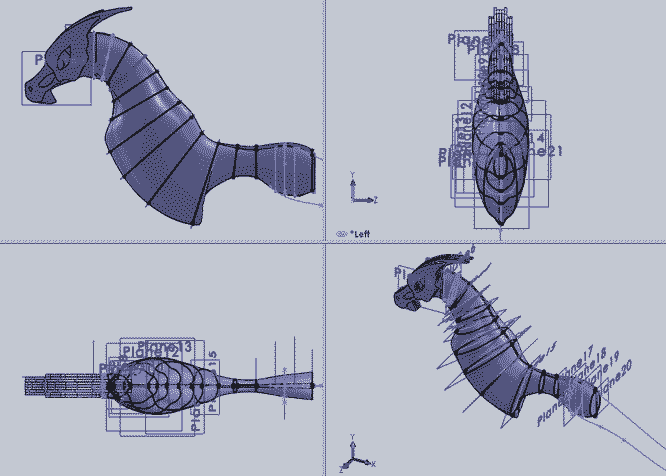
I transferred each of the sketches in SolidWorks to a single document. This was an annoying process- I individually copied each sketch over to a separate document, which would have taken a long time even if my computer were faster. I then had to tweak the sketches in 2D because the conversion from 3D hadn't been kind to many of them.
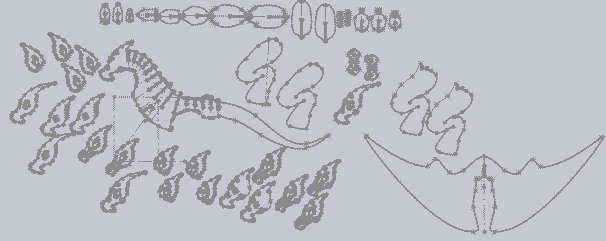
Next came the fun part: laser cutting! Because who doesn't like to play with lasers.
Laser Cutting Quick Tips:
Speed: 65
Power: 45
make sure scale is correct before printing
X and Y axes are flipped in AutoCAD
-don't rely on the shove-stuff-in-slots technique for creating solids. I tried that on the head, and it technically worked, but it isn't a pretty solution and it isn't as sturdy.
-polished files are nice, but small inconsistencies outside of your border won't affect the usable part inside- sometimes the speed outweighs the presentation of the file (especially if it doesn't change the usable pieces, as in this example).
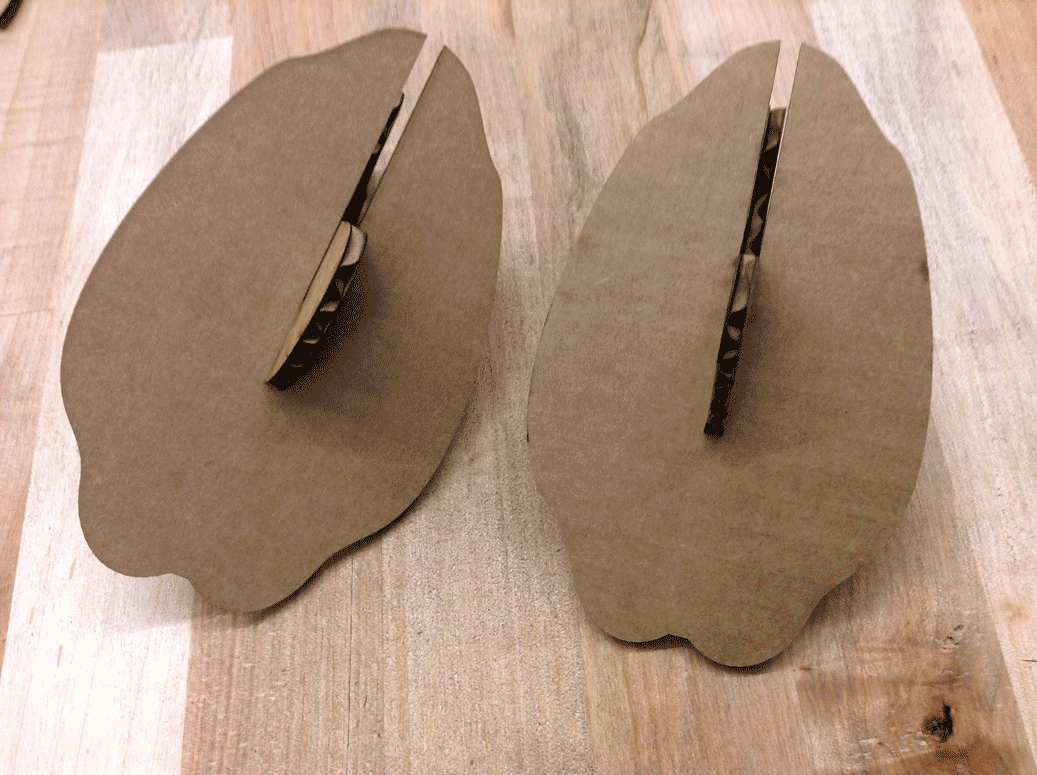
Below are my two press fit tests to find the a slot width that gives a snug fit. 0.16" was my finding. I found it easier to scale the whole model rather than the slots themselves to obtain this optimal slot width. I used variables to make converting slot sizes easier, but changing the slot sizes relative to my other geometries messed up my spline curves.
I'm still not entirely sure how the following happened. When I had printed everything out and went to assemble the dragon (printing the pieces in order was really helpful, especially since I could then refer back to my .dxf for the correct order), I found that the rear lags were about 3 inches too tall. This created a lot of stability issues in addition to the very apparent aesthetic problems. I'm not sure if the problem was actually the rear legs being too tall or the front winged-legs being too short- either would have put the dragon at the same awkward angle. I printed the dragon some new rear legs which now appear to be serving their purposes.
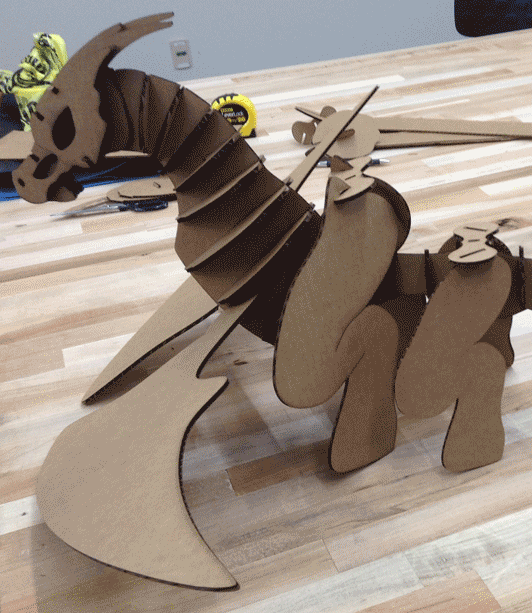
Below is my final piece. It's a fun piece and definitely has some bits to like (such as the fabulous head with layered eyes), but I can't help but also notice the flaws. Stuff I'd change before I printed this again:
-the front legs. The bat-wing front leg idea was awesome, but my first attempt just came out looking awkward. The curve on the inside of the wing needs to be extended up to the top of the shoulders rather than cutting off prematurely and the front shape needs to be tweaked as well.
-the rear legs. The hips aren't very stable. When I set the dragon down wrong the hips pop up and off. This problem could be solved by adding another hip-like support on the underside of the dragon. Attaching this second support to the rear legs would make it so that when you set the dragon down the hip doesn't push up and off while also making sure that the hips don't fall off the bottom when the dragon is picked up.
-the rear ribcage area. This needs to be extended back so that the material doesn't come to quite so narrow an attachment (this part broke within minutes of removing it from the laser cutter).
