Molding and Casting
This week's assignment is to design a mold and make a cast of it. I had a few ideas coming in. My favorite was (and still is) to cast a metal animal figurine: I was thinking a little otter with steam-punk glasses. Alas, time is in short supply this week so I decided to go for something a bit simpler: little turtles. A bit of inspiration:
(image from http://imgur.com/QwtFm4A)
I decided to model a sea turtle, purely on the basis of awesomeness, and came up with a few simple, cartoony SolidWorks files. A note: I worked backwards this week. I made a 2-part mold first (because I didn't want to be limited by undercuts when working with a 3-axis mill) and then made my 1-part mold. I would advise doing this the other way around so that you can make your beginner mistakes on a simpler mold and design a more complex one based on that.
My SolidWorks designs:
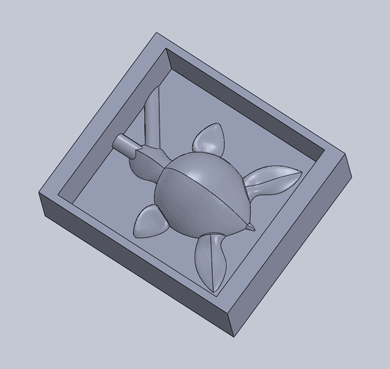
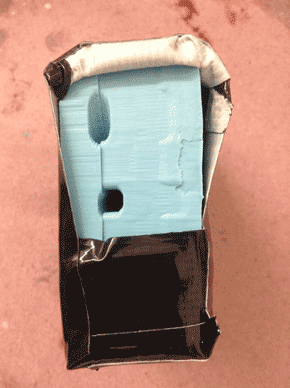
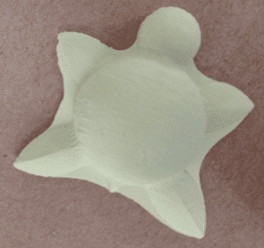
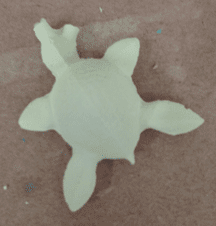
The top half (more like 3/4) of my two-part mold. I modeled everything around the top plane in Solidworks such that if I split along the plane I wouldn't have undercuts on either half of my mold (because undercuts get turned into awkward straight walls on the Shopbot/ 3-axis mills in general). I'm a bit concerned that the inlet hole (to fill the mold) and the air hole will be too small for this mold to actually work.

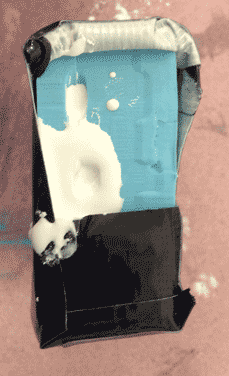
The bottom half of my mold. The inlet and air hole won't quite line up because when I tried centering a tube anywhere near large enough on the top plane, the tube extended all along the turtle's under-body. This would make it both difficult to remove from the final piece without snapping the turtle's head off.
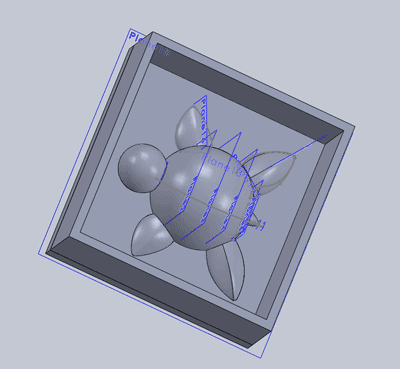
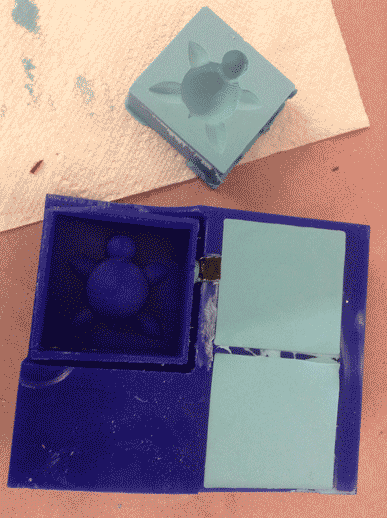
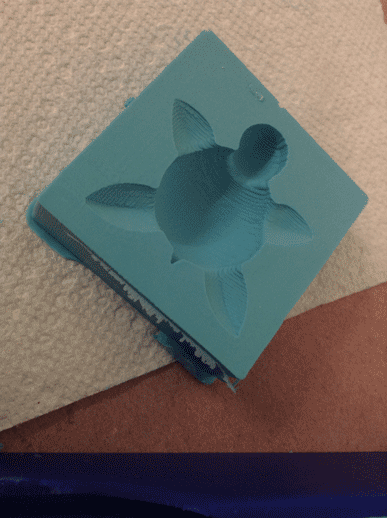
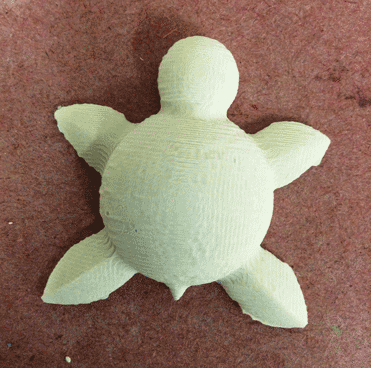
A quick reworking of my turtle into a cuter, more spherical version and a one-part mold. I'd like to eventually use this to make a food-safe mold and cast chocolates with candies/ganache tucked inside the shell (it would almost perfectly fit something the size of a Hershey's Kiss).
Unlike most weeks, when I update this blog after I finish my project, I will be updating in real time this week... because waiting for molds to set takes a loooooong time.
I used machinable wax to make my positives this week. I had never used this material before, but there are many reasons to love it besides the obvious (it's blue!). It machines to a nice finish and is fairly durable. And, if you don't leave quite enough of your bit exposed, the wax gives easily enough to prevent damage to the tool head (although you should still immediately stop the Shopbot and fix the problem).
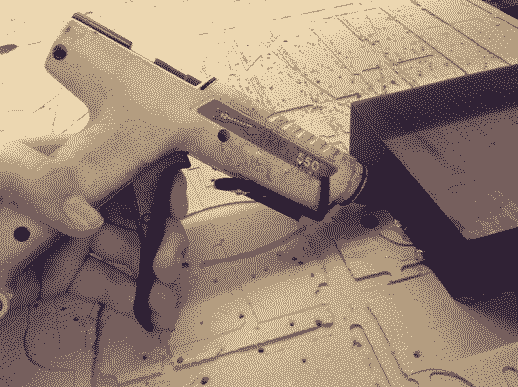
Attach your block of wax to the shopbot sacrificial layer using a hot glue gun. Make sure to attach it firmly so that it doesn't shift while you are milling.
I used a 3/64" end mill for my positives. It gave me tight radii around the fins of the turtle, while not quite taking forever to mill.
Settings for 3/32" End mill and Machinable Wax:
Spindle Speed: 6000 rpm
Feed Rate: 56mm/min
Plunge Rate: 56mm/min
Pass Depth: .1"
Stepover: 30% and 8%
*****The rate values above are in mm/min!!!
Roughing pass (Spherical Turtle):
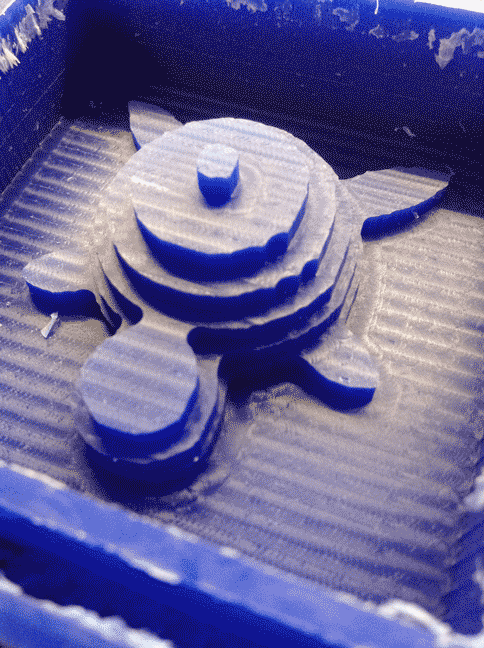
I tried to different pathing options in Partworks 3D, mostly out of curiosity: I rastered along x and then selected "add another path at 90° to this one," which added a second tool path along y. I didn't notice a difference in finish quality, aside from a crosshatch pattern instead of a step pattern. I did, however, notice that the finishing tool path took twice as long, so only tried this feature once. You can judge for yourself if you look at these closeups (or, better yet, try it yourself).
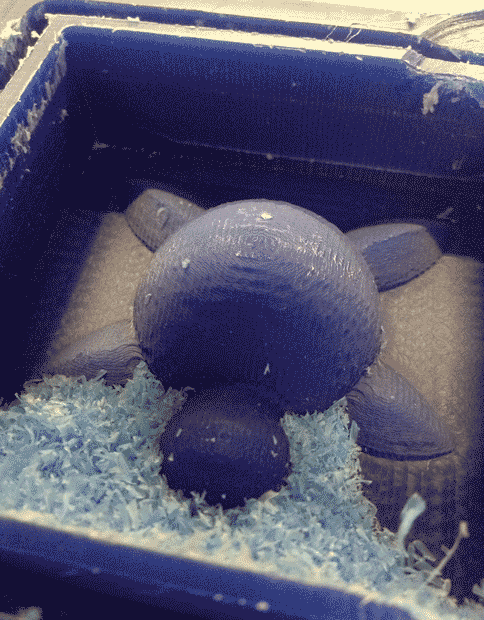
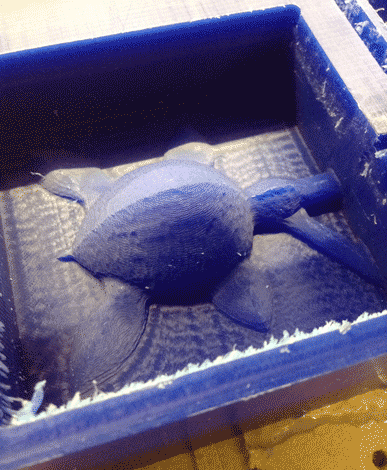
Spherical Turtle with finishing tool path rastered along the x-axis (I just paused the job halfway through to look at this single-raster tool path).

Spherical Turtle with finishing tool path along both x- and y-axes.
I almost like the finish on the single-raster path more than the finish of the more involved pathing- plus it's faster, so there doesn't seem to be any reason not to use it.
Start your job with one hand on the stop button: you never know when a job will start out wrong. When I was milling my second mold I accidentally set the origin in the center instead of at the corner, which nearly too a chunk out of a previously milled mold.
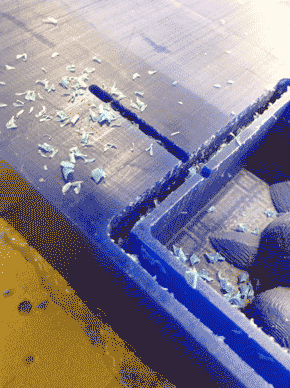
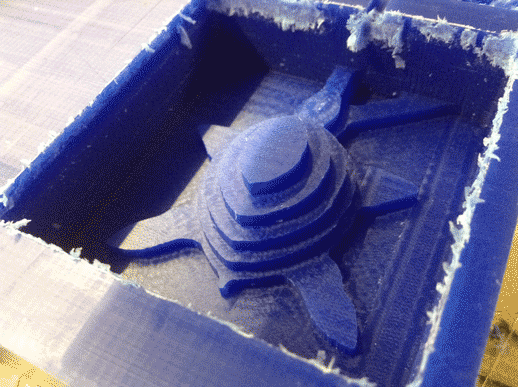
Roughing and Finishing Tool paths for the top of my 2-part mold positive.
Making the Oomoo Mold:
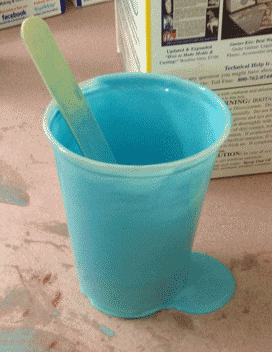
Fill any holes in your mold/ raise any walls necessary using supplies at hand: I used duct tape, and I've seen hot glue walls used to good effect. Estimate how much Oomoo you will need. Filling the mold positive with water and dumping this into a plastic cup, marking the waterline with a sharpie, worked well for me. Mix the parts as specified in the instructions (1:1 for the Oomoo25 that I used). PAY ATTENTION TO THE POTLIFE. There is a limited time window in which the oomoo will be good for pouring into your mold. Mix thoroughly and pour into your mold, pouring in thin streams to help eliminate bubbles. You can tap the cup on the counter after you stir it to make air bubbles rise to the top, but be sure to tap lightly. Some cups are weak:
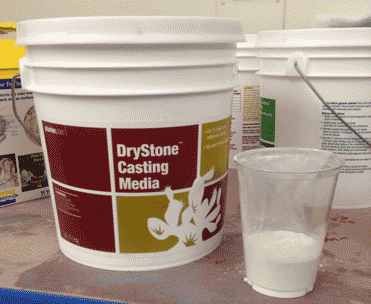
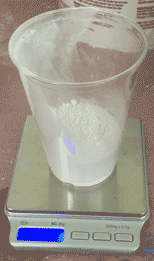
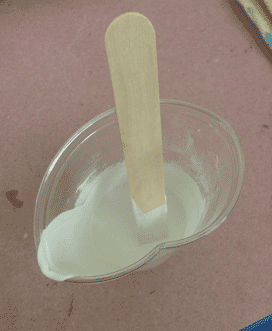
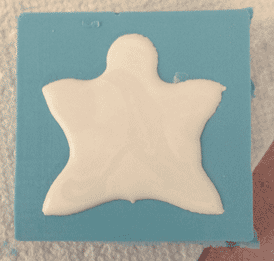
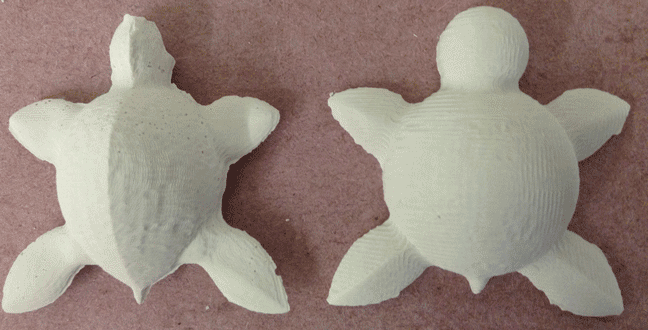
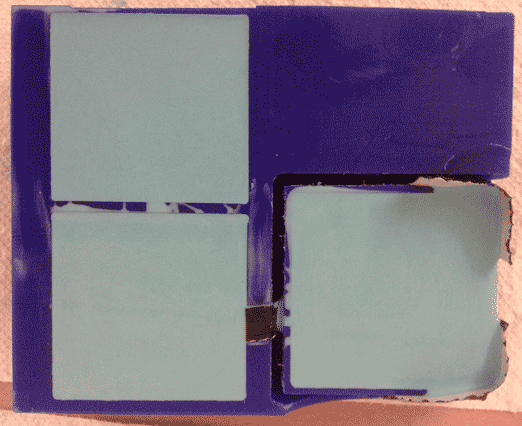
These are my molds with Oomoo curing in them. This is as far as I was able to get: the Oomoo is only supposed to take ~75 minutes to cure, but classmates were saying closer to three hours. I waited the three hours but mine was still sticky. I'm wondering if my mixture failed for some reason, but I'm leaving it out overnight to make sure that it isn't just taking its sweet time curing. I plan to recast the Oomoo if necessary, then make Drystone casts of my two turtles. If those work I hope to obtain food-safe mold-making materials to make the Spherical Turtle into a chocolate mold.
**UPDATE
The original Oomoo cast set correctly, it just took much longer than expected.
