3D printing And Scanning
The assignment for this week was to 3D print something that wouldn't be possible (or at least would be very difficult) to make using a different CNC machine from this course. This was my first time ever 3D printing, so I wasn't entirely sure where to start. I decided to stay consistent to the theme that I appear to be settling around in this course: dragons.
I started by looking at various 3D modeling software, trying to find one that was both good for modeling organic forms and intuitive to use. After a lot of browsing I settled on Sculptris, a free version of Z-Brush that is user-friendly. Sculptris's commands are made to resemble sculpting in clay. I enjoy sculpting in clay, and found this interface fun at first, but I ran into some problems with the settings of tools that made my life very difficult. Some tips up front so you don't make the same time-consuming mistakes that I do: check enable under brush for tools when you want to move the clay more dramatically (I spent a few hours trying to figure out how to build up the wings before checking this box and solving my problem within minutes), rotate the object regularly to check that you are modeling what you want to from all angles (I got a lot of strange skewing initially), and a graphics tablet is much more intuitive than a mouse.
Notes on using Sculptris:
-Concept art on page same size as screen so doesn't distort
-navigation:
-click and drag to rotate
-click, drag, alt to move
-let go alt to zoom
-shift to snap to ortho view
-space for brush size
-up/down for size
-left/right for strength
-shift with brush to smooth
-w for wireframe
-reduce mode to get rid of excess polygons, which will smooth out pinches
-D for draw brush (additive)
-E for crease brush- separates forms a bit
-alt with brush to do inverse (alt+e makes ridges instead of creases)
-Inflate- little bulgier than draw
-g for Grab mode
-Detail- middle amount works well. Adds detail to wireframe so doesn't stretch too thin
-ctrl for masking
-ctrl+click in open space to invert mask
-work with massive brush to effect whole mask area
I started modeling my dragon, but after a while I realized that it would be smart to do something simple in Sculptris to make sure that it was possible to convert to the correct file format and 3D print. This is Creature. He has some fins and spikes and flat parts (to test how these various features would print), but is also fairly simple.
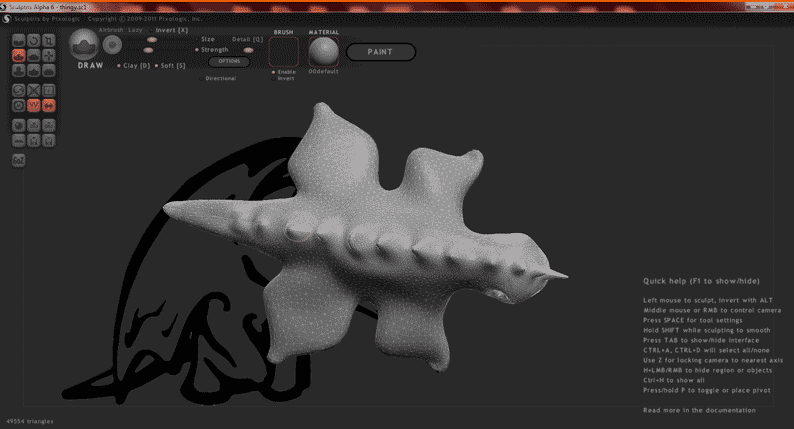
Sculptris can only export to .obj or zbrush files. I opened the .obj export in Rhino and converted it to an .stl before importing it to meshlab to check for holes in the mesh. Finding none, I imported it into Makerware and set up my 3D print job. My file imported really tiny (~3mm long) and flipped on its nose, but those were both quick fixes using scale and rotate in Makerware. I used the move menu as well to place base of the object on the MakerBot bed. I hit "Make" and used the default settings (2 shells, .15mm layers, 10% infill, and heat settings for ABS), then exported the file to an SD card. I replaced the tape on the MakerBot bed before beginning my job. On the MakerBot menu I selected "print from SD" and my print job, and then watched the magic begin. My model, which I scaled to ~1in in length, took about 15 minutes to print. So I knew I was in for some serious waiting for my larger model.
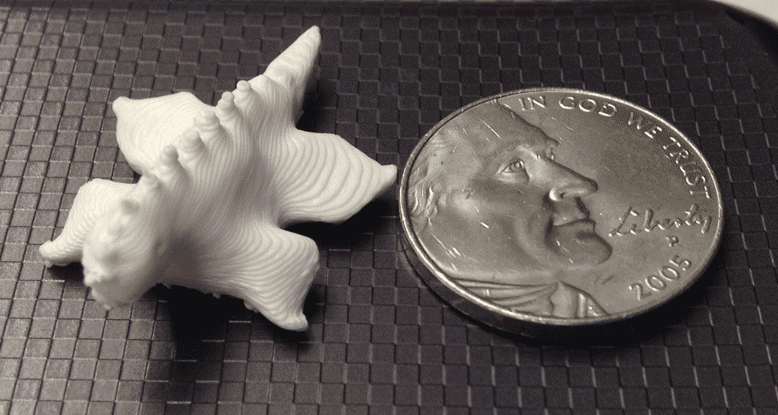
Creature with a nickel for size comparison.
Modeling the dragon took a long time, and if I had more time I would modify it some more. The feature that I had the most trouble modeling was the wings. I tried many different methods to make the wing membrane, but everything was really messy and increased my triangle count to the point that the file couldn't be worked on. As mentioned above enable Brush. This made my life so much easier once I figured it out. I also had to play around a lot with the base of the model in an attempt to get all four feet and a piece of the tail on the ground. I inserted a plane for reference and adjusted some using that, but made the fine-tuned adjustment by tilting the model until it sat correctly on the bed in Makerware. The dragon model was mostly an exercise in dogged stubbornness: I'm sure there were faster, easier, and more precise methods to model this, but I wanted to finish with the method I started with.
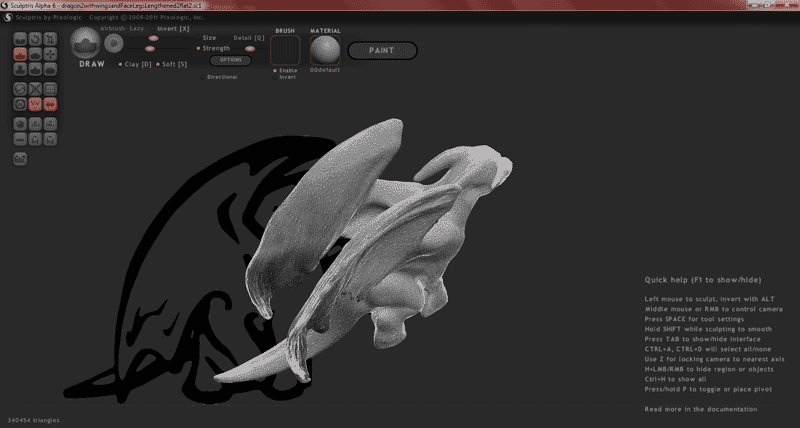
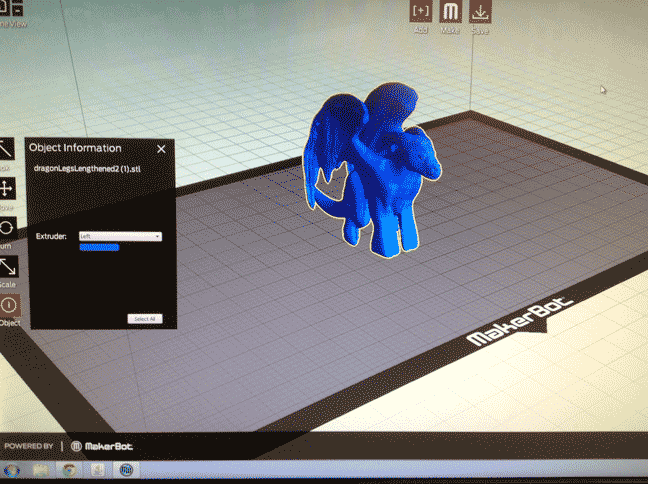
I then exported the .obj file from Sculptris and loaded it into Makerware (Makerware accepts .obj files: converting to .stl was an unnecessary step. I lowered the legs of the dragon slightly below the bed to forcibly correct the dragon's stability, but (following the same steps and settings as above for Creature, except changing to PLA instead of ABS) ran into a 255 error in Makerware. The error went away when I chose to instead set the dragon on top of the bed, so I stuck with that configuration and hoped that my foot shapes were stable enough.
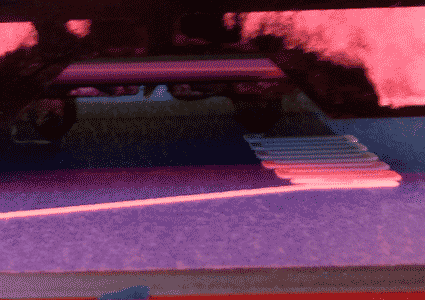
Partway through printing the raft I noticed that the material was dispensing from the wrong head. I had done my settings for the PLA loaded into the left nozzle, but the dragon was being printed in white ABS from the right nozzle. I resaved my file, being sure to select "Left" under the Object-->Extrude menu.
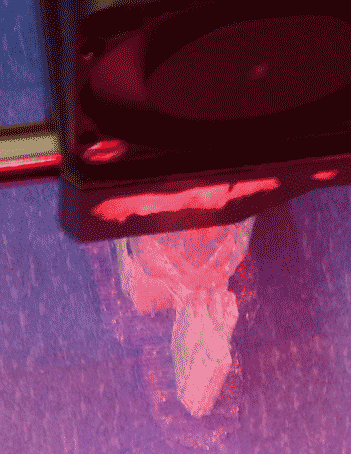
This is the dragon partway through the printing process. The inside is hexagonal honeycomb structure.
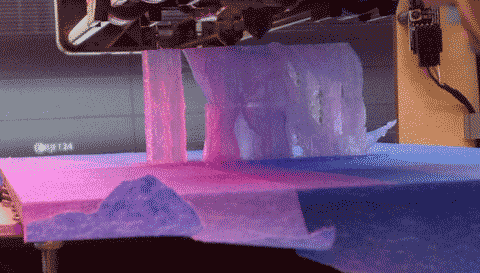
After the print finished there were strings of plastic hanging from the dragon as well as copious amounts of support material that were only slightly less structurally sound than the dragon itself.
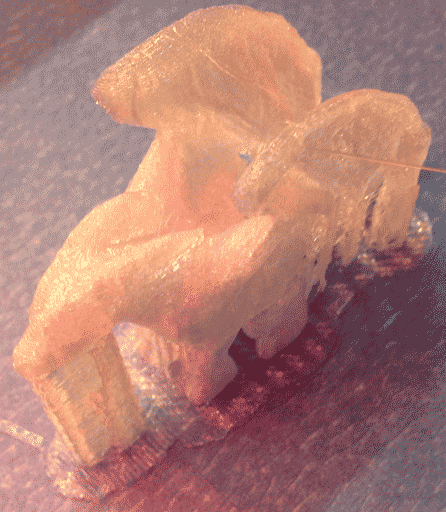
I noticed a problem when I got to this stage. If you look closely at the legs you can see small holes. These holes are present on both sides of the dragon at the same spot as well as under the tail. I decided to try reprinting the file to see if it had merely shifted during printing (I had checked my meshes for holes before printing and found nothing).
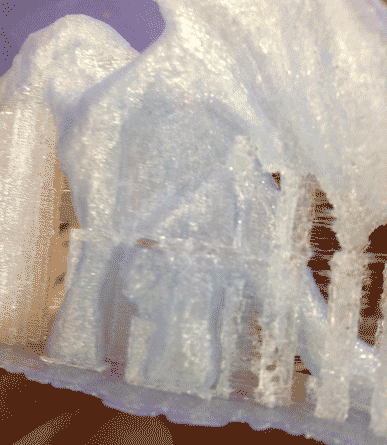
The relative structural integrity of the model vs. the support materials caused this unfortunate bisection.

I printed a second (smaller for times' sake) dragon from the same model to see if the holes were a fluke from a shift in the material while printing. This model (which still has most of its external scaffolding) has the same issue as the larger dragon, which points to an error in the original .obj file. If I have time I will go back and try to pinpoint and rectify the error.
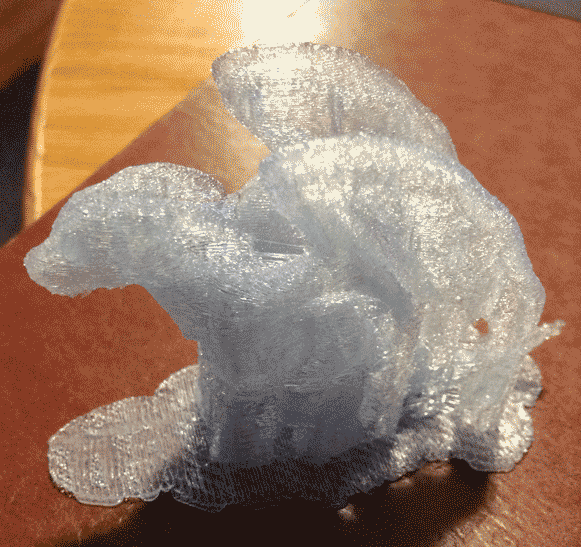
I wanted to use photogrammetry to capture a 3D model this week. I downloaded 123D Catch, a free cross-platform software from Autodesk that takes a series of captured images and tries to reconstruct them into a realistic 3D scene. I experimented with many objects, but they didn't work for various reasons (camera skew, shiny surfaces, movement) I've included some of the worst below.
Here is my first attempt. I really like the model boats in the campus museum so I decided to try to make a 3D scan of one. The glass case that the ship is inside, however, caused a lot of distortion.
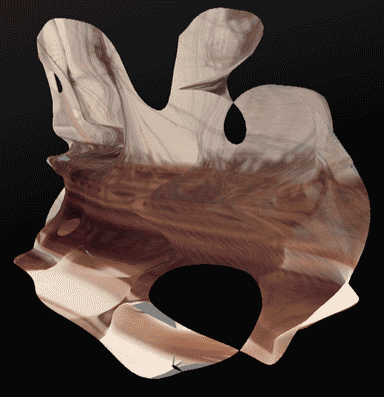
Here's my computer mouse on a wooden tabletop. Possible problems: movement, shiny, surface the object is on is too flat (no defining texture to help line captured images up).
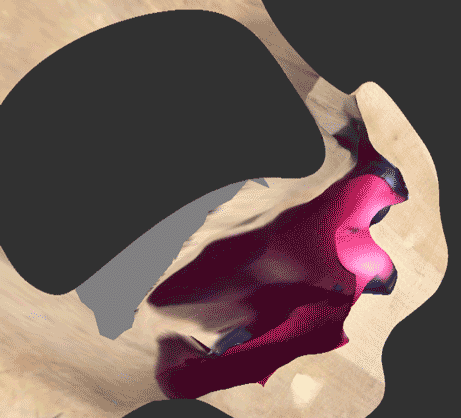
I accidentally moved this stick while taking the series of pictures, which caused problems in the photogrammetry software.
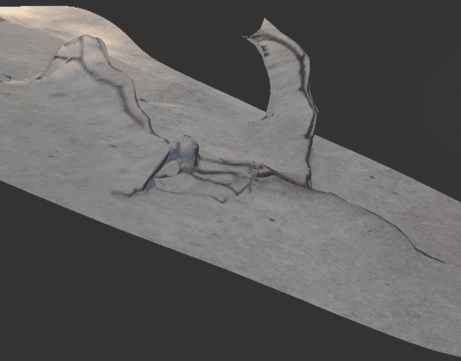
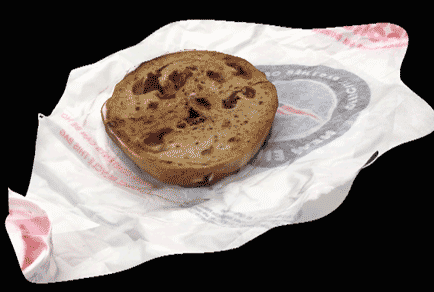
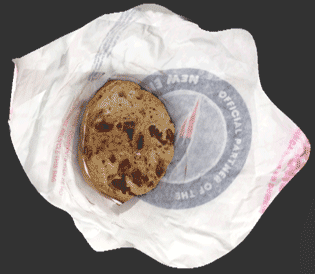
I was eating a late dinner while trying to finish my assignment up when I had a stroke of genius. It seems that photogrammetry works best on organic forms with lots of unique features to line up. My bagel had pockmarks galore to line up, and the wrinkles and designs in the wrapper itself did nothing but help. Below are screenshots of my 3D model. You'll notice a bit of noise in the third capture: I think this is a place where I didn't pictures from enough angles. For added fun turn gyroscope mode on while viewing your model.

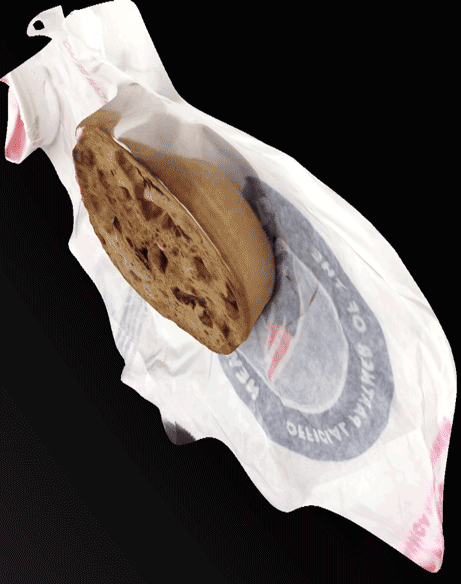
I found this interesting. You cannot scan the bottom of an object using 123D Catch (the object is set on a surface and cannot be moved without messing up the calculations). This is a view of the bottom of the 3D model- it is the backside of the top surface, which looks strange because this view doesn't exist. It's especially strange to look at the inside of a 3D scan of someone's face: the viewer's brain sees the face popping out of the page rather than the actual backside view of a face popping into the page.
All in all I learned a lot about additive techniques this week. I would not choose 3D printing as my primary form of prototyping due to reasons of time, resolution, and structure (as well as cost, if I were the one funding these projects). In the right context, however, 3D printing is a very powerful tool that allows forms to be made which would be impossible otherwise.