Composites
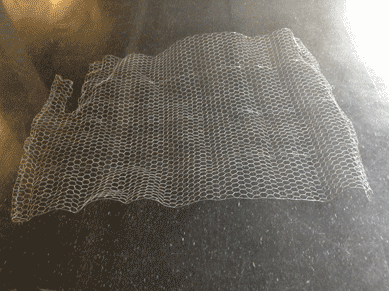
This week we were tasked with designing and making a 3D mold and then casting a part. I was having a hard time coming up with a project that seemed interesting, until I thought of a terrible but awesome idea: why not make a coat-rack out of a coat? I nearly scrapped this idea because I wasn't sure how to make a mannequin-type mold with the supplies on hand, but then I remembered the roll of chicken wire under my bed. "Why did you have a roll of chicken wire under your bed?" you may be wondering. There's a perfectly reasonable explanation: during finals week of freshman year I decided that one of my summer projects needed to be building a life-sized dragon. I settled on paper mache (a composite!) as my medium of choice and spent my free time over the summer on the project.
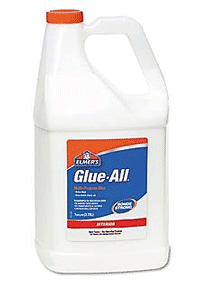 +
+  +
+  =
=
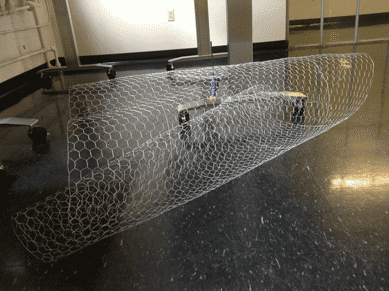
The obstacle of how to make the mold now out of the way, I went to Garment District and bought a cheap used trench coat. I unrolled my chicken wire and FLATTENED it. It's a pain to work with otherwise.
 →
→
Unfortunately, I didn't get any pictures of the completed mold without the coat on it because I wasn't anticipating that the coat would be so difficult to get onto the mannequin (so I didn't want to take it back off after I finally managed to wrangle it on)..
**Tip for next time: don't use chicken wire in the sleeves (or figure out how to get it to glide more smoothly). There was a lot of snagging and some unfortunate ripping of liner while struggling to get the arms through the sleeves. I ended up using some blocks of foam to fill the arms out.
**Tip #2: Iron the coat BEFORE putting it on the mannequin. I ended up with wrinkles on the finished coat because I didn't.
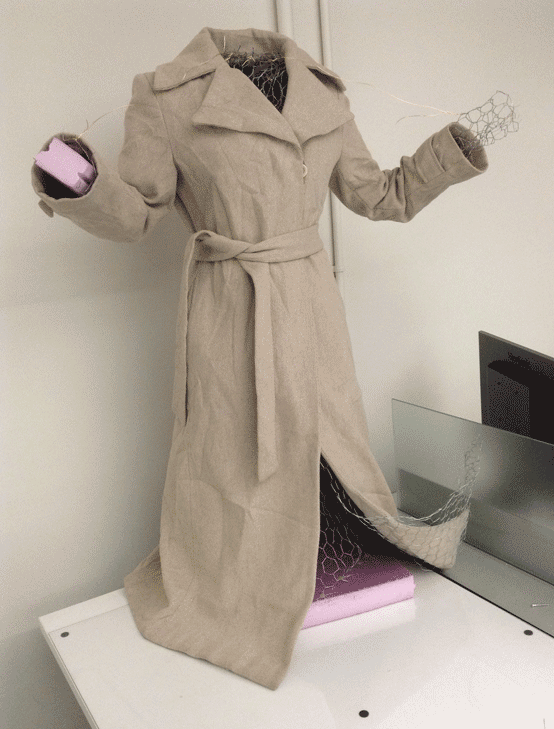
Coat on Mold: Front
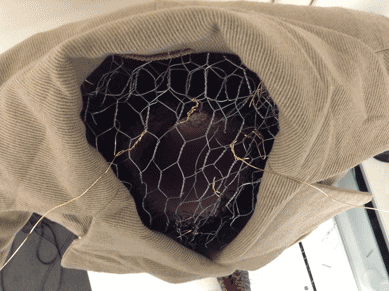
Coat on Mold: Inside
EPOXYING THE COAT
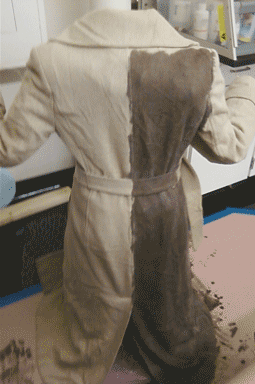
The epoxy changed the color of the coat, which I wasn't expecting (it makes sense, I just hadn't thought about it until I saw the contrast). I wasn't sure if the coat would return to its original color when the epoxy dried (like when clothing gets wet and the dries out), so I was hesitant to leave any regions uncovered that weren't actually necessary for stability-- like the collar. I'm thankful that I didn't leave these areas blank because the color change is, in fact, sticking around now that the epoxy has cured.
Epoxying the coat took more epoxy than I thought it would, but I was pleasantly surprised how well it soaked through the layers of fabric in the coat. It may have even soaked through a bit too well... I accidentally epoxied the coat to the floor because the epoxy soaked through the paper we laid.
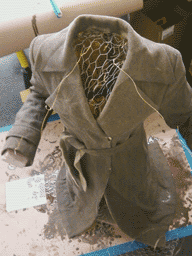
Coat stuck to floor
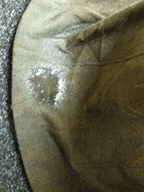
Watch out when epoxying not to put too much on. I got a puddle at the base of the coat. I think the epoxy probably dripped from the bottom of the sleeve rather than getting properly absorbed. Other than this one spot (and a corresponding icicle-like structure on the sleeve overhanging it), the coat appears to be evenly coated in epoxy, and fairly strong even though the epoxy, for the most part, didn't make it through all of the layers.
The chicken wire wasn't as difficult to remove as I thought it might be, but it wasn't trivial either. I recommend tin snips and STURDY GLOVES if you are going to attempt this. The gloves were especially beneficial when trying to twist the wire out of the elbow joints in the sleeves. Lack of gloves leads to many small cuts on your hands, which are particularly annoying when trying to eat anything acidic (like citruses).
The finished piece;
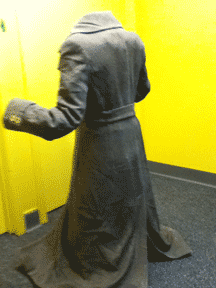
Rear View
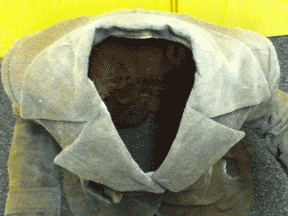
Inside view... all of the chicken wire supports are gone, but it's still standing!
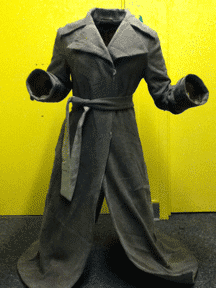
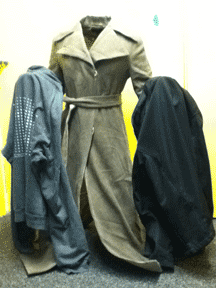
The coat rack holding my coats. It works! (It's technically a bit too short to hang coats by their hoods, but otherwise a success. This proof of concept piece could have interesting implications for costume design... the over-starched anime look is no longer impossible to achieve.
