7. Molding and Casting
- Design Challenge: design a 3D mold, machine it, and use it to cast parts
- Software: Fusion 360, Rhino, V-carve
- Machine: Tabletop ShopBot
- Date Completed: 10.31.17
Group Assignment
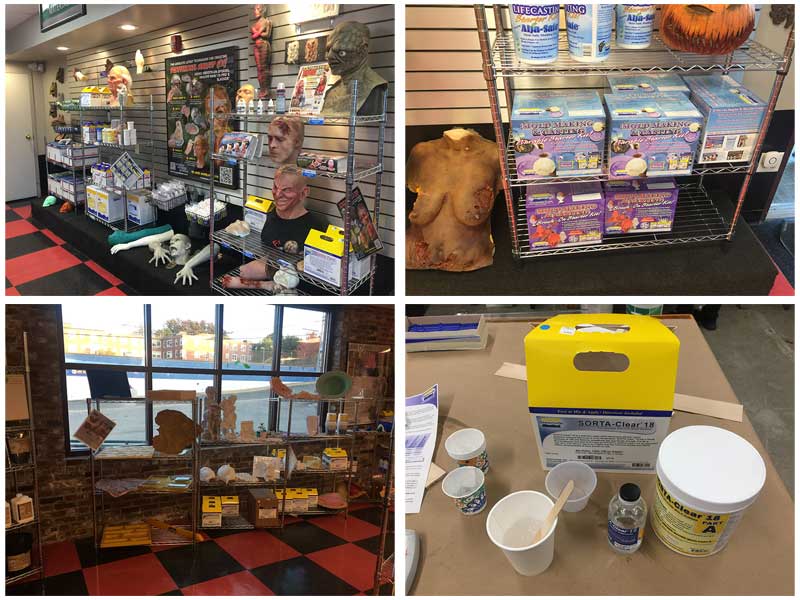
Rob led us and explored molding and casting materials. We tried hydro-stone and metal with the mold made out of oomoo.
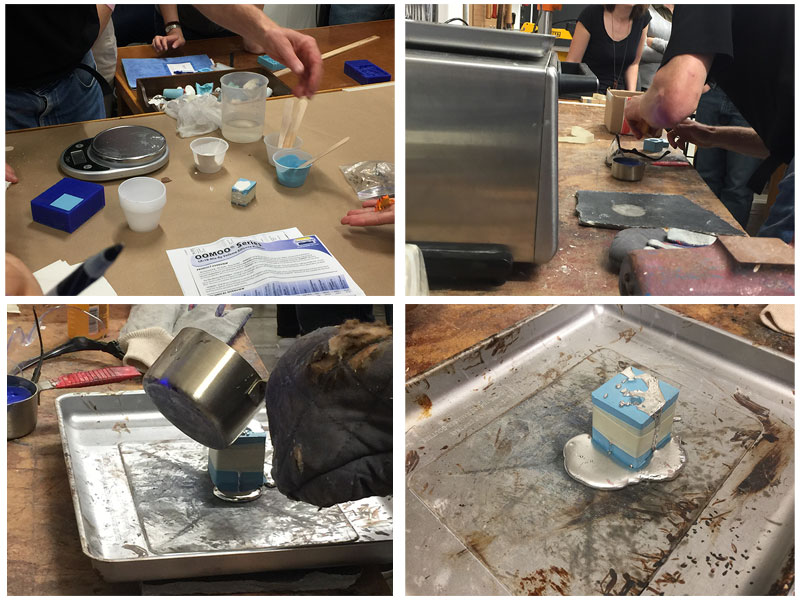
- Top left: Mixing hydro-stone.
- Top right: Rob is showing us the low melt fusible bismuth based alloy ingot.
- Bottom left: Pouring melting alloy to the oomoo mold.
- Bottom right: Waiting for the alloy to solidify.
Looking for food safe material
I want to make a mold that I have the chance to use more than once, so I decide to make something food safe, and I can use to make chocolate. I took a field trip to Reynoldsam and brought the SORTA-Clear® 18. I enjoyed the visit there and checked out all the awesome works they do.
Design
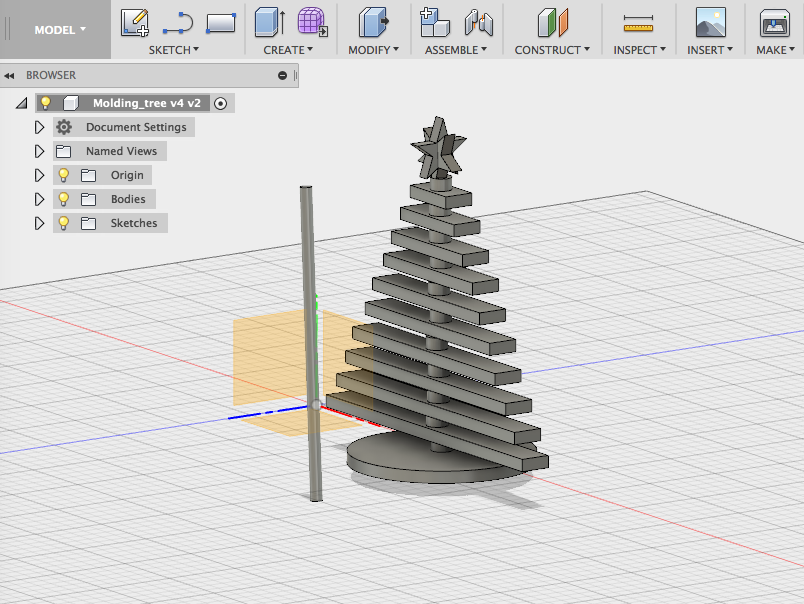
I used fusion360 to design the model.

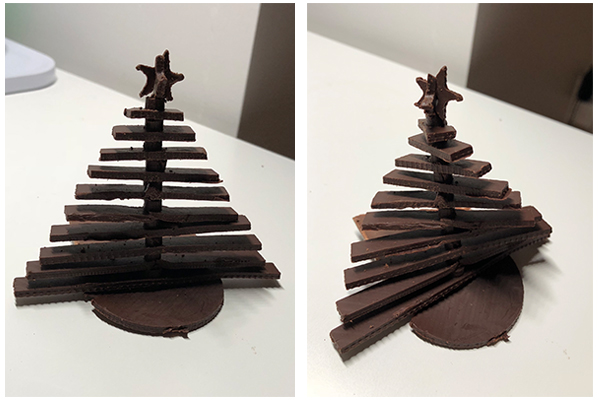
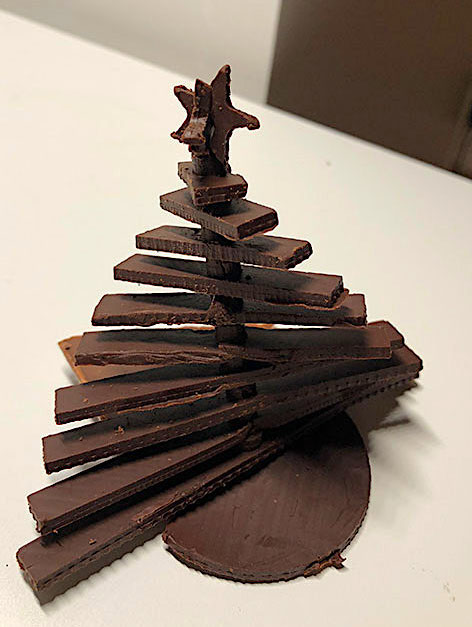
Since Christmas is coming, I want to make something that is about Christmas and also fun to play. I have come up this idea of designing a Christmas tree using chocolate inspired by CNC design.
Machine cutting model
I had run into a mysterious issue when I tried to use Shopbot to cut my model on machinable wax. The components of my 3d design disappeared once I imported them into the V-Carve.
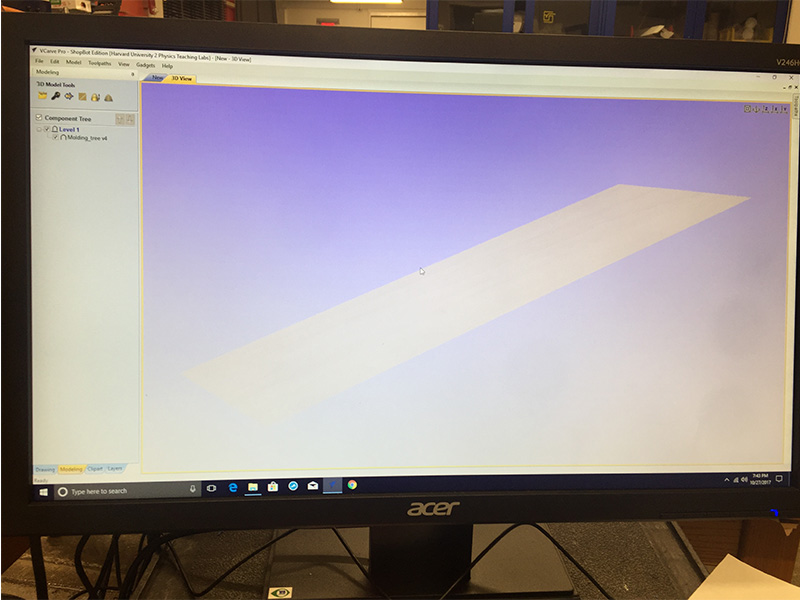
Then, one of the TA thought it could be the reason that components are not grouped. Then we generated a flat board underneath my design. We imported it again, and only see this flat board in toolpath.
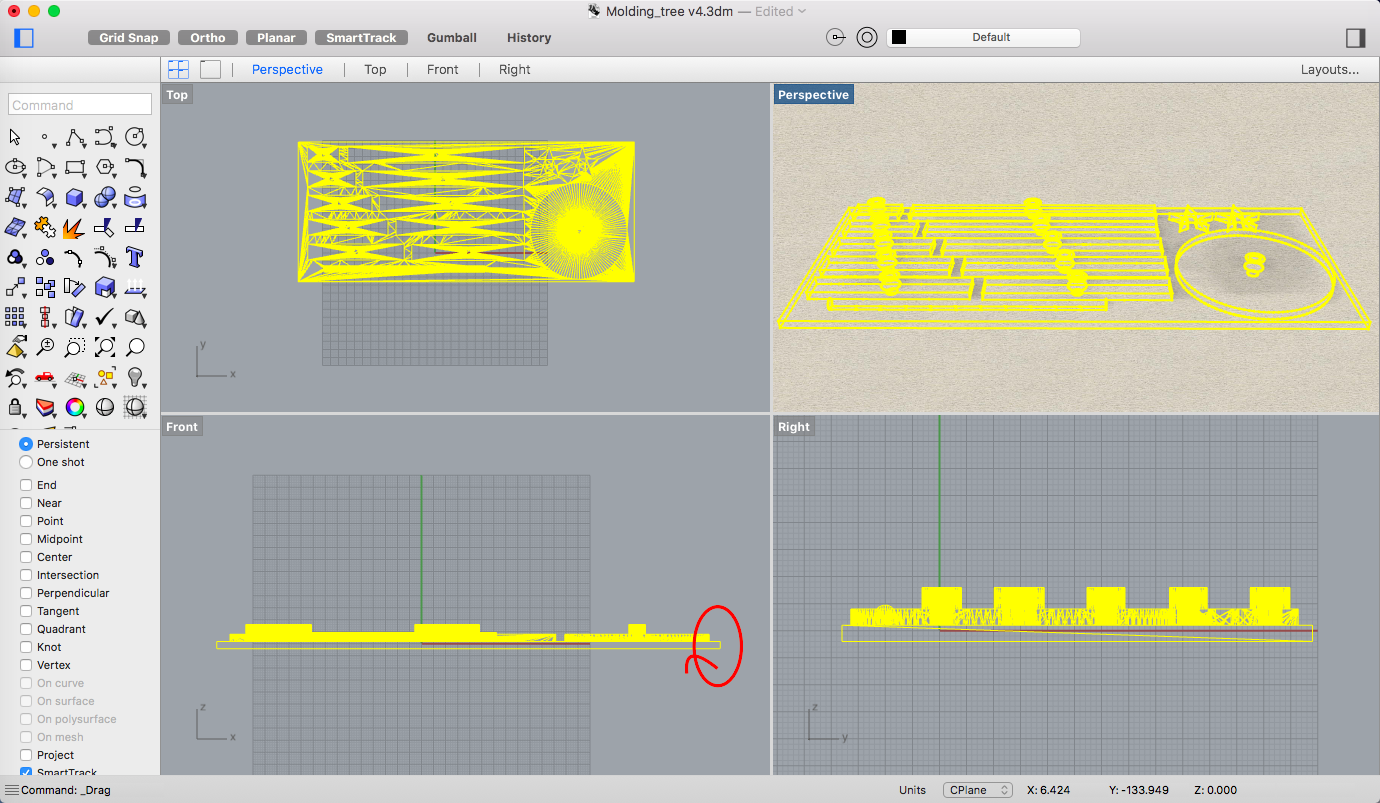
After troubleshooting and changing all kinds of possible bugs, TA came up this idea flipping the entire design 180 degrees. Finally, it works!
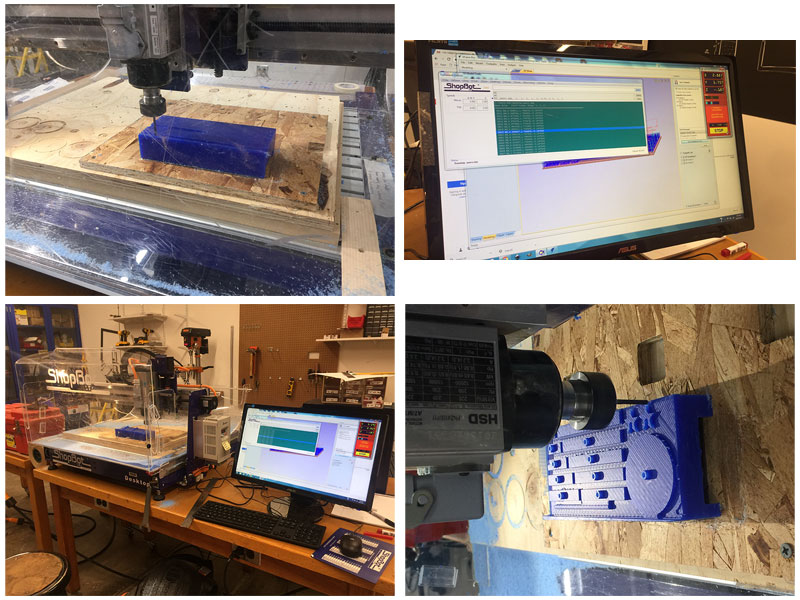
We created three toolpaths: cutting straight, cutting 45 degrees and cutting -45 degree.
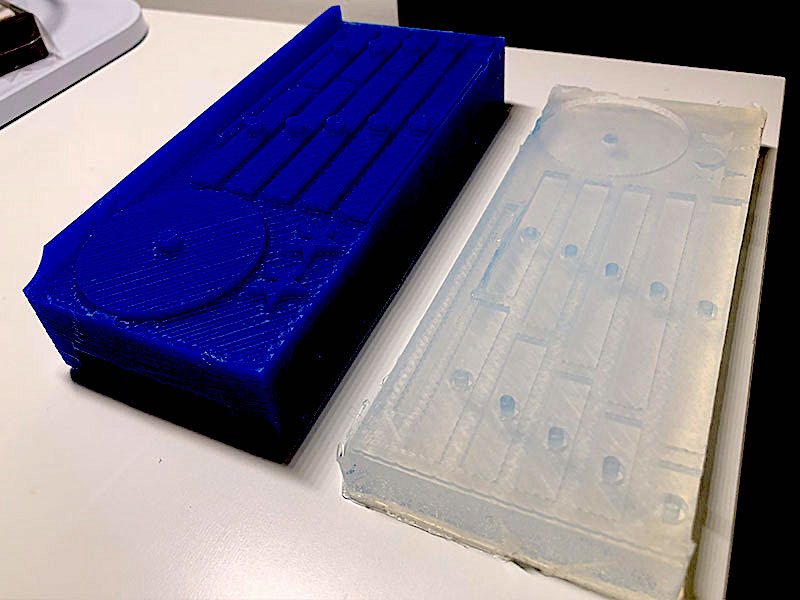
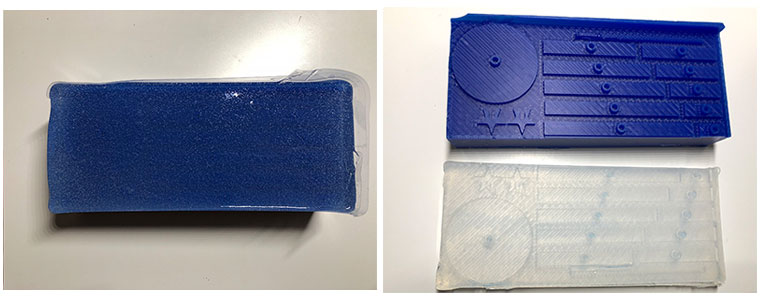
Making silicone mold
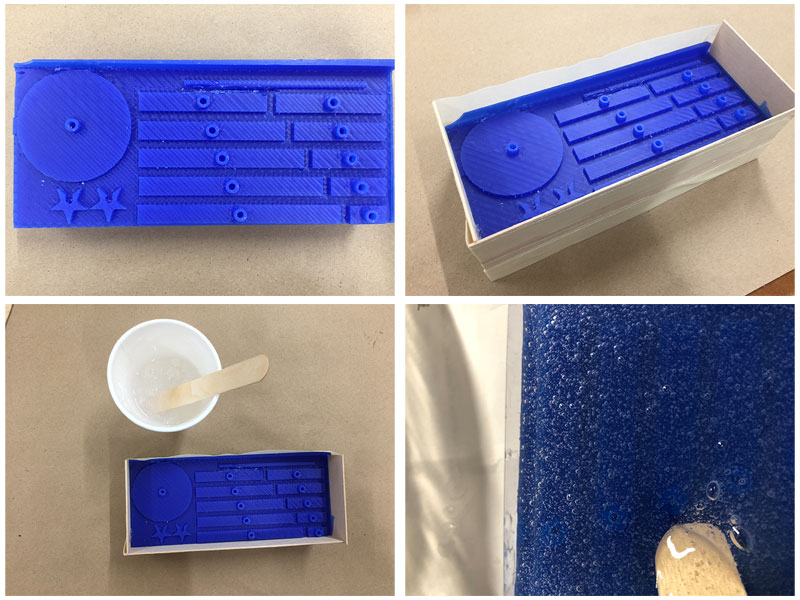
- Top left: Although you can’t tell by just looking at it, shopbot gave me a very smooth surface that was out of my expectation.
- Top right: Since my wax is not big enough, I ran out of space for the edge. I have to use tape to make a wall to keep silicone from leaking.
- Bottom left: Mixing SORTA-Clear 18 according to the safety data sheets: 100A : 10B by weight.
- Bottom right:I tried to pop up the big bubble.
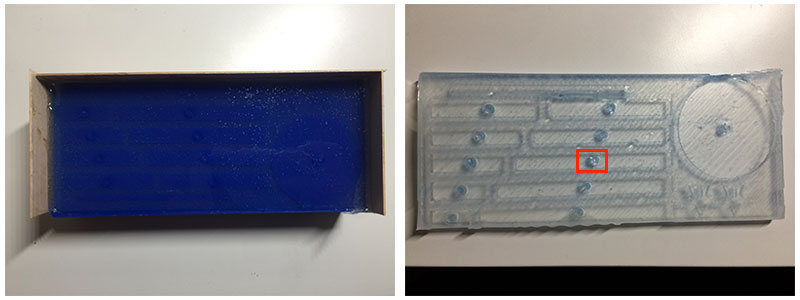
Unfortunately, my first silicone mold was not perfect. I washed wax before making the mold and didn’t dry it completely. I left water inside the hole that prevents my mold from curing the stick ( for making holes in the chocolate).
I had to create a new mold! I was very careful when pouring the mixture into the model and making sure that all the holes were filled with mixture.
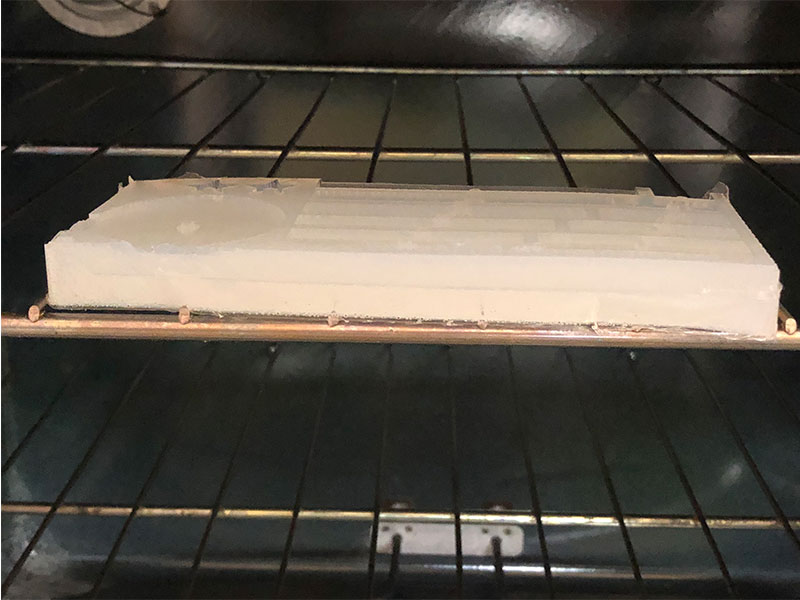
Then, I put the mold in in the oven and baked for 2 hours under 176°F according to the safety data sheet.
Making chocolate!
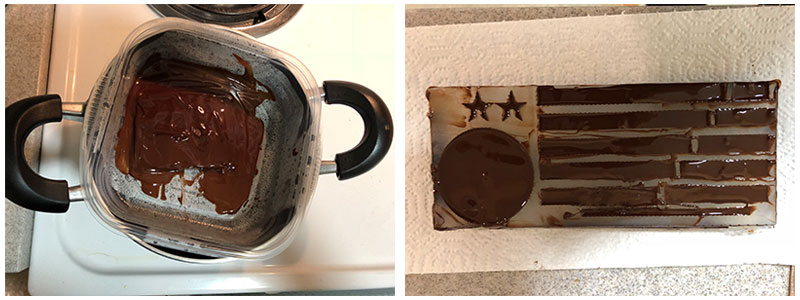
My first chocolate tree failed because the temperature that I used to melt chocolate was too high. I put chocolate in the pot and cooked it directly. It never re-solidified. Then, I looked online and found that we are not supposed to melt chocolate under high temperature. I came up this idea of melting chocolate over boiled water, and it worked.