6. Embedded Programming
- Design Challenge: Read the microcontroller data sheet | Program the board to do something
- Software: avrdude, CrossPack, terminal
- Tool: FabTinyISP from week 2
- Useful tutorials: BLINKING LED | Programming with avrdude
- Date Completed: 10.23.17
Make File
This week we are learning how to embed code to the microcontroller. We need to create a .hex file that transfers the .c instructions into bit information [0 0 0 0 0 1 0, for example]. Therefore, I create the make file using Neil's hello.world make file as an example, and modified name and a few other places. Please see below for the code. Remember to name it right. I named it as blink.c.make.
PROJECT=blink
SOURCES=$(PROJECT).c
MMCU=attiny44
F_CPU = 20000000

CFLAGS=-mmcu=$(MMCU) -Wall -Os -DF_CPU=$(F_CPU)

$(PROJECT).hex: $(PROJECT).out
avr-objcopy -O ihex $(PROJECT).out $(PROJECT).c.hex;\
avr-size --mcu=$(MMCU) --format=avr $(PROJECT).out

$(PROJECT).out: $(SOURCES)
avr-gcc $(CFLAGS) -I./ -o $(PROJECT).out $(SOURCES)

program-usbtiny: $(PROJECT).hex
avrdude -p t44 -P usb -c usbtiny -U flash:w:$(PROJECT).c.hex

program-usbtiny-fuses: $(PROJECT).hex
avrdude -p t44 -P usb -c usbtiny -U lfuse:w:0x5E:m
Blinking LED when press the button
I used this BLINKING LED as a tutorial to start. First, I code the LED light to blink once you press the button. And create the blink.c file.
#include < avr/io.h>
#include < util/delay.h>

int main(void) {

//set clock multiplier to be 1
CLKPR = (1 << CLKPCE);
CLKPR = (0 << CLKPS3) | (0 << CLKPS2) | (0 << CLKPS1) | (0 << CLKPS0);

//set PA7 as output; PA7 is LED
DDRA |= (1<< PA7);
//set PA3 as input; PA3 is switch; No press: PA3 is at 5V; Press: PA3->0V.
DDRA &= ~(1<< PA3);
while (1) {
if ((PINA&(_BV(PA3)))==0){
PORTA |= (1 << PA7); //set port pin (port |=pin)
}
else {
PORTA &= ~(1 << PA7); //set port pin (port |=pin)
}}
return (0);
}
Embedded Programming
Open Terminal. Open the directory in which the files are located. Use ls command to check if your files is in the directory.
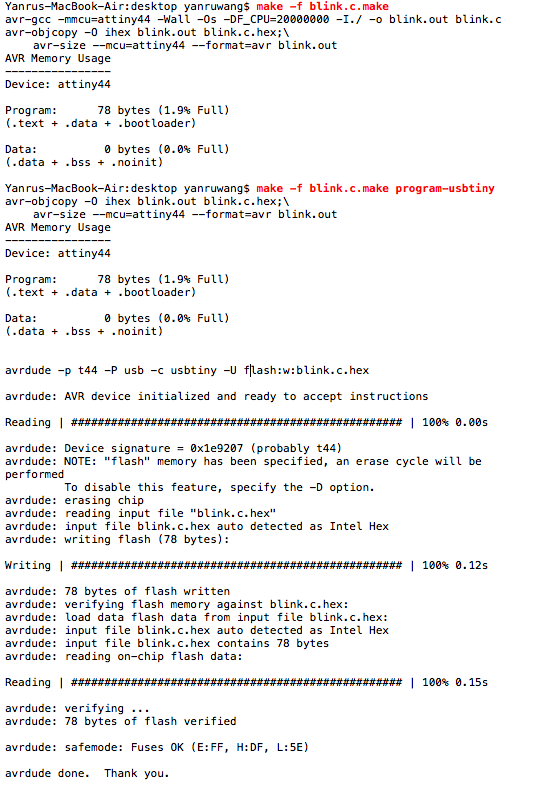
We should run avrdude -p t44 -c usbtiny first to check the connection. Then, run make -f blink.make to generate the .hex file using blink.c.make.
Once we create the .hex file, we can program the board. Run make -f blink.c.make program-usbtiny to program the .c instructions onto the board.
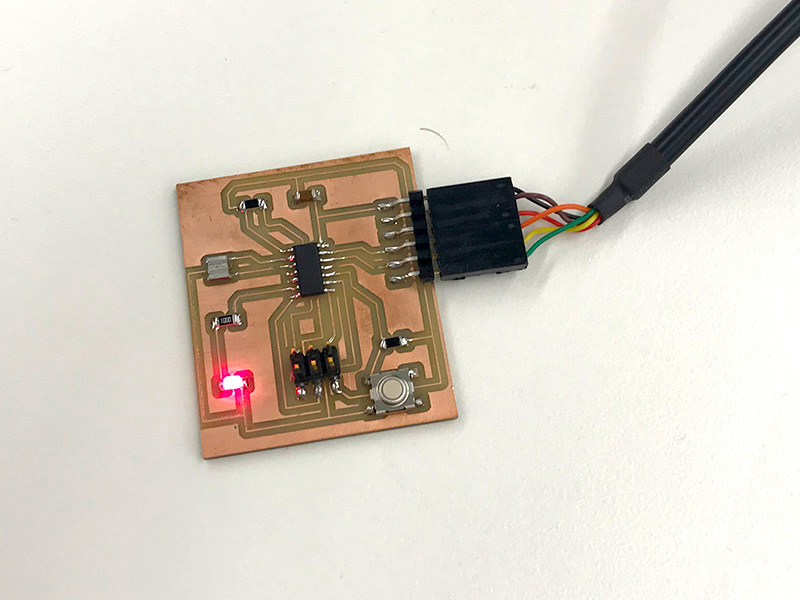
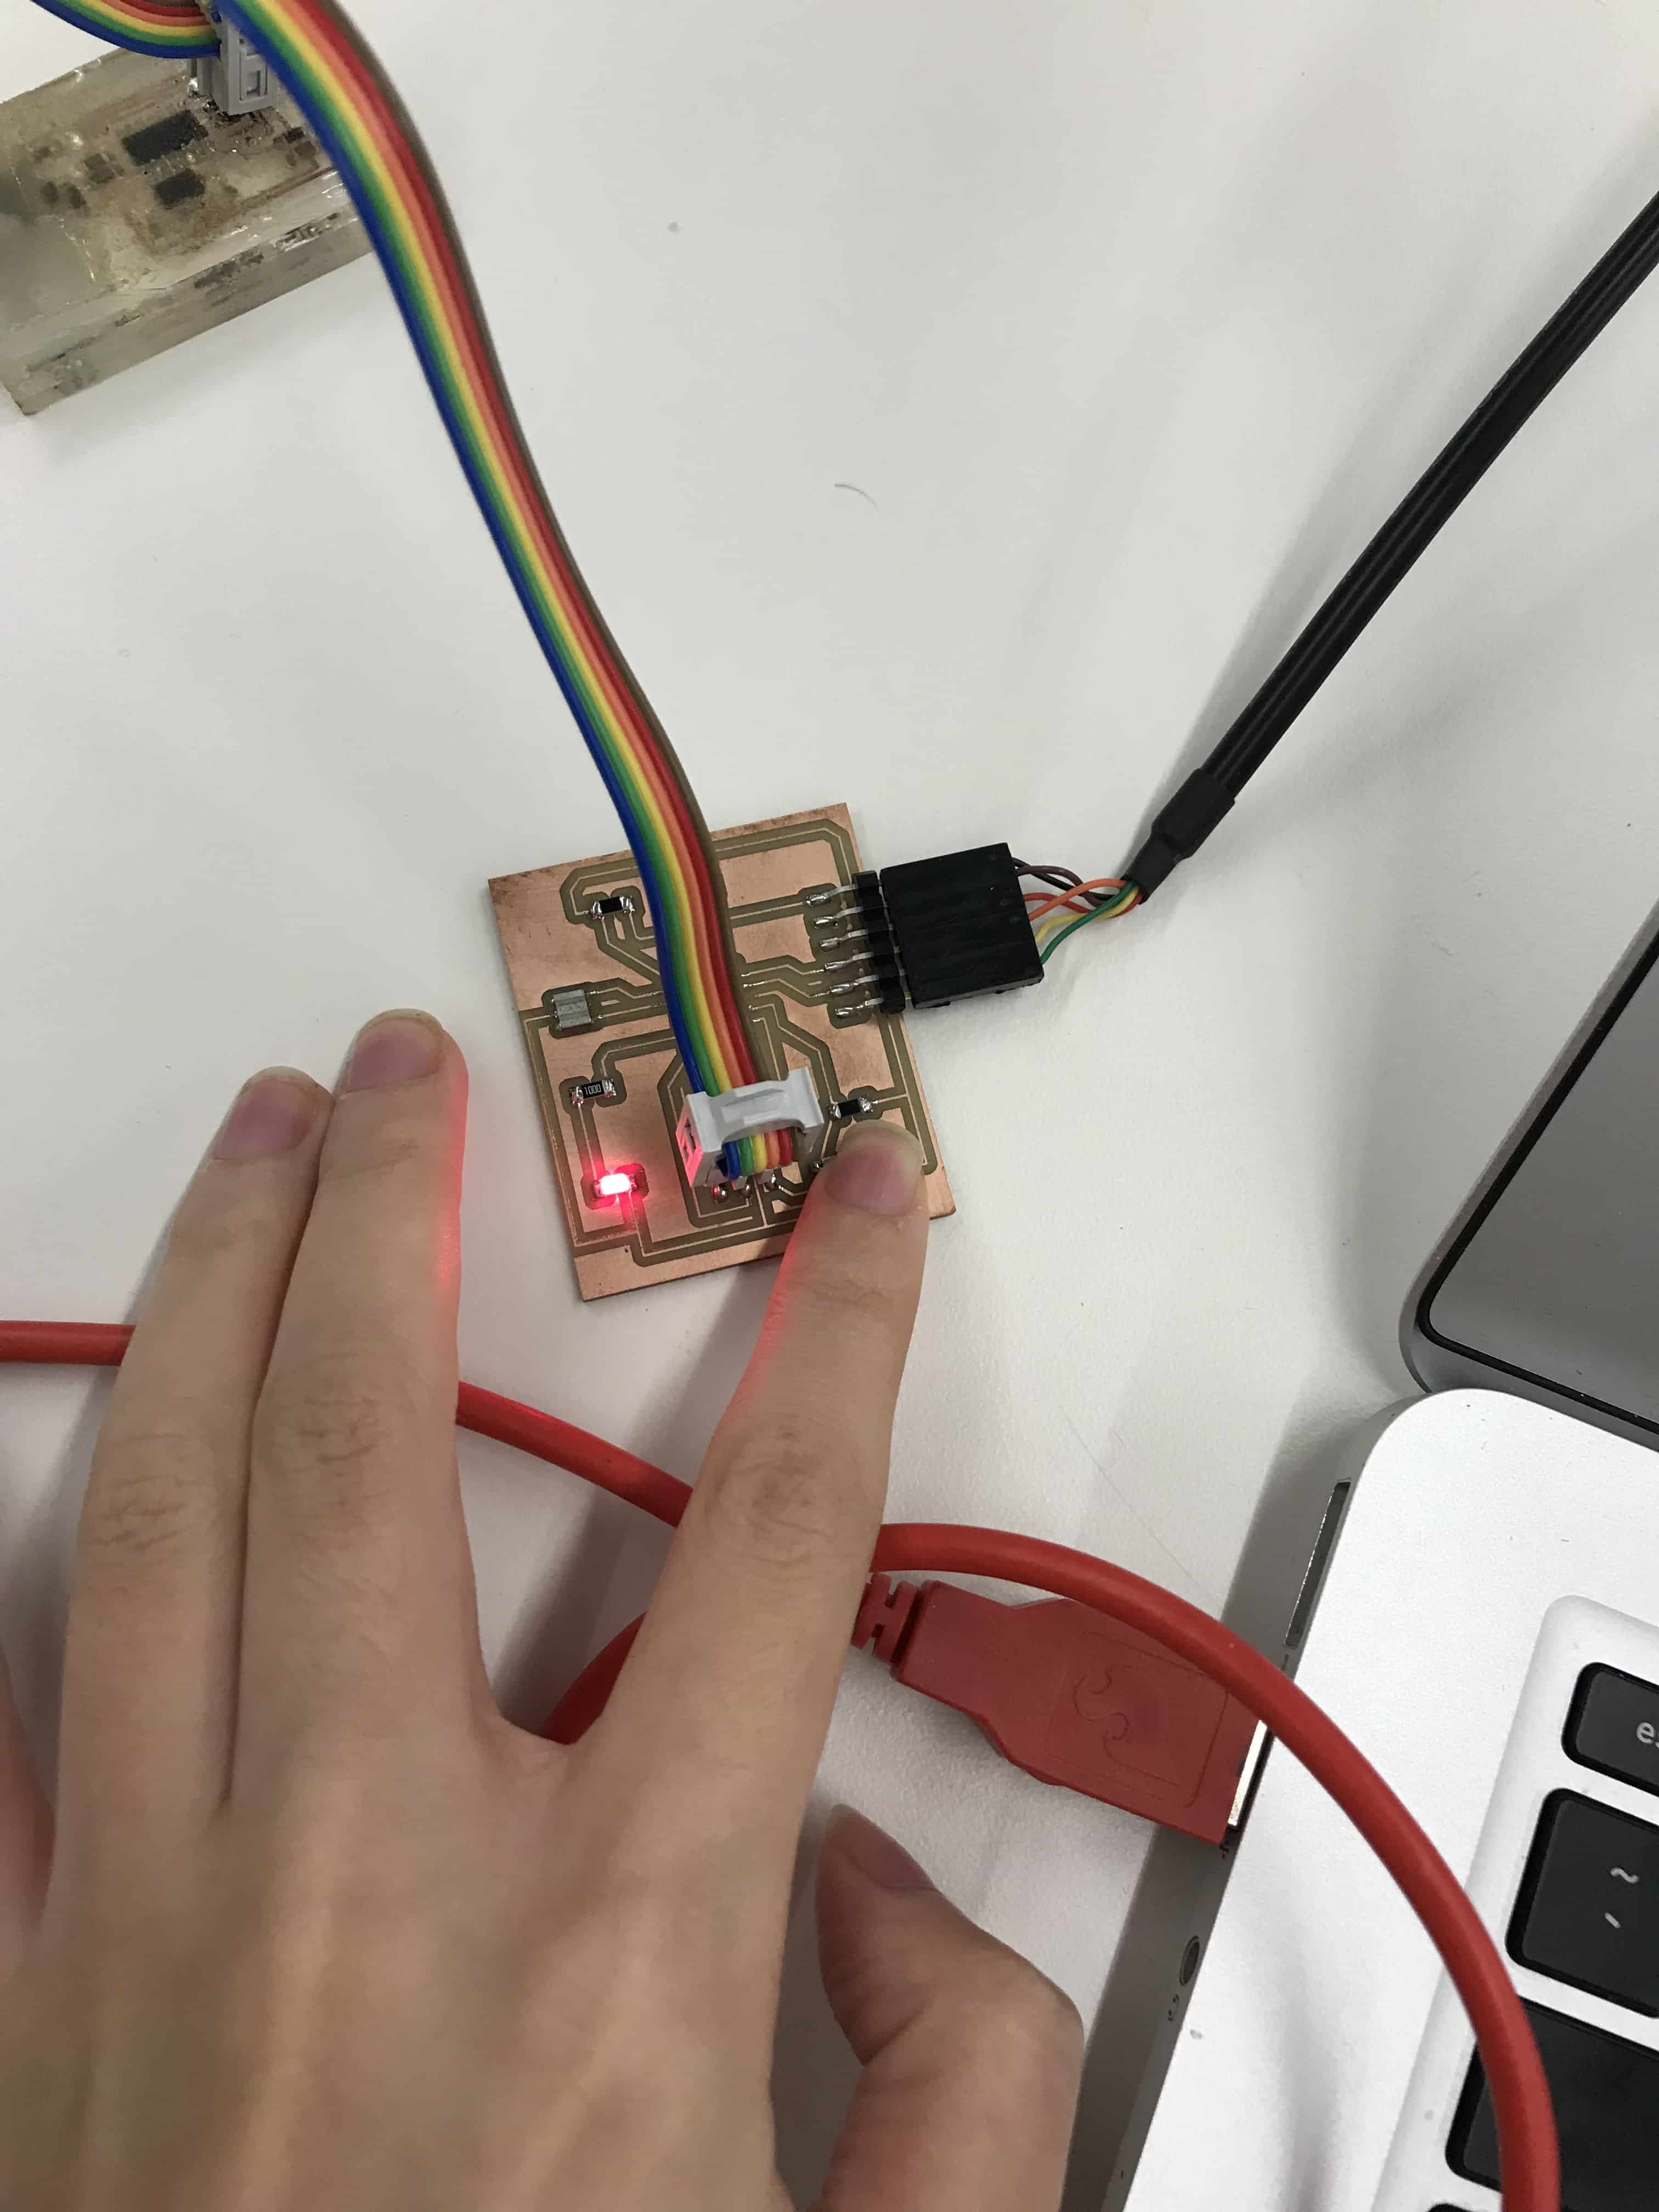
My code works! The LED light is on while I pressed it.
Blinking LED with different interval
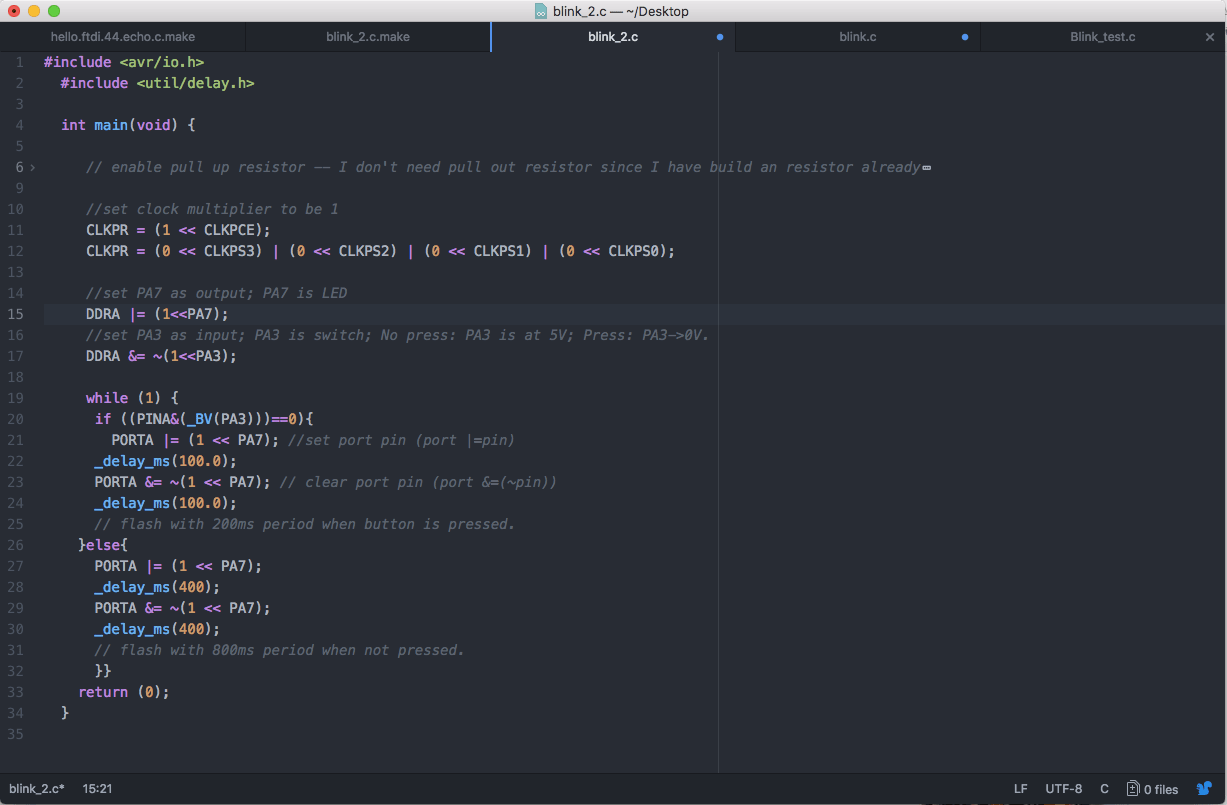
Then, I tried something different by making the LED light blinks discontinuously at a slower speed when not pressed and blink faster when pressed. Please see above picture for my codes. And I went through the same steps sending the codes to the board.
My LED light blinks in different speeds with and without pressing the button.