9. Machine Design
- Design Challenge: Assemble and build a machine as a group--Machine Group
- Software: Fusion360 | V-Carve
- Tool: Shopbot
- Date Completed: 11.14.17
Machining
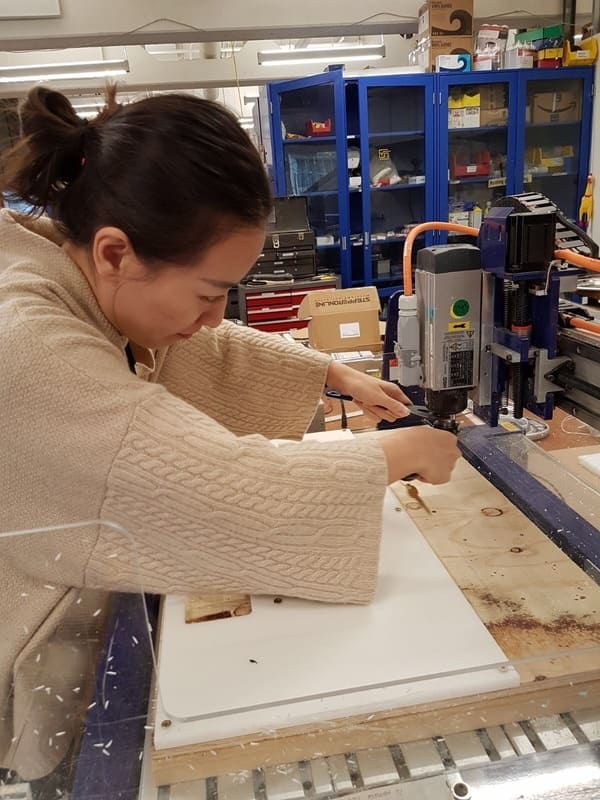
Our Harvard section is building a 2-axis CNC, that will "paint" UV-sensitive fabric with light. We decided to divide the whole session into four teams: milling, assembly, and programming teams. I'm on the machining team, so I focused on milling the component of the CNC.
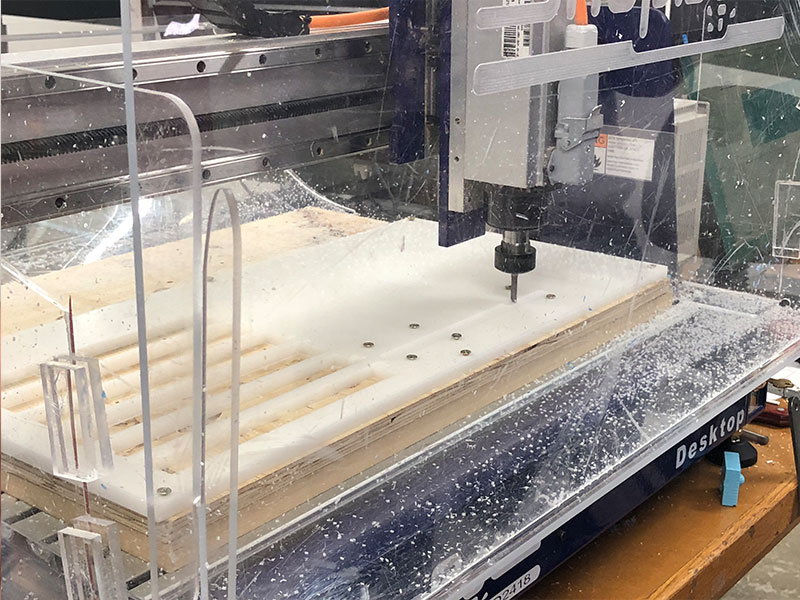
We are milling the yellow parts first.
We used straight bit this time.
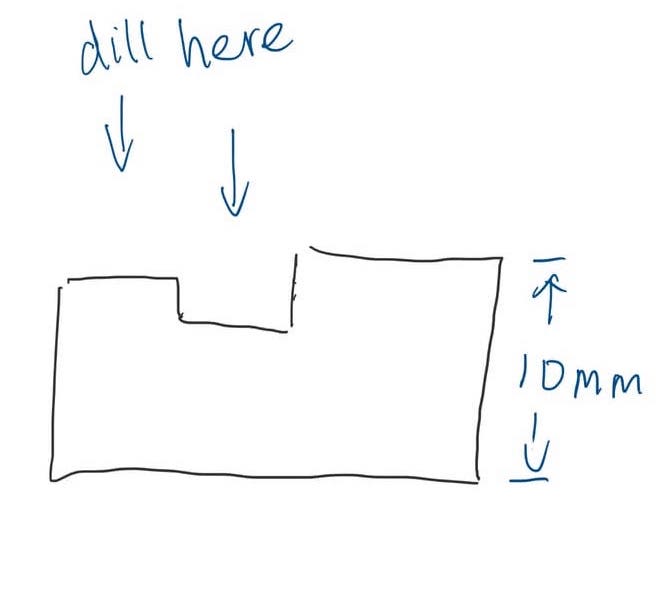
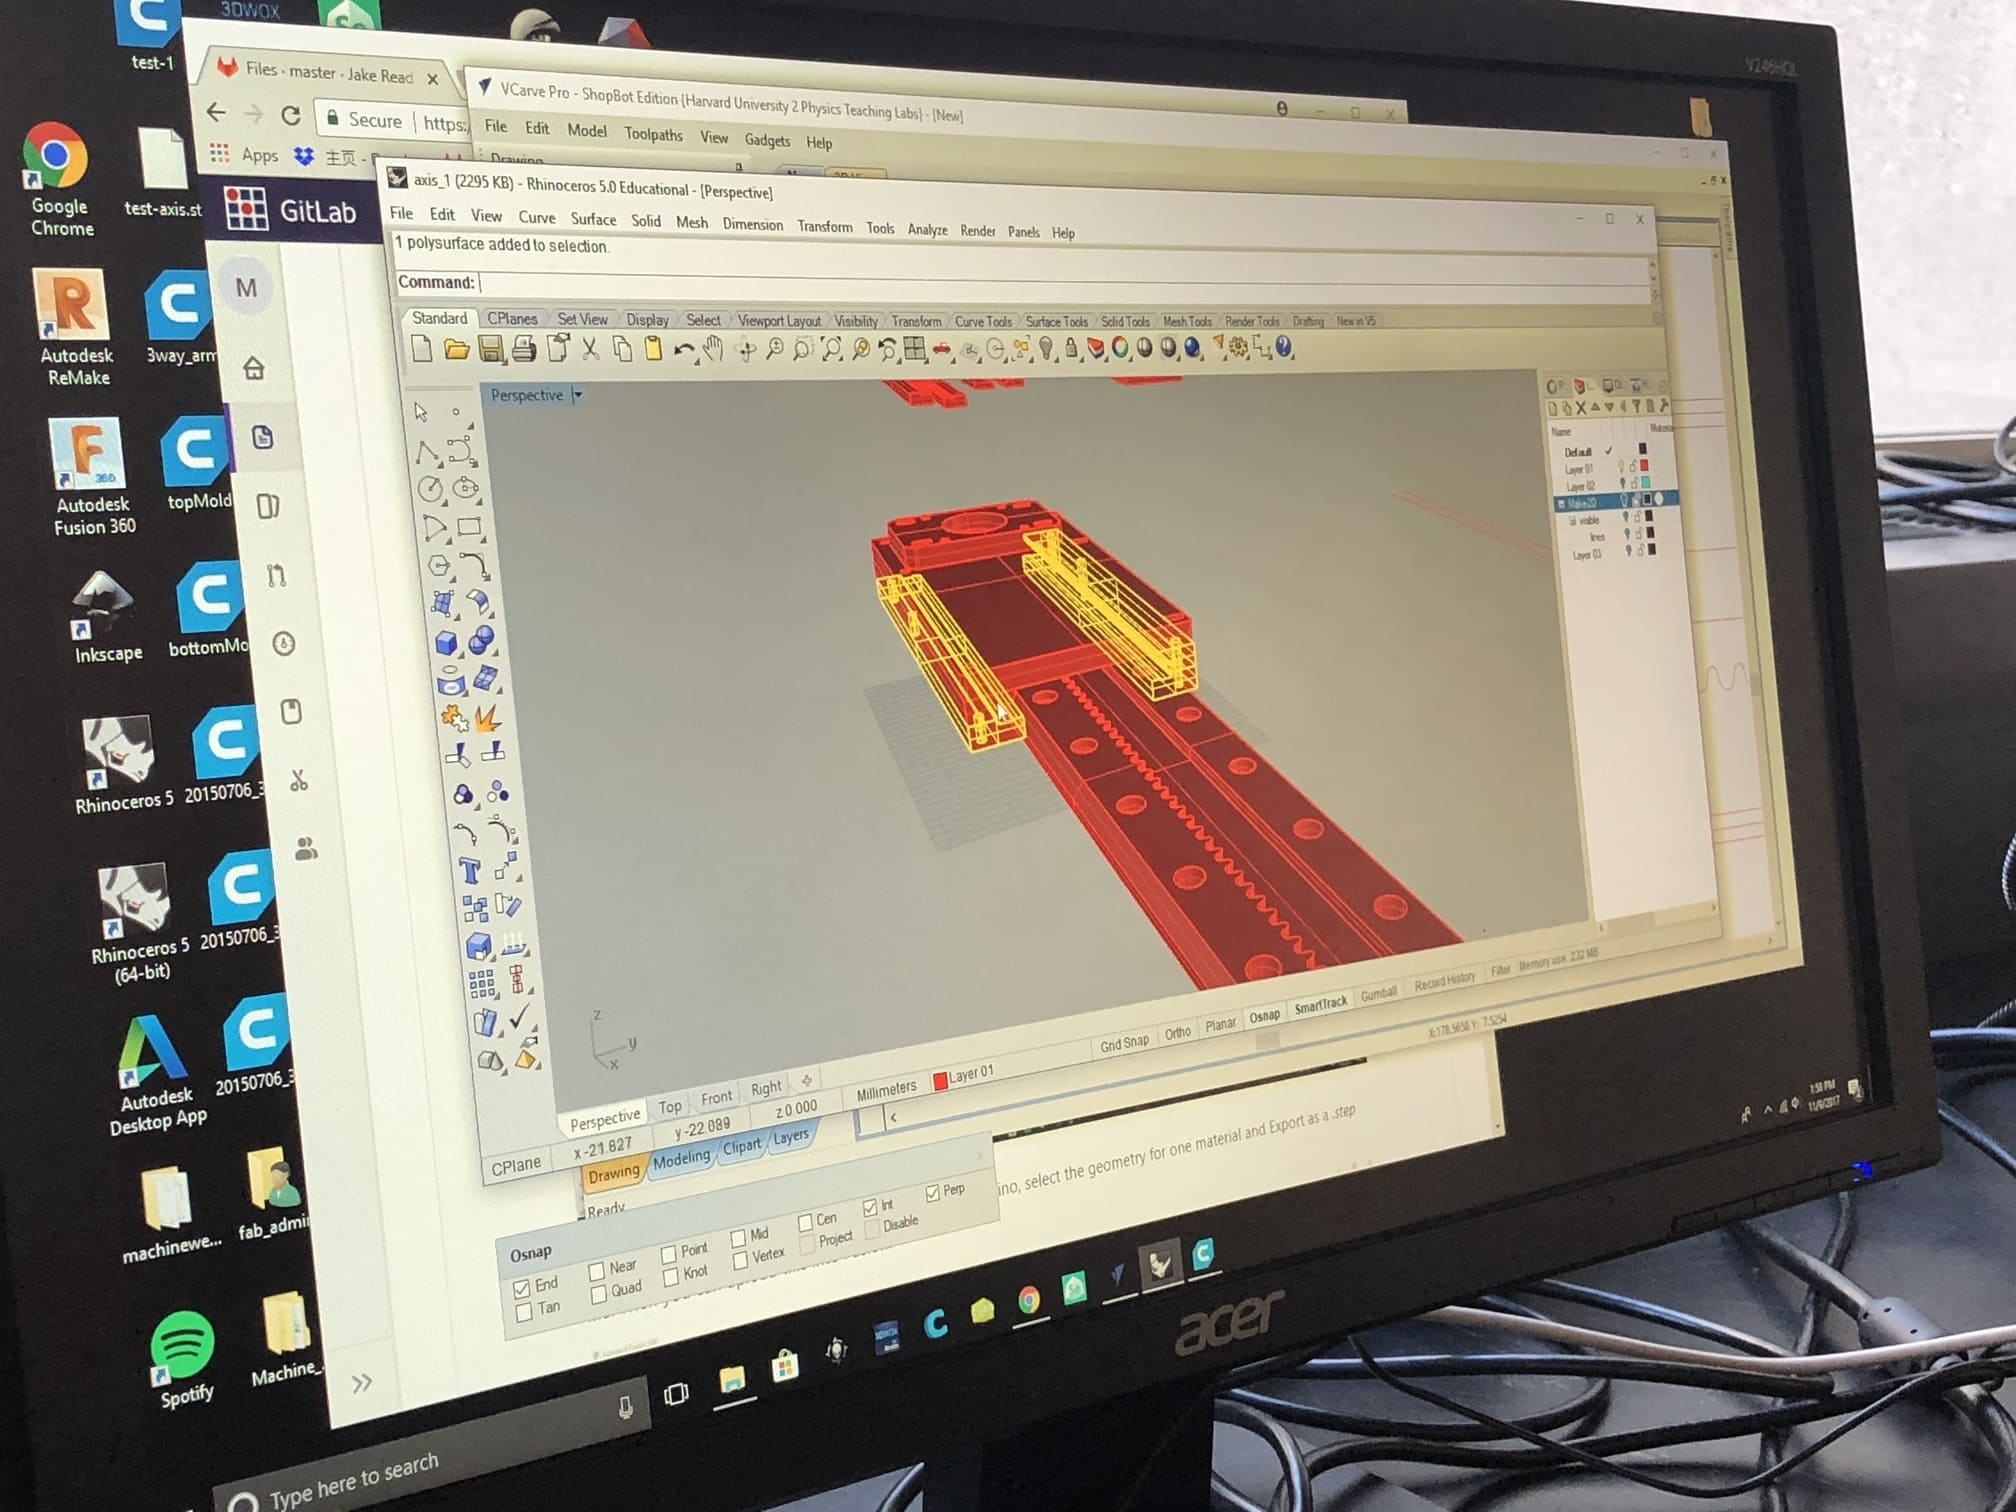
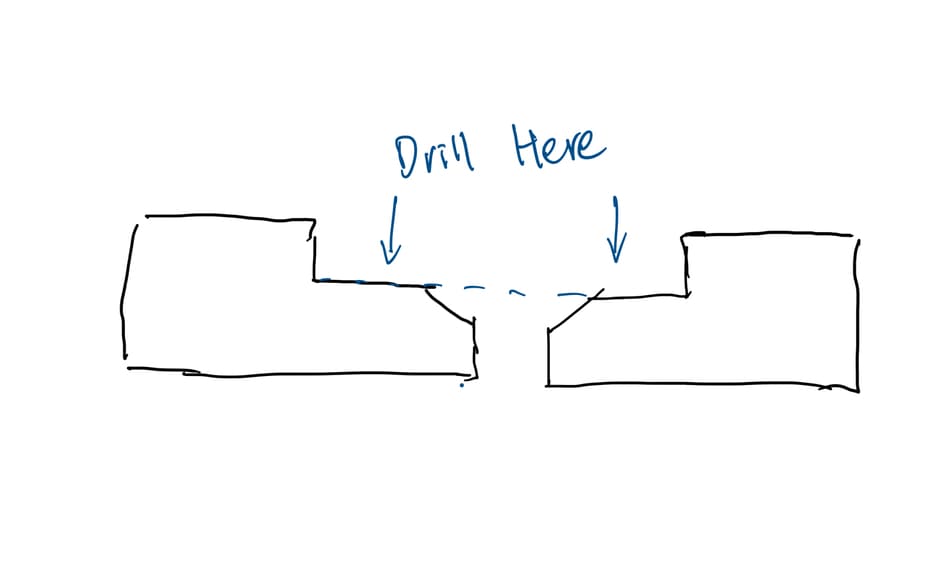
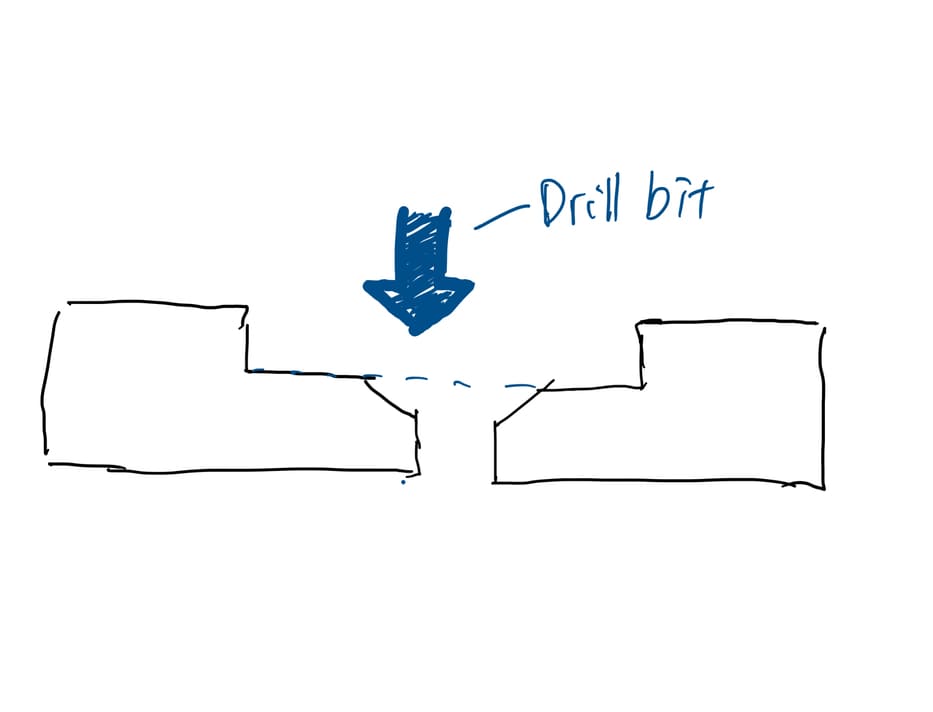
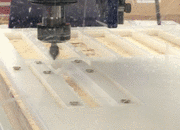
We didn't mill 3d mold like we did on wax during molding&casting week. Instead, we mapping the 3D design to the 2D model and drill one direction.
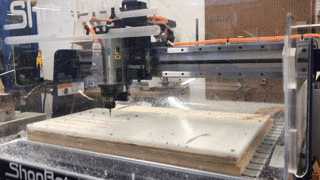
It is milling.
Then, we are drilling the other pieces of the axis.
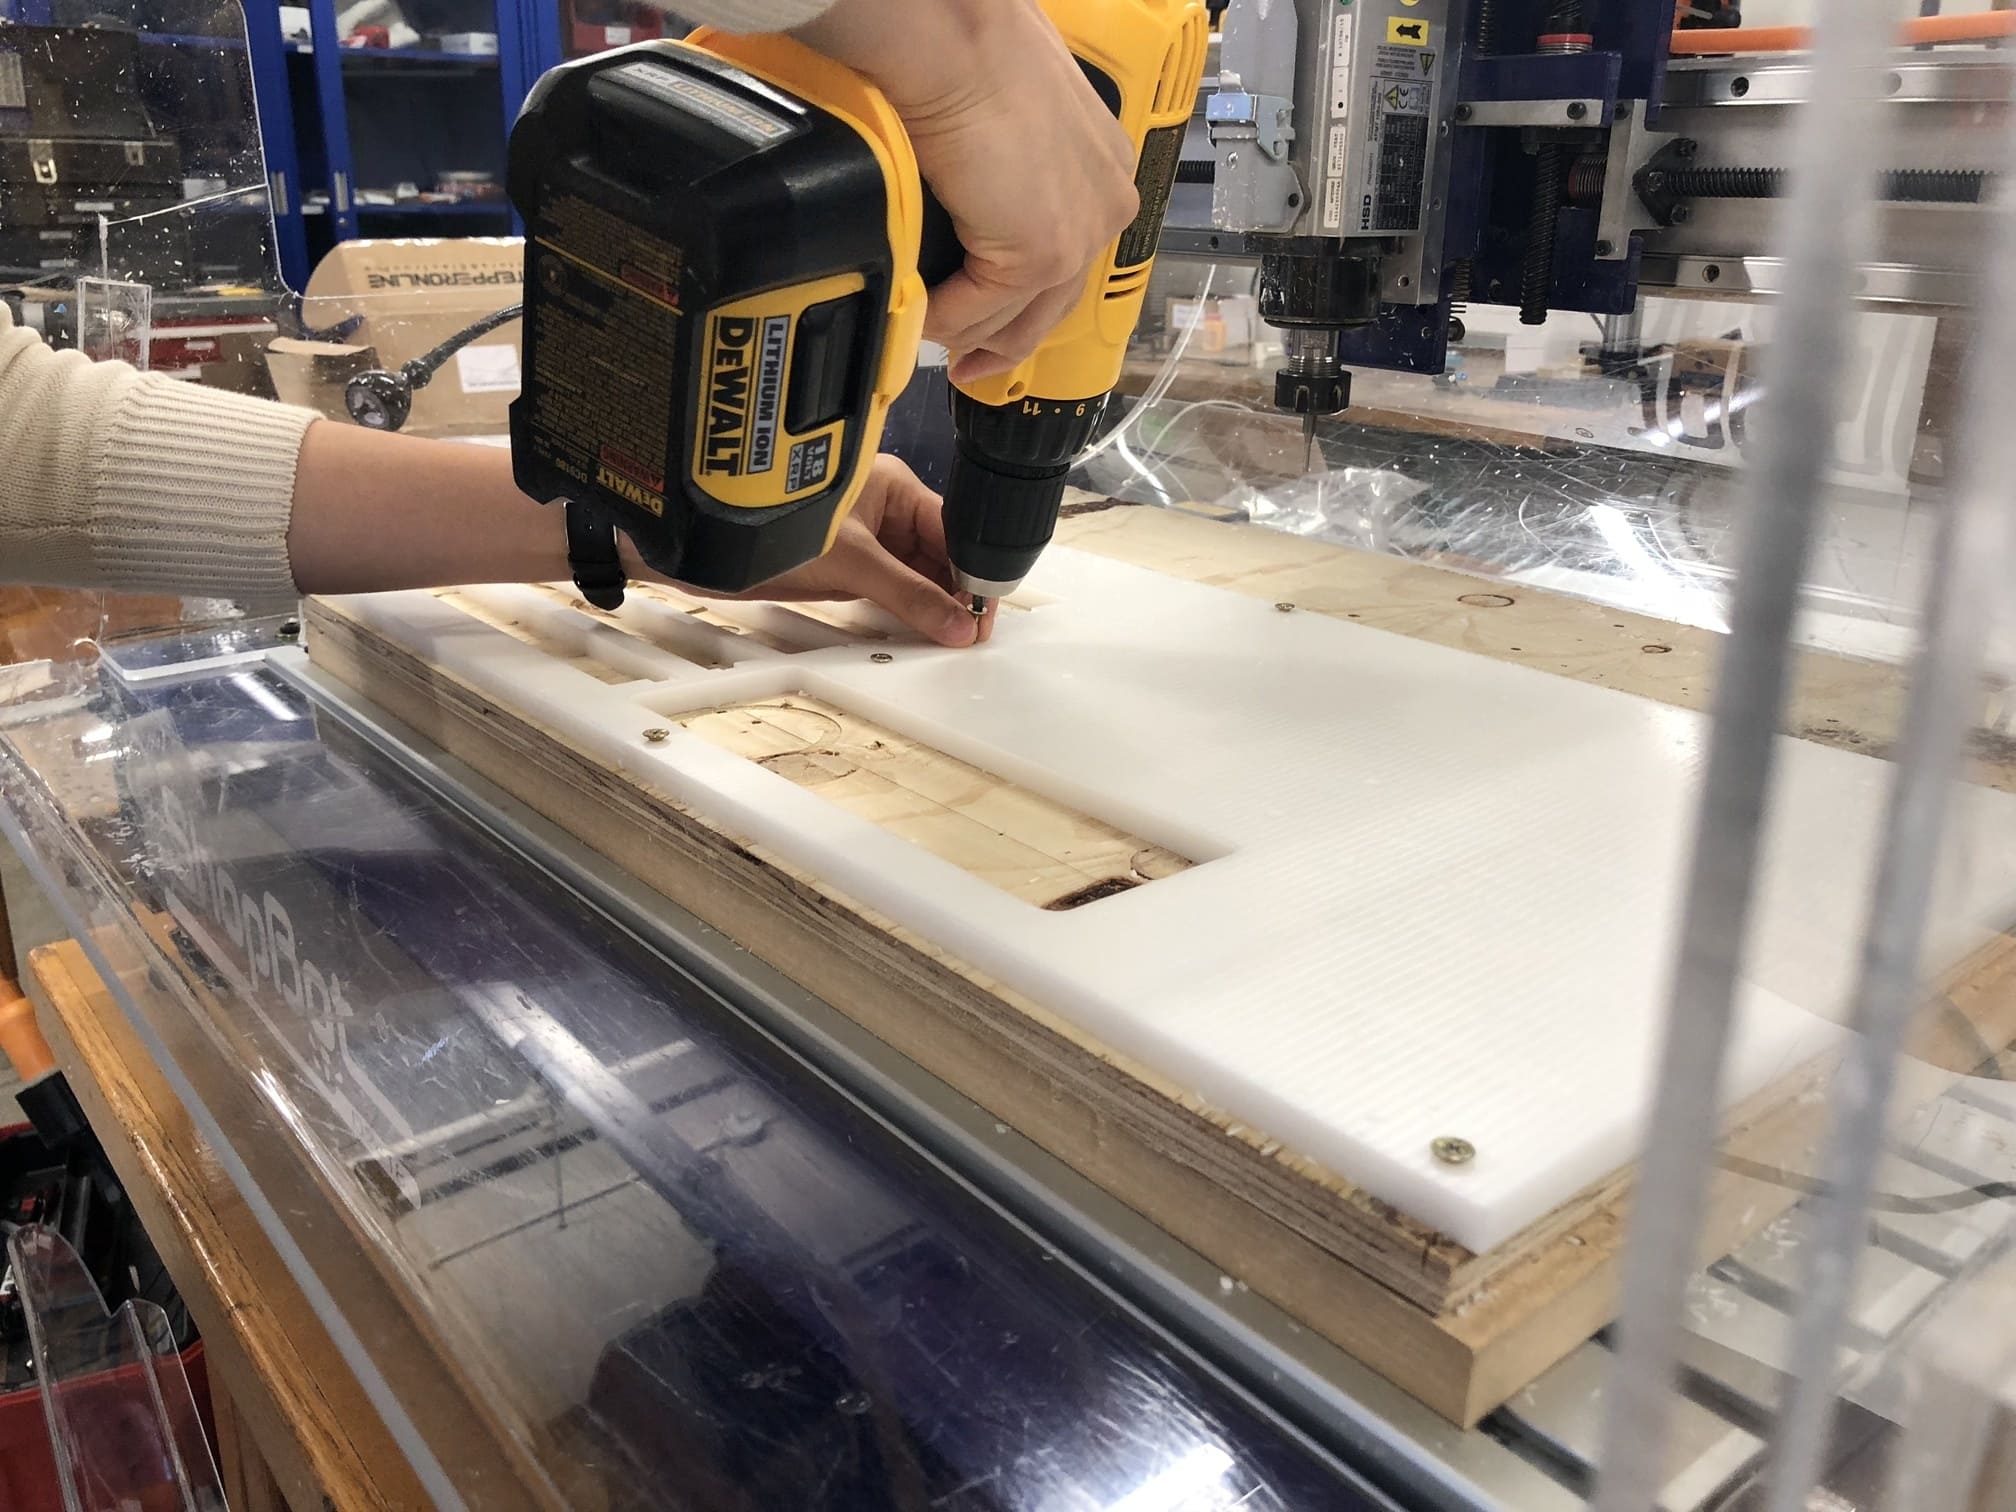
We used screw to stable the board.
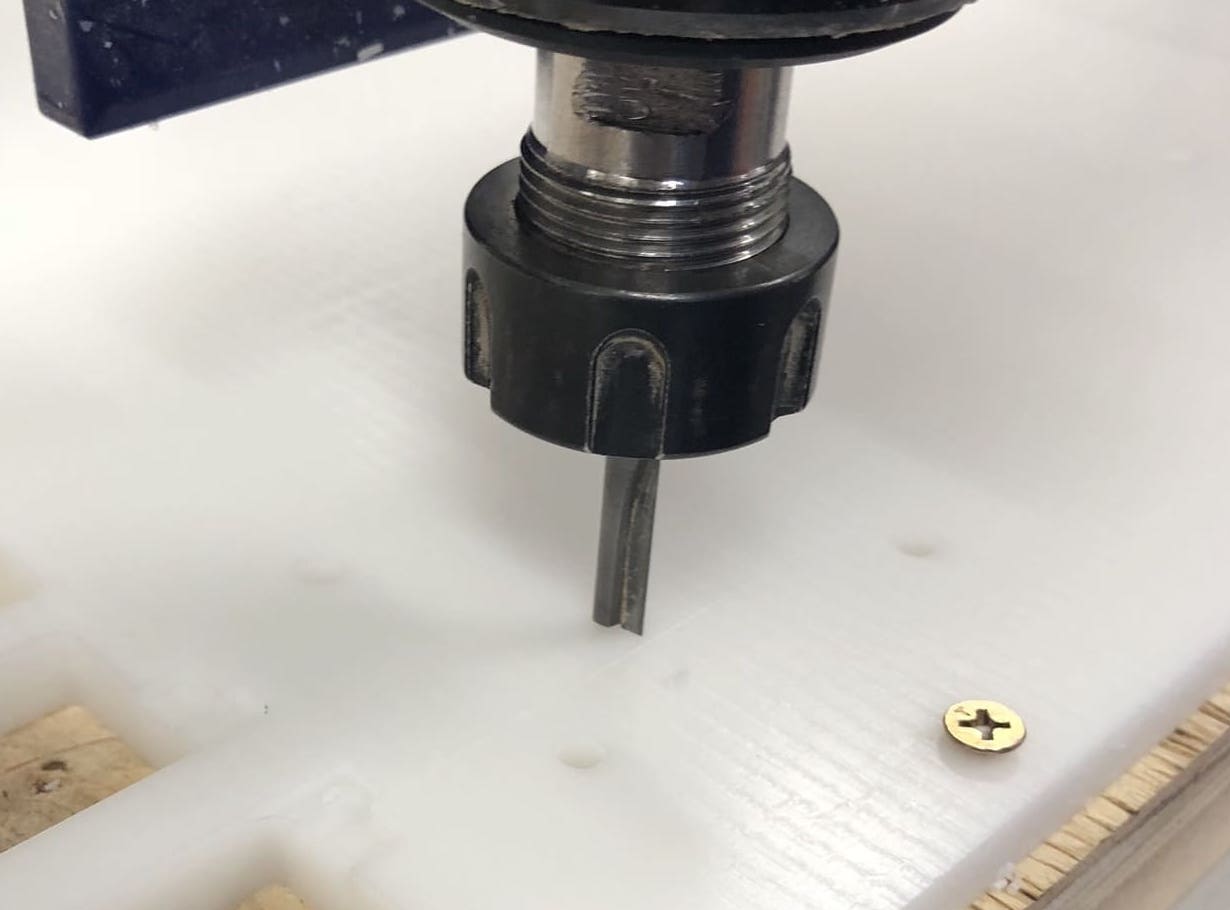
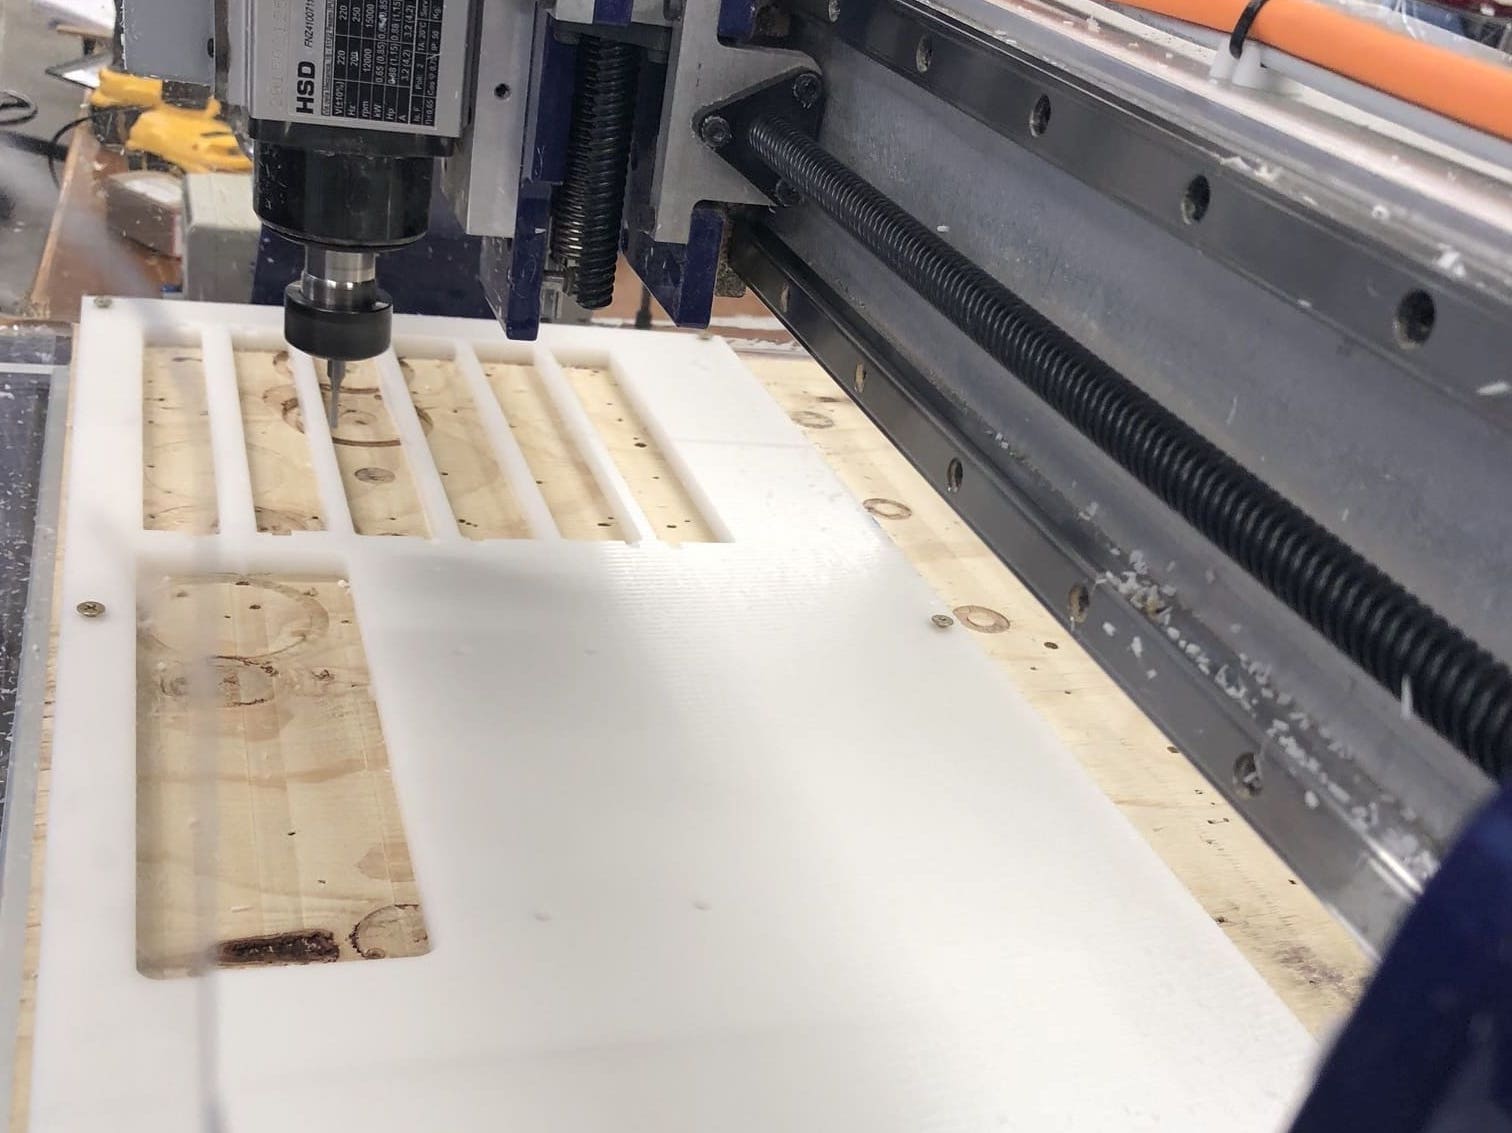
We changed to a 1/4 bits for creating a smoothier surface.
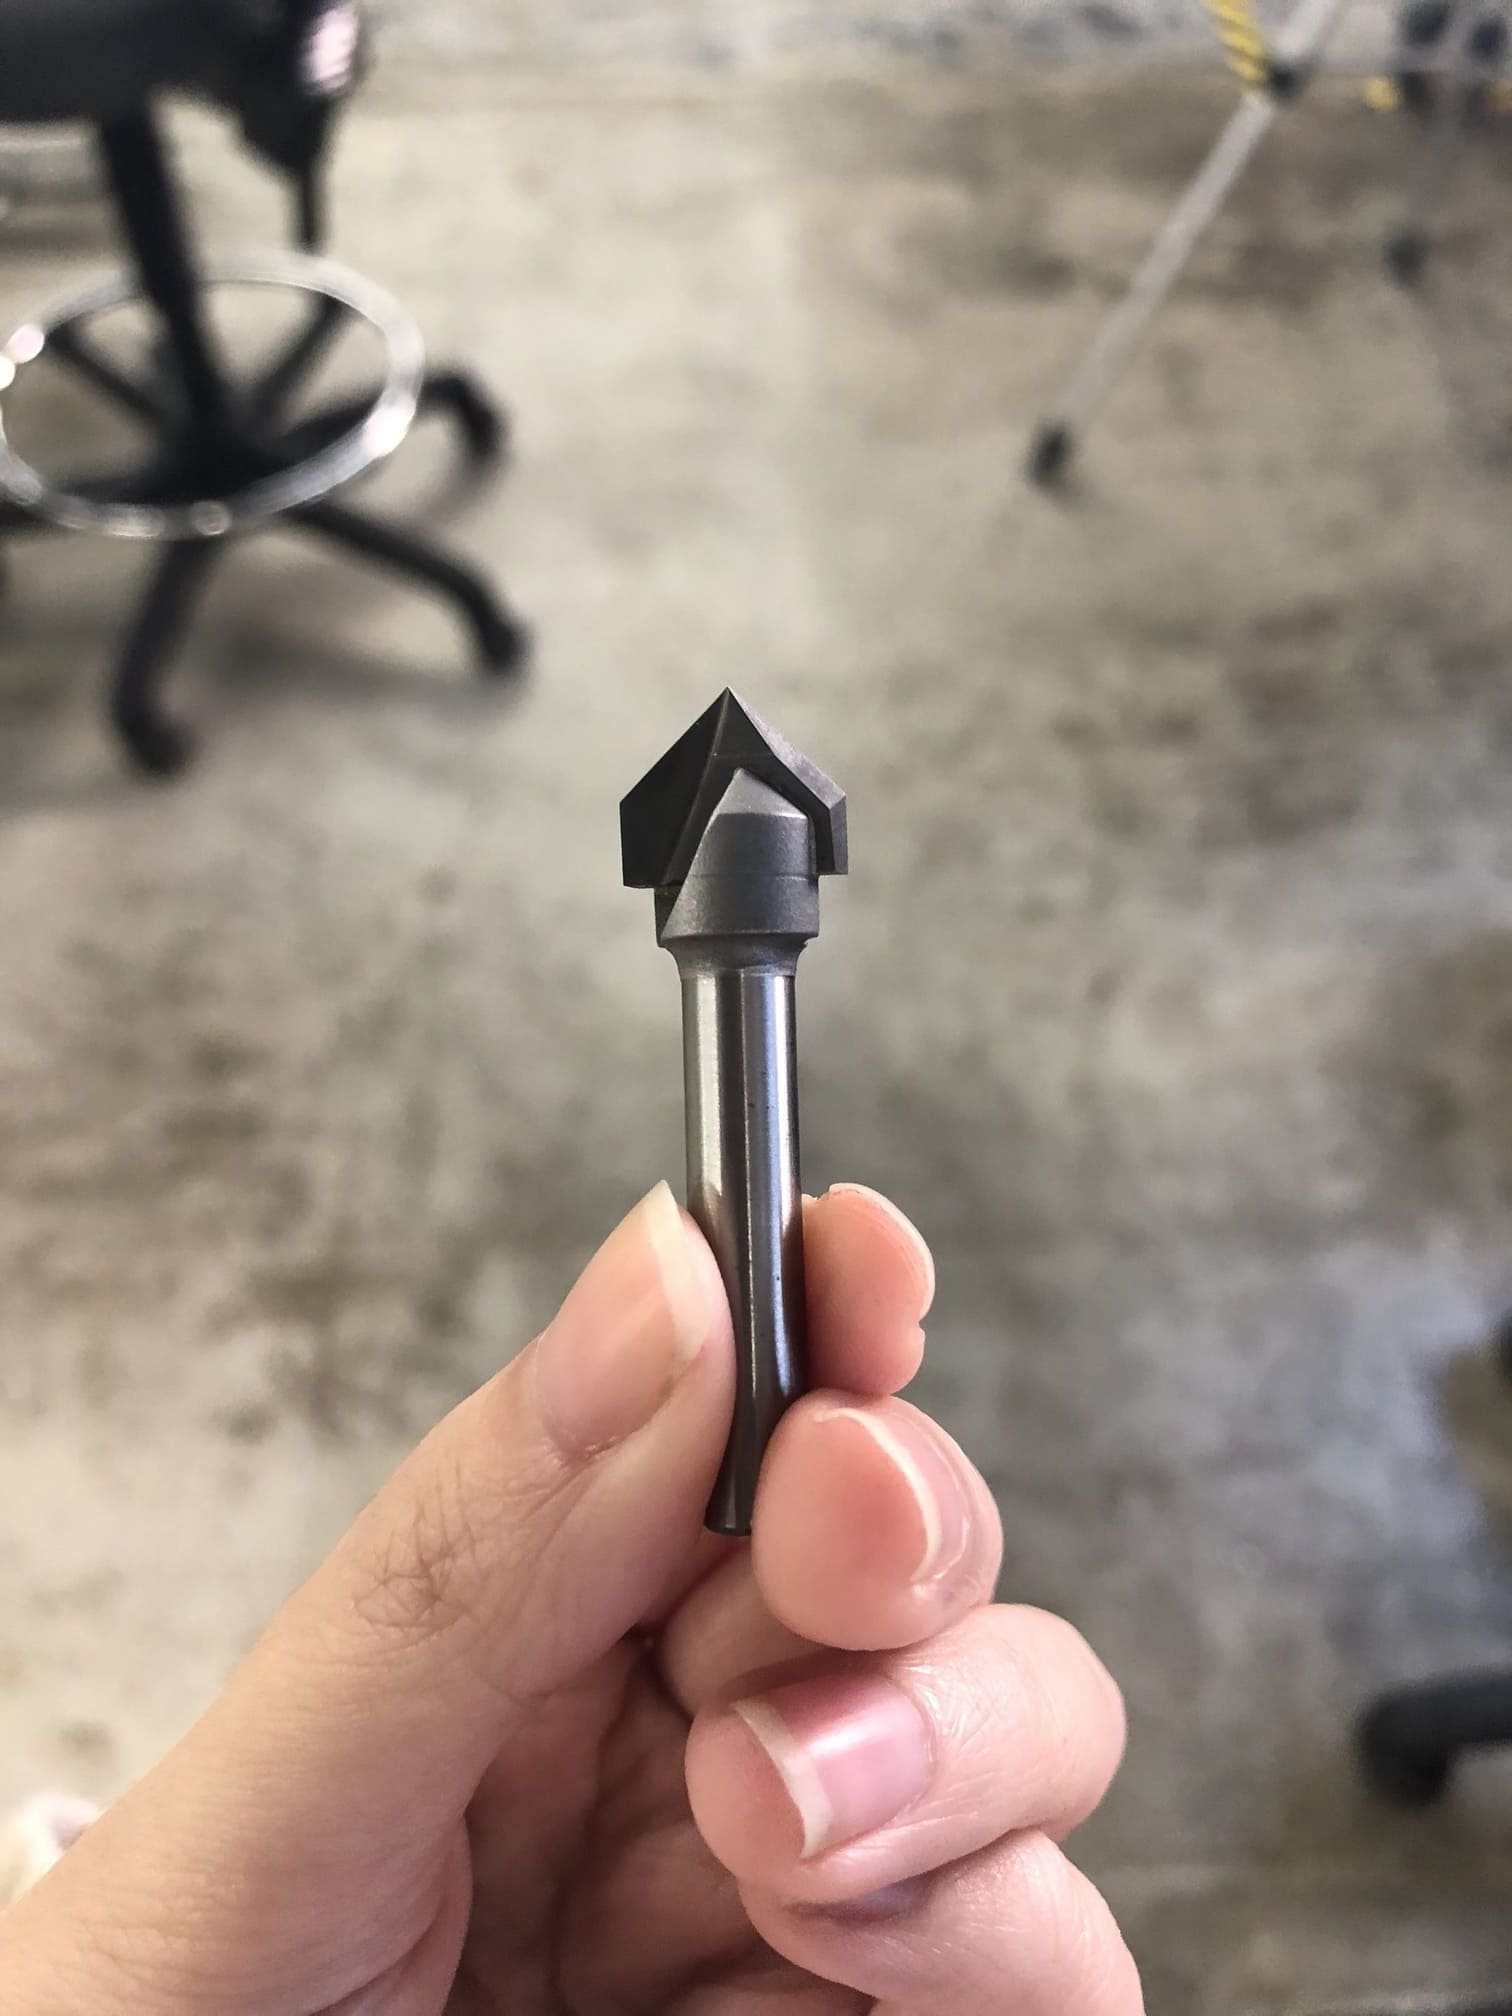
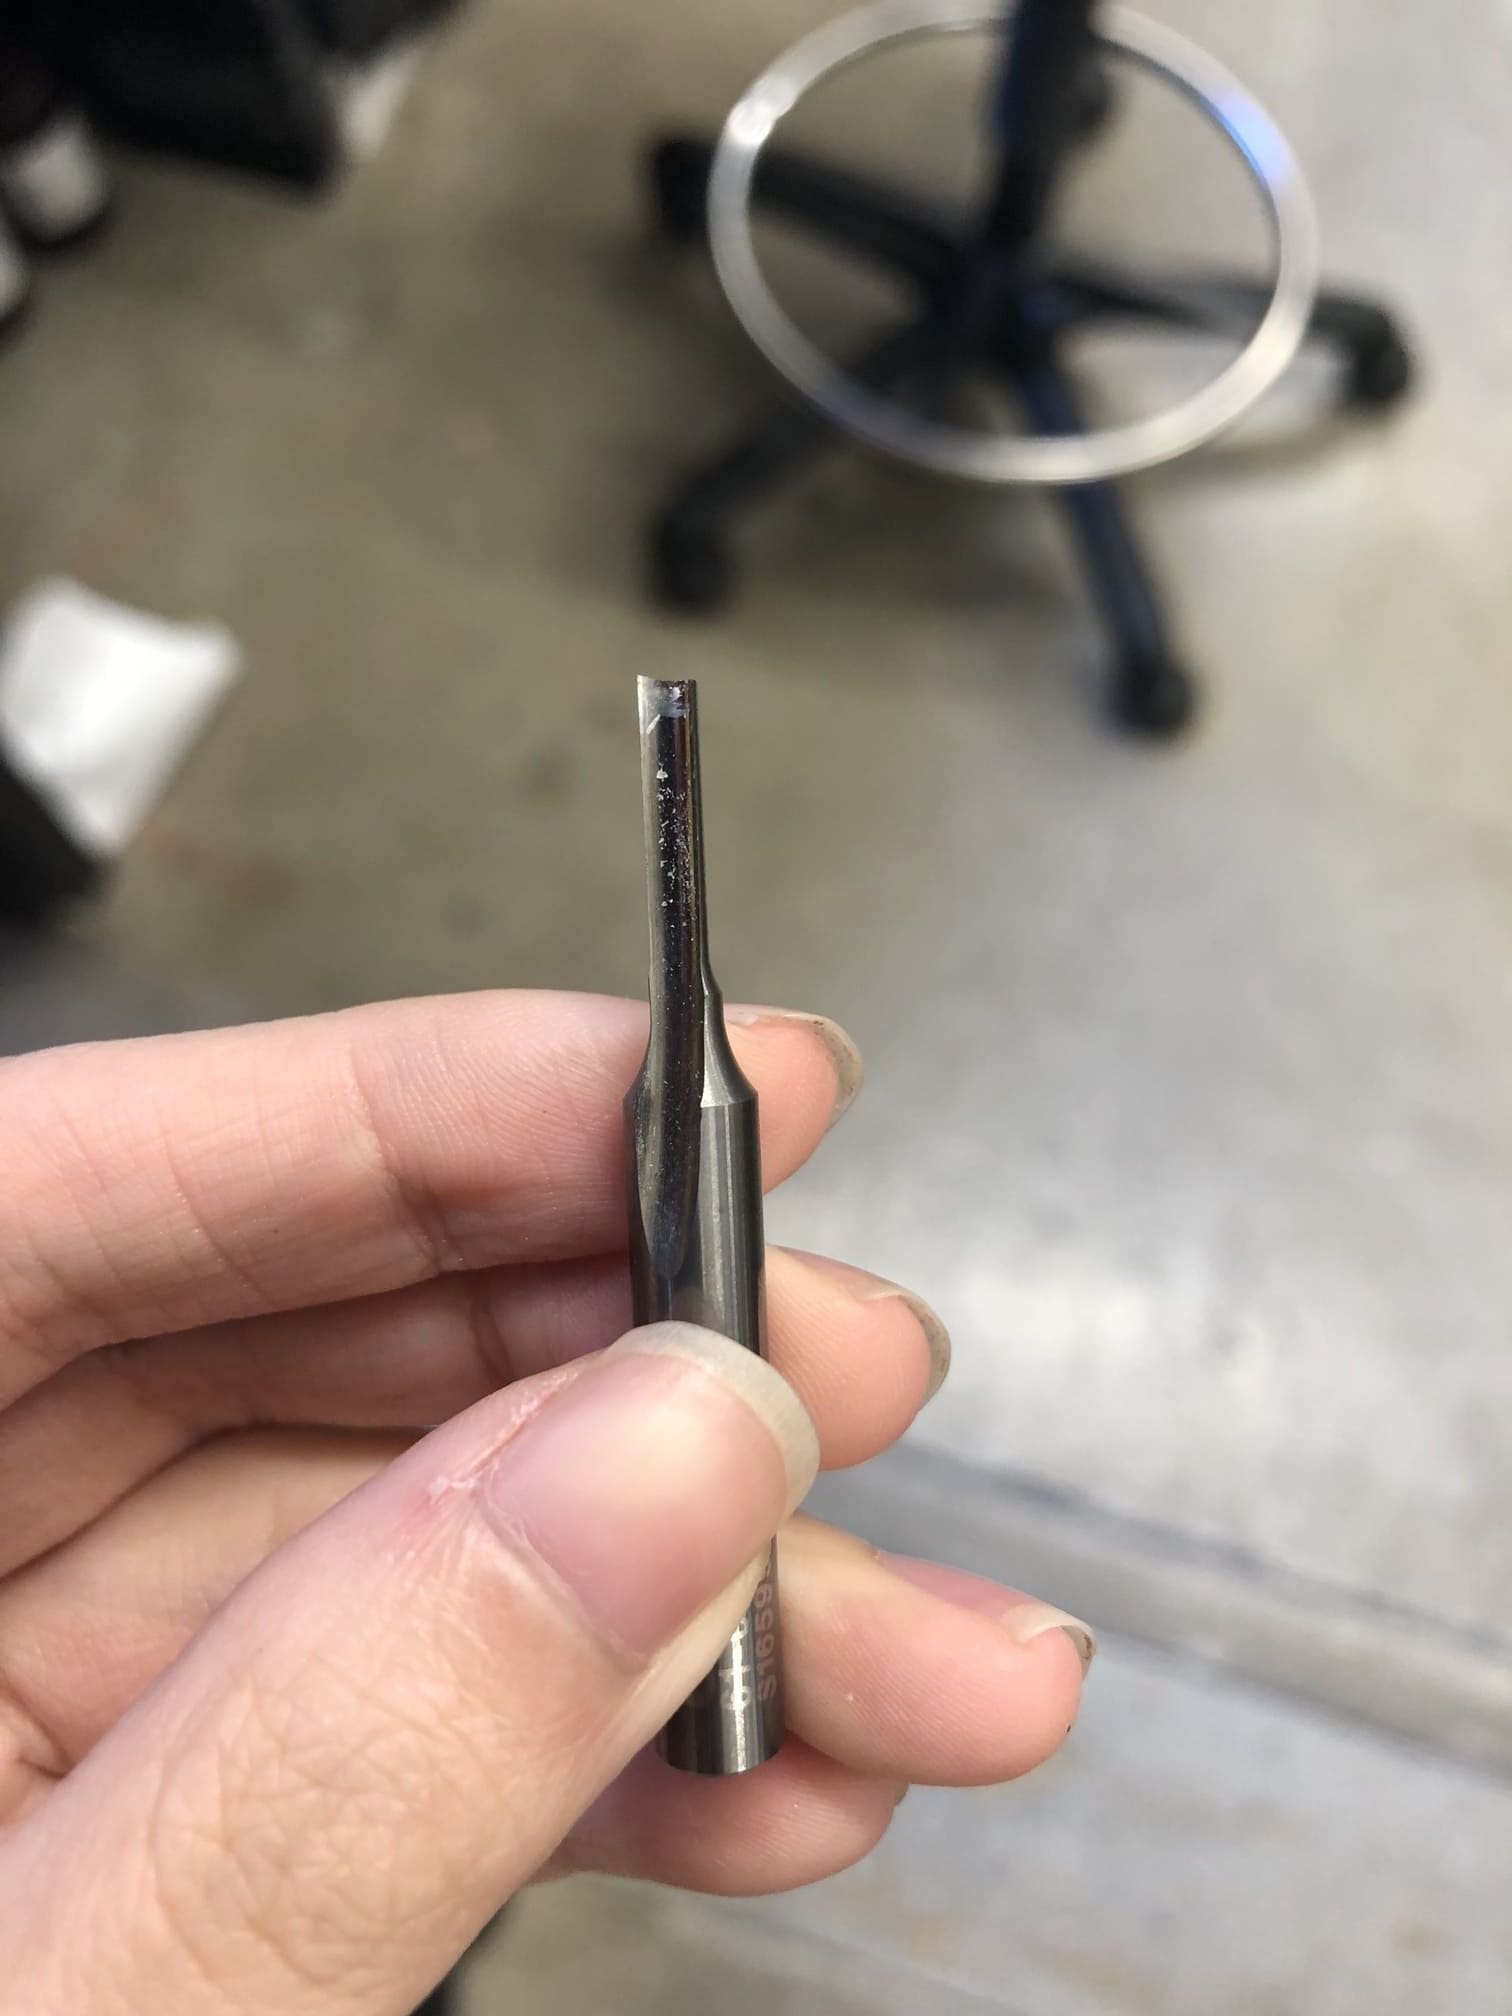
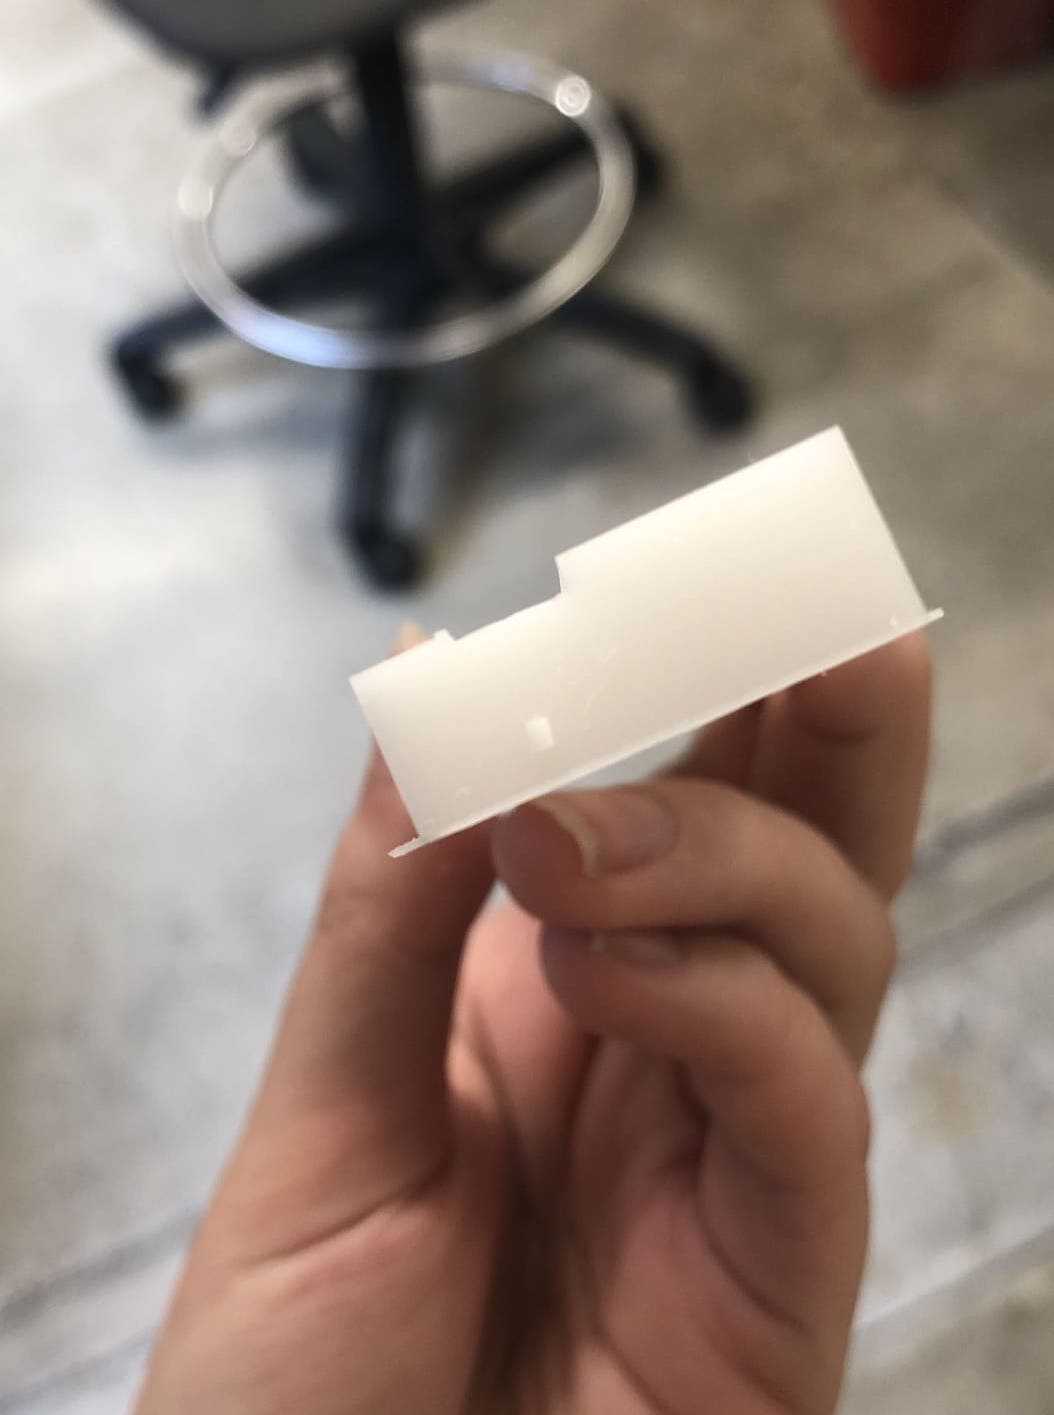
We used this triangle shape bit to create the chamfer showing in left.
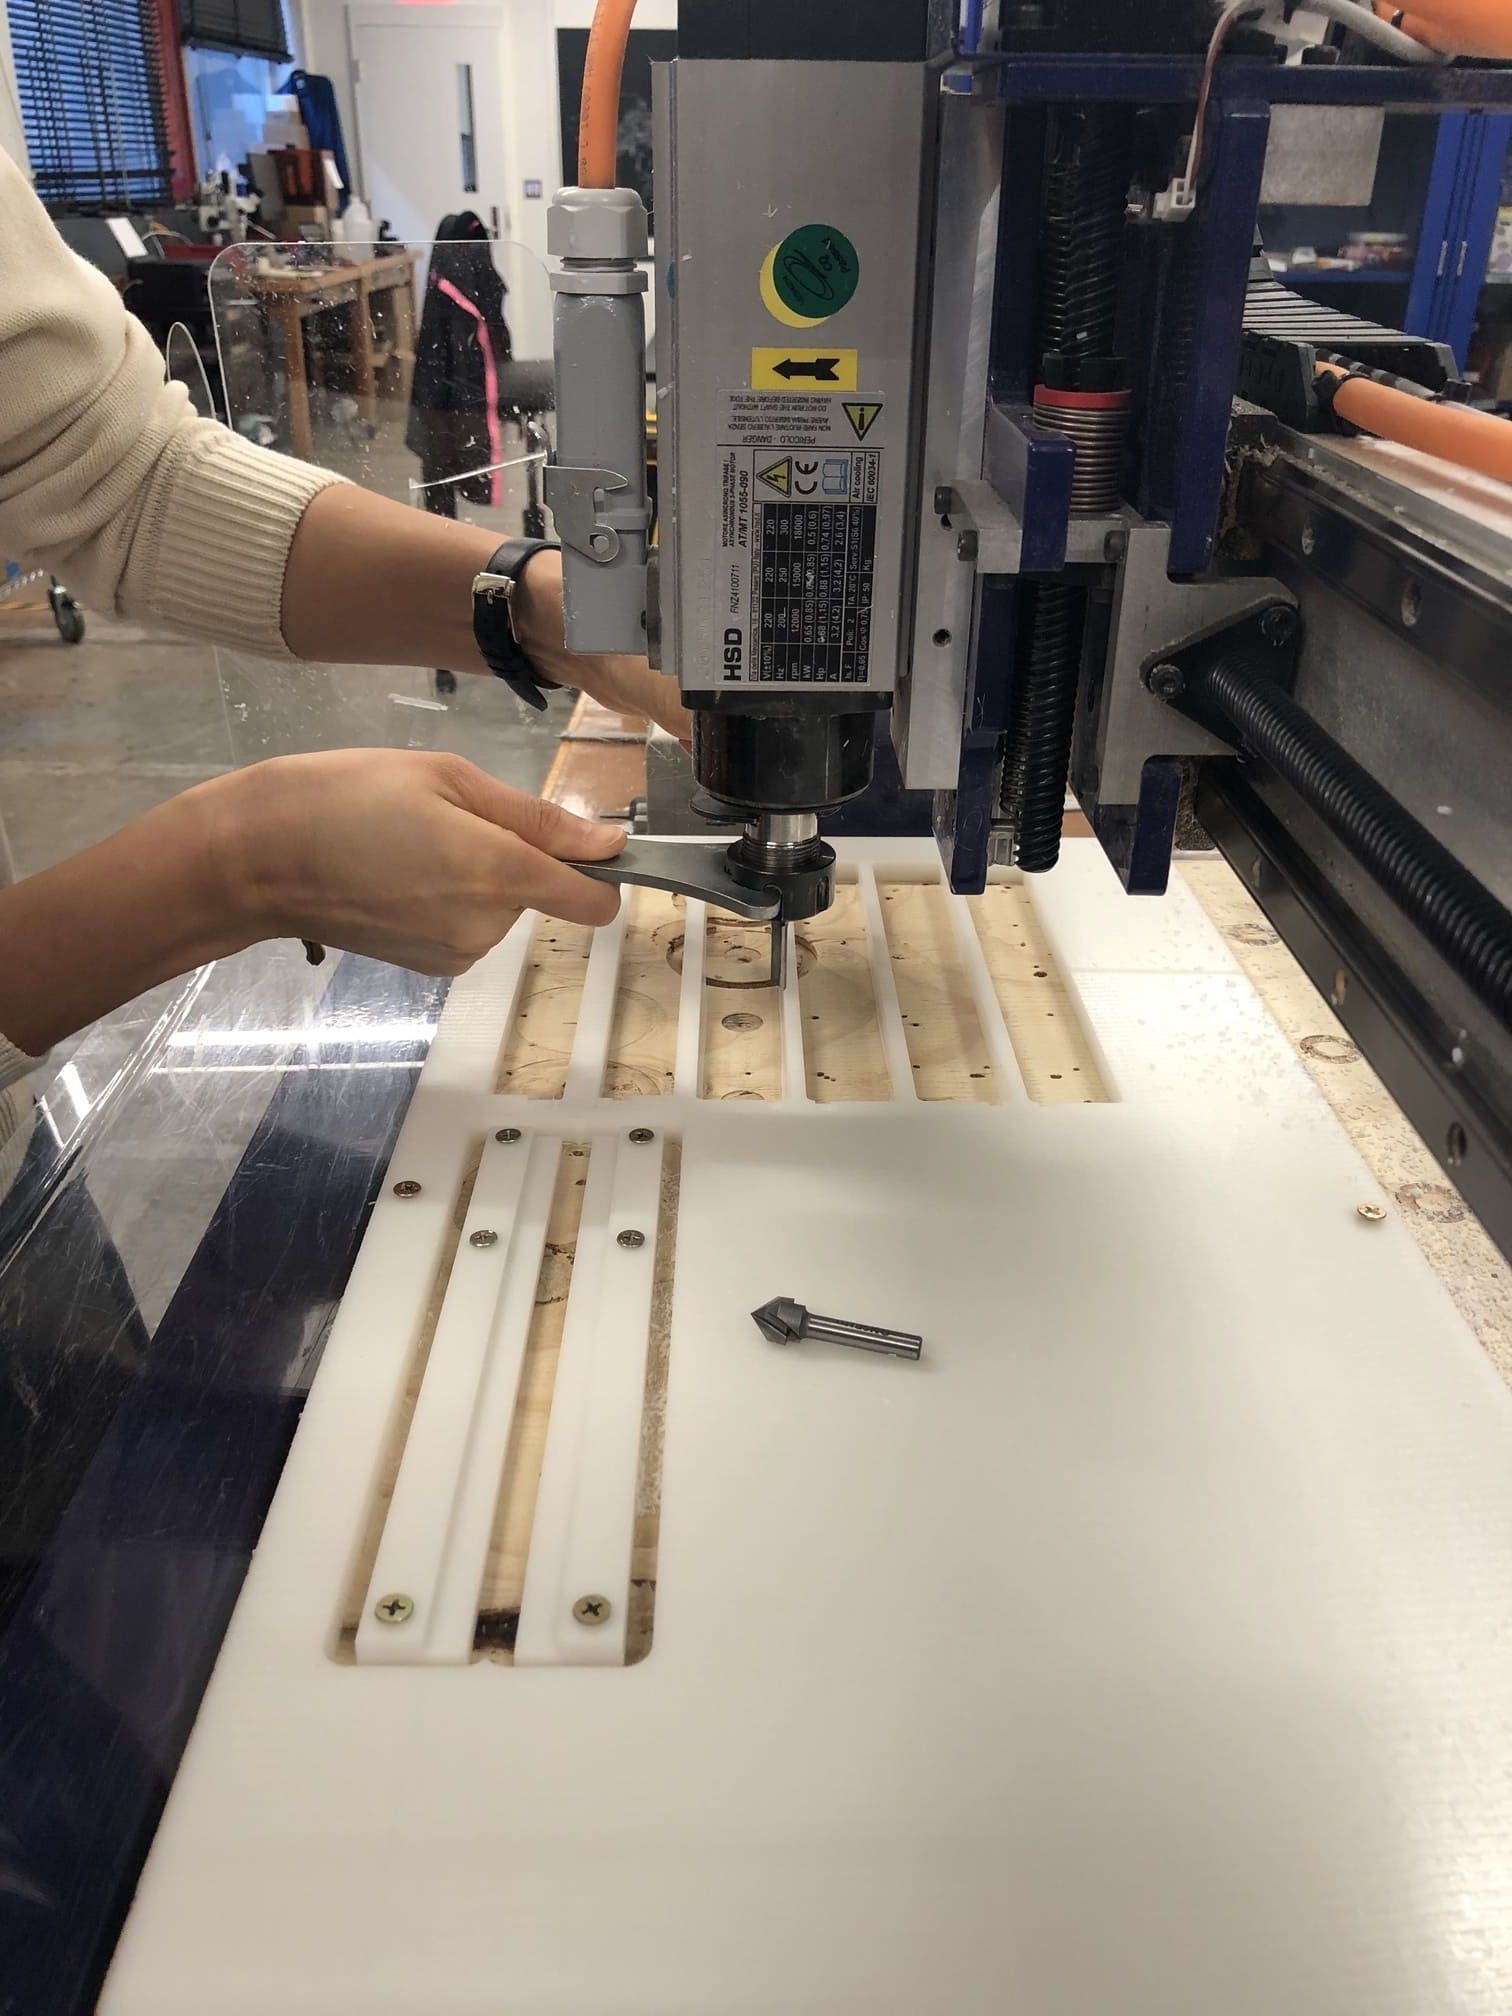
Changing the drill bit.
The triangle bit milled the chamfer by going straight.
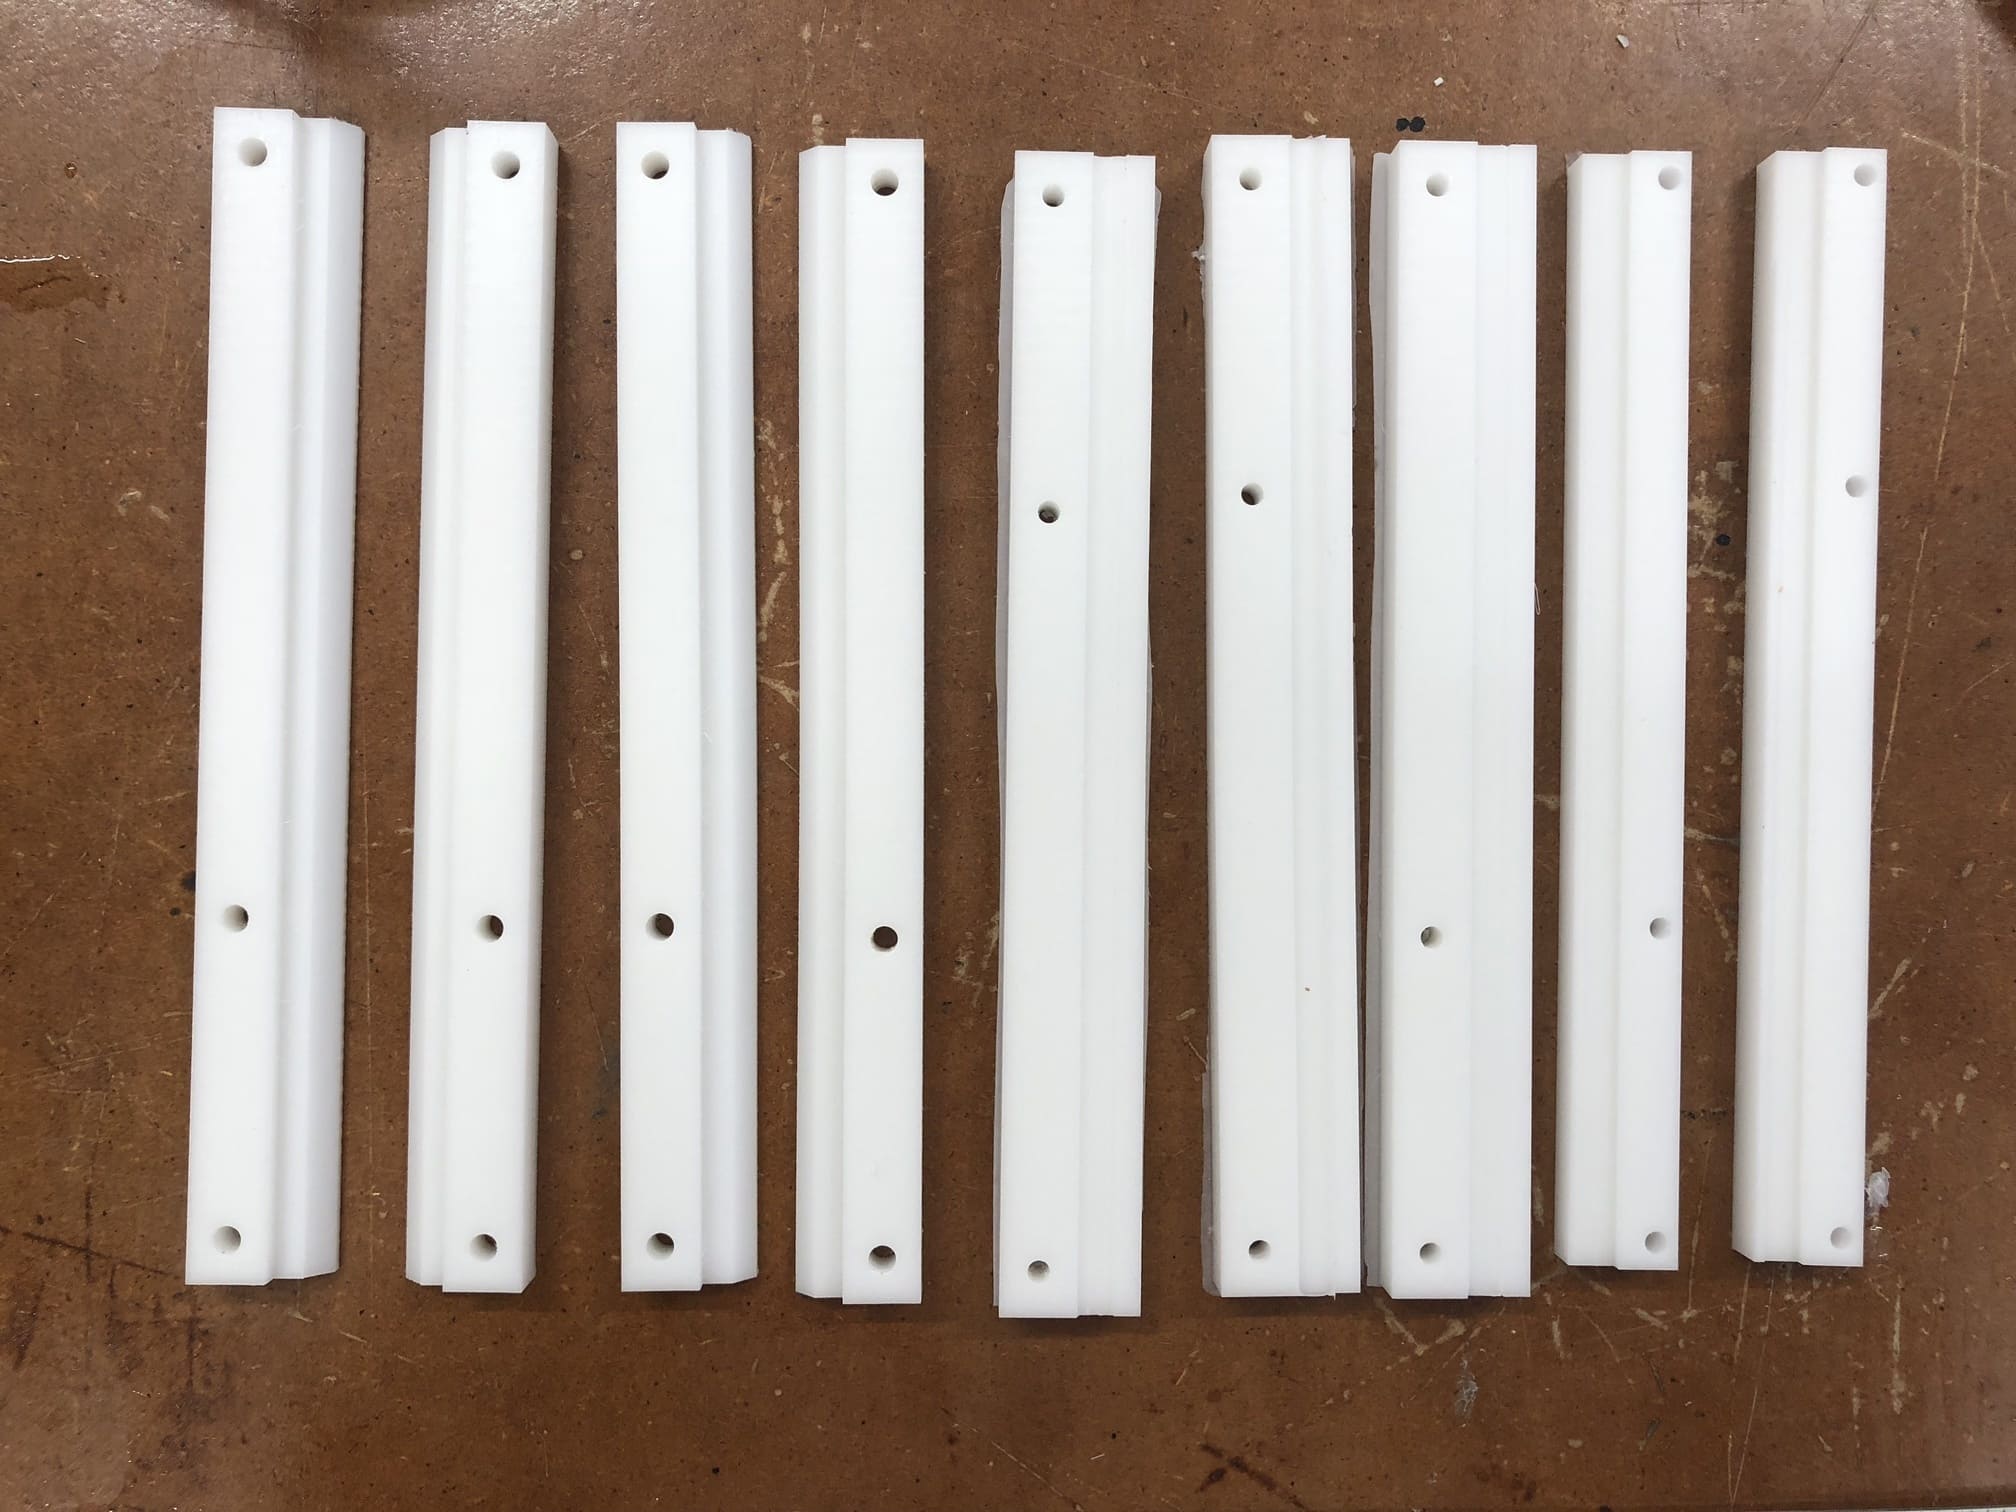
Here were all the pieces(we prepared two sets of each piece) for the yellow parts in the Rhino file.
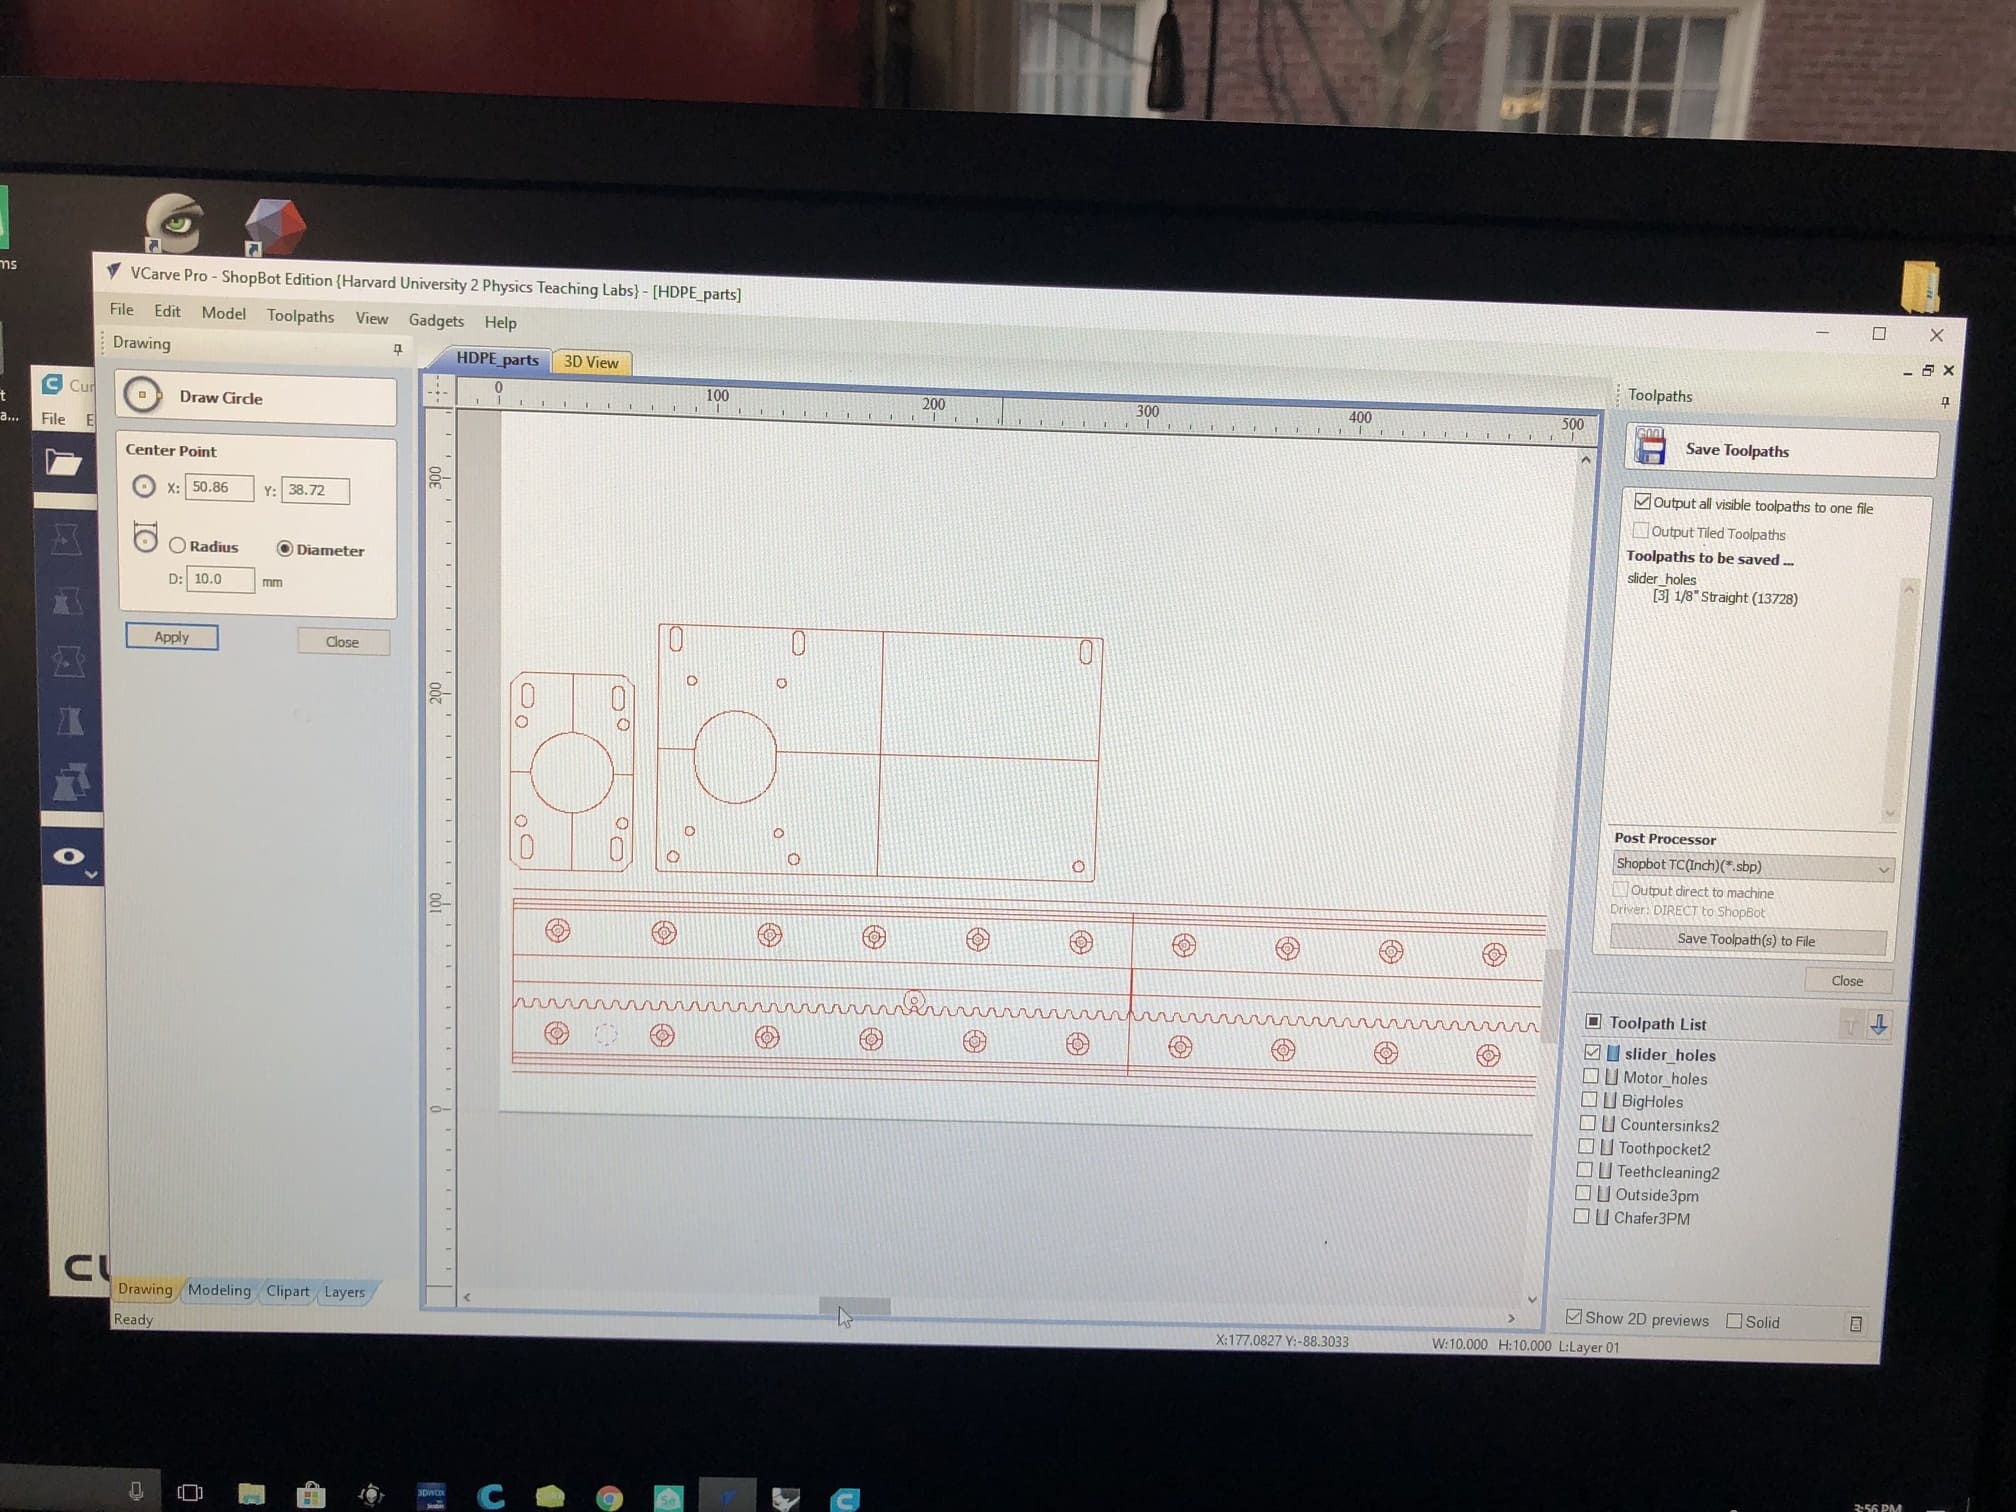
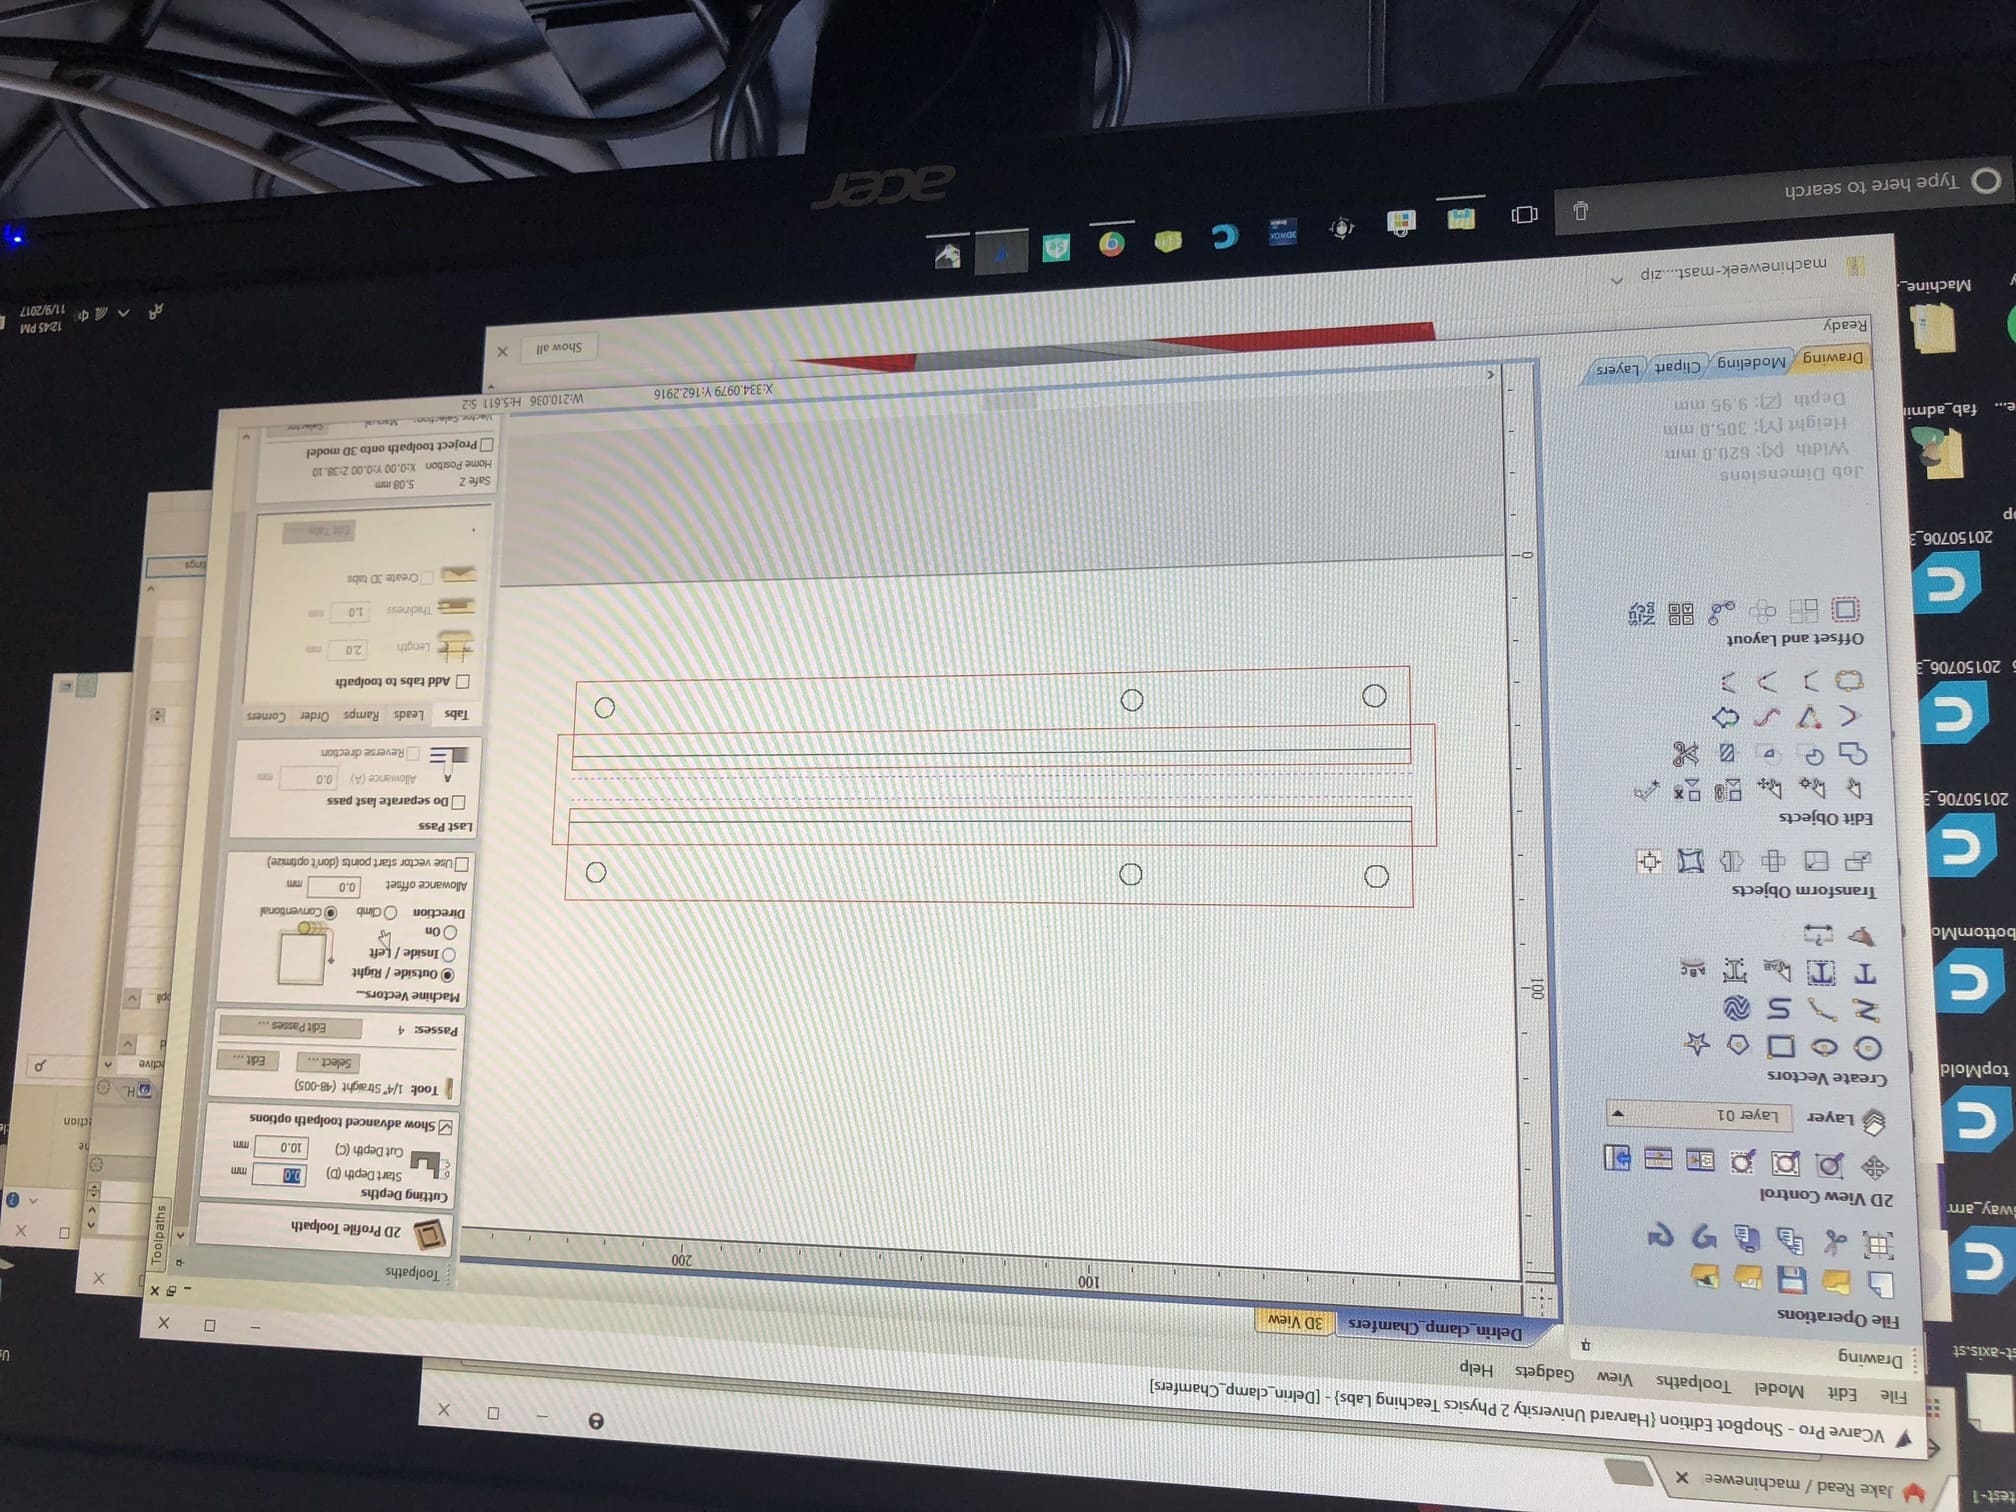
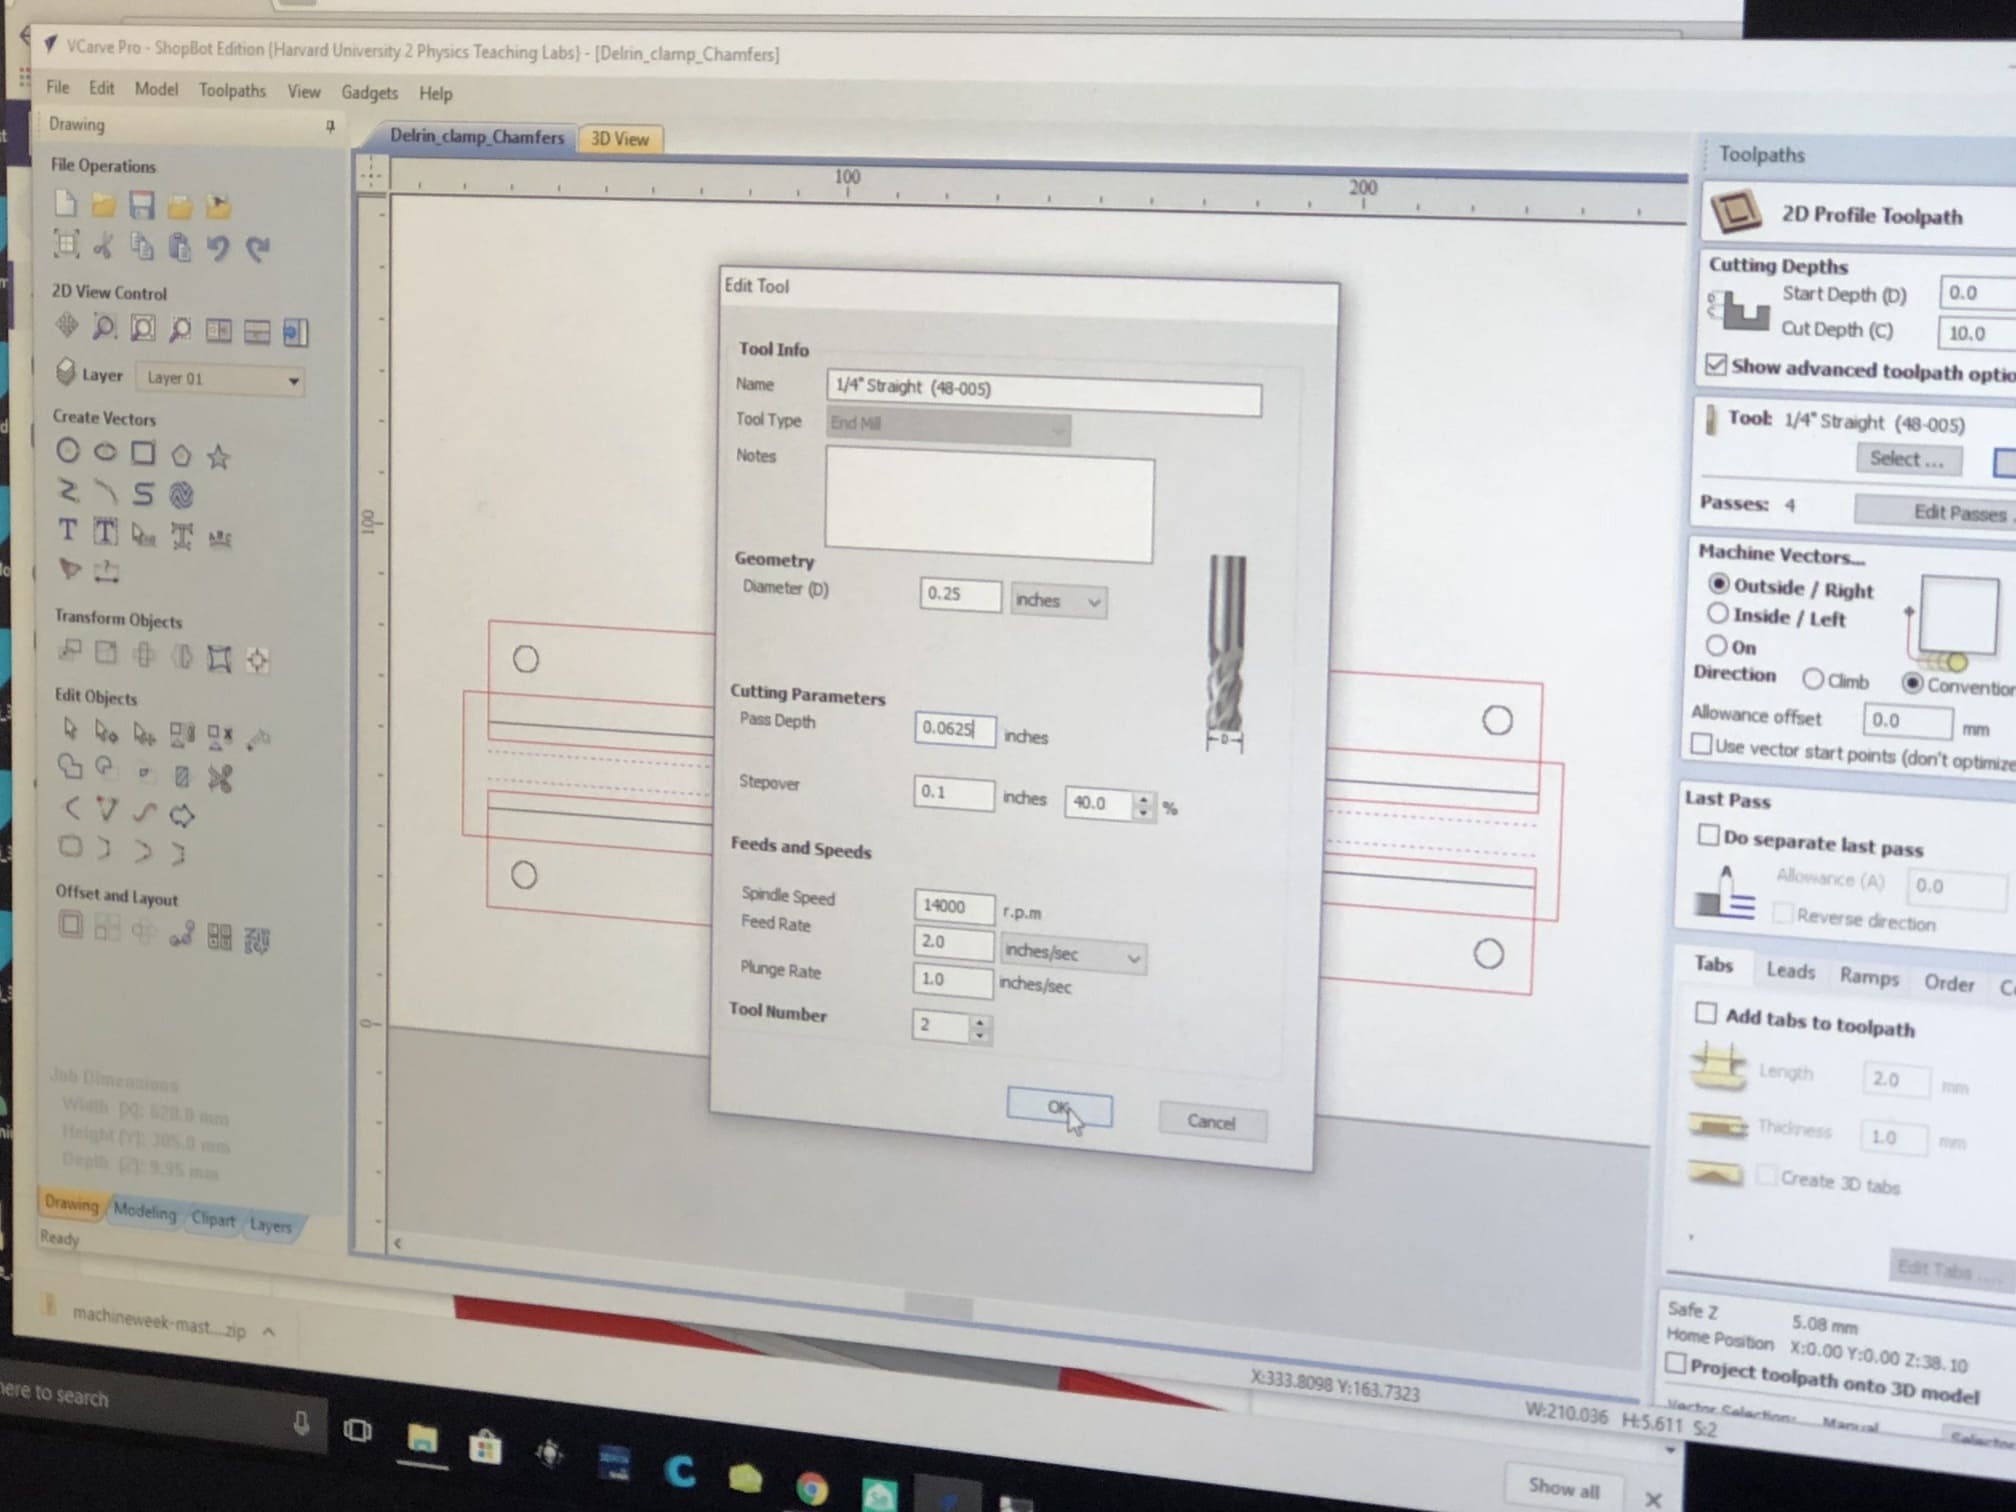
We were reading to mill the next parts. We generated tool path based on the design in Rhino.
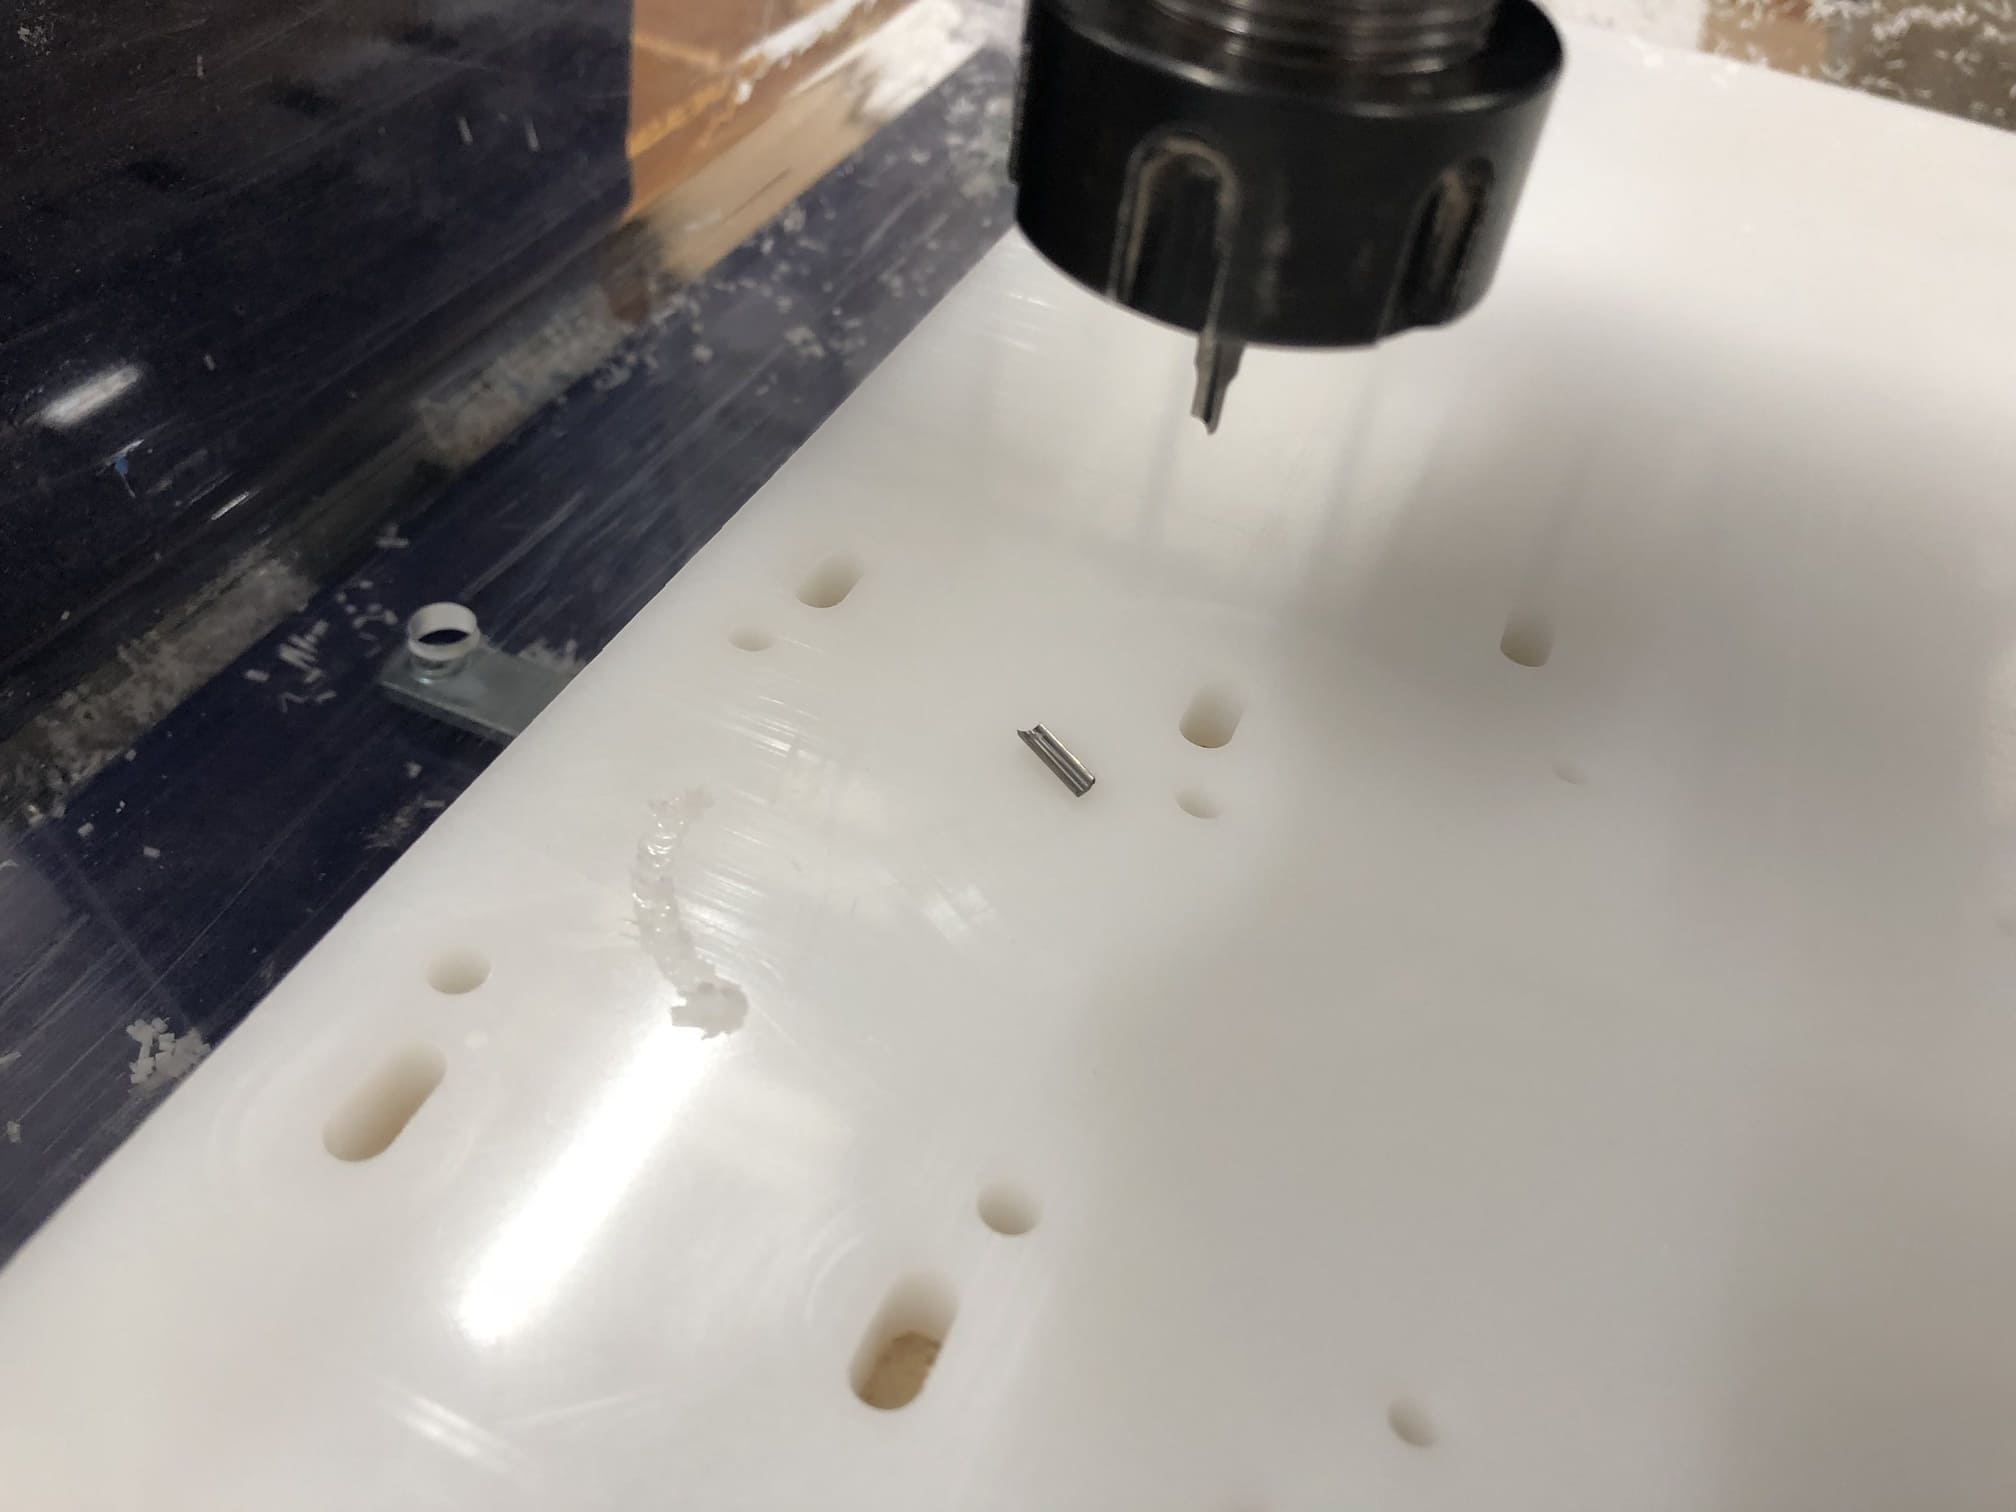
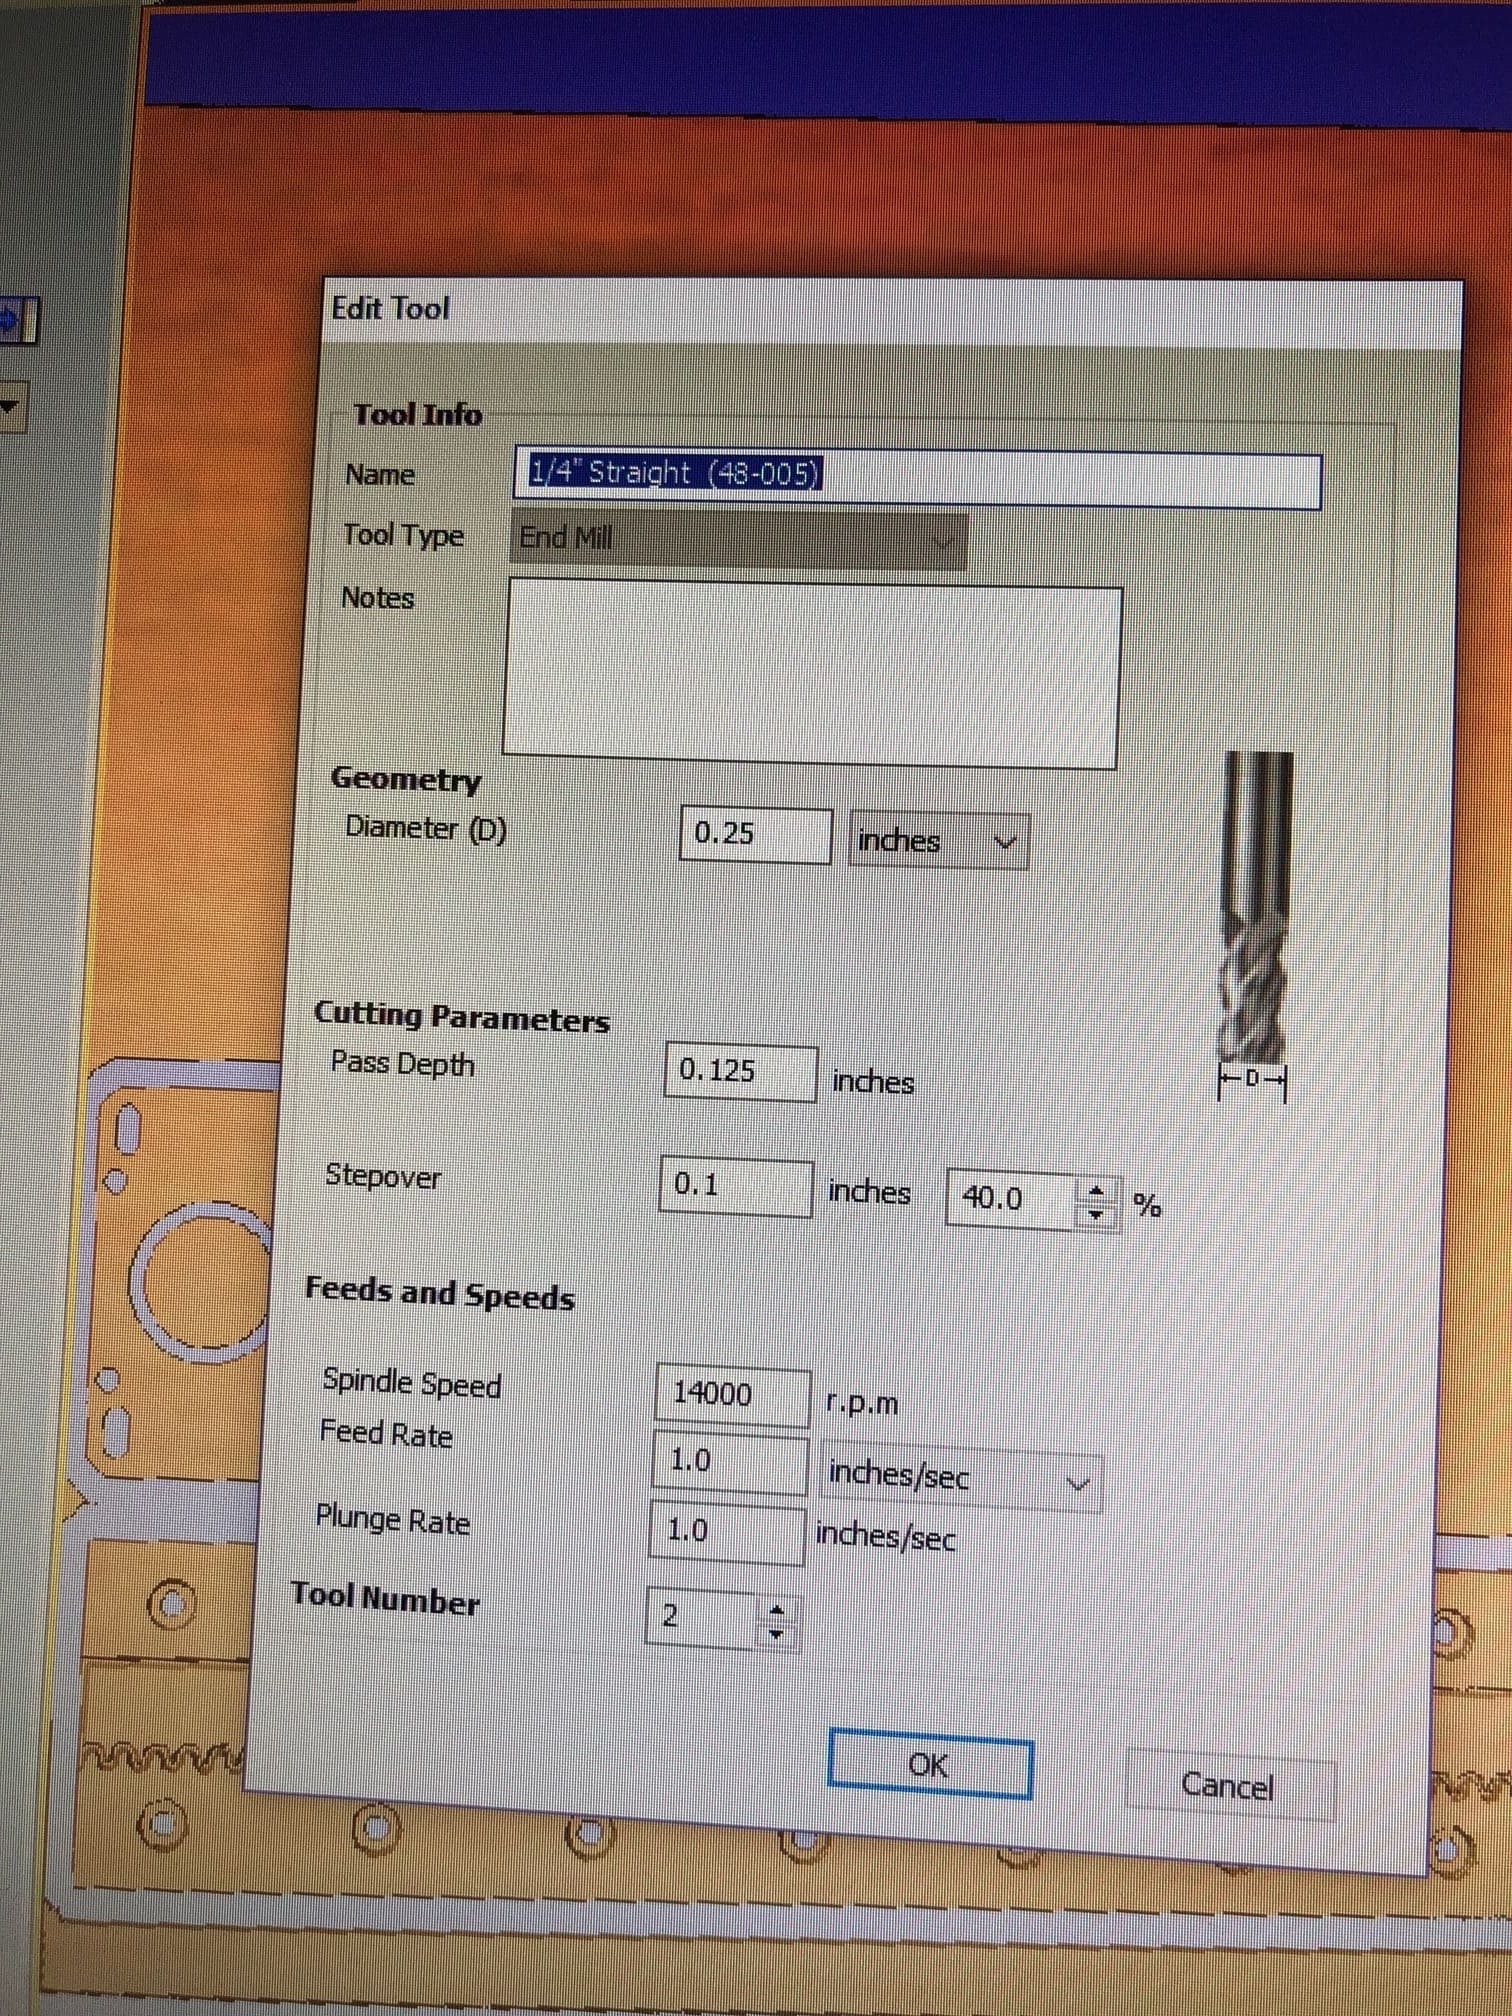
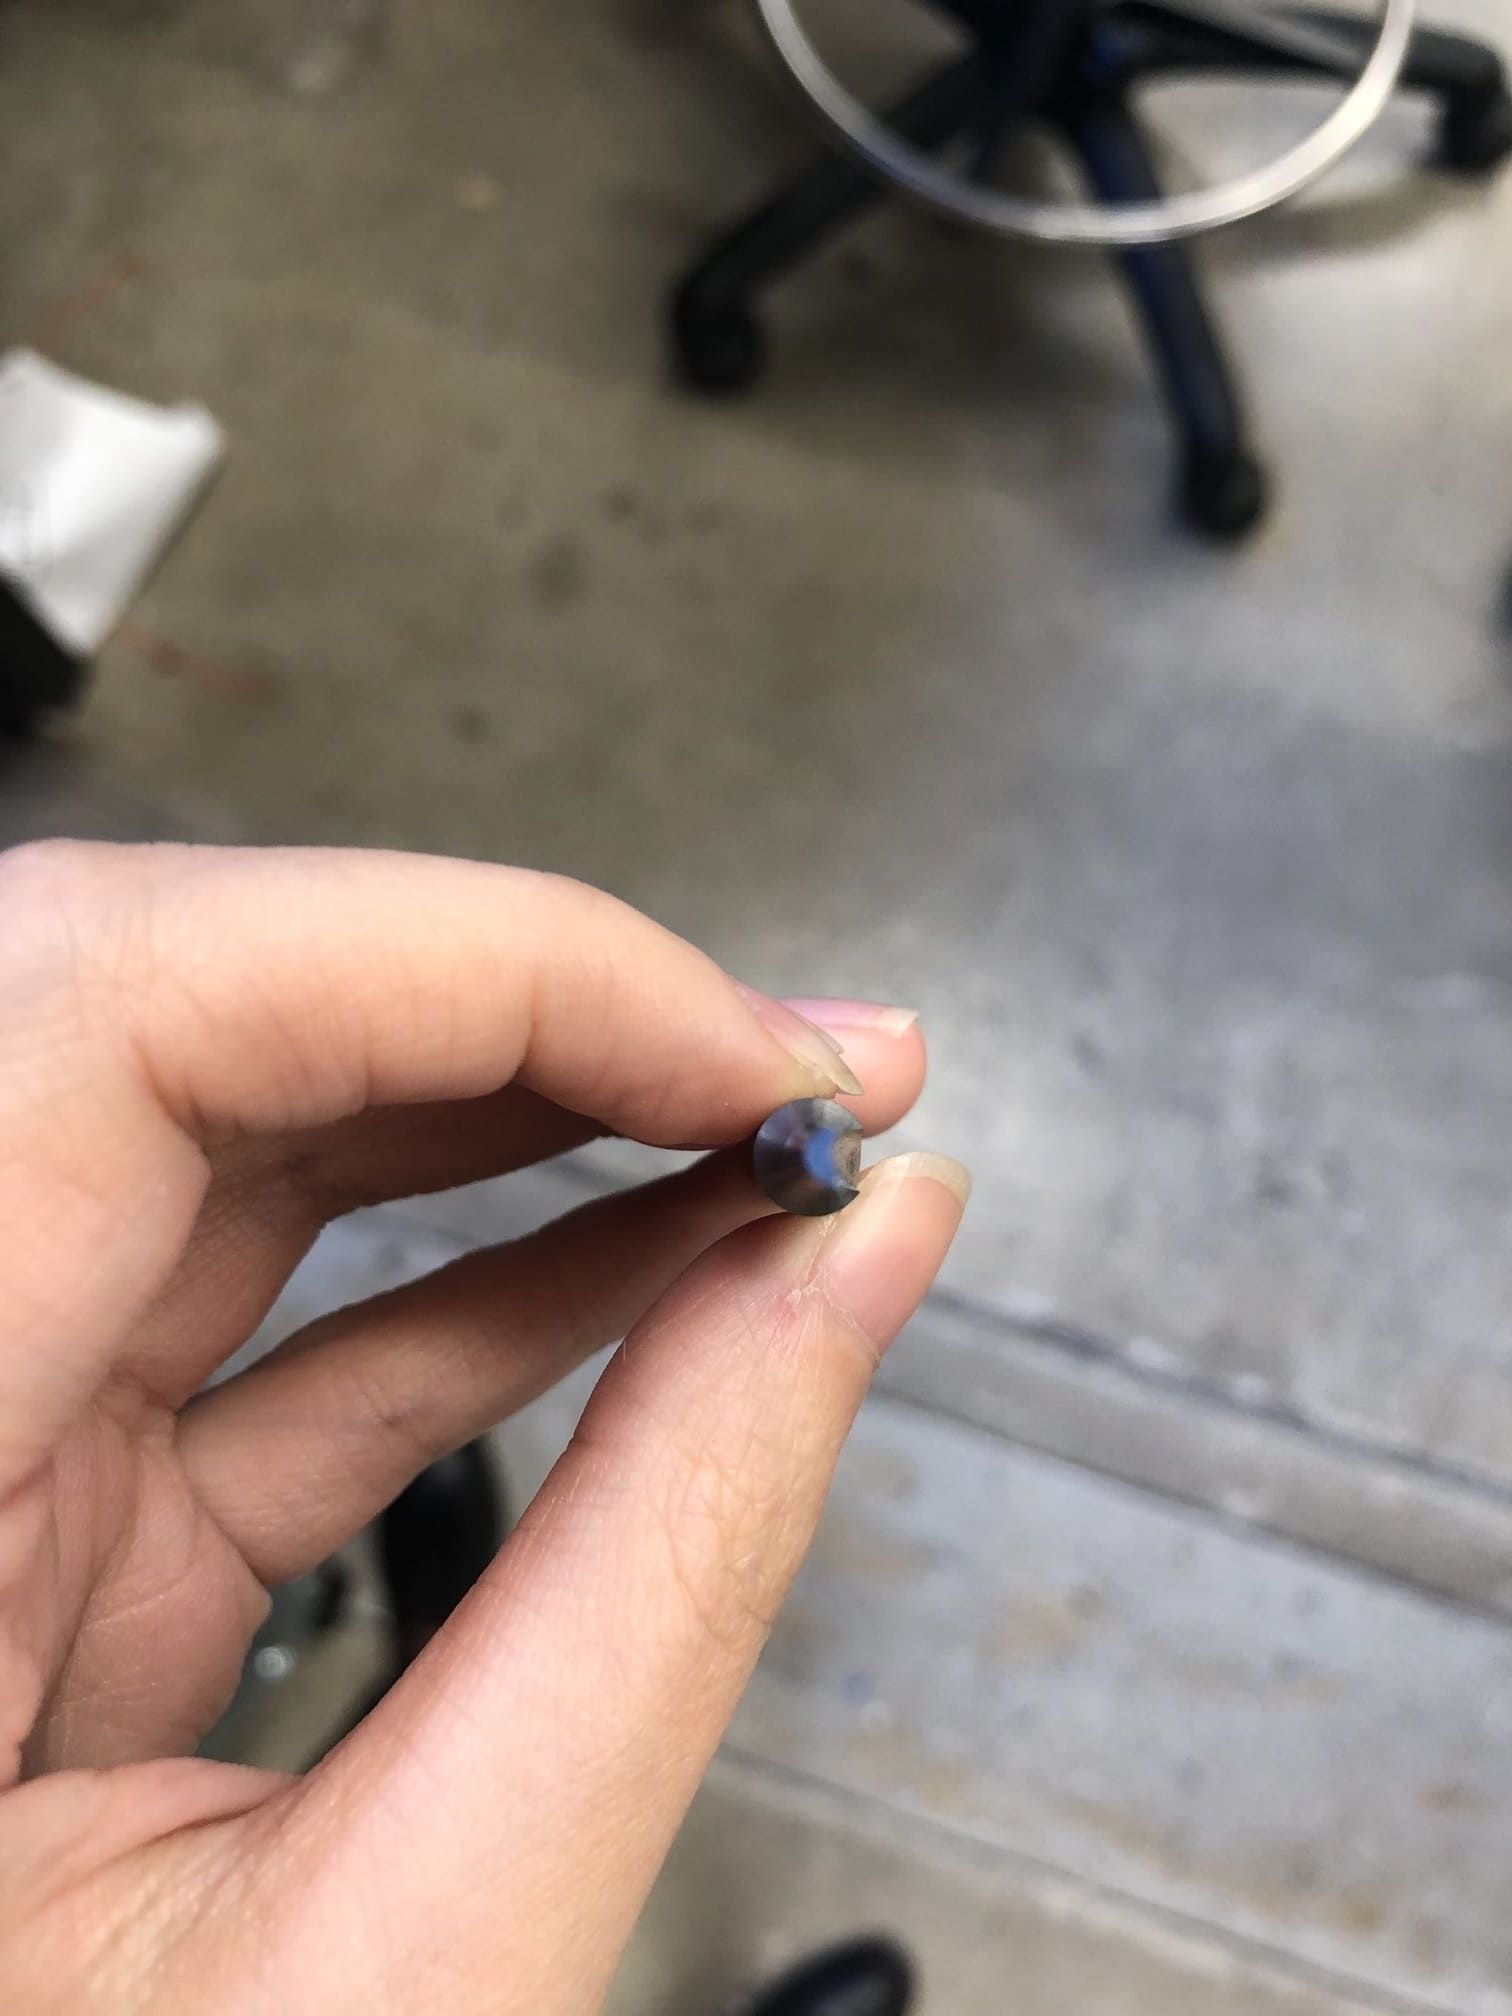
We broke the bits because we put three for feed rate instead of one. So the bit went too fast and broke.
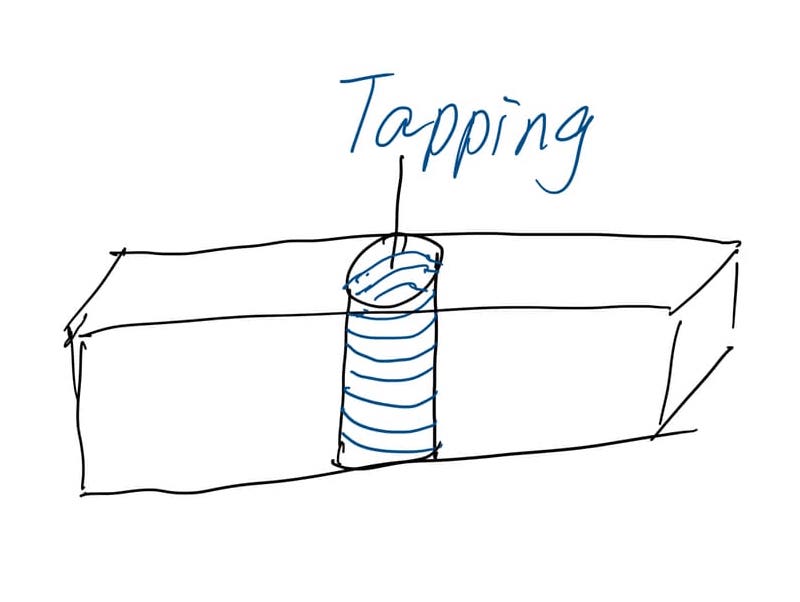
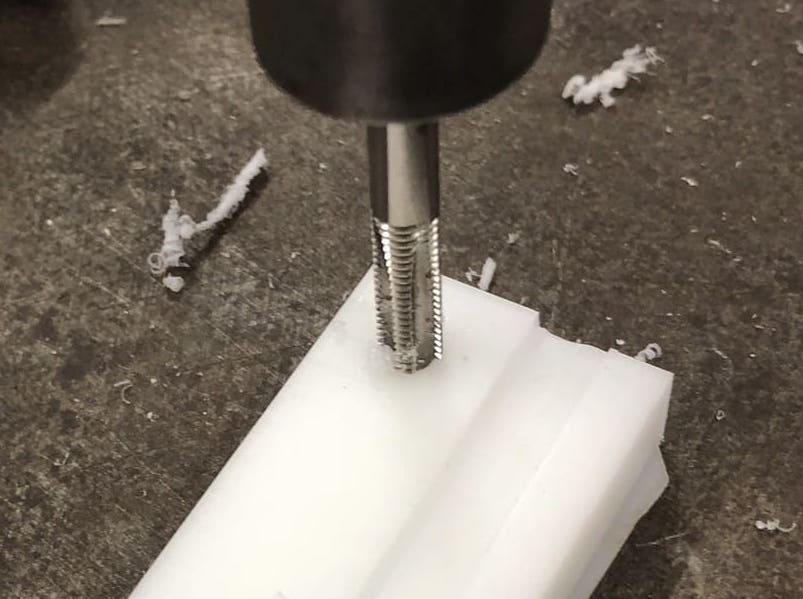
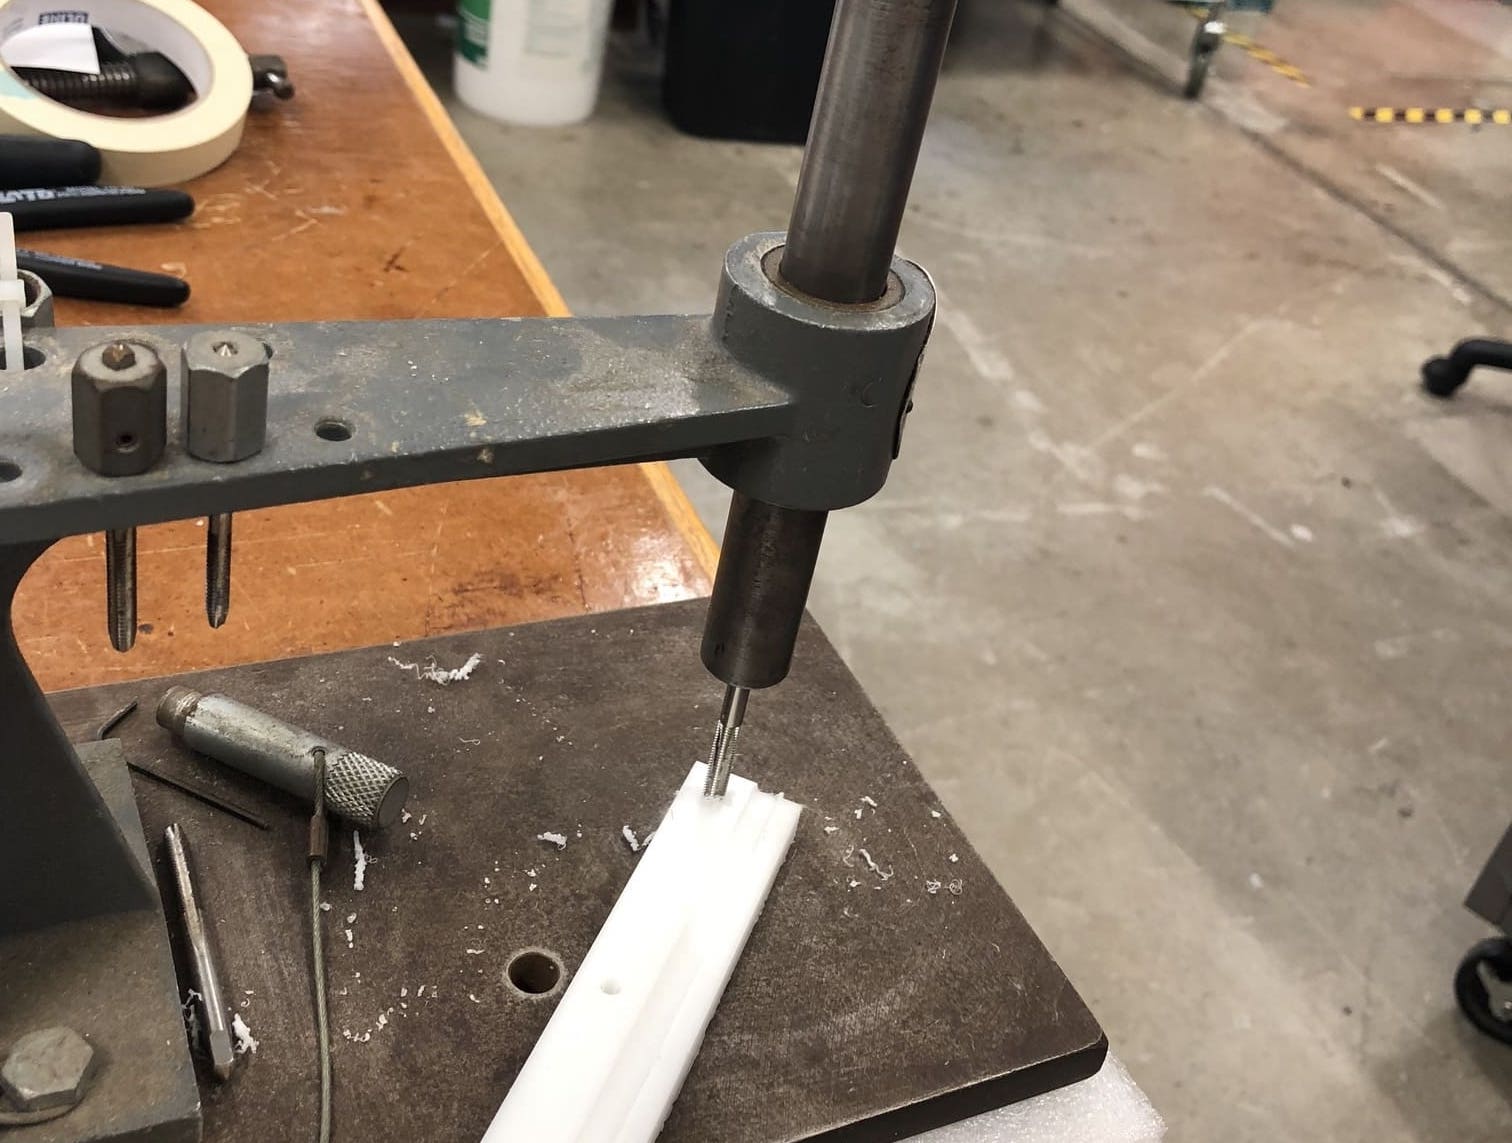
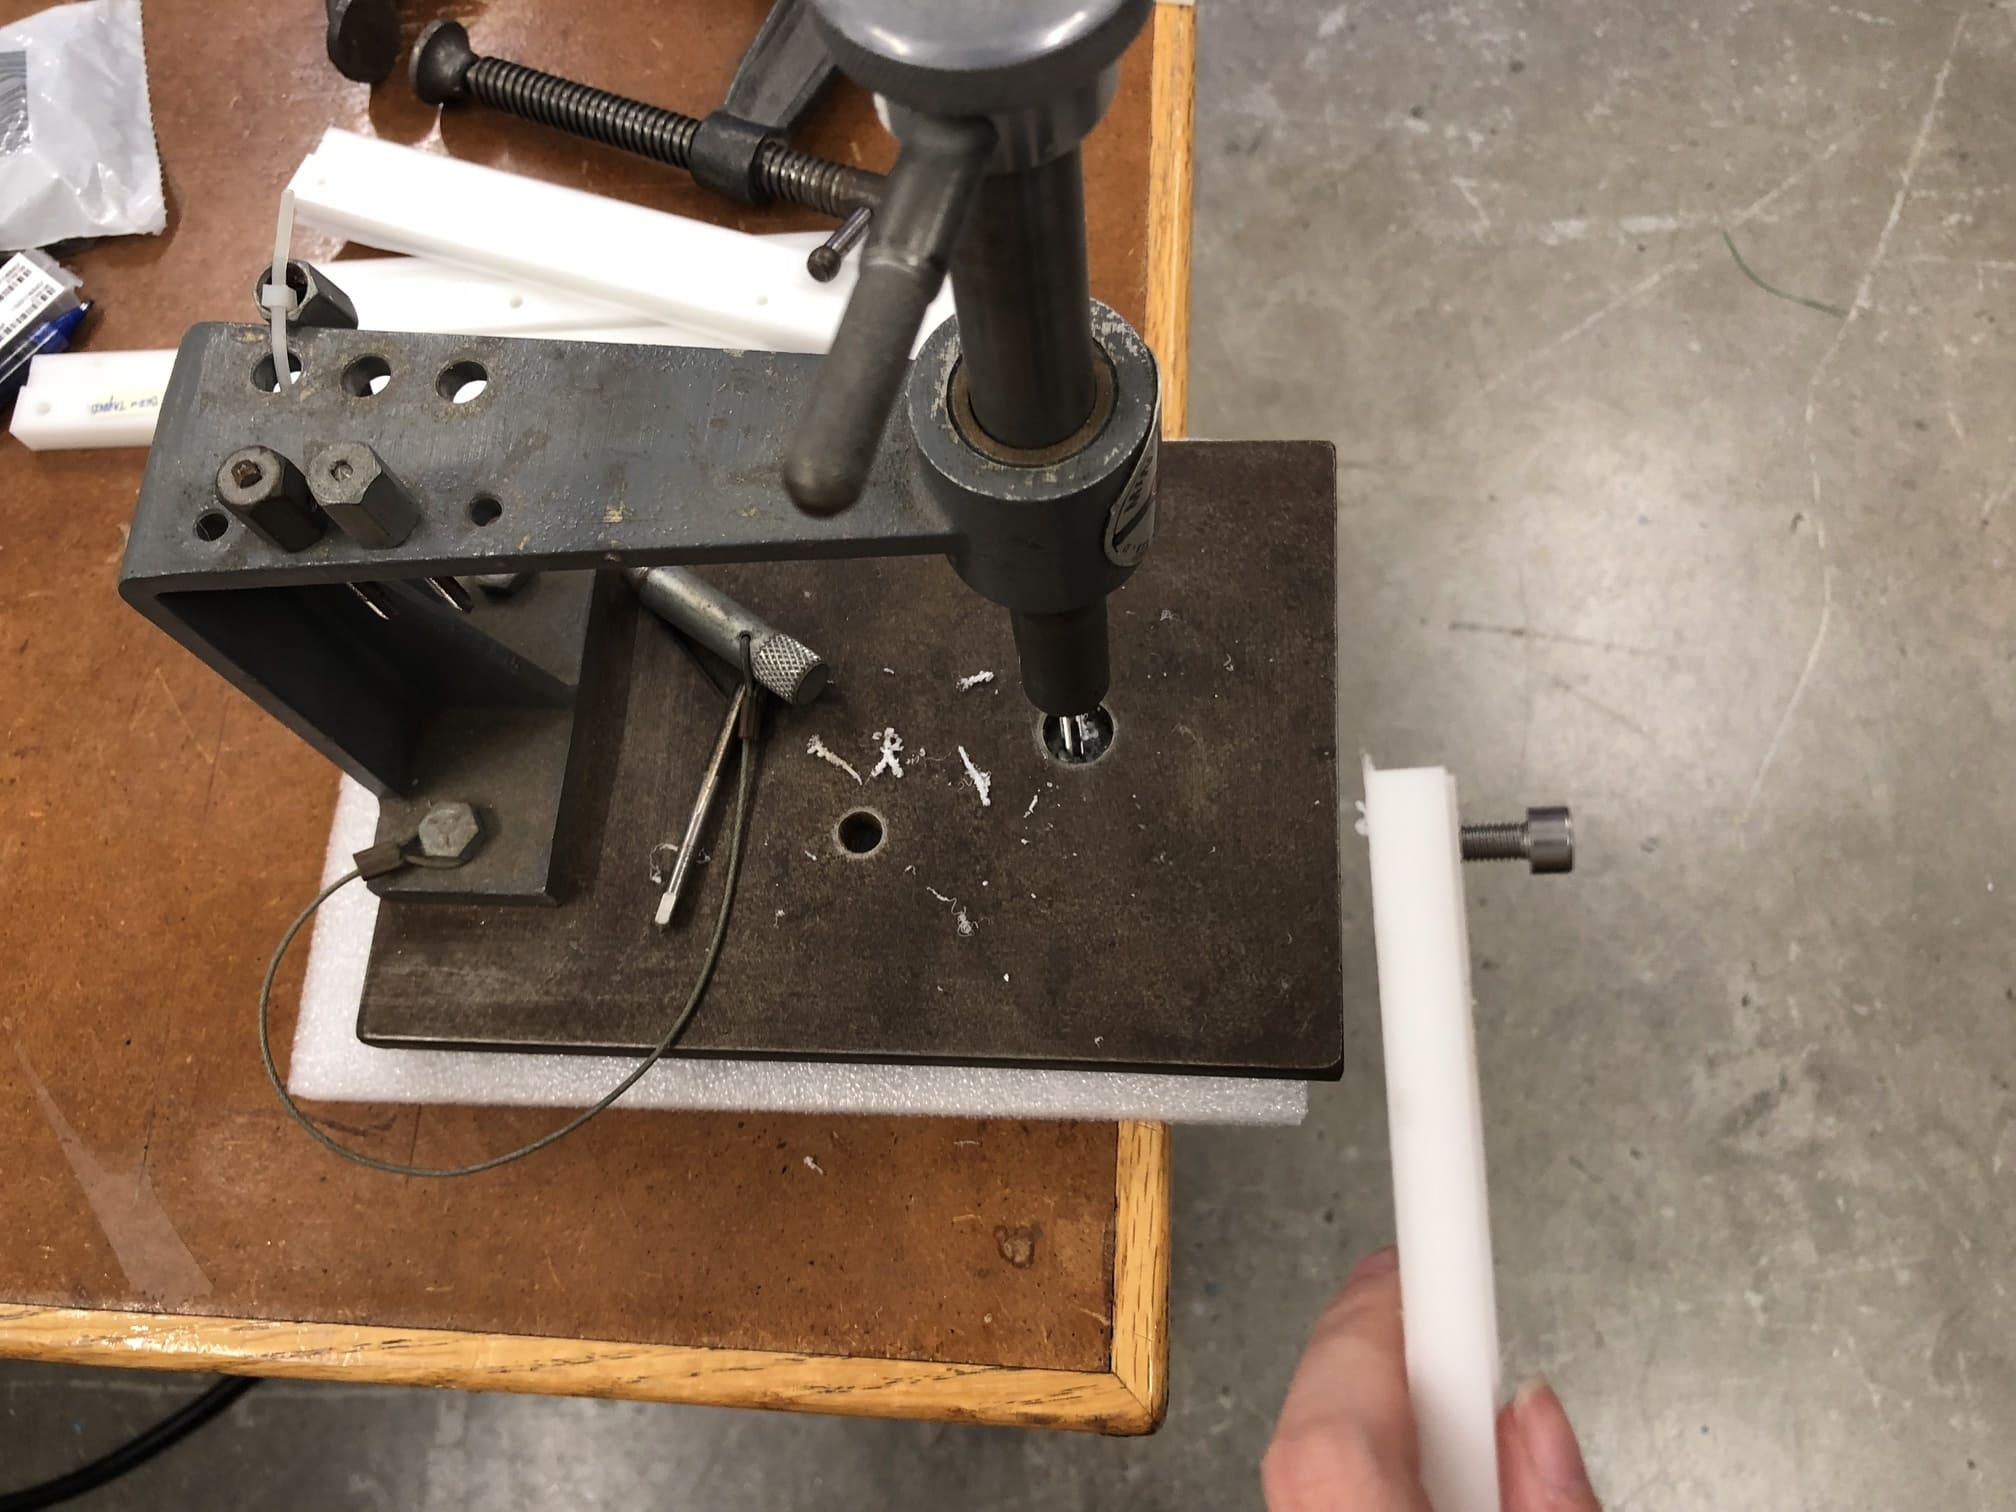
I tapped the hole on the board and made it easier for screw to go through.