8. Outout Devices
This week we are learning how to add an output device to a microcontroller board. Since I am building an audio message box for the final project, I decided to make a speaker for this week.
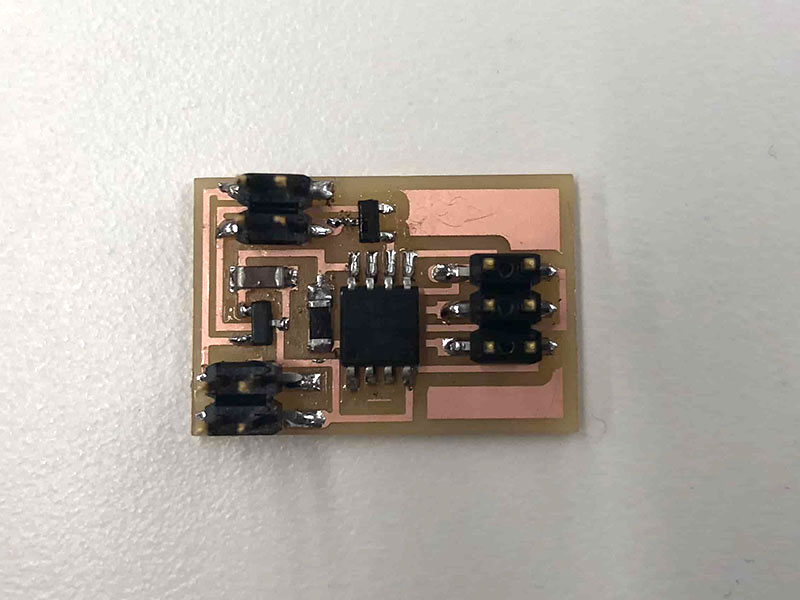
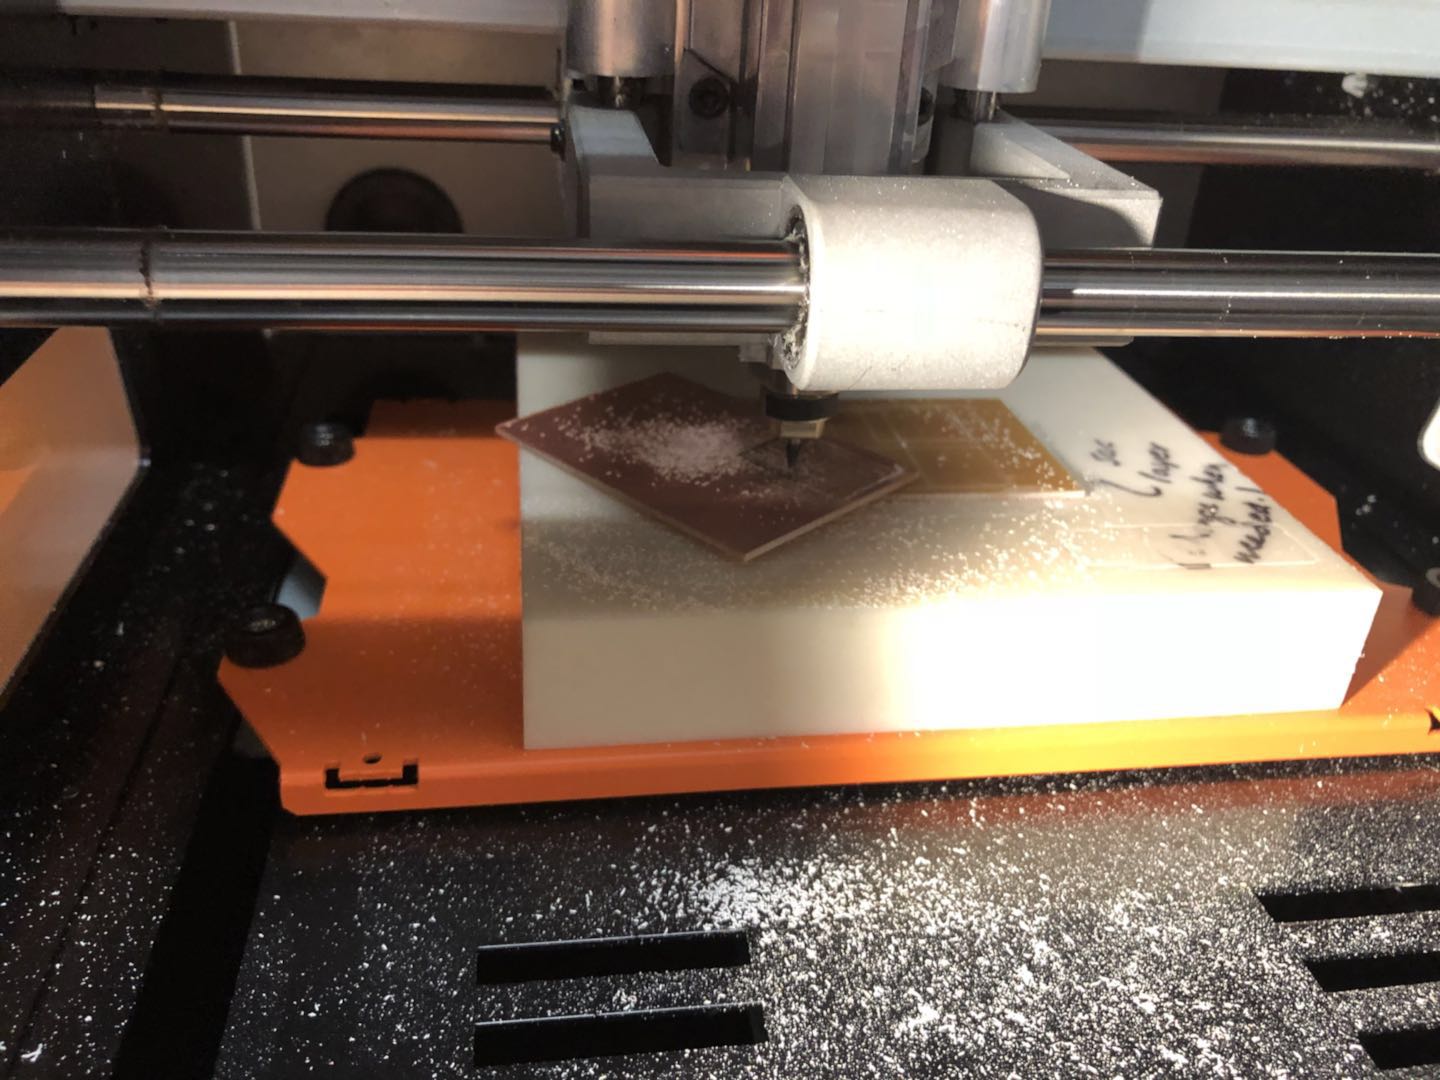
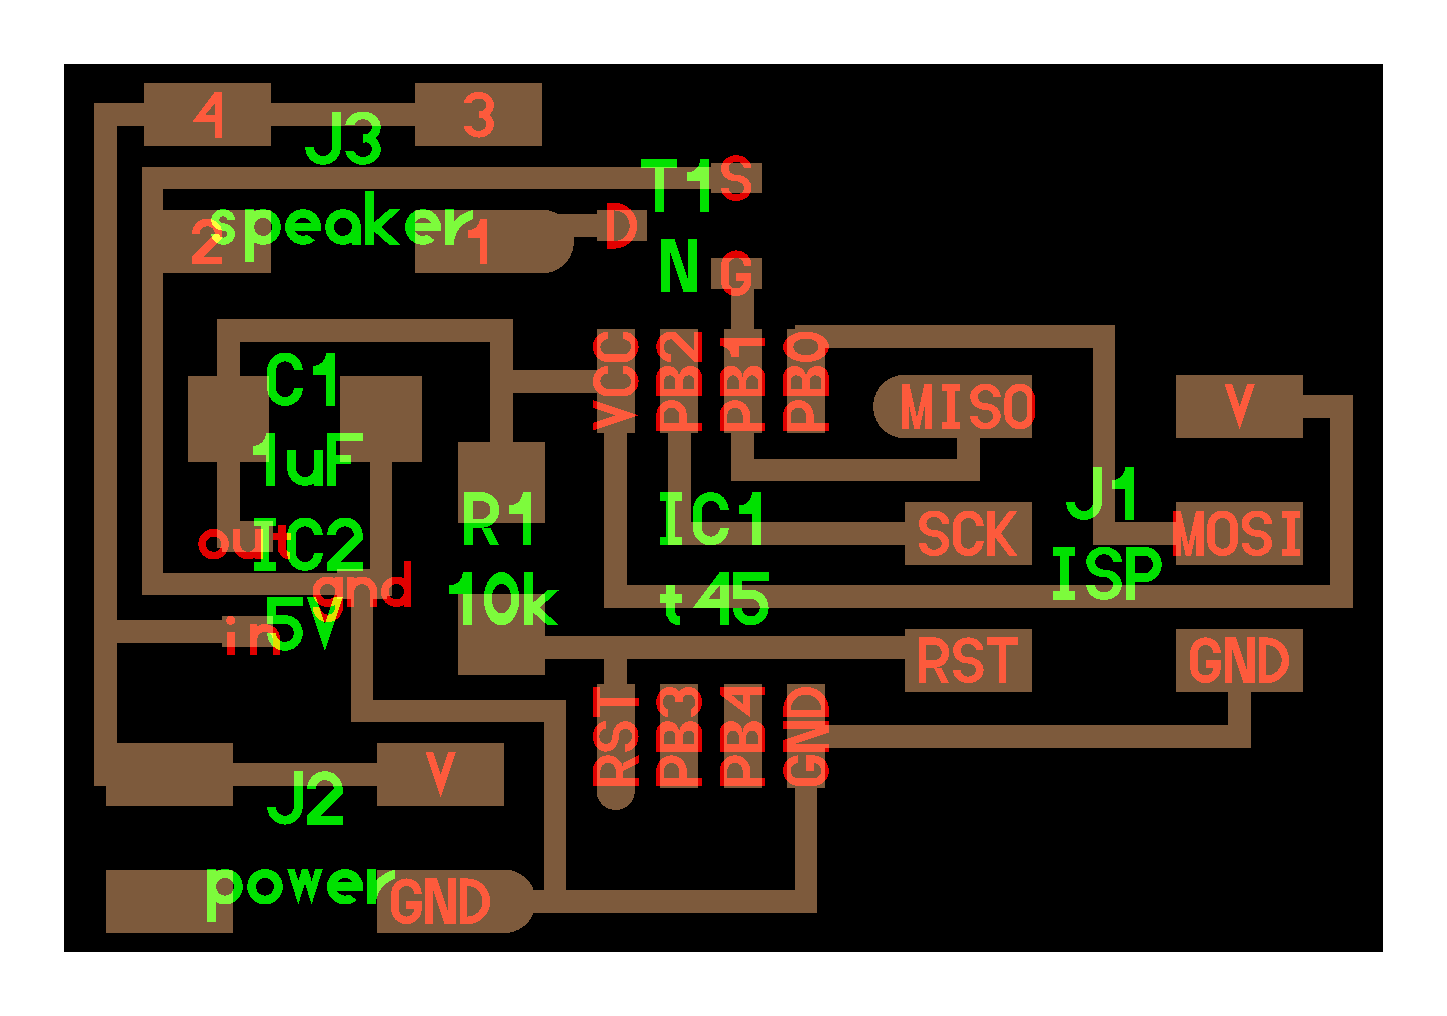
I created my board based on the following graph. Milling and soldering went well in general. I had to mill two boards because my first board was turned around by millend. I didn't adhere it strongly to the bottom.
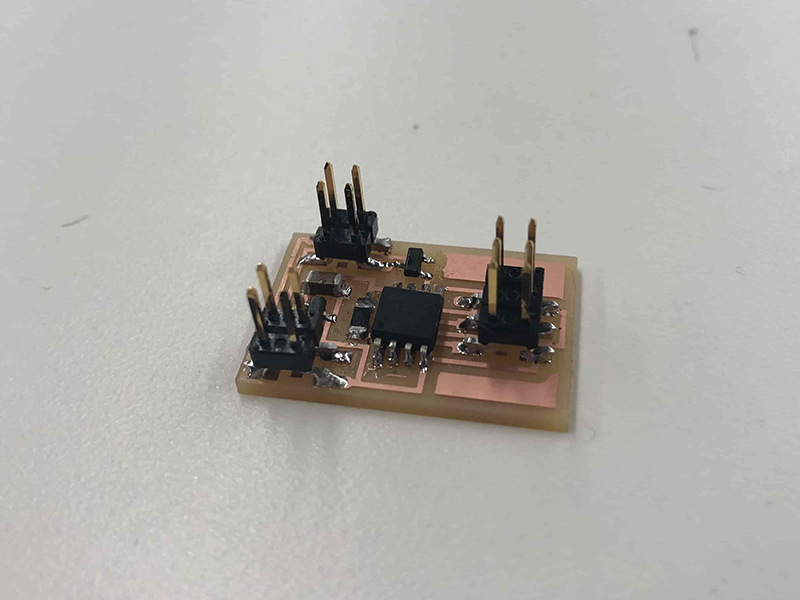
Then, I solder the components to the board based on the following graph. I had some trouble finding regulator and MOSFET, but Rob helped me out. Also, it was harder than the previous soldering experience to solder regulator and MOSFET on the board with all the head pins.
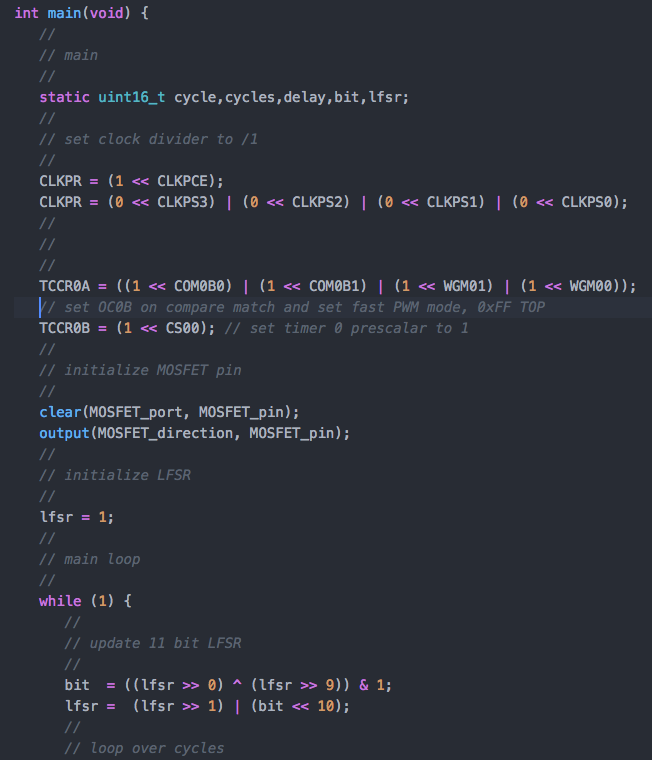
I programmed the board using following code and the same procedure I used for Week 6.

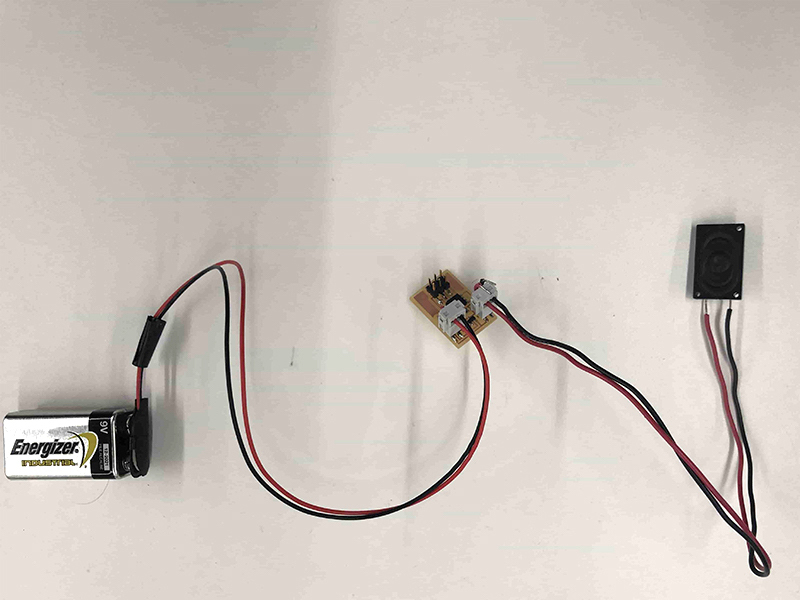
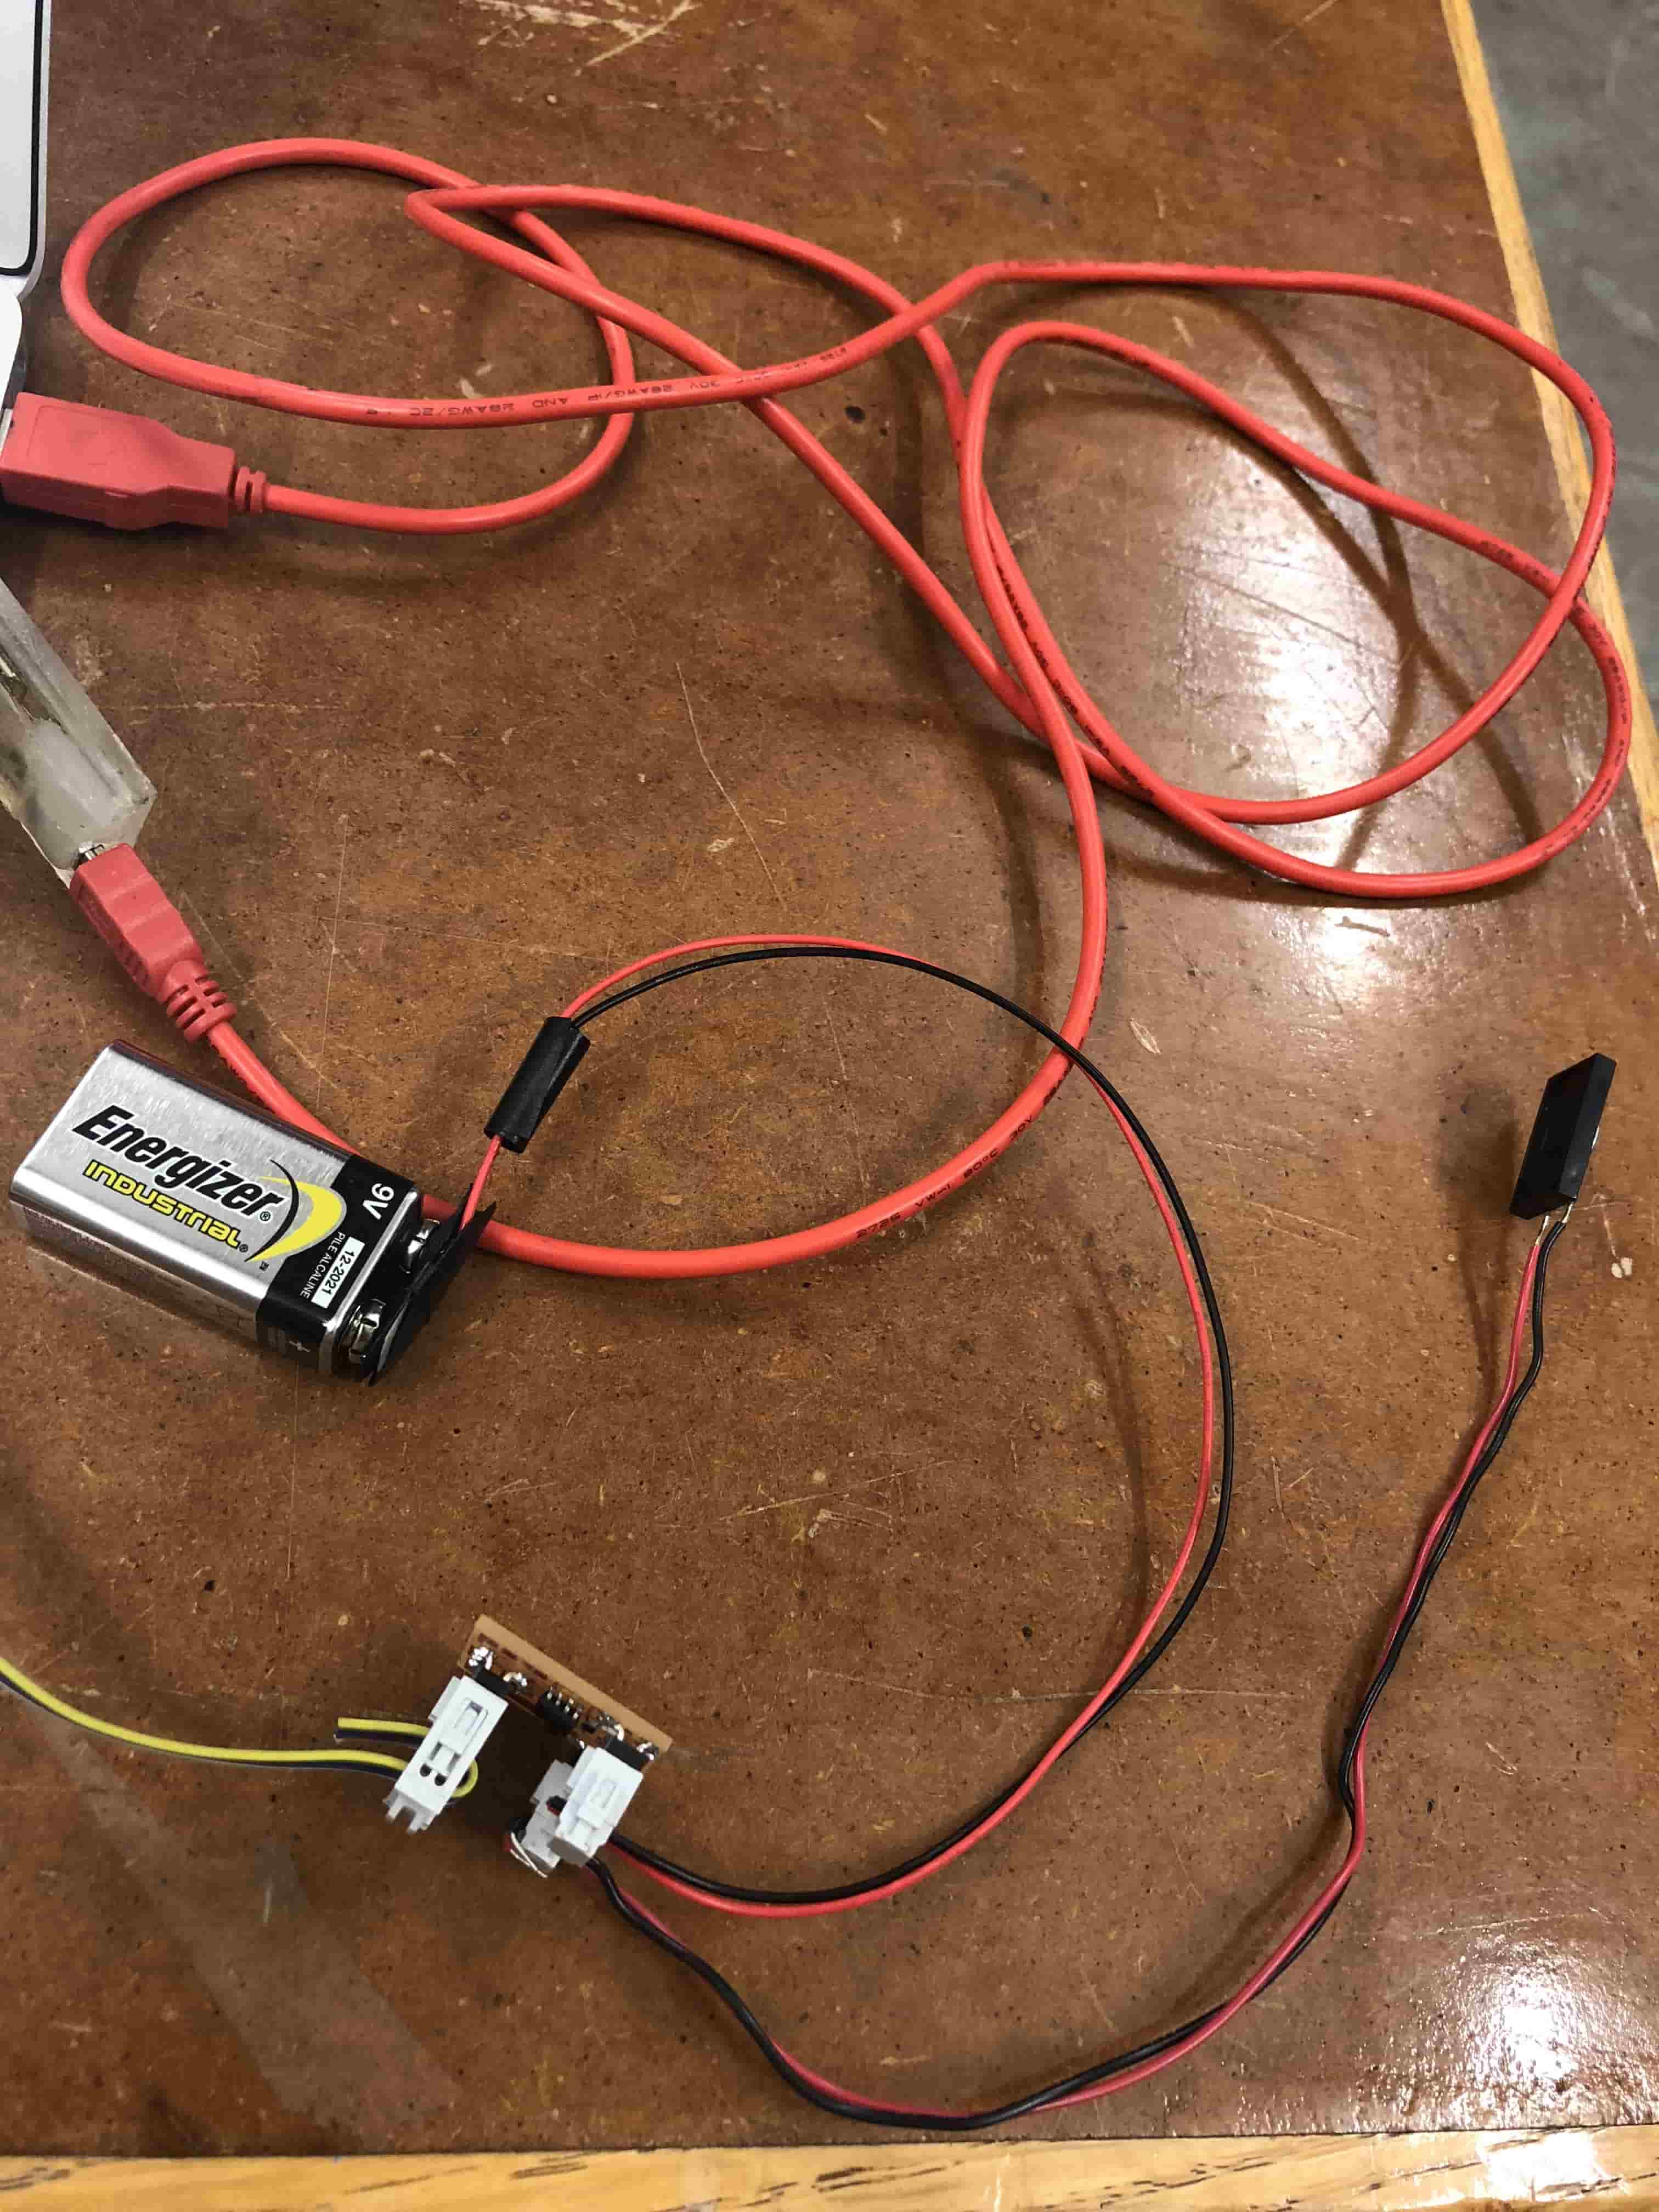
It worked! My speaker was giving me random noise based on the code.

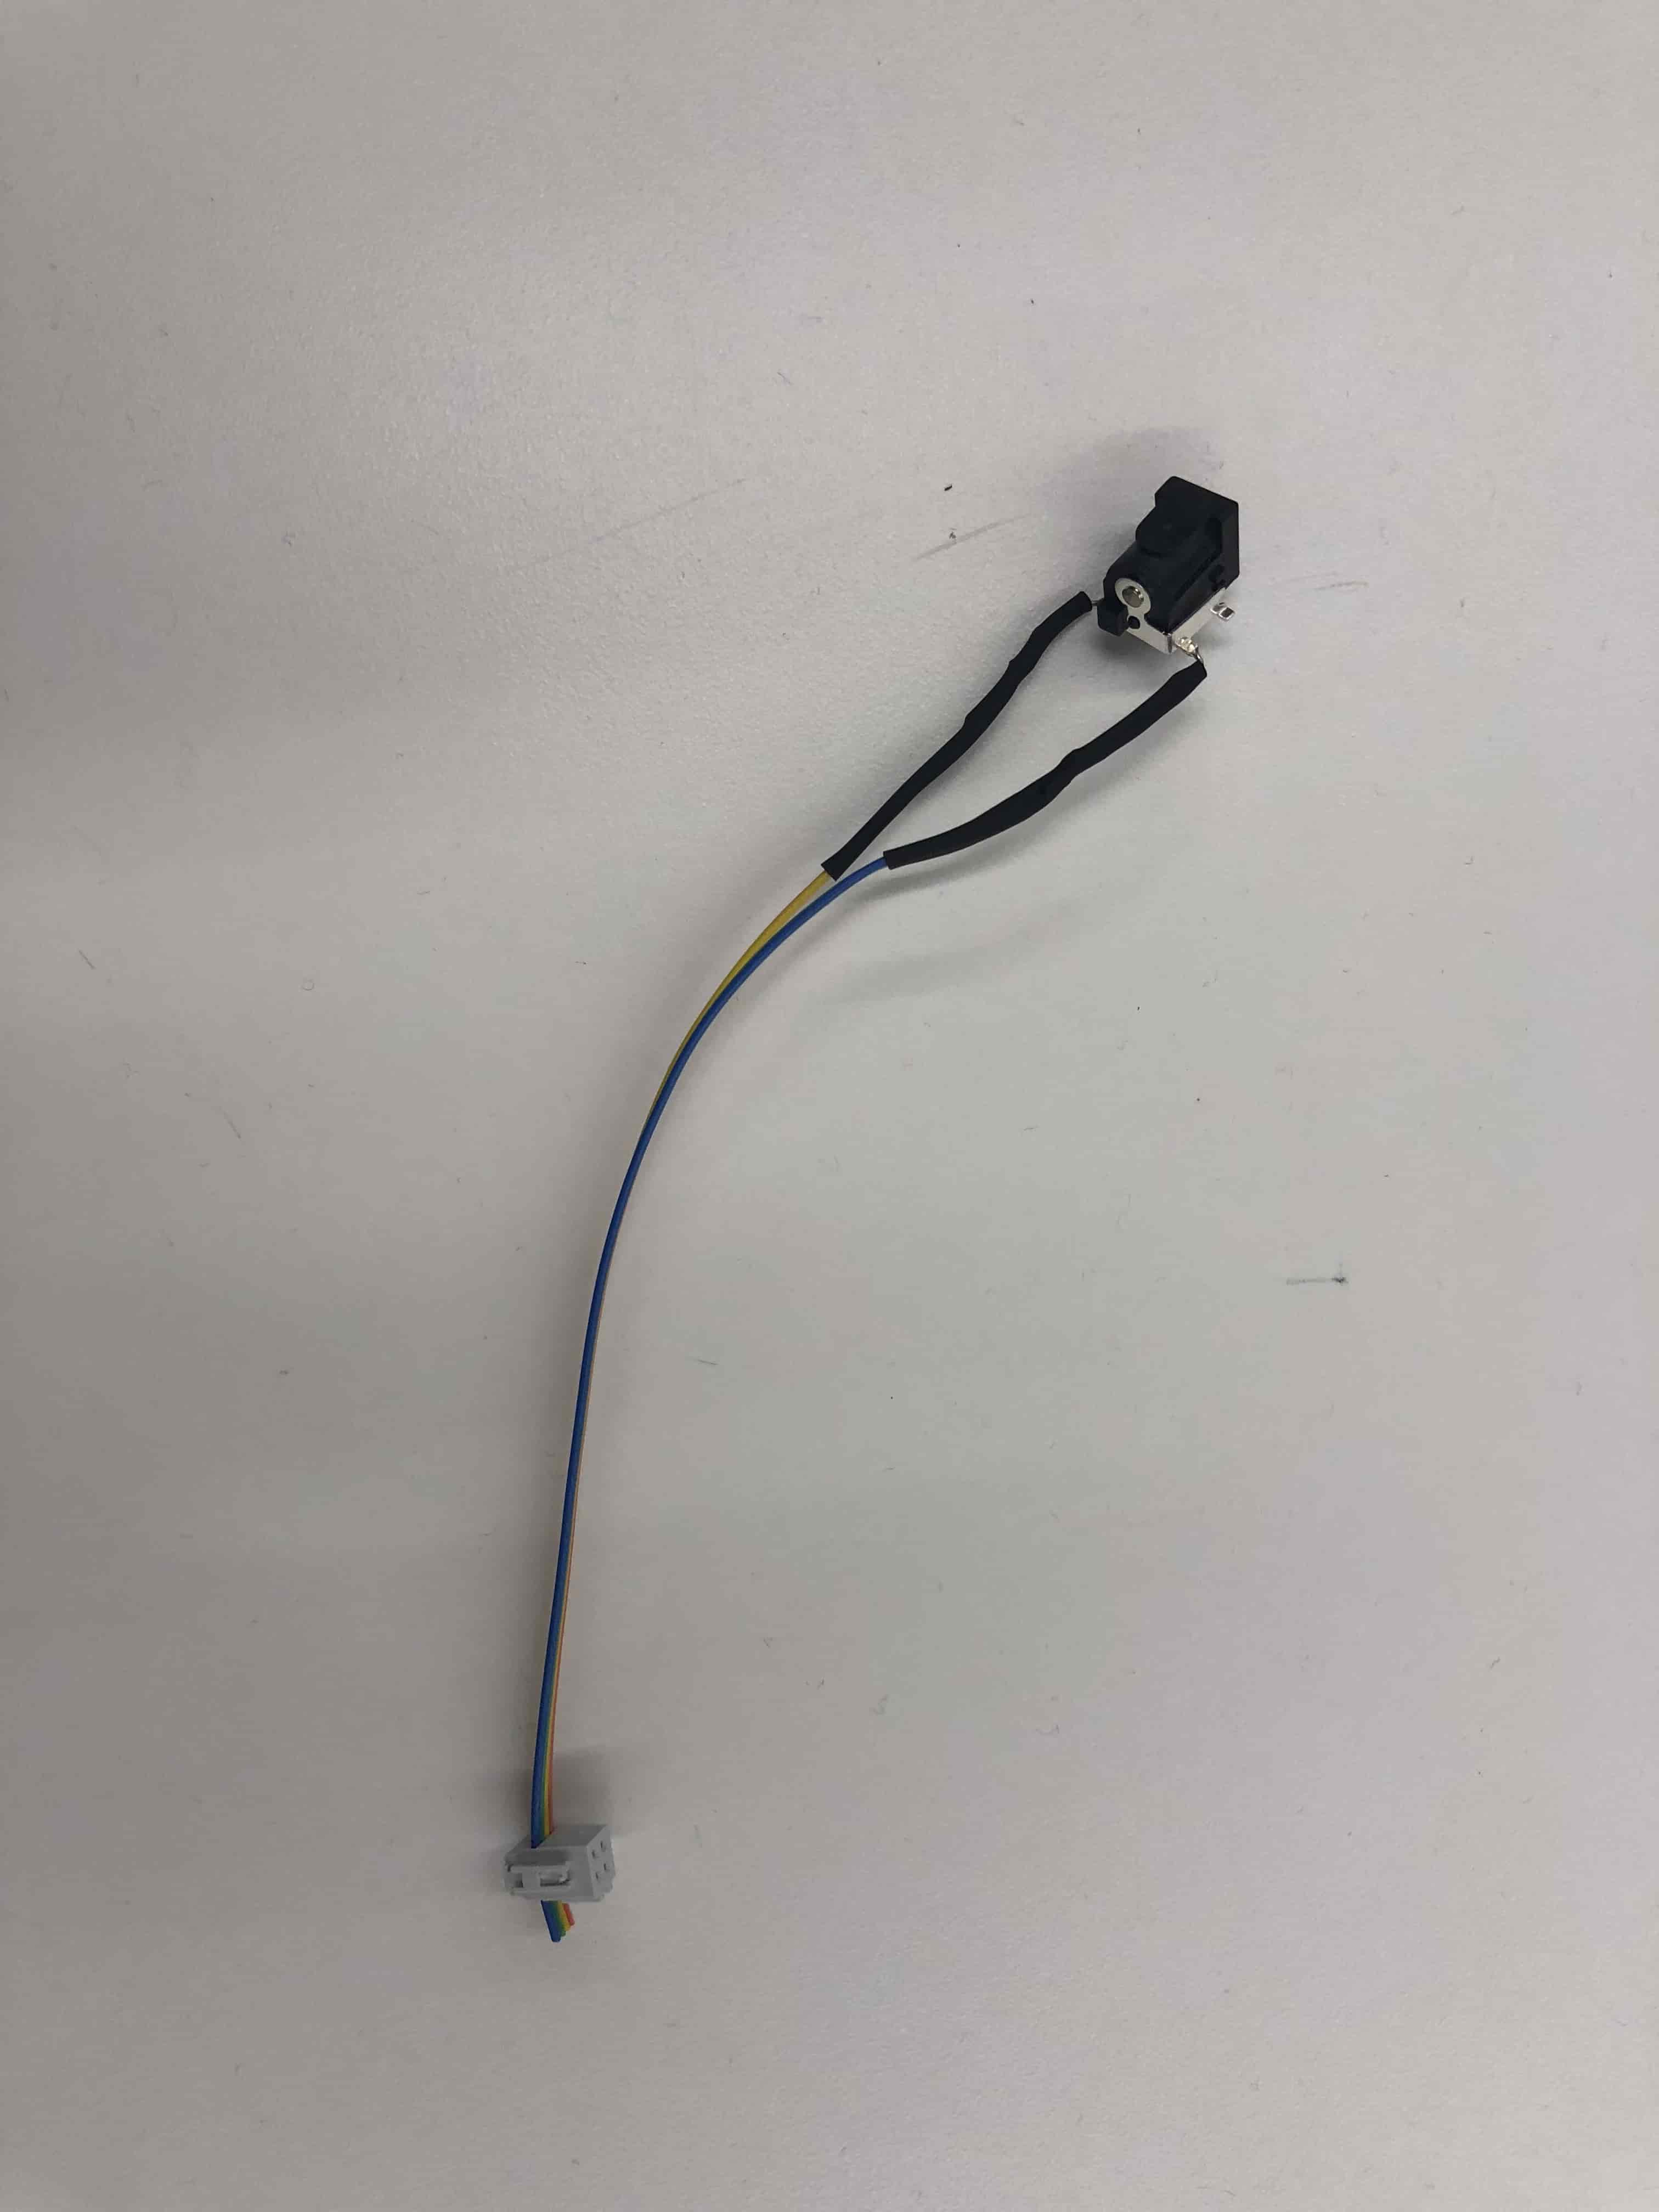
However, my speaker becomes very hot after a short period. I think it might be because I used a 9-voltage battery. I asked Rob, and he told me how to build an adapter head. Therefore, I can use regular power to power my board through the transformer.