3D Scanning & Printing
Cable holder
For my "print something small" project, I decided to make a cable holder that would keep the end of my phone charging cable on my nightstand instead of letting it flop to the ground when not in use. I tried FreeCAD for the first time; potentially the greatest challenge was figuring out how to navigate around my model. Some other adventures in FreeCAD:
- I ran into some trouble filleting the edges where the cord would be pushed through. Initially, the fillet radius was 1 mm, which ended up creating intersecting/non-continuous curves and holes in my mesh. Once we figured that out, I changed the fillet radius to .5 mm, and the mesh stayed watertight.
- Rather than use an adhesive to stick the cable holder to my nightstand, I tried to incorporate a slot for two quarters to counter the pull of the cord and keep the cable holder in place. The end result made the model look like a happy face (Figure 4b).
- I needed the gap between the eyes of the happy face to be thinner than my charging cord so that it wouldn't escape on its own, but I also needed it to be wide enough so that I could push the cord through in the first place. My first attempt, 2 mm, was far too small, at which point I realized I only needed to make the gap slightly smaller than the cord (2.5 mm).
Getting the supports out of the coin slot (Figure 4c) proved tricky. My best method was to break the top and bottom connections with a small spackling knife then wiggle the loosened supports out with a tiny screwdriver. Then began the hunt for quarters. I did end up finding two, but I felt like I was wasting money by leaving 50 perfectly good cents on my nightstand for eternity. So I found a similarly shaped coin, 5 Bangladeshi taka, plus a smaller 1 taka coin to use instead. Here's the end result (Figure 4d).
Total time: 11h
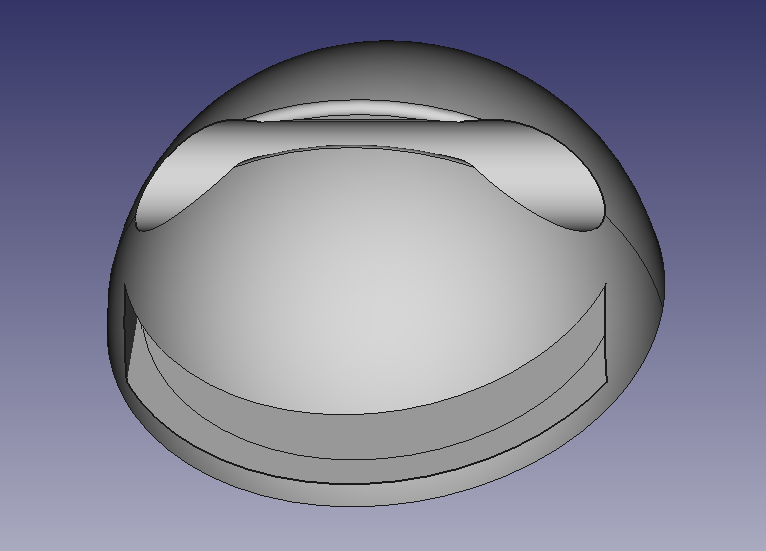
Figure 4b
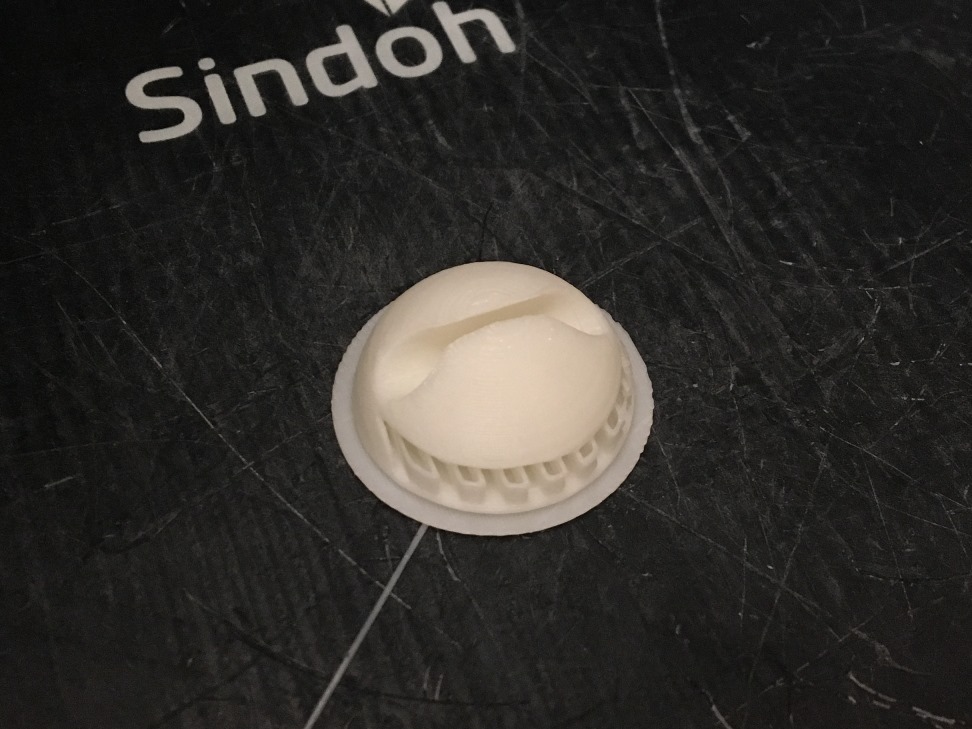
Figure 4c
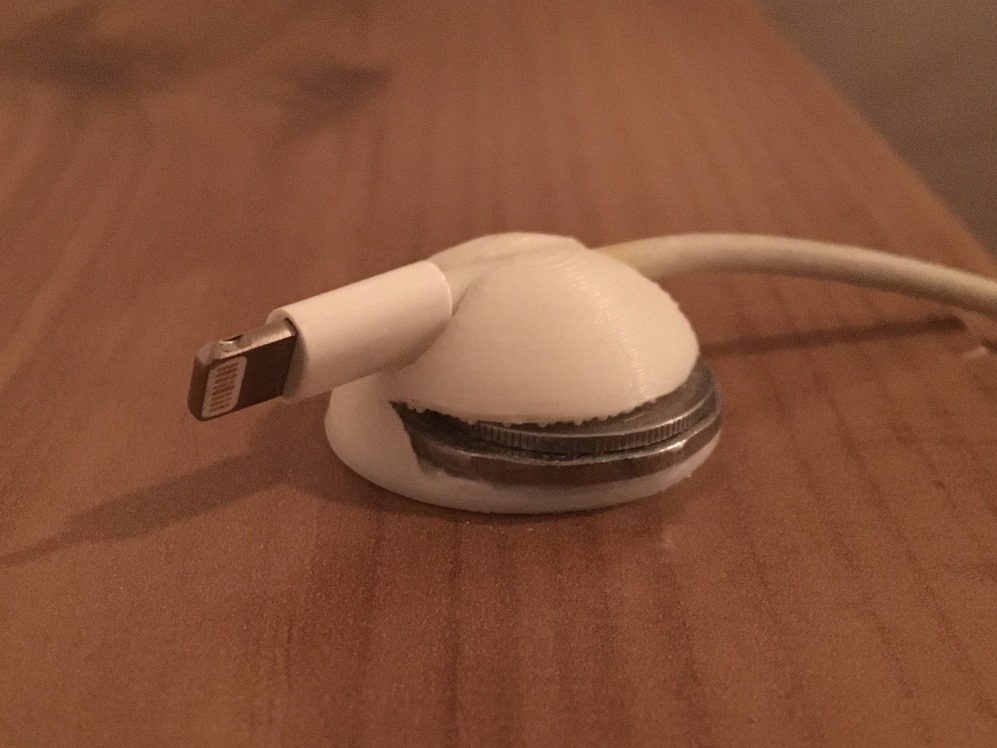
Figure 4d
3D Scanning
Total time: 4h
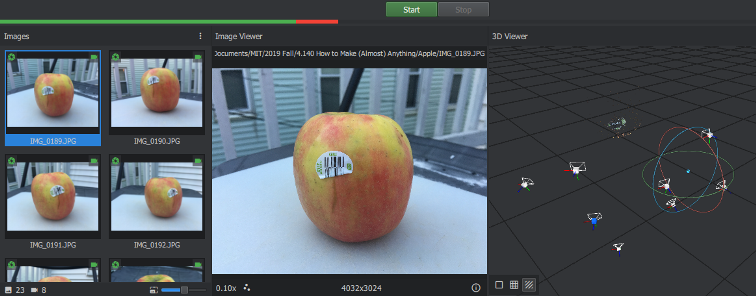
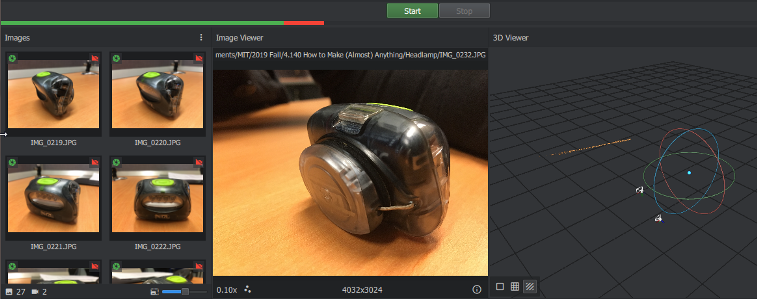
Figure 4f
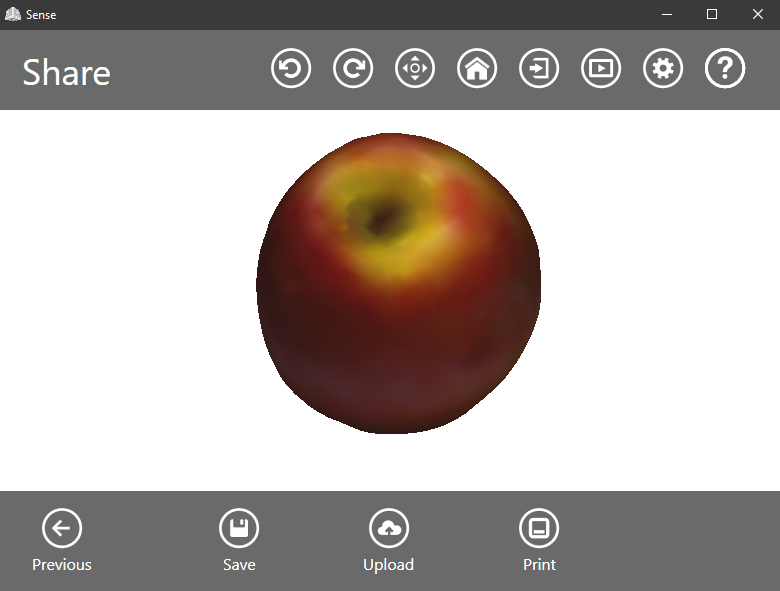
Figure 4g