Soft Robotics
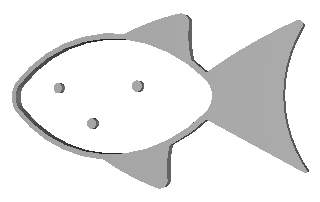
Flat fish
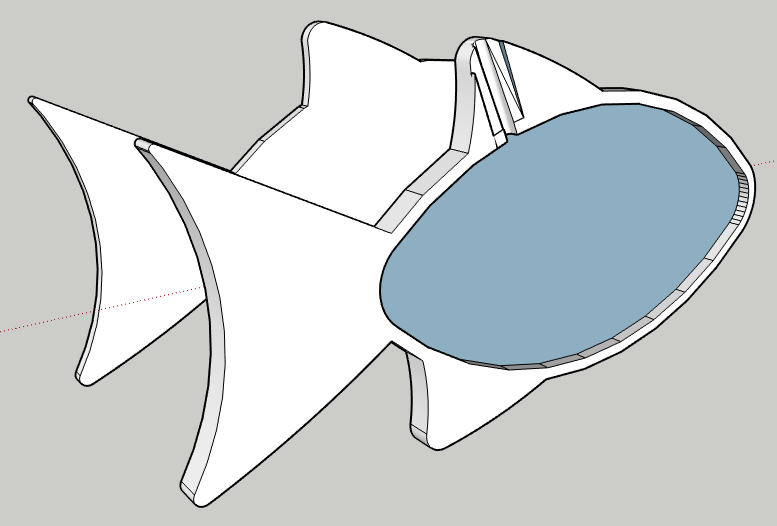
Step 2: Design the base part with an outer perimeter slightly larger than that of the top part. I made the base about 1/16" wider than the top to allow some margin of error when gluing the two together.
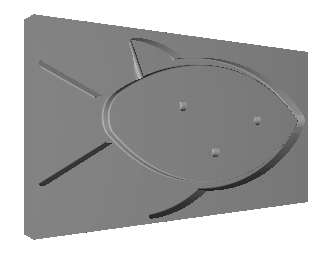
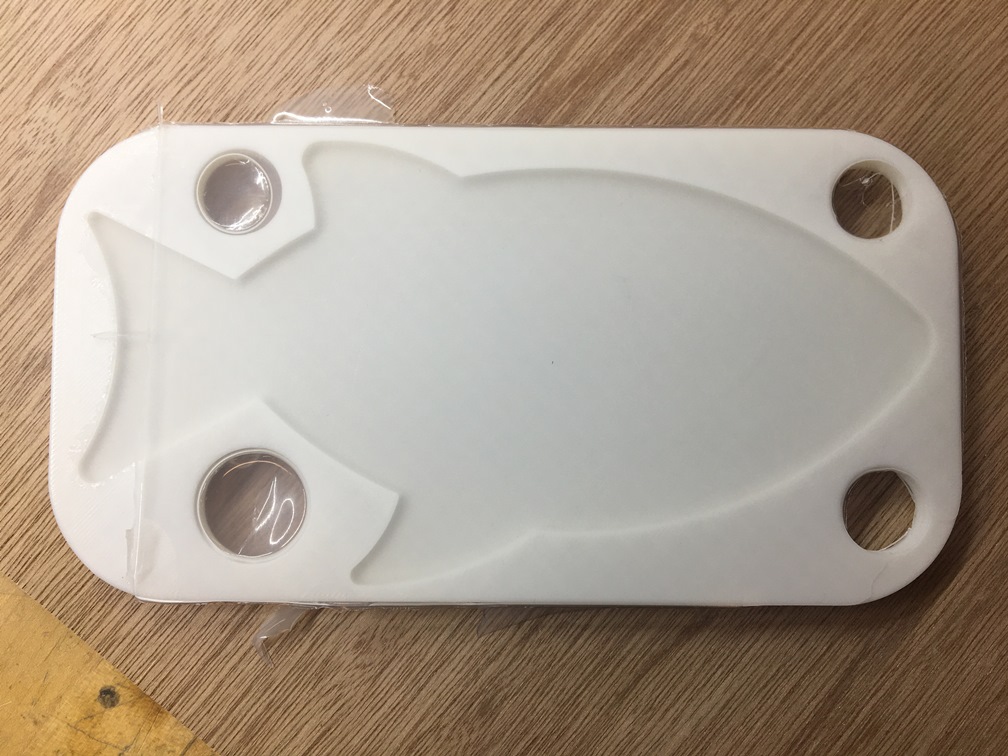
Step 3: Include a hole (with an elevated tail) for the supply tube into your CAD design. Don't just punch a hole for the tube at the very end, as most online tutorials would have you do. The hole diameter should equal that of the tube (1/8" outer diameter), or be slightly larger (to be filled in with adhesive). I decided to have the air enter through a dorsal fin rather than the mouth or tail because I was nervous that the bouyancy of the air-filled tubing might unintentionally raise the attached part of the fish. This ended up being the most complex geometry on the model and a real pain in the a**.
Step 4: Make the actuator wall thicknesses >= 1.75mm so that the structure won't buckle under its own weight. If the structure buckles, the pocket will collapse when gluing, and consequently, the robot will not actuate. I opted for a 1/8" wall thickness (>3mm) to be extra safe.
Step 5: Create negative molds from your positive CAD models.
Step 6: Fillet all interior edges and corners of the molds (R >= 0.25mm) to prevent bubbles and tearing of the silicone during demolding.
Time: 16h>
Pro-trip: Due to the size of my actuator, Ali added some supports in the main air chamber so that the side wall wouldn't cave in and accidentally stick to the opposite side wall during the sealing phase. He also added some holes in the mold to reduce any warping during the print process.
Step 2: Save gcode and print. I learned how to change filament in the Sindohs, and I learned to maximize my time by sleeping while my models were printing. Though Ali advised to use a brim to print, my prints would never stick well enough, so I resorted to using a raft and 15% infill. Note: For small pieces, Ali recommends 100% infill to reduce the air trapped in the print that would then manifest itself as bubbles during degassing.
Time: 14h>
Step 1: Material preparation:
- Use a known measurement of water to fill the molds and estimate the volume of silicone needed. Mix about 25-30% more than the minimum required amount so that you have enough to more than overflow the mold. The over-overflowing of the molds helps eliminate bubbles.
- Add 1-2% Slo-Jo to Part B and mix thoroughly. I originally used 2-3%, but my silicone took a long time to cure. Honestly, just a few drops should do it regardless of the volume.
- Add an equal amount of Part A and mix thoroughly. Degas using a vacuum chamber until ALL bubbles are gone.
Step 2: Slowly pour just enough silicone to cover the mold surface. Degas using a vacuum chamber until ALL bubbles are gone.
Step 3: Overfill the mold by pouring until silicone spills over the edge and continuing to pour silicone around the edges. This excessive overfilling allows you to push/pull silicone to displace unwanted bubbles.
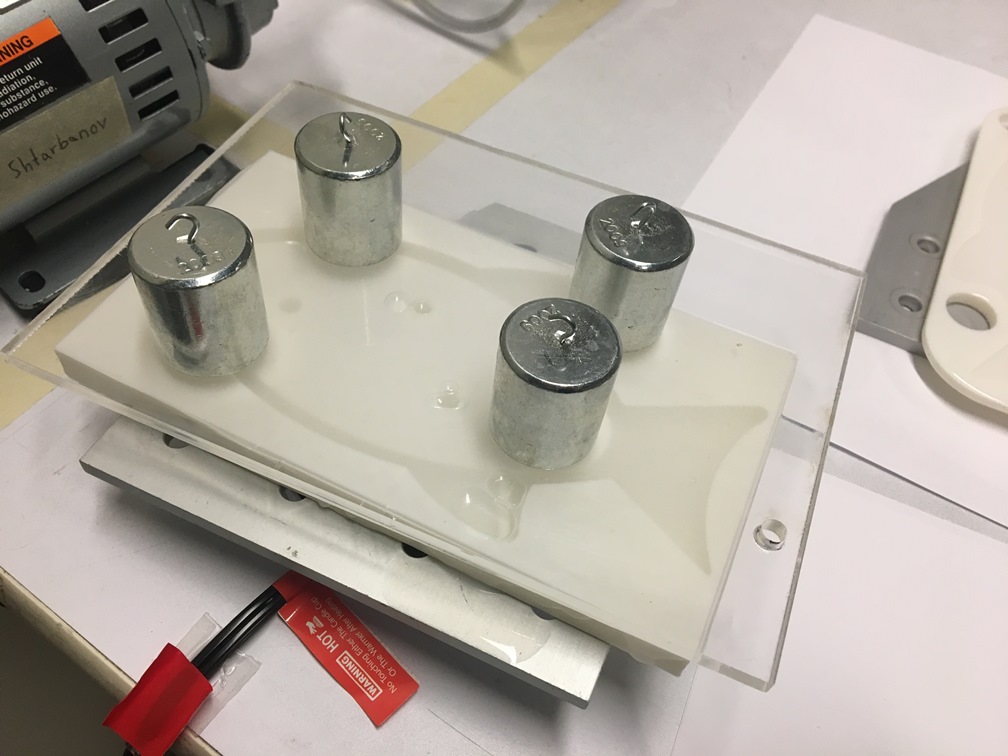
Step 4: Lay a transparent acrylic cover over the silicone, starting from one end and slowly pushing the silicone to the other end. The transparency allows you to see any bubbles forming and correct before it's too late. If a bubble forms, maneuver the acrylic so that the bubble shifts outside of the mold edges. When you have almost reached the other end, let the acrylic fall flat naturally. Once the silicone settles, place weights on top of the acrylic and leave to cure.
Pro-tip: This process took FOREVER due to the size of my molds. I initially wanted to place electronics (PCBs, servo motor, pH probe) inside the fish, so I made a larger-sized fish, but since it took me so long to get bubbble-less silicone, I didn't end up putting anything inside, which means I could have made a smaller fish after all! For the top piece, I ultimately had to skip the acrylic so that the inevitable bubbles could try to escape to the air. This actually worked out fine.
Step 5: Seal actuator edges using Sil-Poxy (5 min work time, 12 min cure time).
Step 6: Seal air supply tube to the actuator using Sil-Poxy. Only use silicone tubing--vinyl tubing will eventually come unsealed.
Step 7: Inflate!
Time: 16h
SolidWorks model 2
Bubbles
Third cast's a charm

Sans acrylic
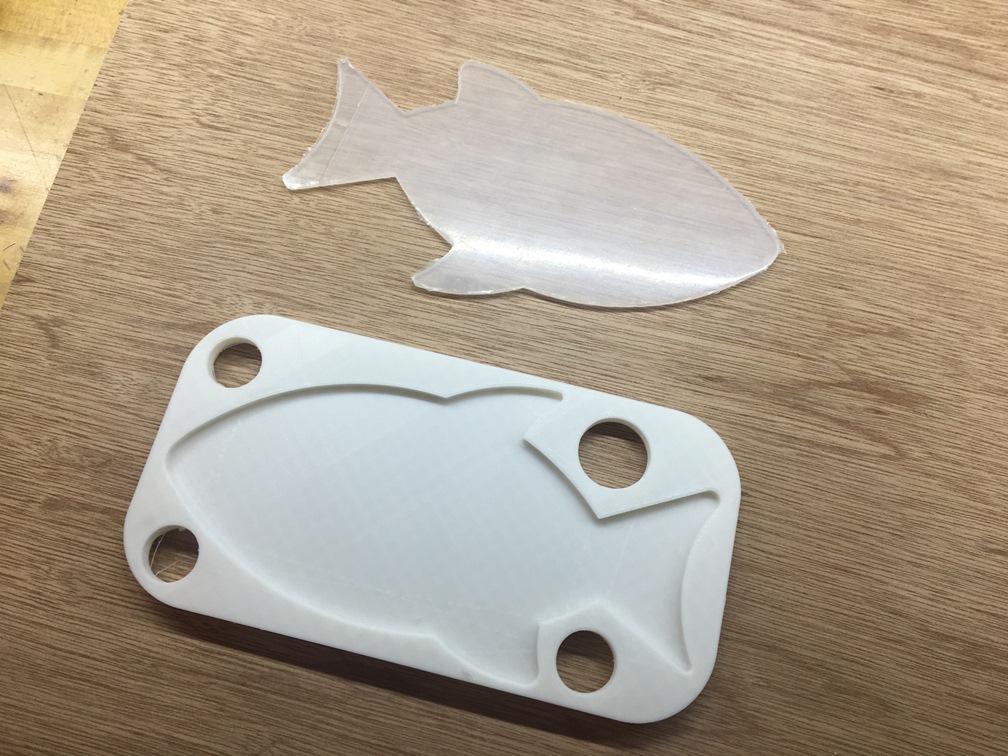
Demolded
Success!