how to (almost) make (almost) anything
interface & application programming
Theoretically, this week is a respite from the frenetic production of other weeks. In reality, there is still a lot to figure out and so I have tried a few methods of creating an interface and application programming.
visualization | three.js
I wanted to visualize something on the screen, and I was drawn to the Three.js examples we were shown during recitation. I found threejs.org to be well conceived, and I was able to create an script by following along. I had never used Javascript of any kind before, so I had to get caught up. I placed the three.js file in a folder labeled /js within this weeks folder in the repository. To visualize the script on this page, I used the <iframe> tag and referenced the .html file containing the script. I was able to make two bobbins spinning, sort of, but I need to gain more control over the program and have the ability to connect them to the Serial port.
custom characters
Since outputs week, I have been trying to create custom characters to disply on the OLED screen I used. I would like a character, for example "C", to trigger an image of the cross manuever in bobbin lace. Neil has described this process in class, but this was a good opportunity to try and get it to work.
The steps Neil used (and thankfully repeated on the issue tracker) were:
- make a font with the correct pixel height and width in GIMP
- export the font as a C header file
- use these scripts to repack them from scan rows to columns required by the display
- put the resulting files in the embedded code
make a font
The example code breaks the 128px x 64px OLED display into two lines of 8px height and three lines of 16px height.
I started by creating an 8px series of symbols. The left symbol represents the cross manuever while the right symbols represent the twist.

It is important that antialiasing is turned off and that the Image > Mode is Indexed. This way, each pixel has either a full value (black) or zero value (white), and there are no grayscale values in between.
I recognized that each character should, like a monospaced font, have the same number of pixels in width as well as height. I created a longer "alphabet" and made sure the symbols had the same width.

export font as C header (.h)
In GIMP, I used File>Export as... and selected Select File Type (By Extension) and chose C source code header. A .h file is created.
rows to columns
I had missed this step in class, and it was useful that Neil relinked the scripts that change the row data into bytes that describe the columns of the characters. I was getting some syntax errors, so I used a Python environment (see previous documentation) to use another version (in this case 2.17.7). To run the script, place the .h file in the same folder as the script and run
$ python pixbyte8.py <headerfile>.h <out_filename>.cThe script expects the input file (.h) and output file (.c) and will create the latter on execution.
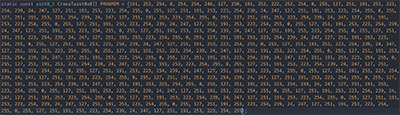
change embedded code
I copied the contents of the .h file into the lines of embedded code that describe the characters.

When I tried to use make to execute the code and send it to the OLED board, I recieved an "out of range" error.

I inspected the .hex code and saw that it had gone beyond 256 lines of code, where the "out of range" error was complaining at line 257.

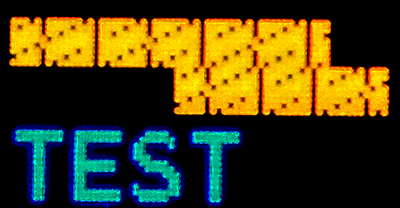
I thought that maybe the lines beyond 256 (2^8) were unable to fit in memory, or something to that effect, so I crudely deleted about half of my character descriptions as they were repeating anyway.
After I shortened the character description, I ran make and the code compiled and was uploaded to the board. The results were not what I expected, but I did not really expect to get it right. It seems like it is heading in the right direction, but I need more help.
controlling virtual environment | Unity
Diego created several tutorials this week, and I followed along to learn how to interface with Unity. Perhaps it is a stretch, but I thought there is a chance I could control virtual lace in the Unity environment with my wireless bobbins. We shall see.
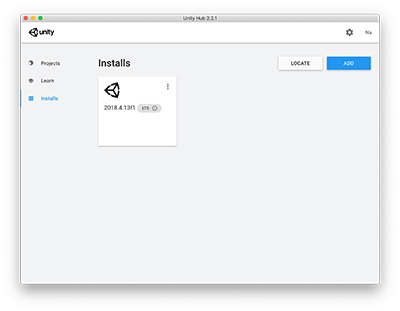
I started by installing Unity Hub, which manages Unity projects and version installations. The manager also installs Visual Studio, from which programs written in C# can control components in Unity.
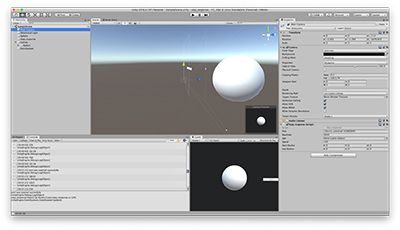
Diego does a good job introducing the software, but the main idea is that scenes are analagous to levels in video games, and components can be added into the scene to behave in certain ways. Scripts can be added into the scene, and by assigning public variables in C#, the variables can point to other objects in the scene. Using his example as a foundation, I tried to control the movement of a sphere with the step response set up I made during inputs week.
I set up the model and the code by following along his second video. I was able to read serial data, but the numbers jump around quite a bit.
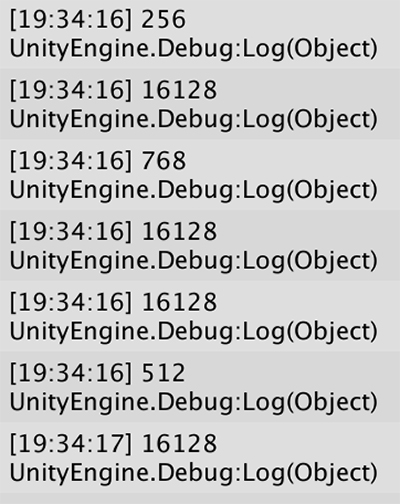 serial data read in the console
Neil's Canvas display of his Python code seems to average or smooth the high and low readings from the serial step response bytes. Diego and I tried to transcribe Neil's code into C# to see if we could get a smooth behavior for the sphere.
The code is included here:
stepresponse.cs
The data is still jittery and seems only loosely coorelated to putting my hand between the transmission and receiving plates of the step response signal. The ball, which should raise and lower based on the presence of my hand, is not reacting as expected.
not what I'm looking for