how to (almost) make (almost) anything
Computer-Controlled Cutting
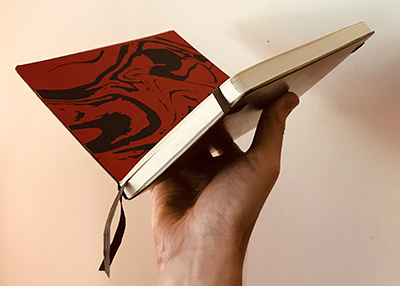
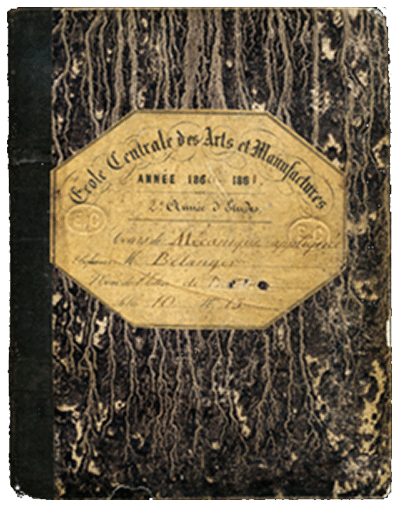
notebook with vinyl-laminated inside cover
vinyl cutter | Roland GX-24
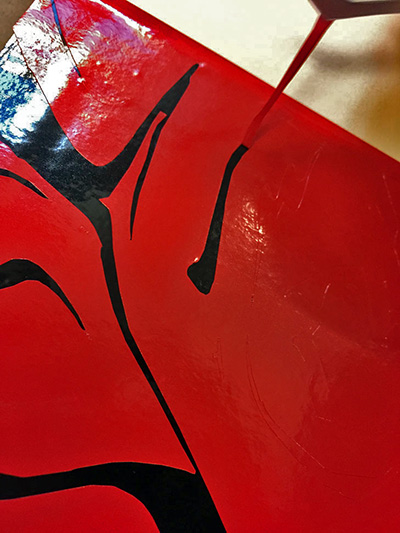
I do not like putting stickers on my laptop, but I like composite notebooks and marbled paper. The vinyl cutter presented me with an opportunity to create a pseduo-marbled pattern on the inside of my Leuchtturm 1917 notebook.
First, I prepared a file in Photoshop with the dimensions of my notebook's inside cover, including the small fillet on the exterior edge. I then live-traced a marbled paper pattern in Photoshop and trimmed the image to the dimensions of my notebook.
These two files, the first just an outline of the notebook dimensions and the second the marbled pattern cropped to those same dimensions, were then each seperately run through MODS and sent to the Roland GX-24 with different color vinyl loaded for a contrasting pattern.
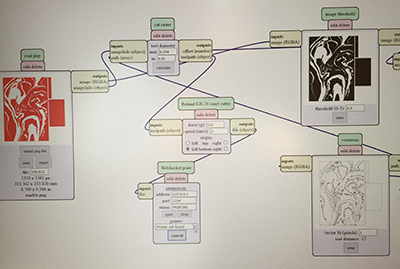
calculating the marbled tool path in MODS
An error encountered was the message "bad position" on the vinyl cutter when trying to set the origin for the cutting head. The problem was resolved by ensuring that the rollers that clamp onto the material are parked in the white zones along the sliding head rail. The rollers are moved by squeezing their sides and sliding them with conviction. Note that the cutting head needs to be between the rollers.
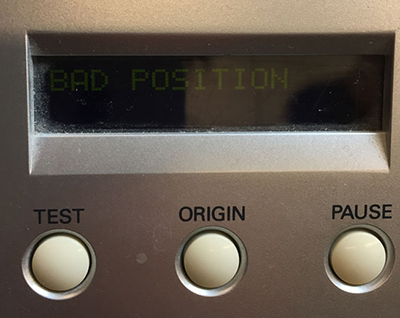
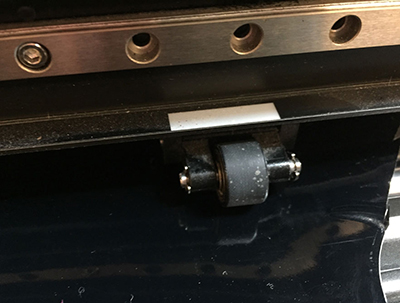
"bad position" error & solution: park rollers in white zones
Once the background (black) vinyl was cut, I transferred it to inside cover of my notebook with the adhesive paper for that purpose. The piece was relatively large and I wanted a precise fit so that the edges of the notebook remained smooth. This took a few tries, but was eventually successful (another pair of hands comes in useful).
transfer paper and extra hands recommended
The marbled (red) vinyl was cut and transfered as above. I weeded with tweezers and patience; it was rather relaxing.
 nearly out of the weeds
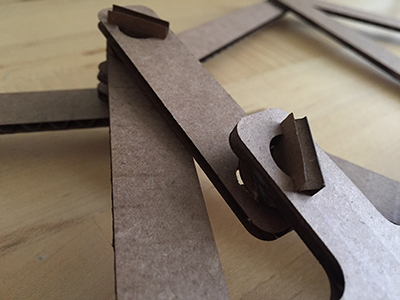
laser cutter | 120W Epilog
Next we used the laser cutter. First we tested the cutting parameters, modifying the power and speed slightly to get a clean cut through the cardboard and snug joints.

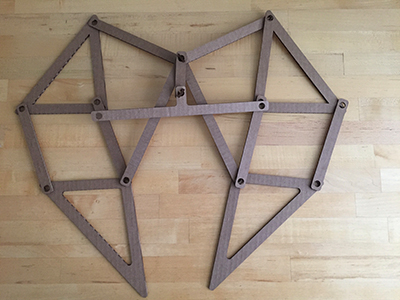
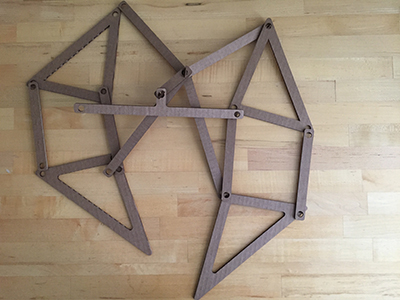
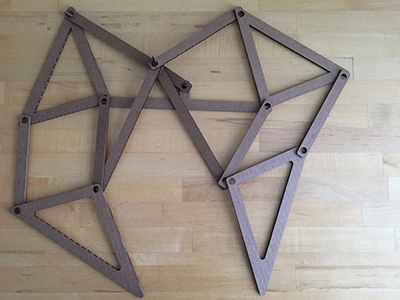
With our parameters dialed in, I set about to make a press-fit contsruction of the Jansen linkage.
what does cardboard want to be?
The pieces for the linkage cut well, but the joint I conceived did not hold up very well, especially as the pieces were rotated. Nevertheless, I persisted.