Project Management and Computer Controlled Cutting
Laser Cutting
Laser Cutter Characterization
As a group, we first did some preliminary testing to find the optimal settings for engraving, cutting and rastering cardboard. We designated the material as balsa. After some trial and error, we found these settings to be:
| Power | Speed | Color | |
|---|---|---|---|
| Rastering | 37.4% | 100% | Black |
| Engraving | 4.00% | 12.0% | Blue, Hairline |
| Cutting | 100% | 15.0% | Red, Hairline |
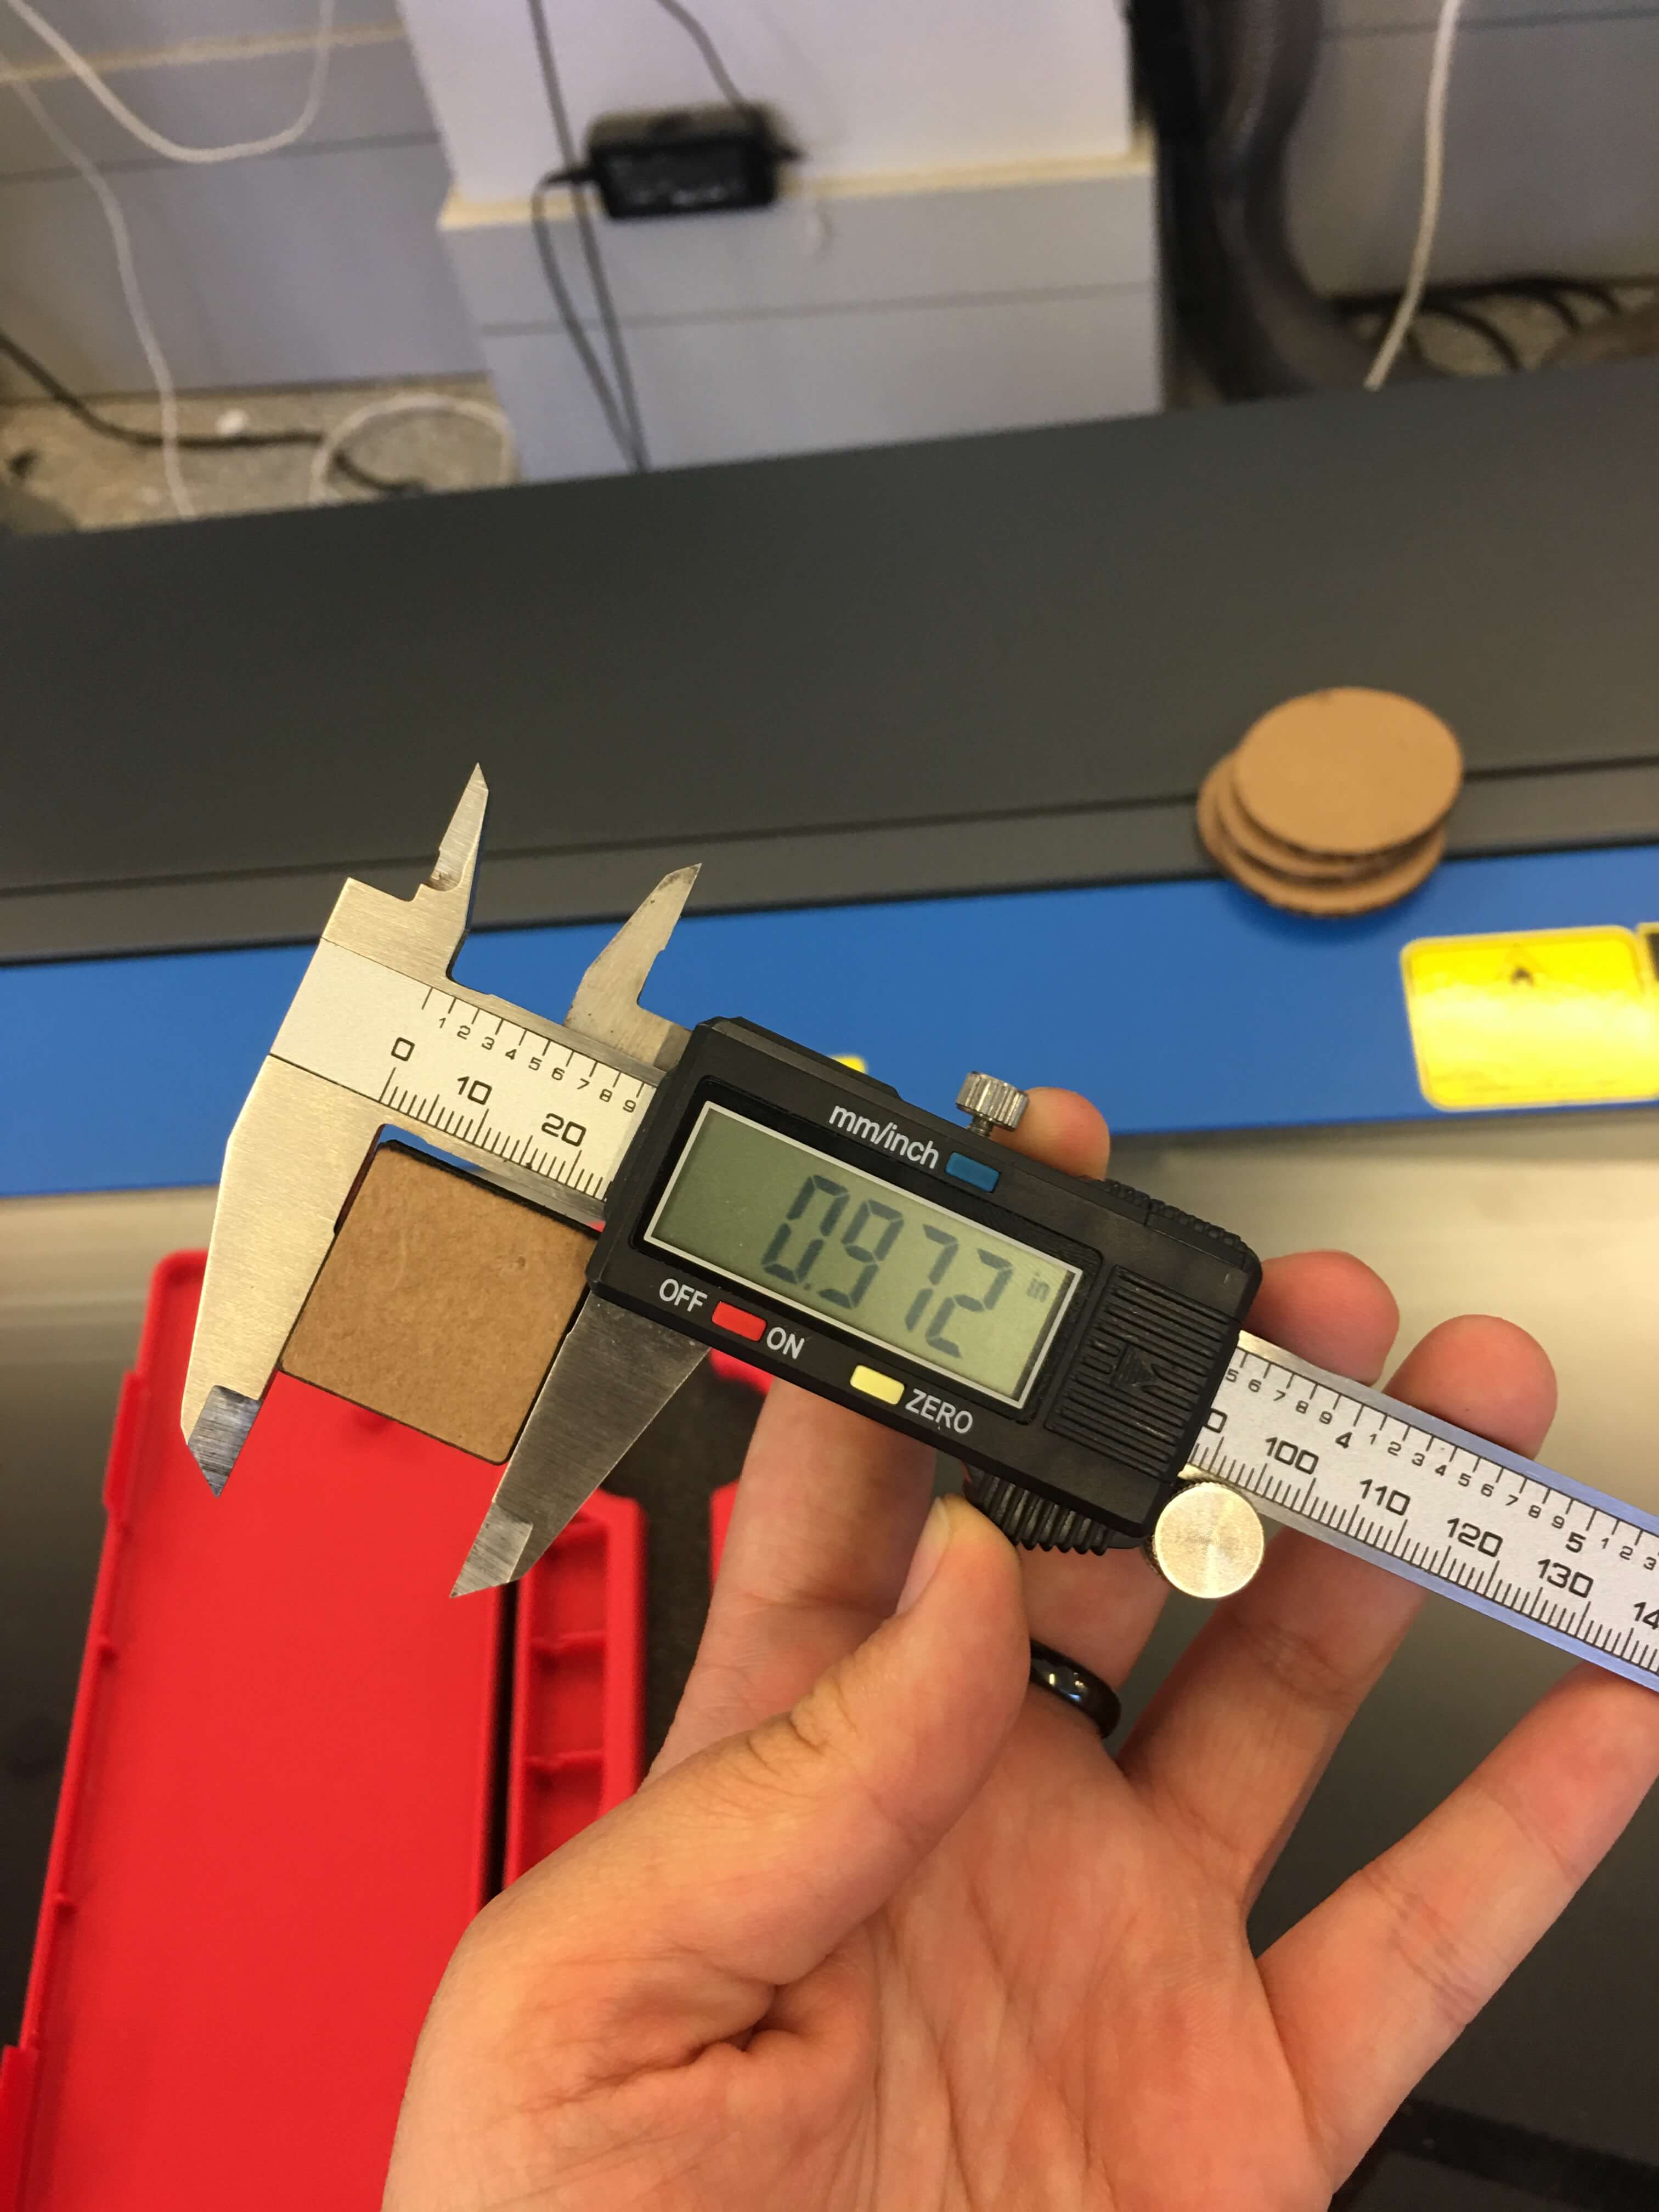
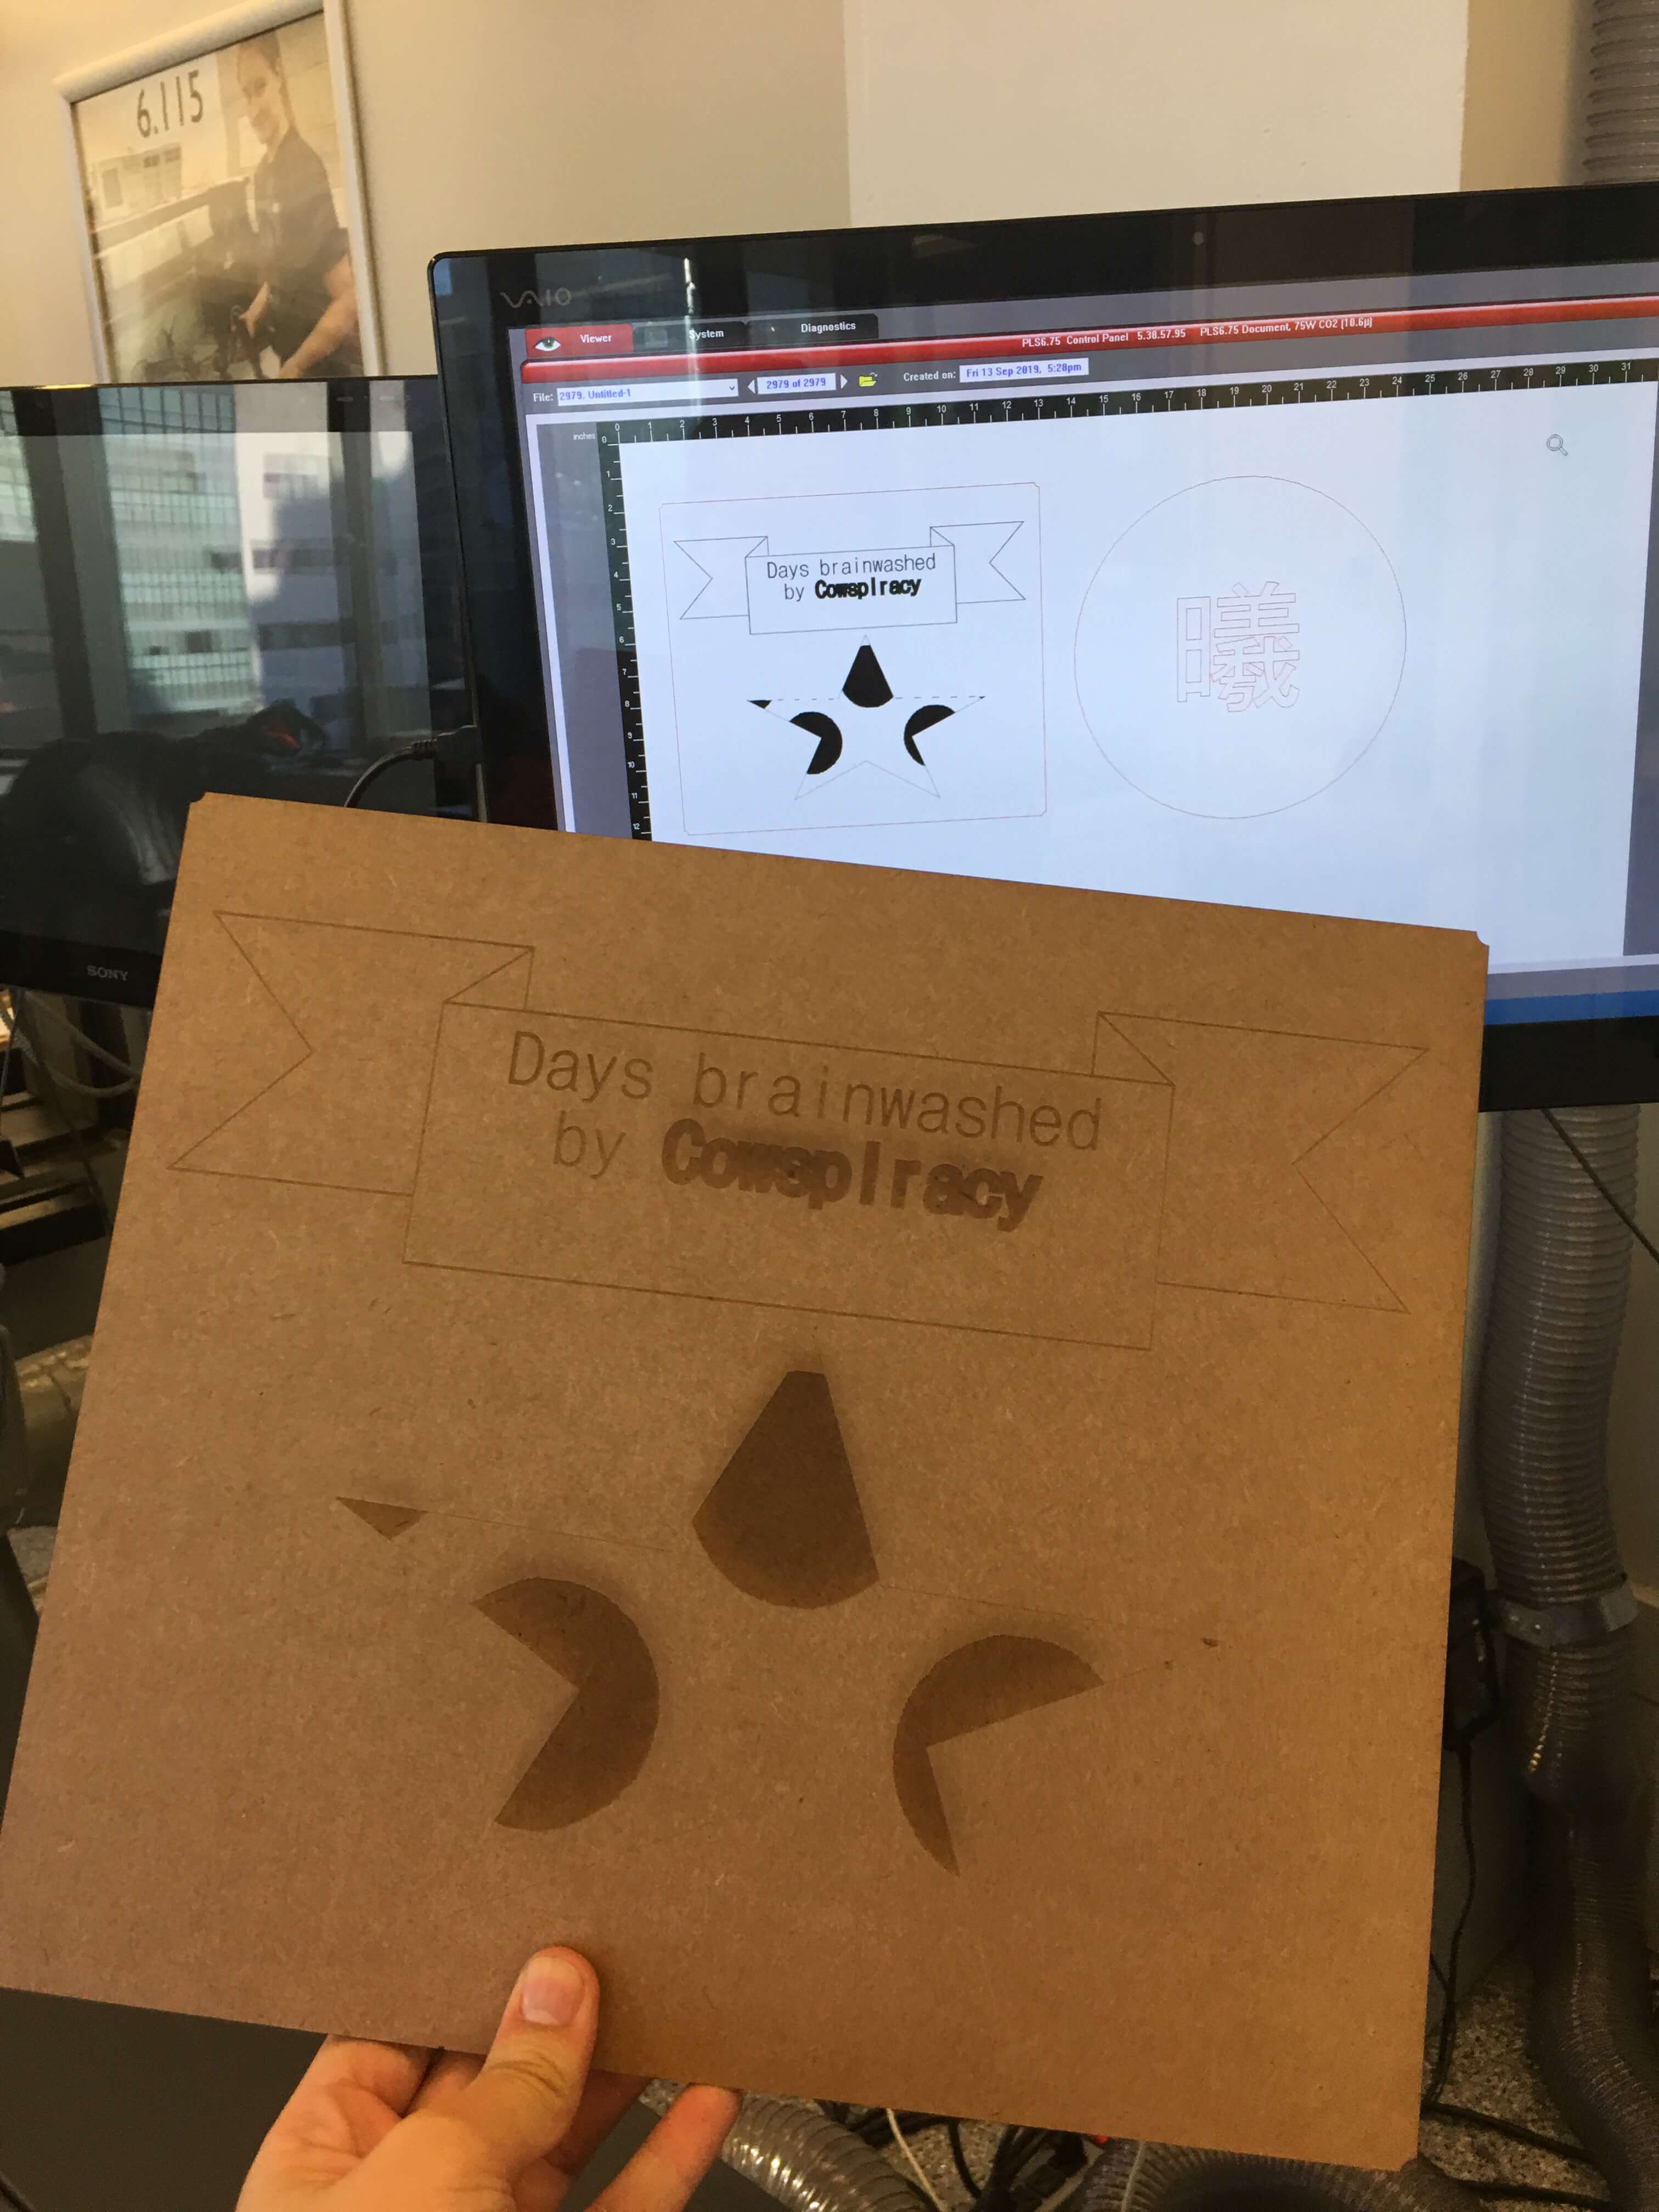
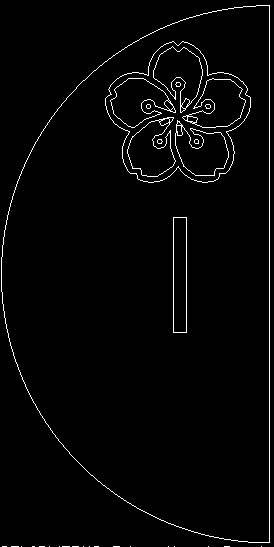
We then measured the cardboard thickness as 0.1775". After cutting out some 1" by 1" pieces of cardboard we took 3 measurements to calculate the kerf which we found to be 0.028", from which we calculated the joint clearance as 0.15". The laser was focused at a depth of .042". Using these settings, I made a sign that utilized cutting, rastering, and engraving with the settings we configured, made in CorelDraw
Jewelry Case Design
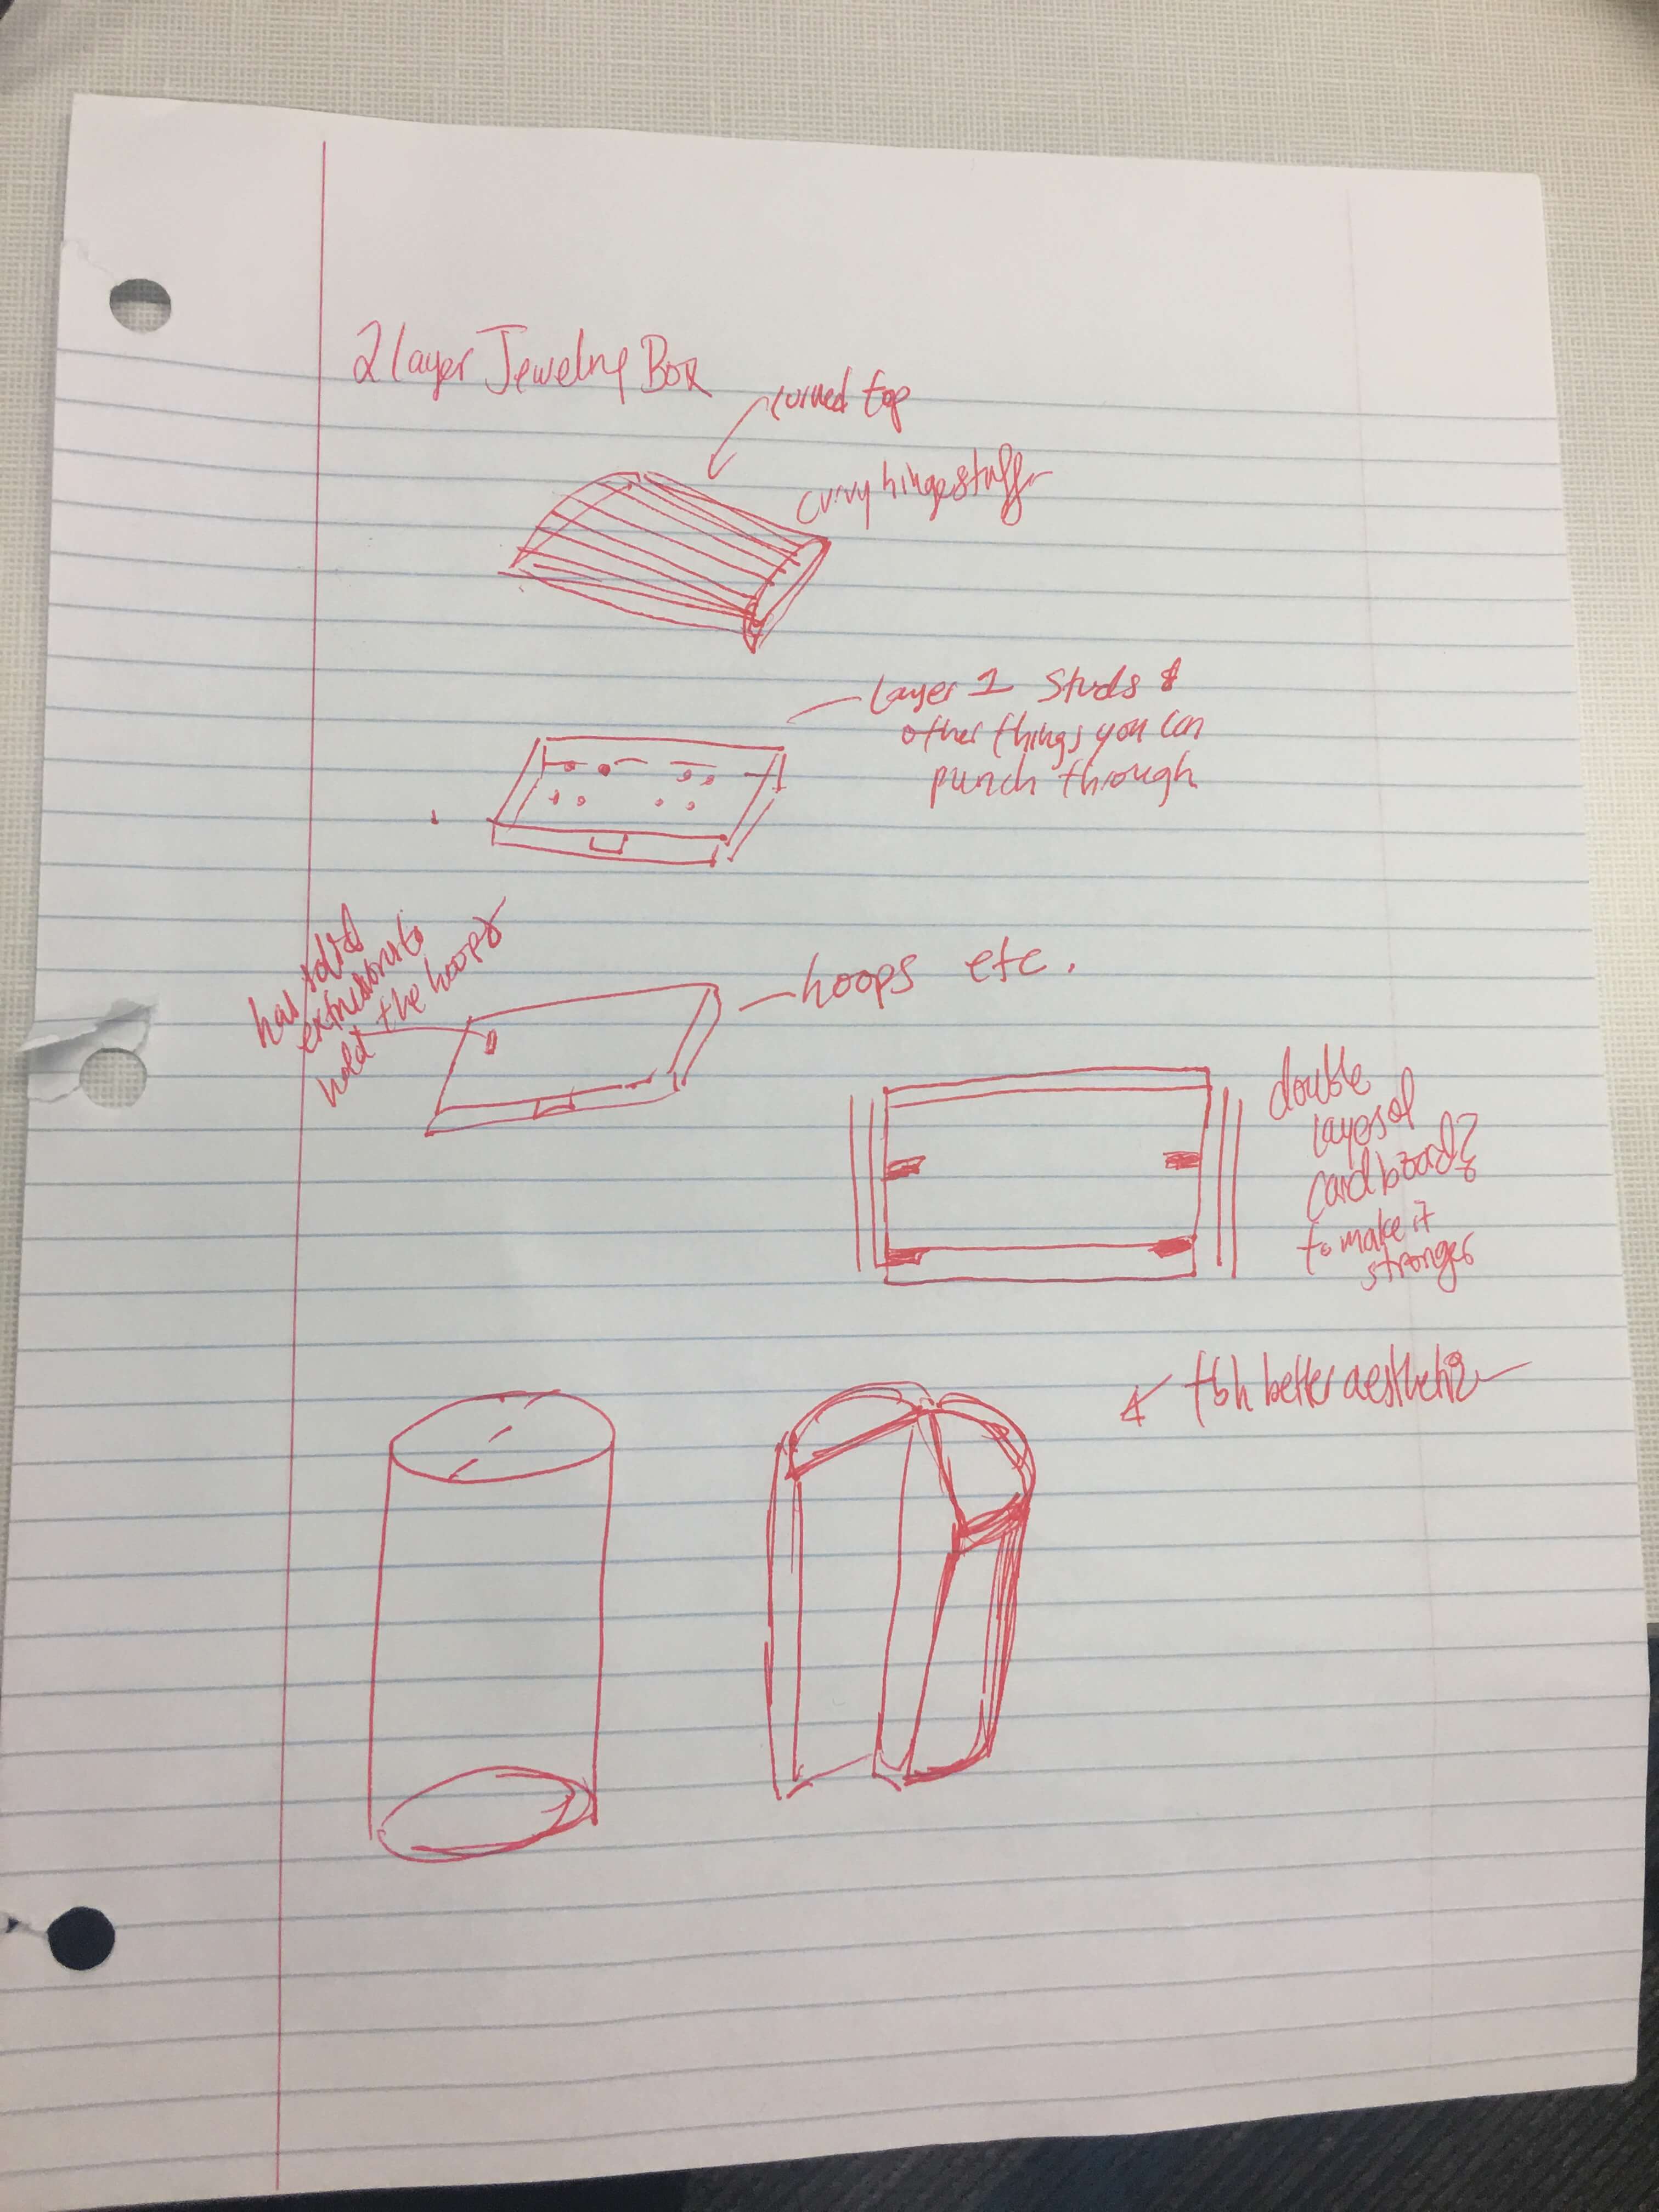
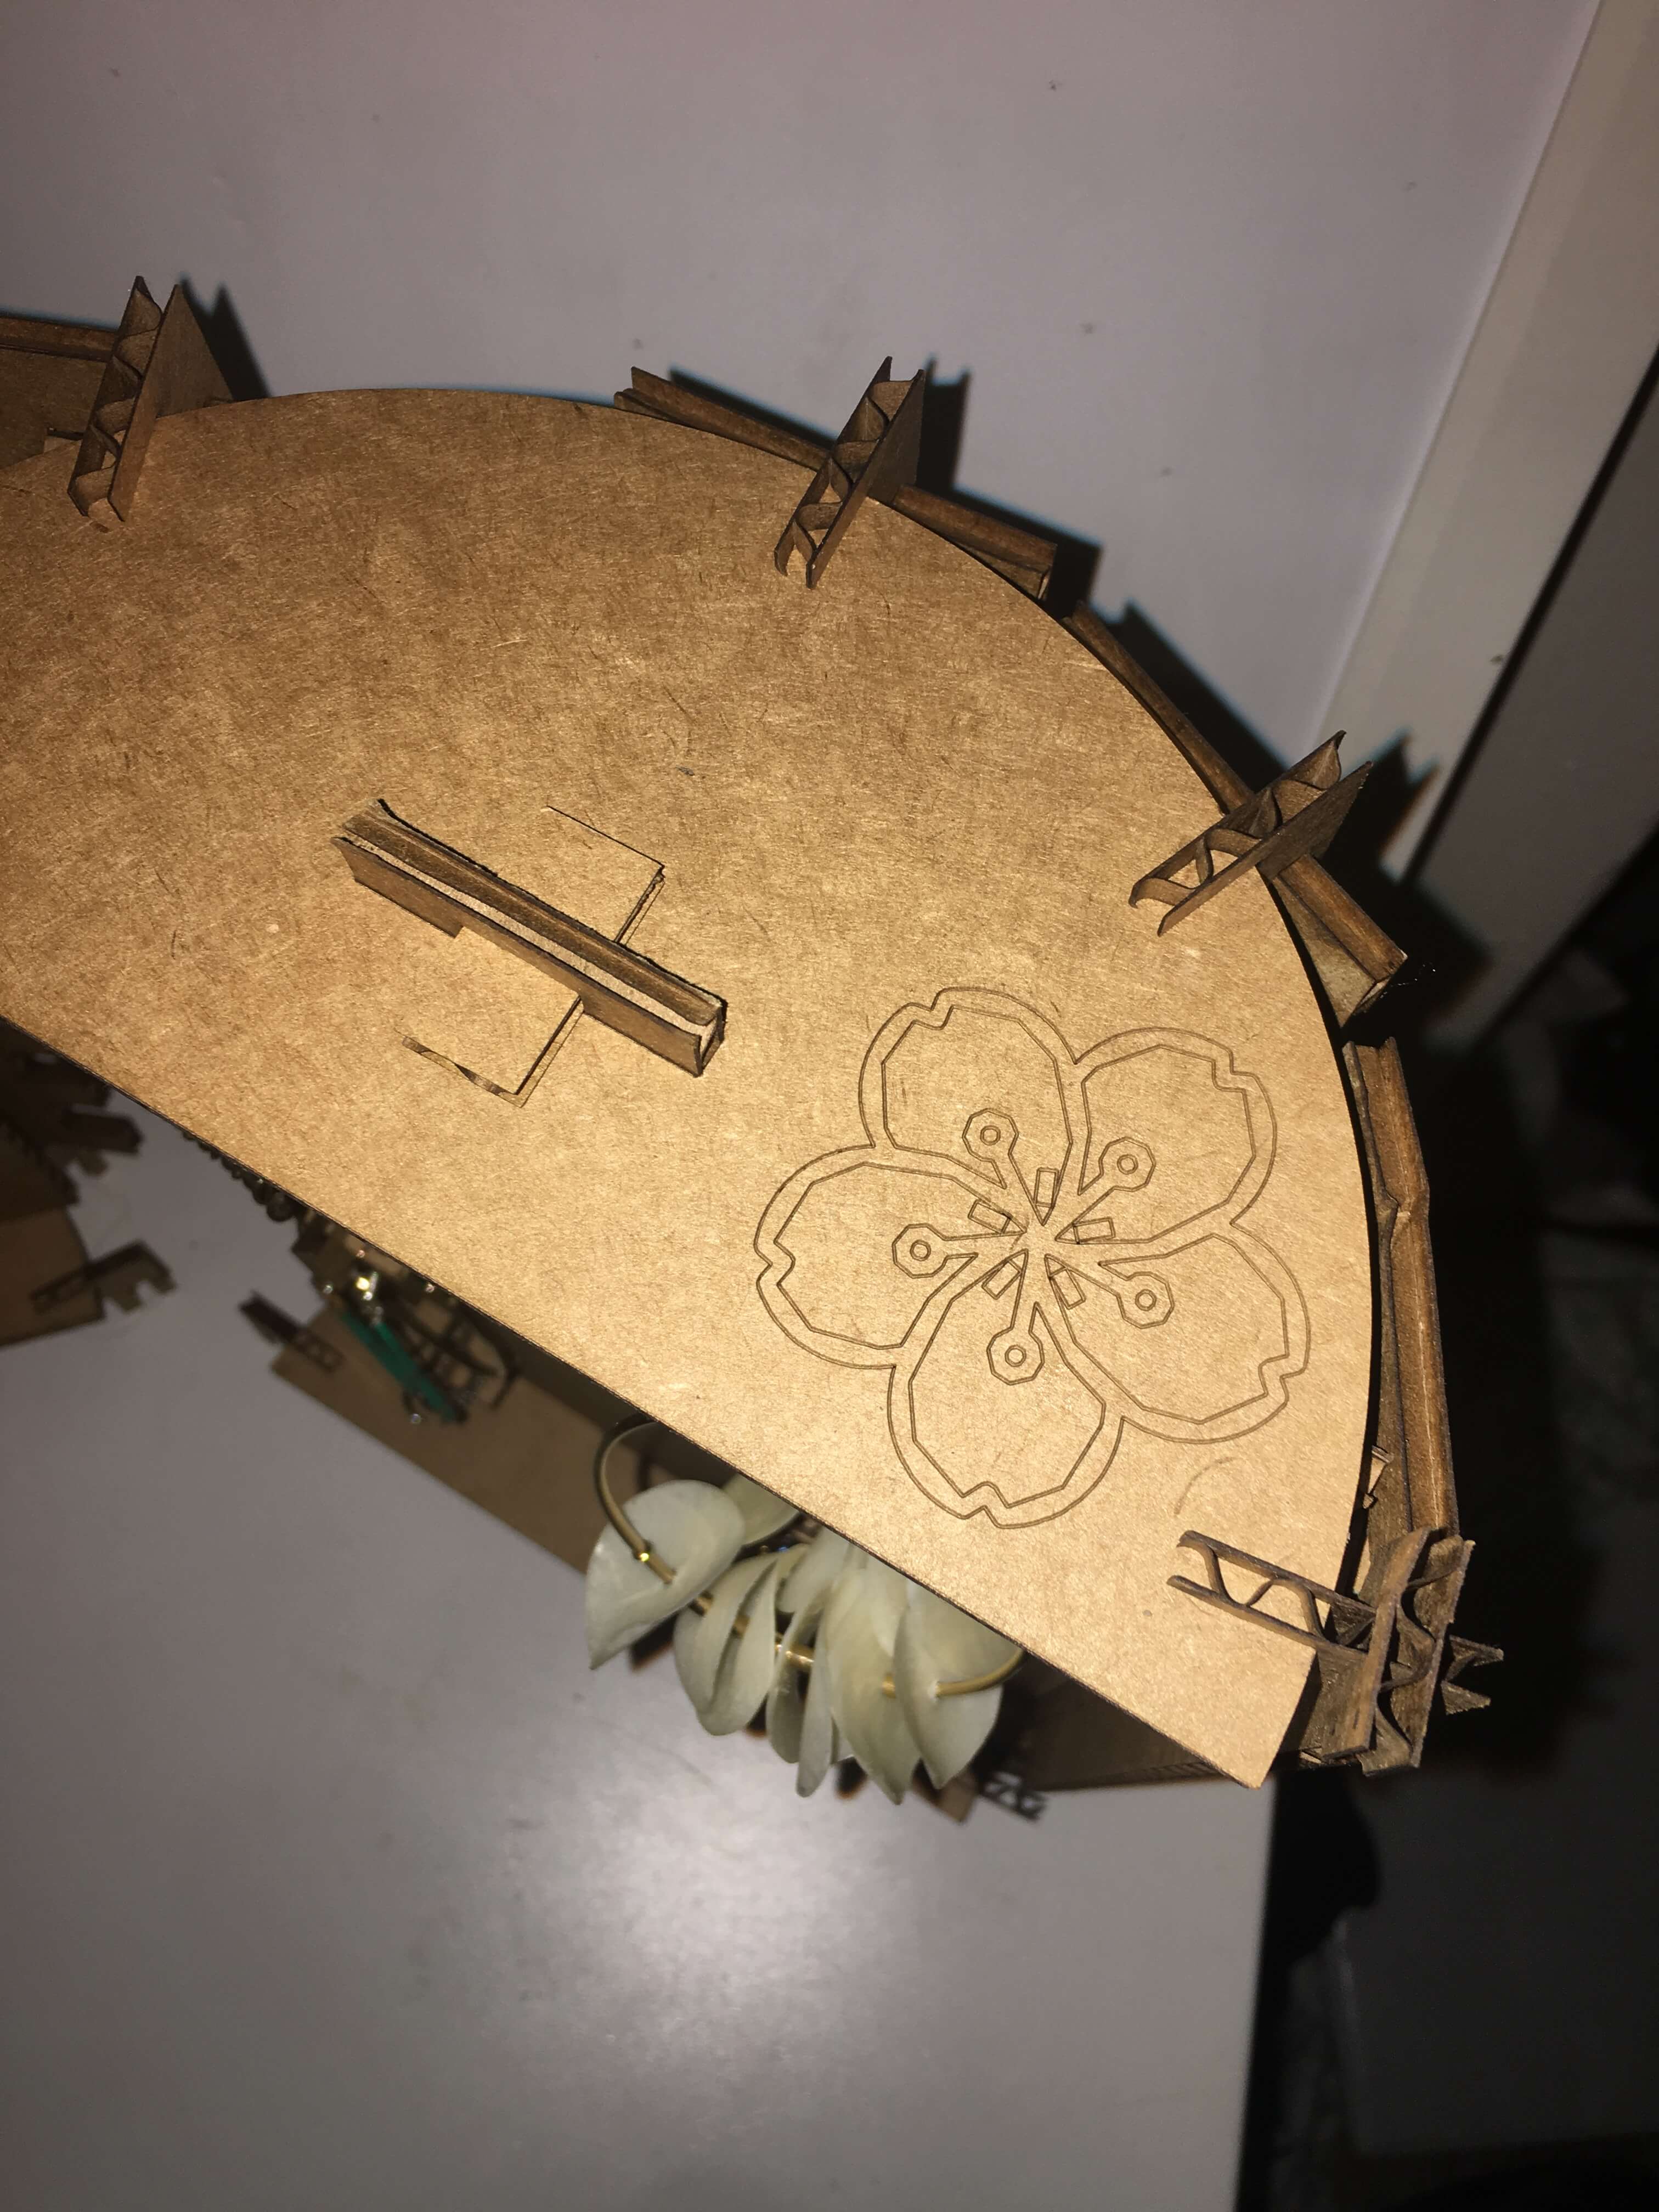
For this assignment I knew I wanted to try making a living hinge and use multiple joints to fit something together. So for the pressfit laser kit I designed a jewelry box to hold my earrings specifically a case that could hold hoops, as many cases don't accomodate for them very well, that would use simple press fit
and wedge joints to hold it together, with a living hinge to wrap around that would allow someone to easily open and close the case.
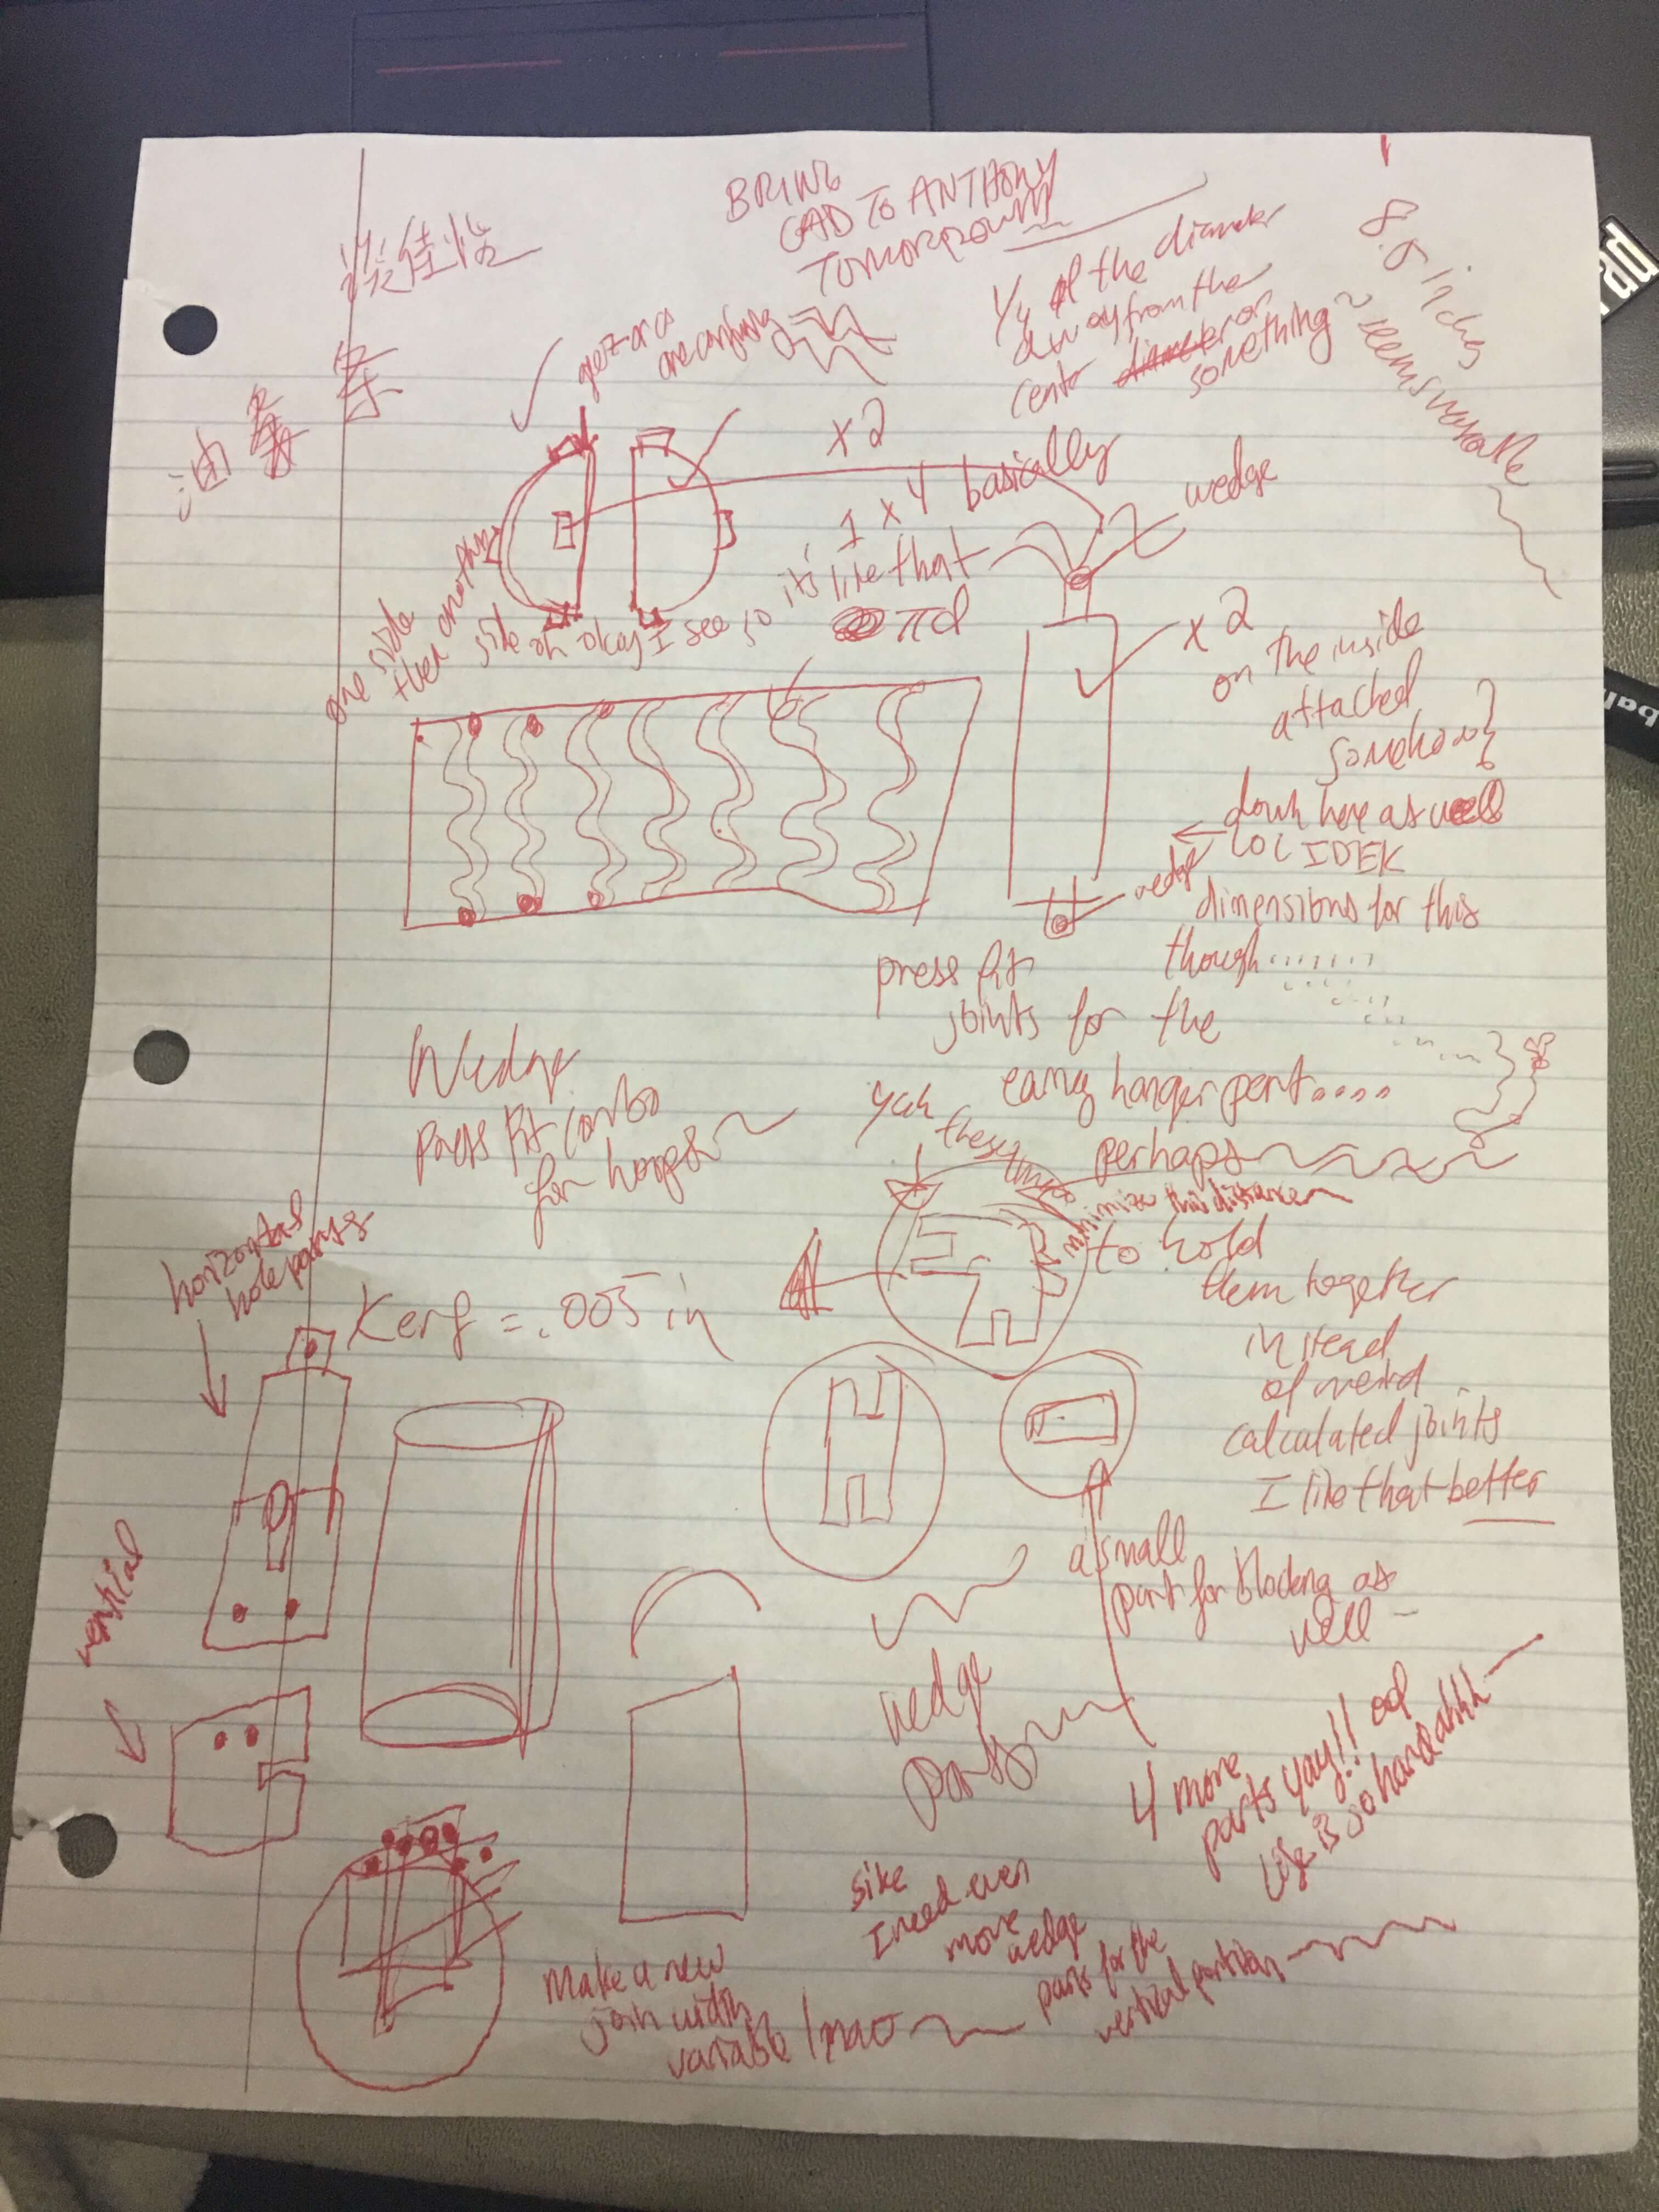
Based on my preliminary sketches, I first came up with some parameters that I would need to design the case.
I stored all of these parameters in a file that all of my part files referenced to truly make the design parametric.
- Case Height
- Case Diameter
- Laser Kerf
- Material Thickness
- Joint lengths and widths
- Jewelry Hole Diameter
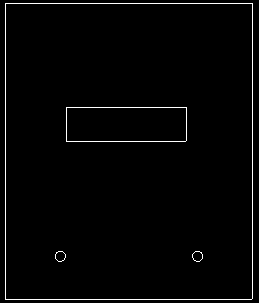
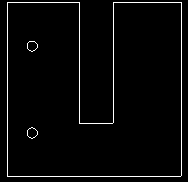
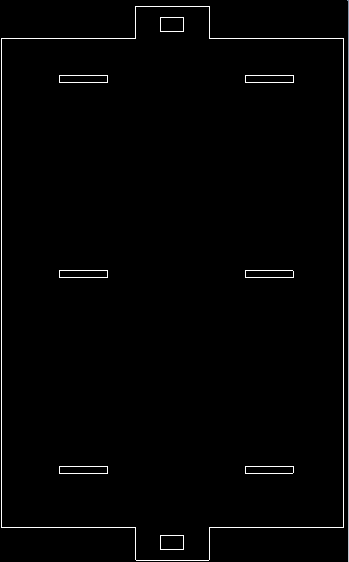
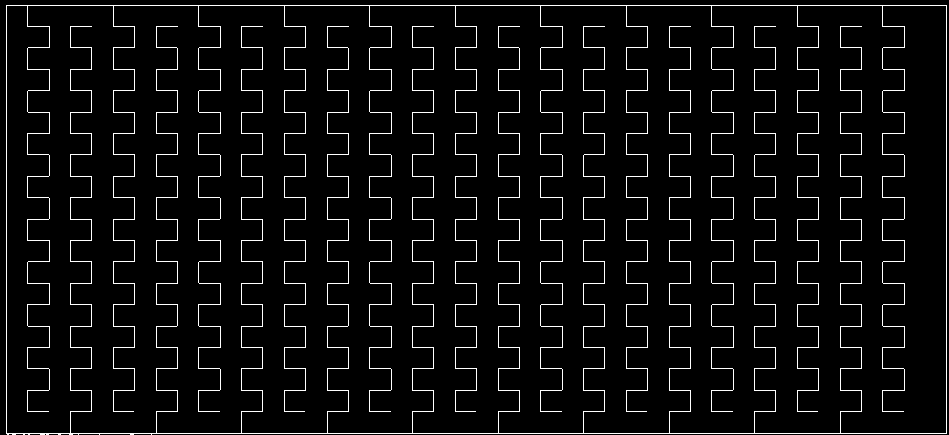
From then I CAD'ed the preliminary sketches I drew for designs (the joints are blown up in proportion to the other parts). Exported the parts as DXFs and laid them out in CorelDraw and designated the correct weight and color for the lines for the operation


Laser Cutting
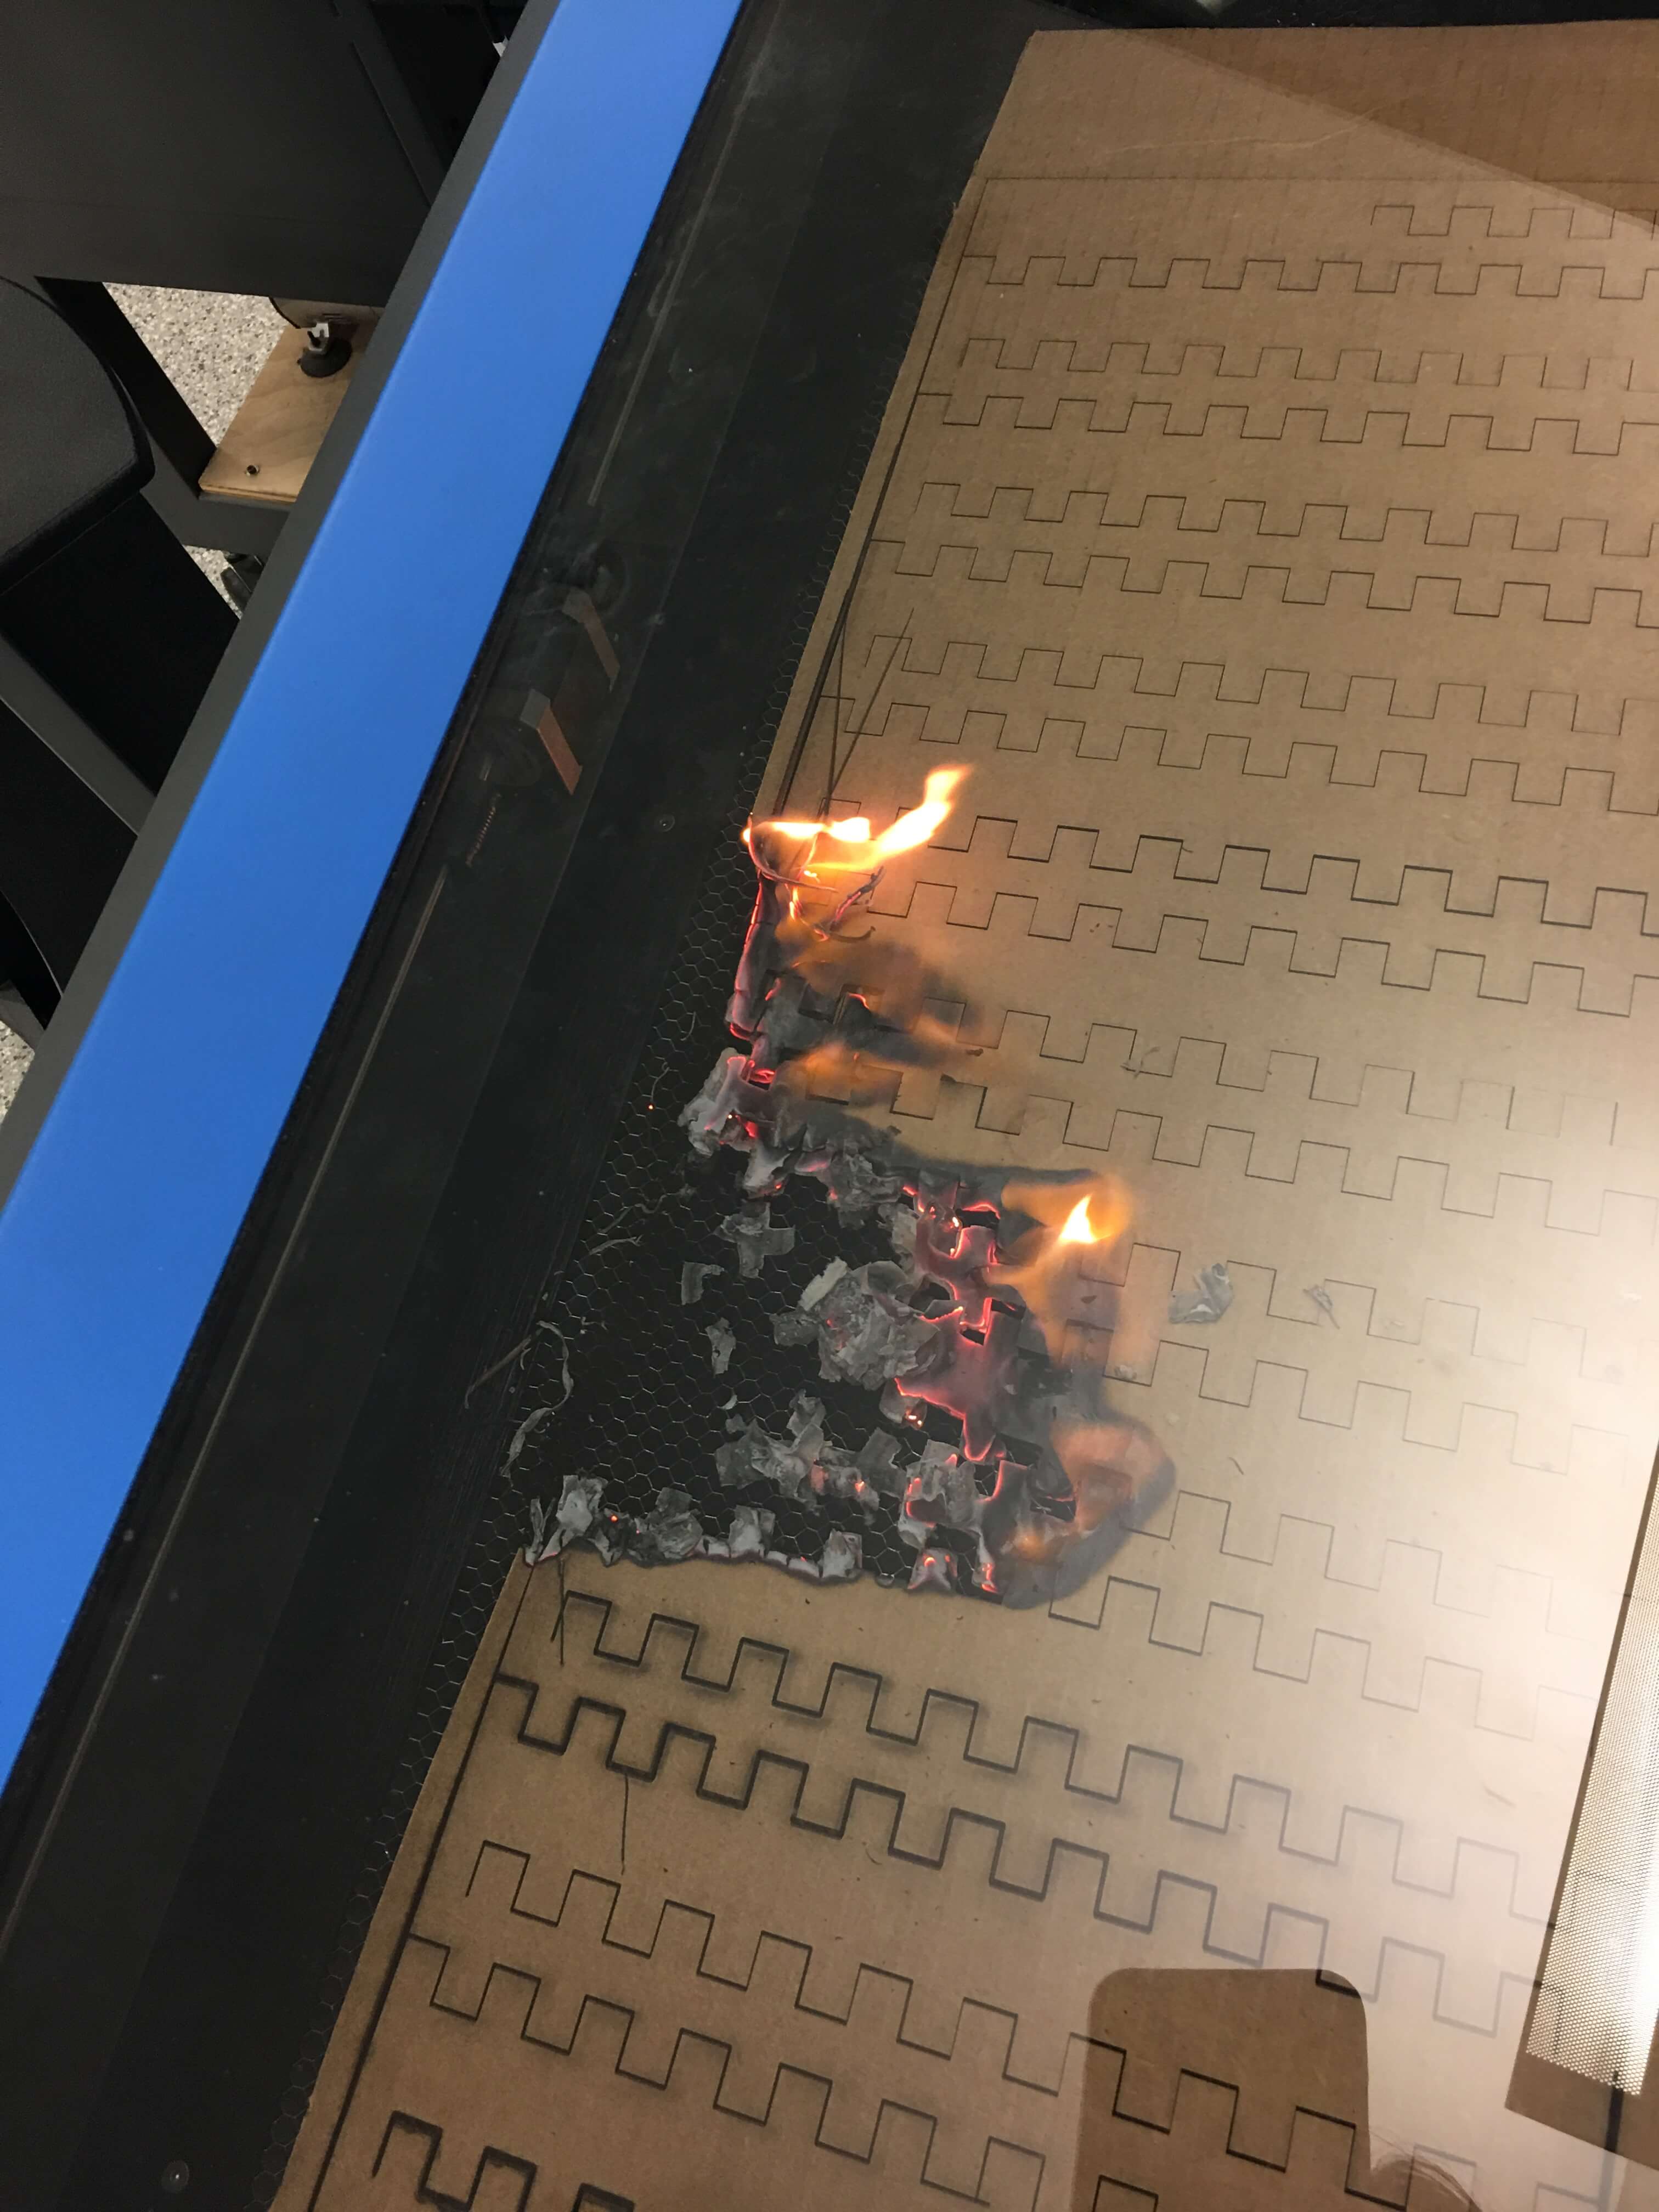
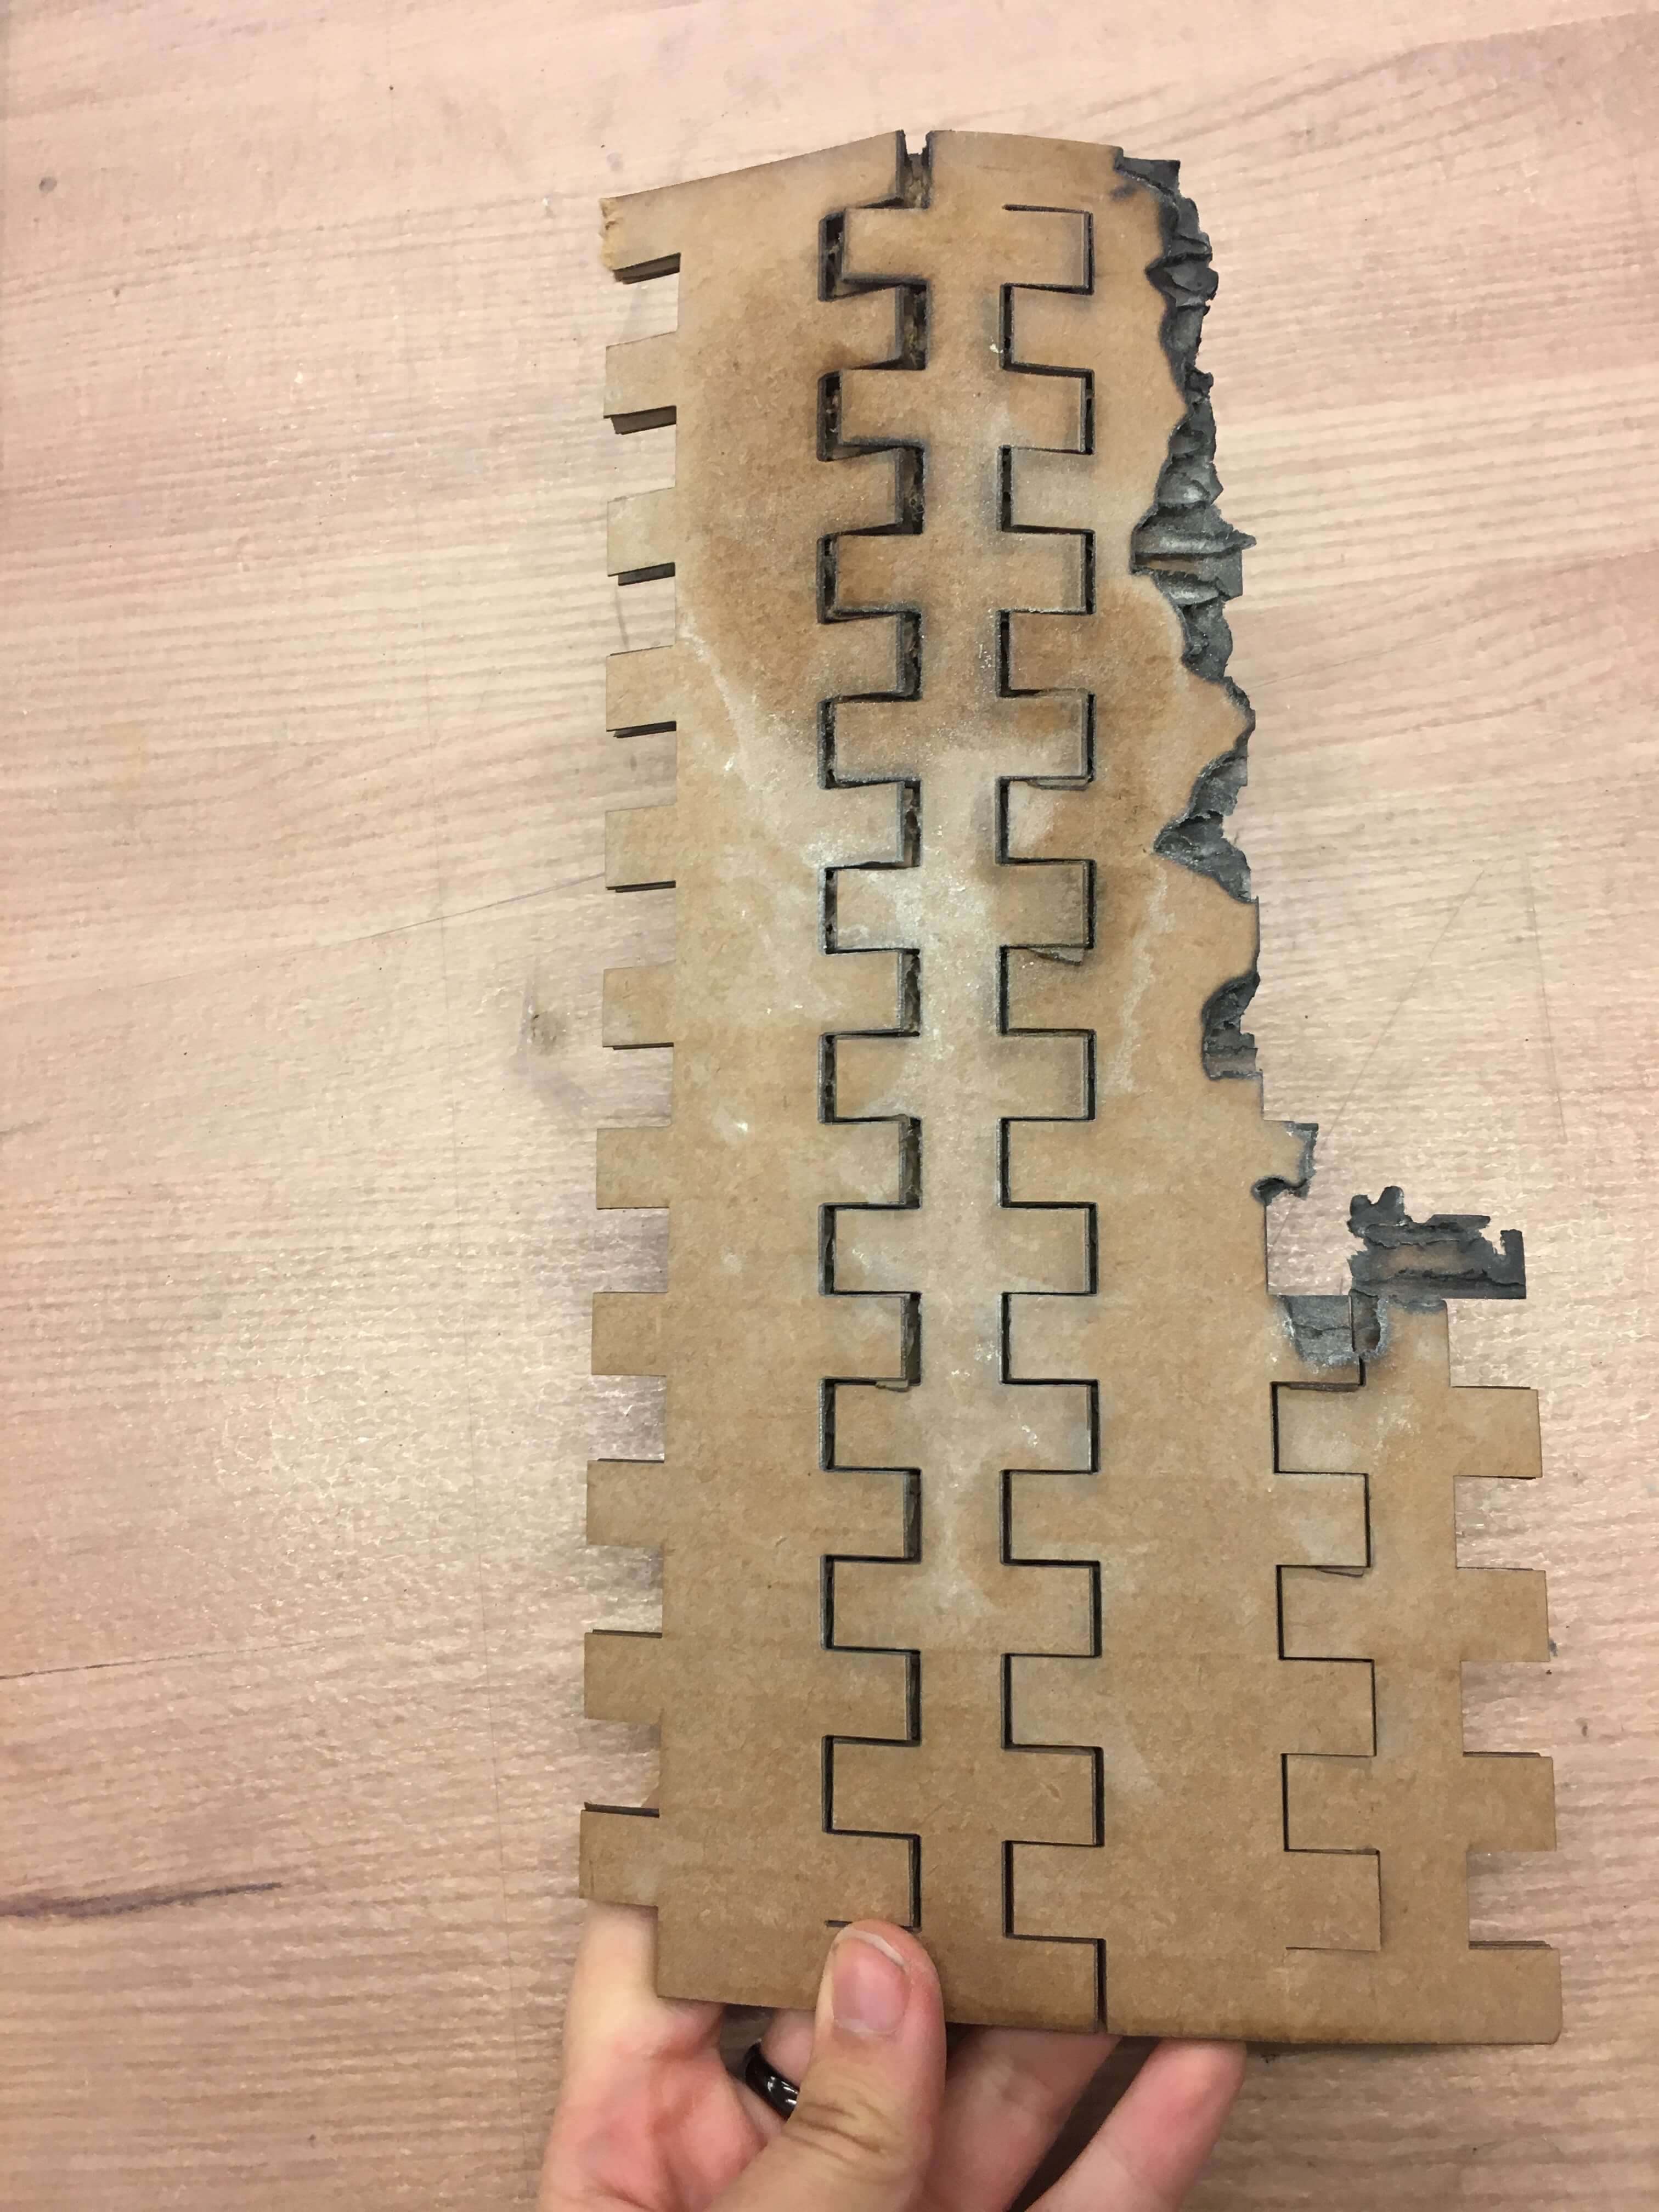
The first time I attempted to laser cut the parts I was not careful enough. My living hinge because it was a linear pattern had multiple line segments overlapping which was hard to see in coreldraw and solidworks. When the laser began cutting, it went through the same part of the cardboard multiple times, which made it easier for the cardboard to catch on fire, which it did.
Assembly
Unfortunately because of this the big laser cutter was out of commission and the sizes I anticipated initially didn't fit in the bed of the smaller laser cutter. Fortunately, it wasn't too much of a hassle to change the dimensions of my design. After doing this, I was able to succesfully cut some joints out as a test on the laser cutter, did some slight adjustments of the cardboard thickness to get the fit just right and laser cut out the rest of the parts and assembled them!
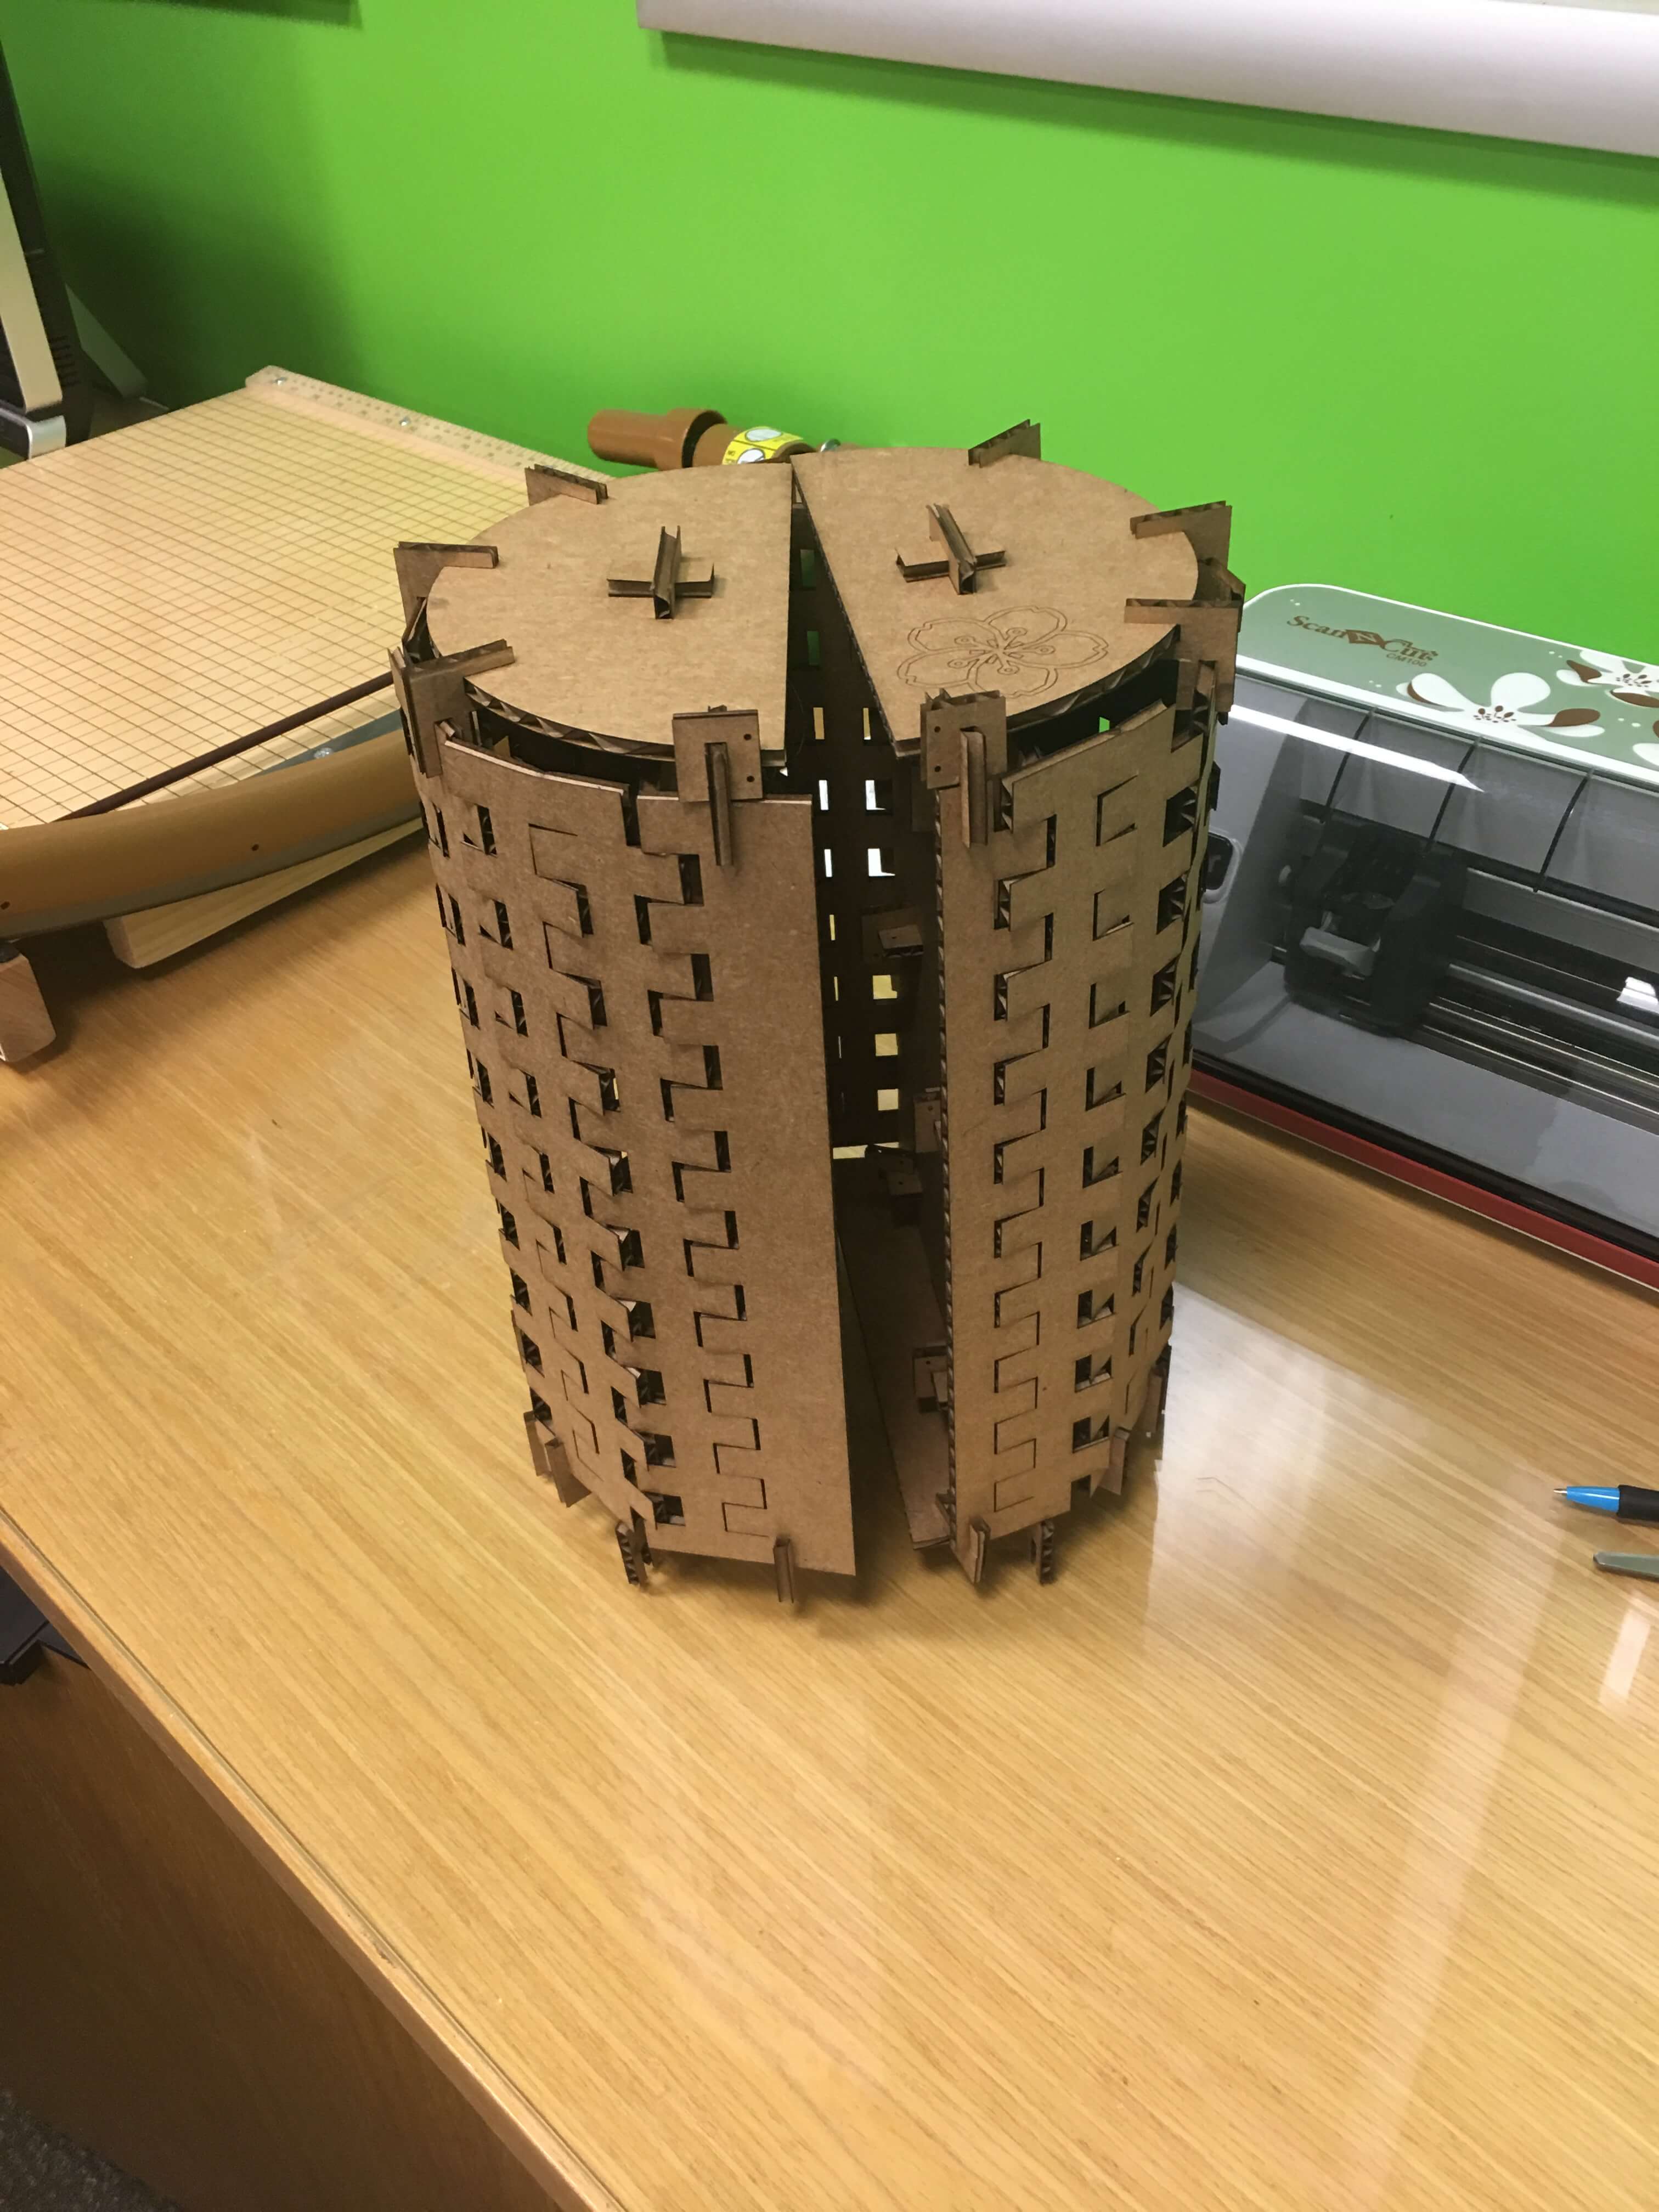
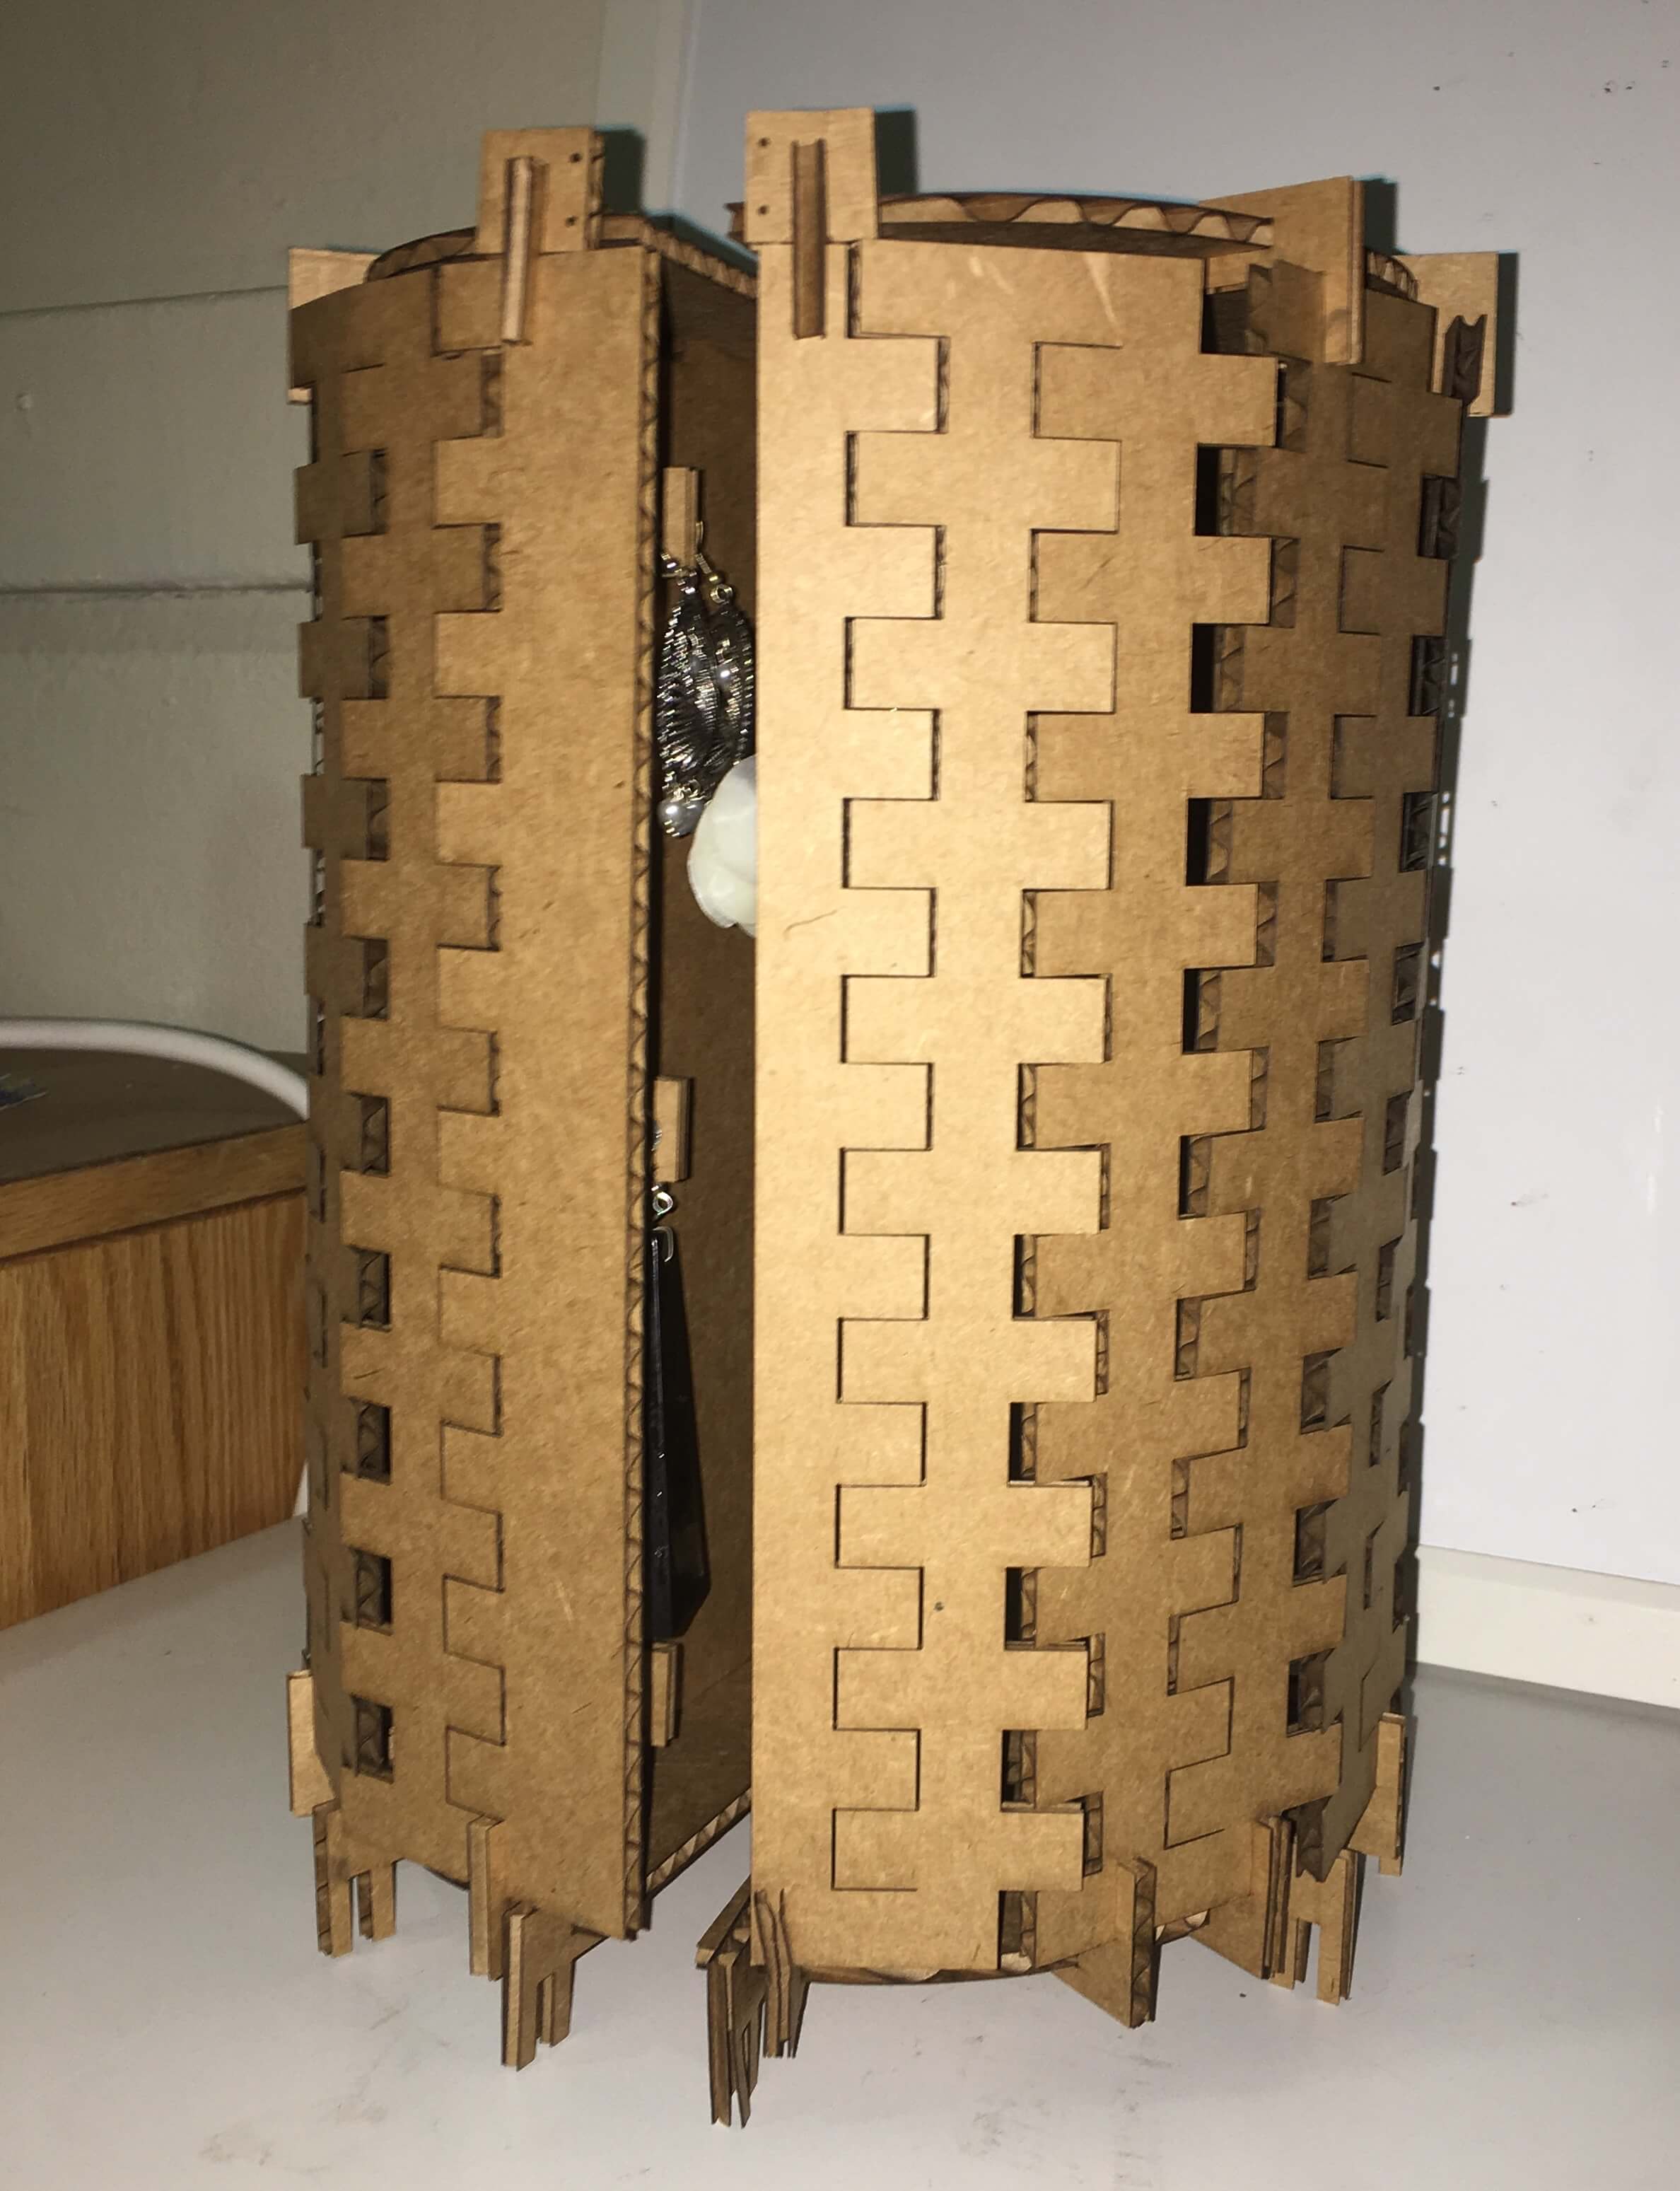
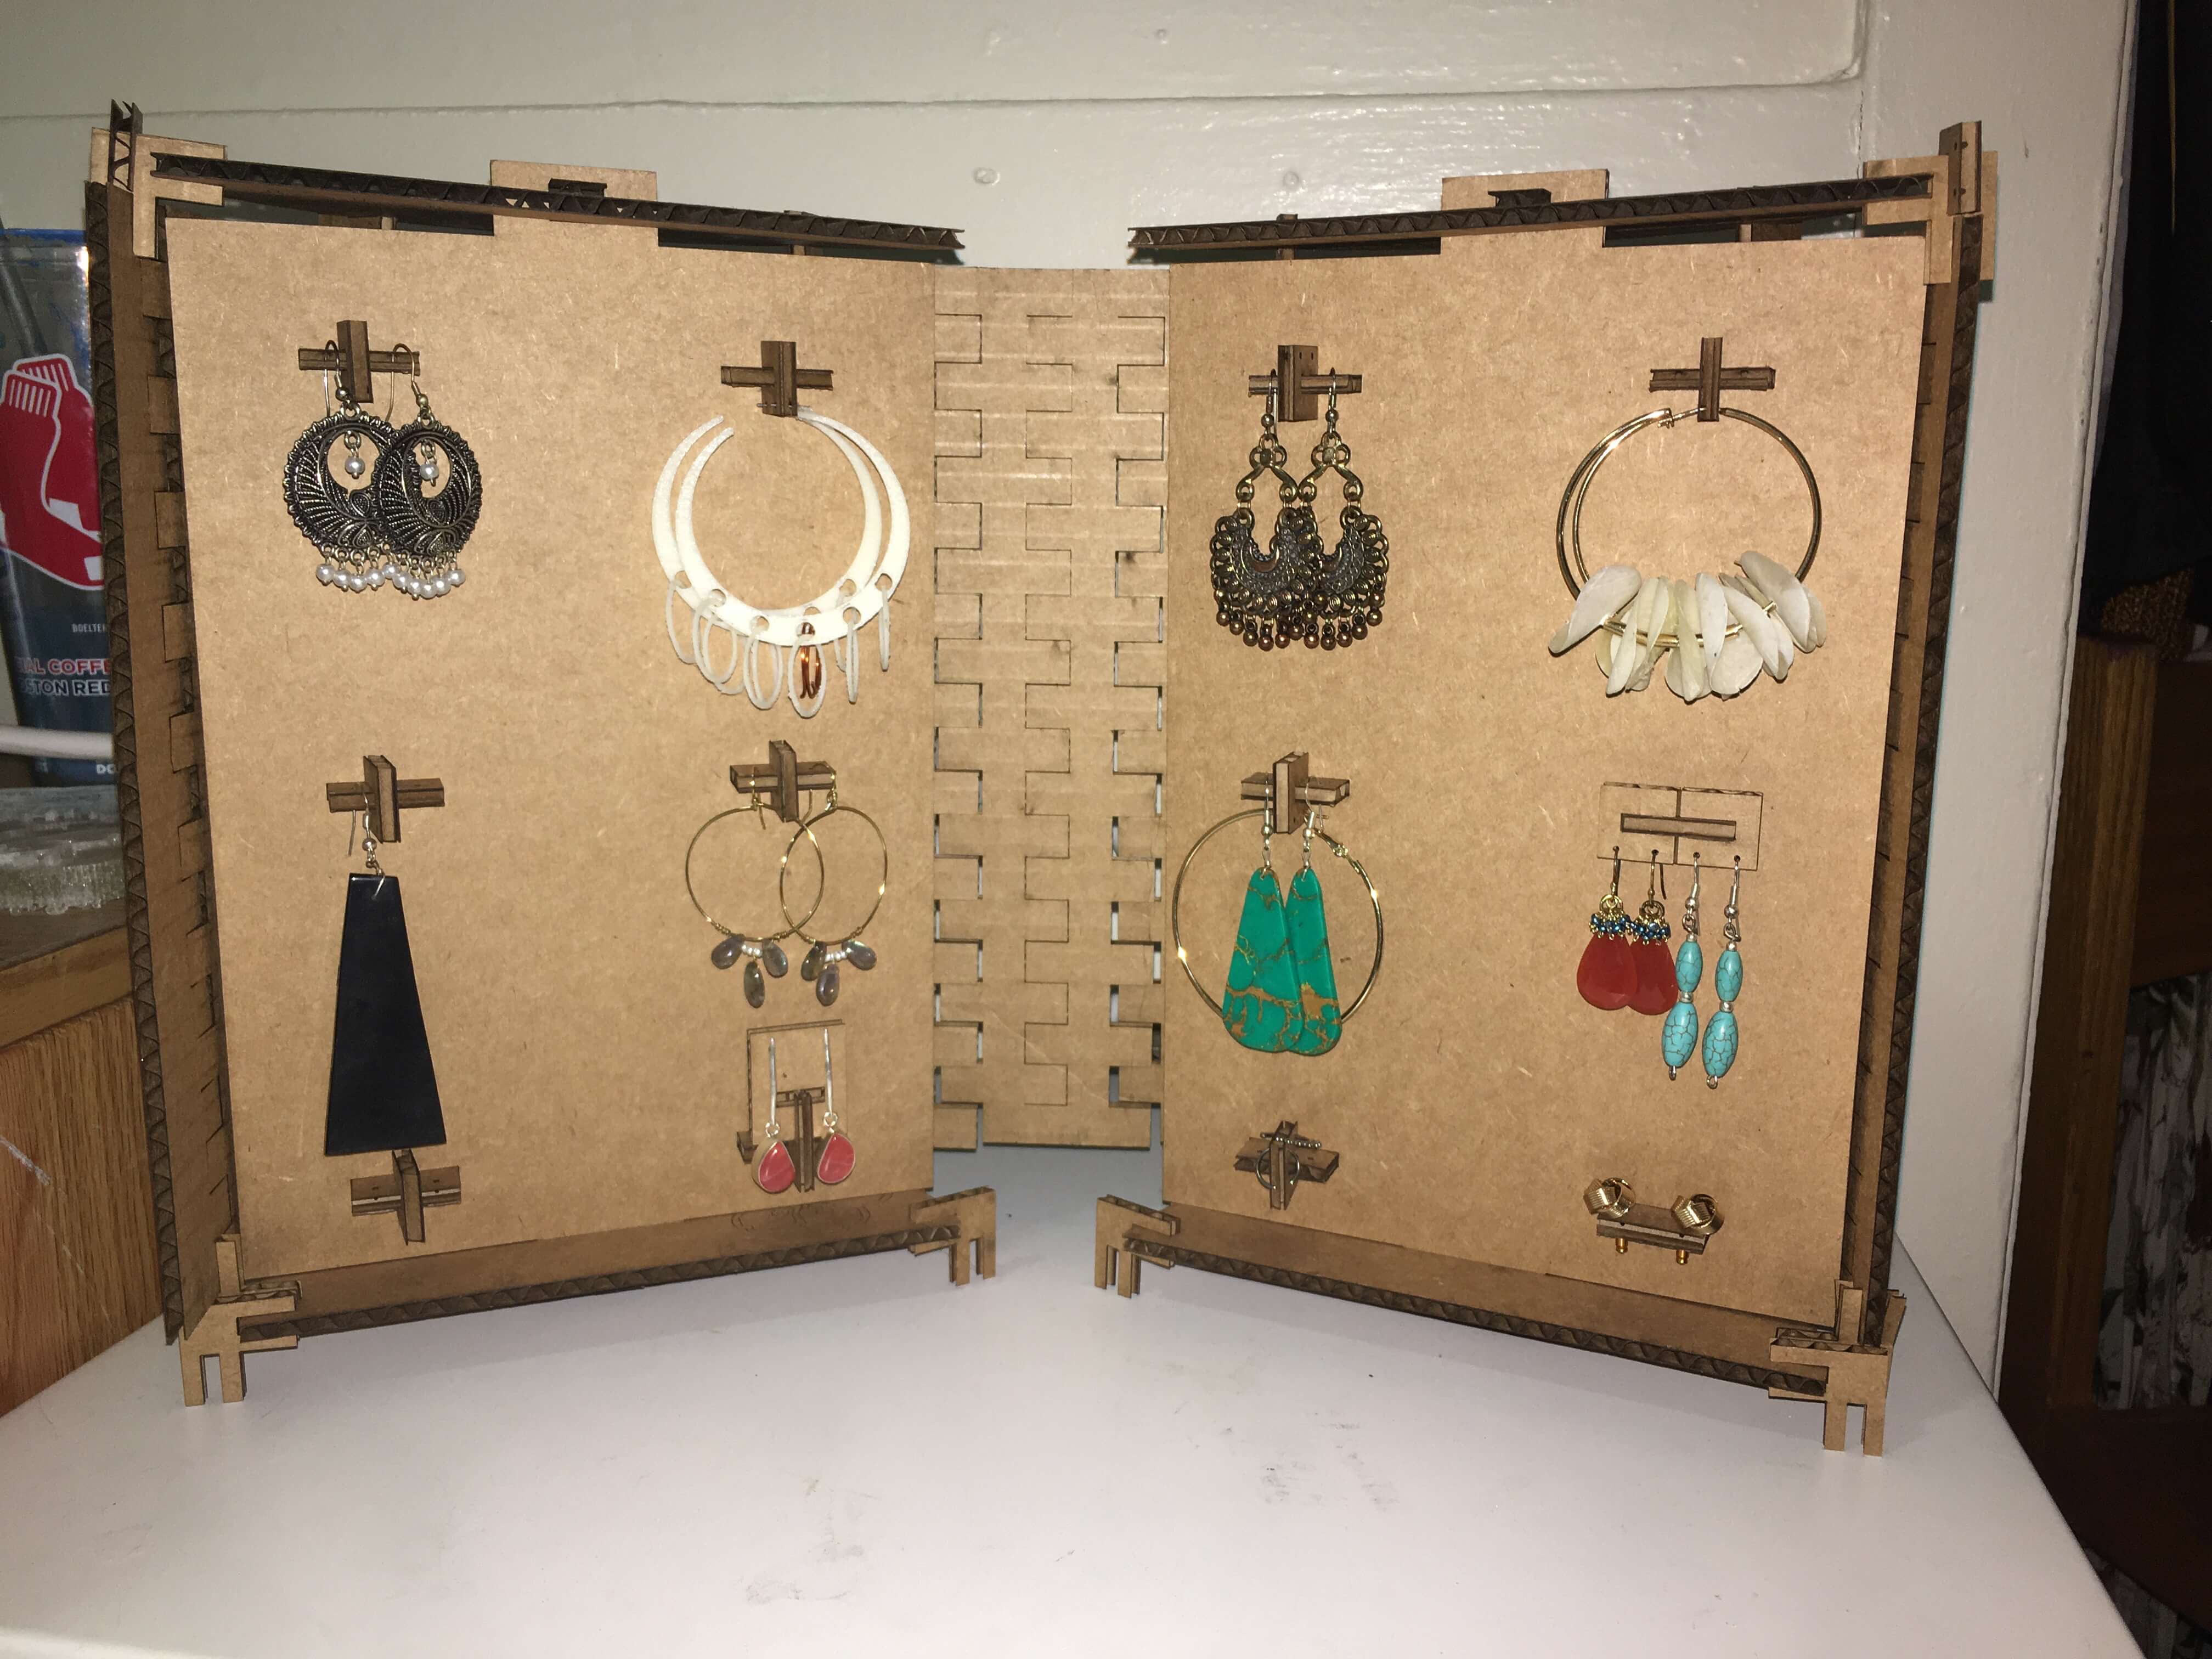
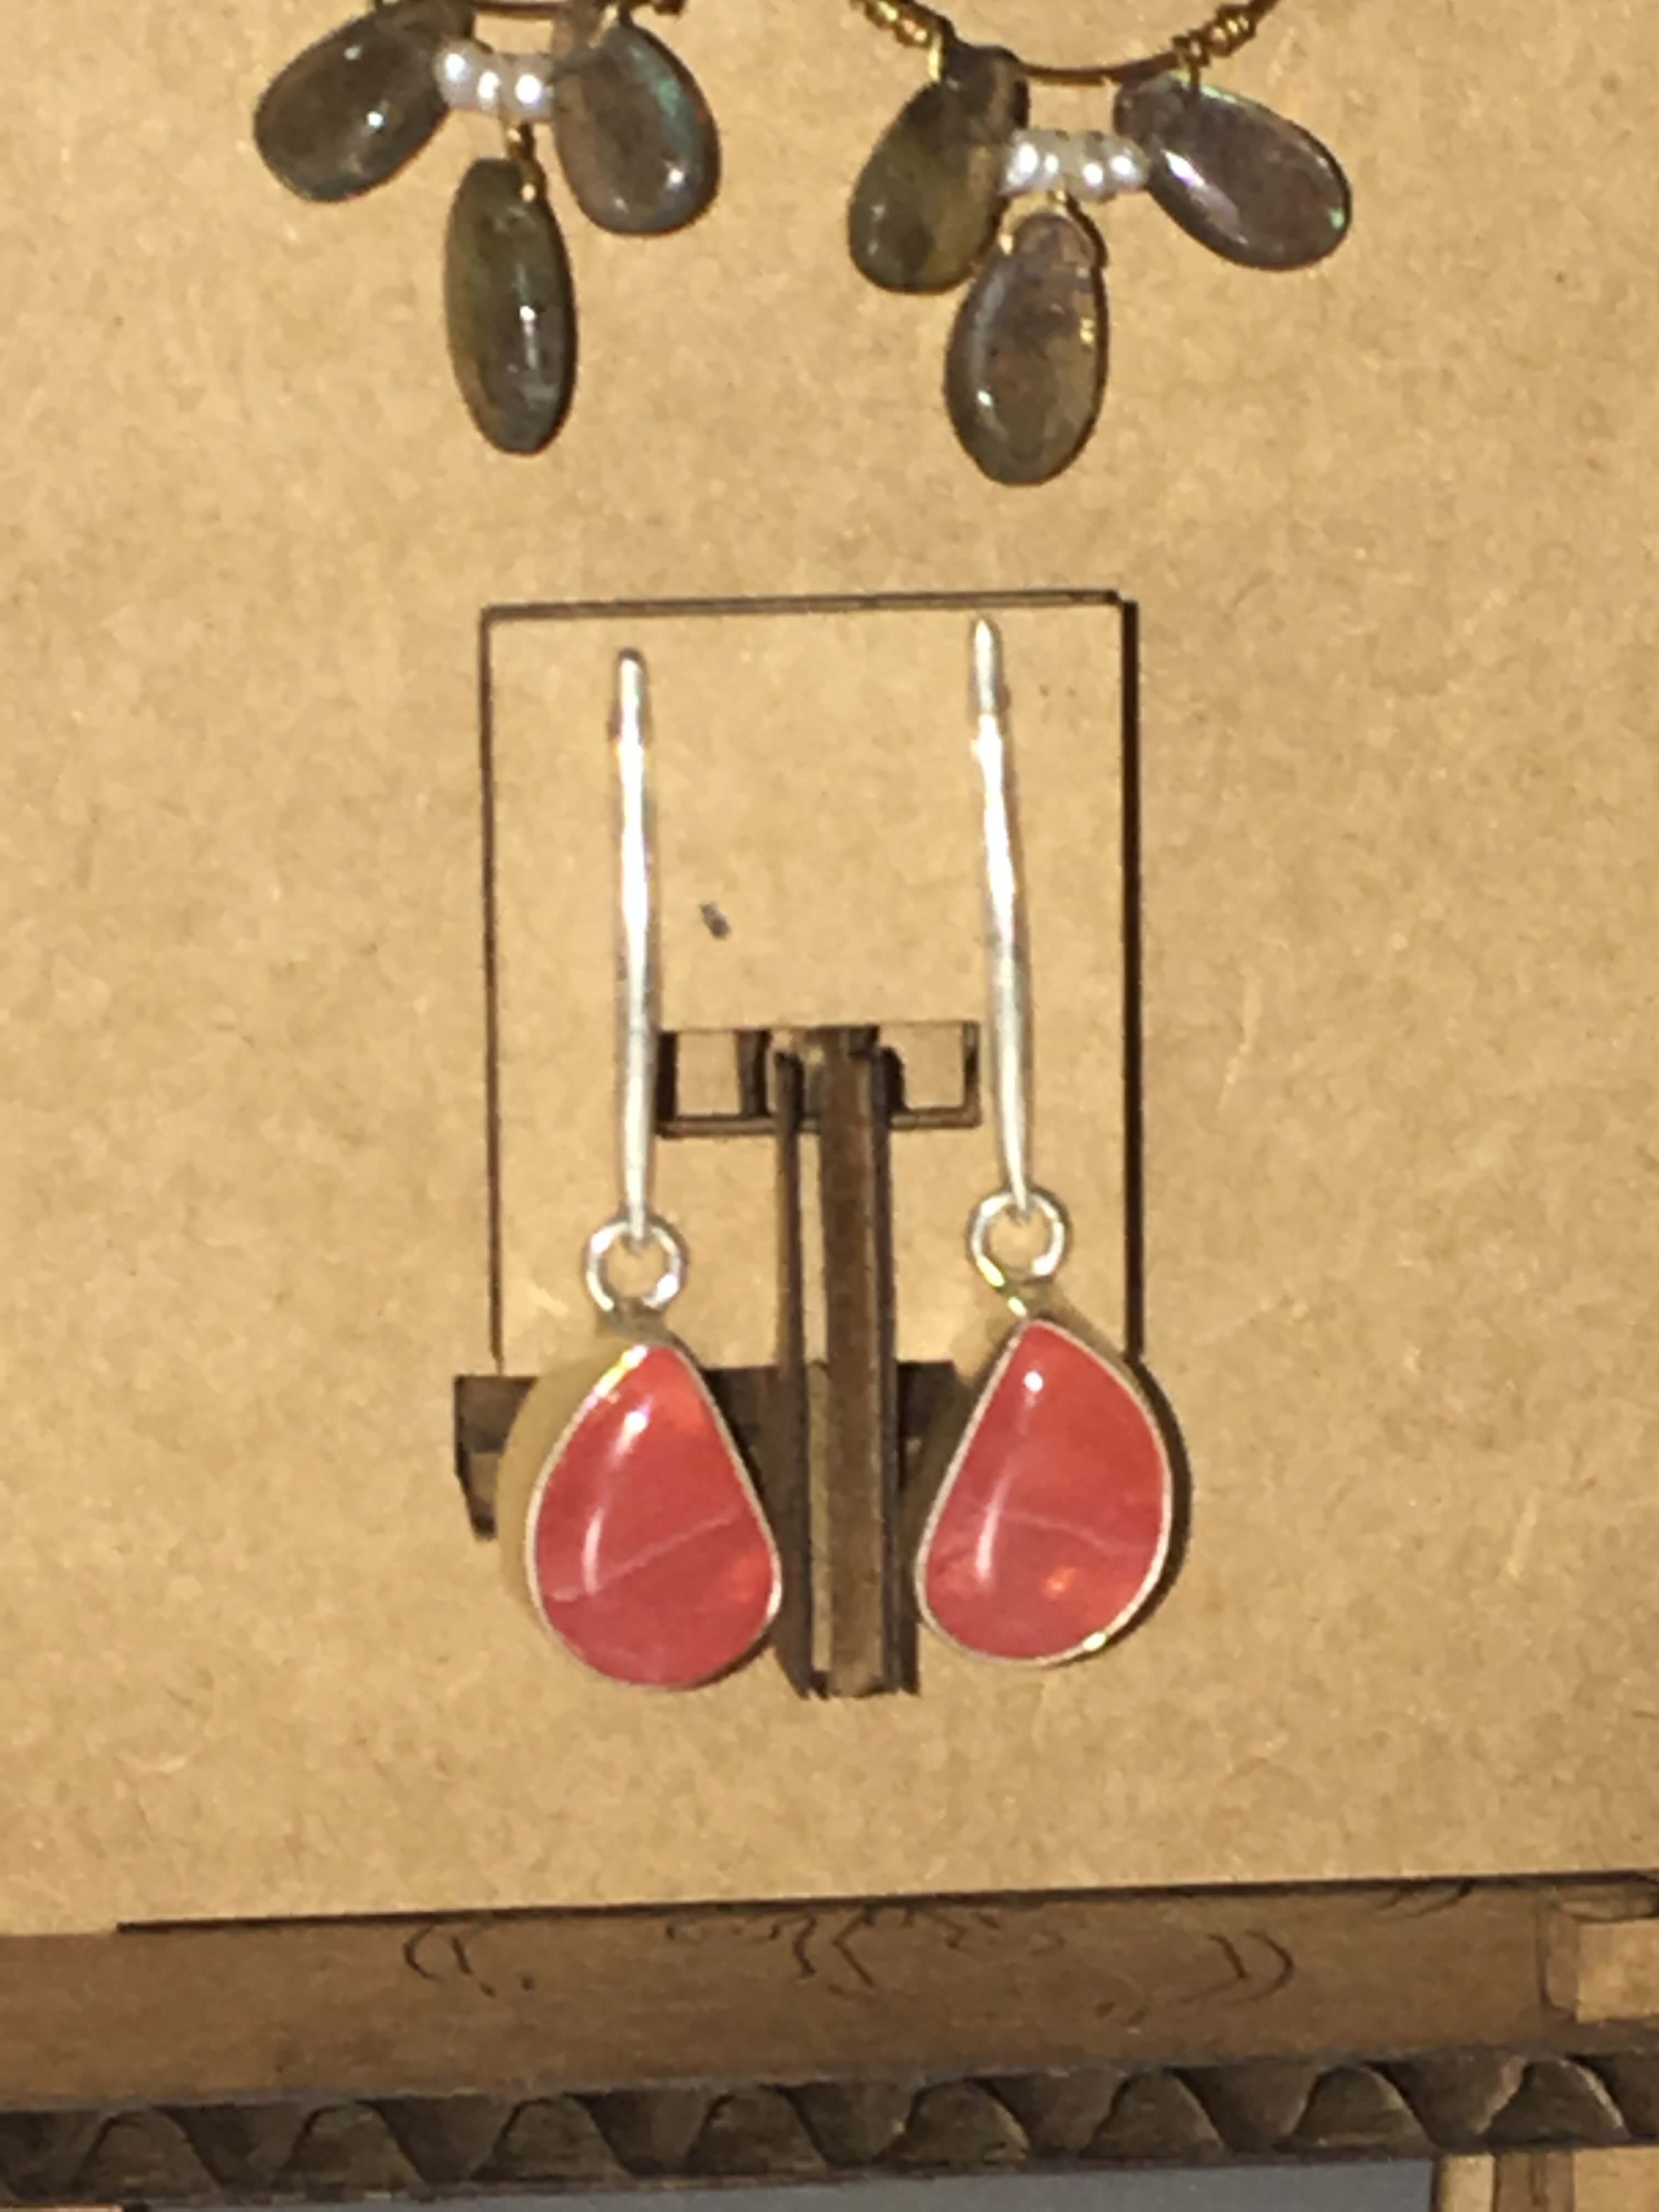
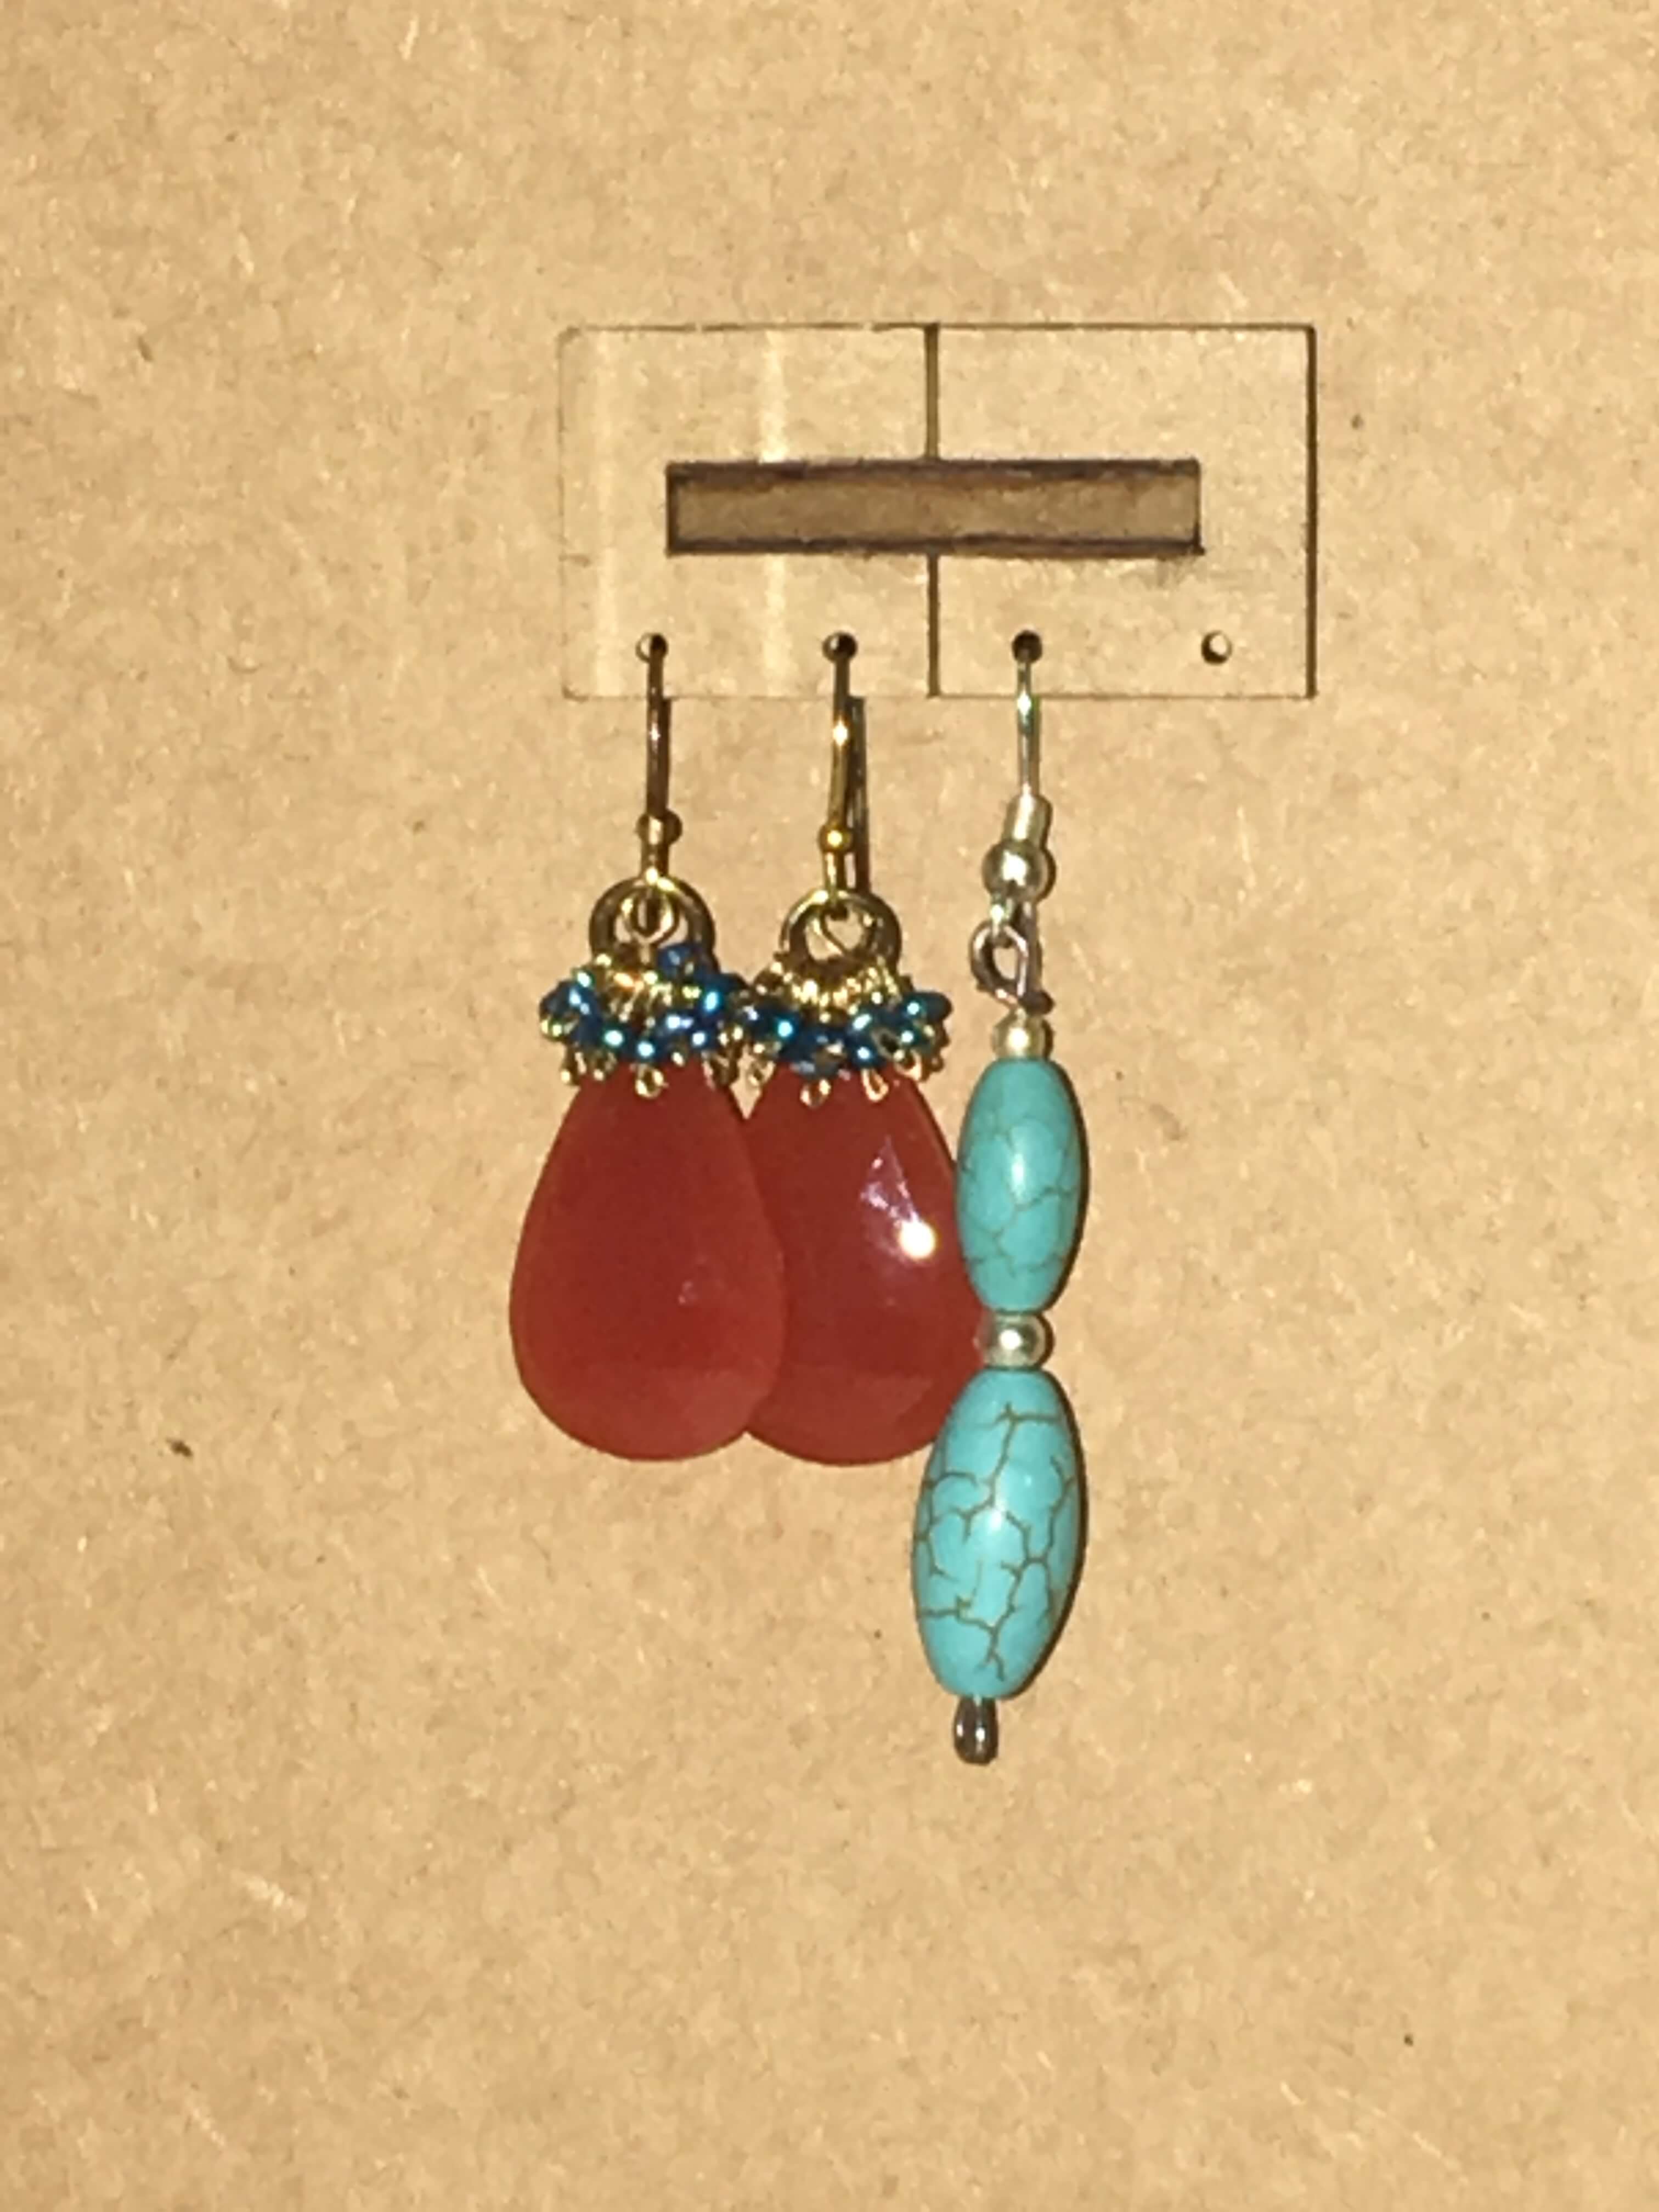
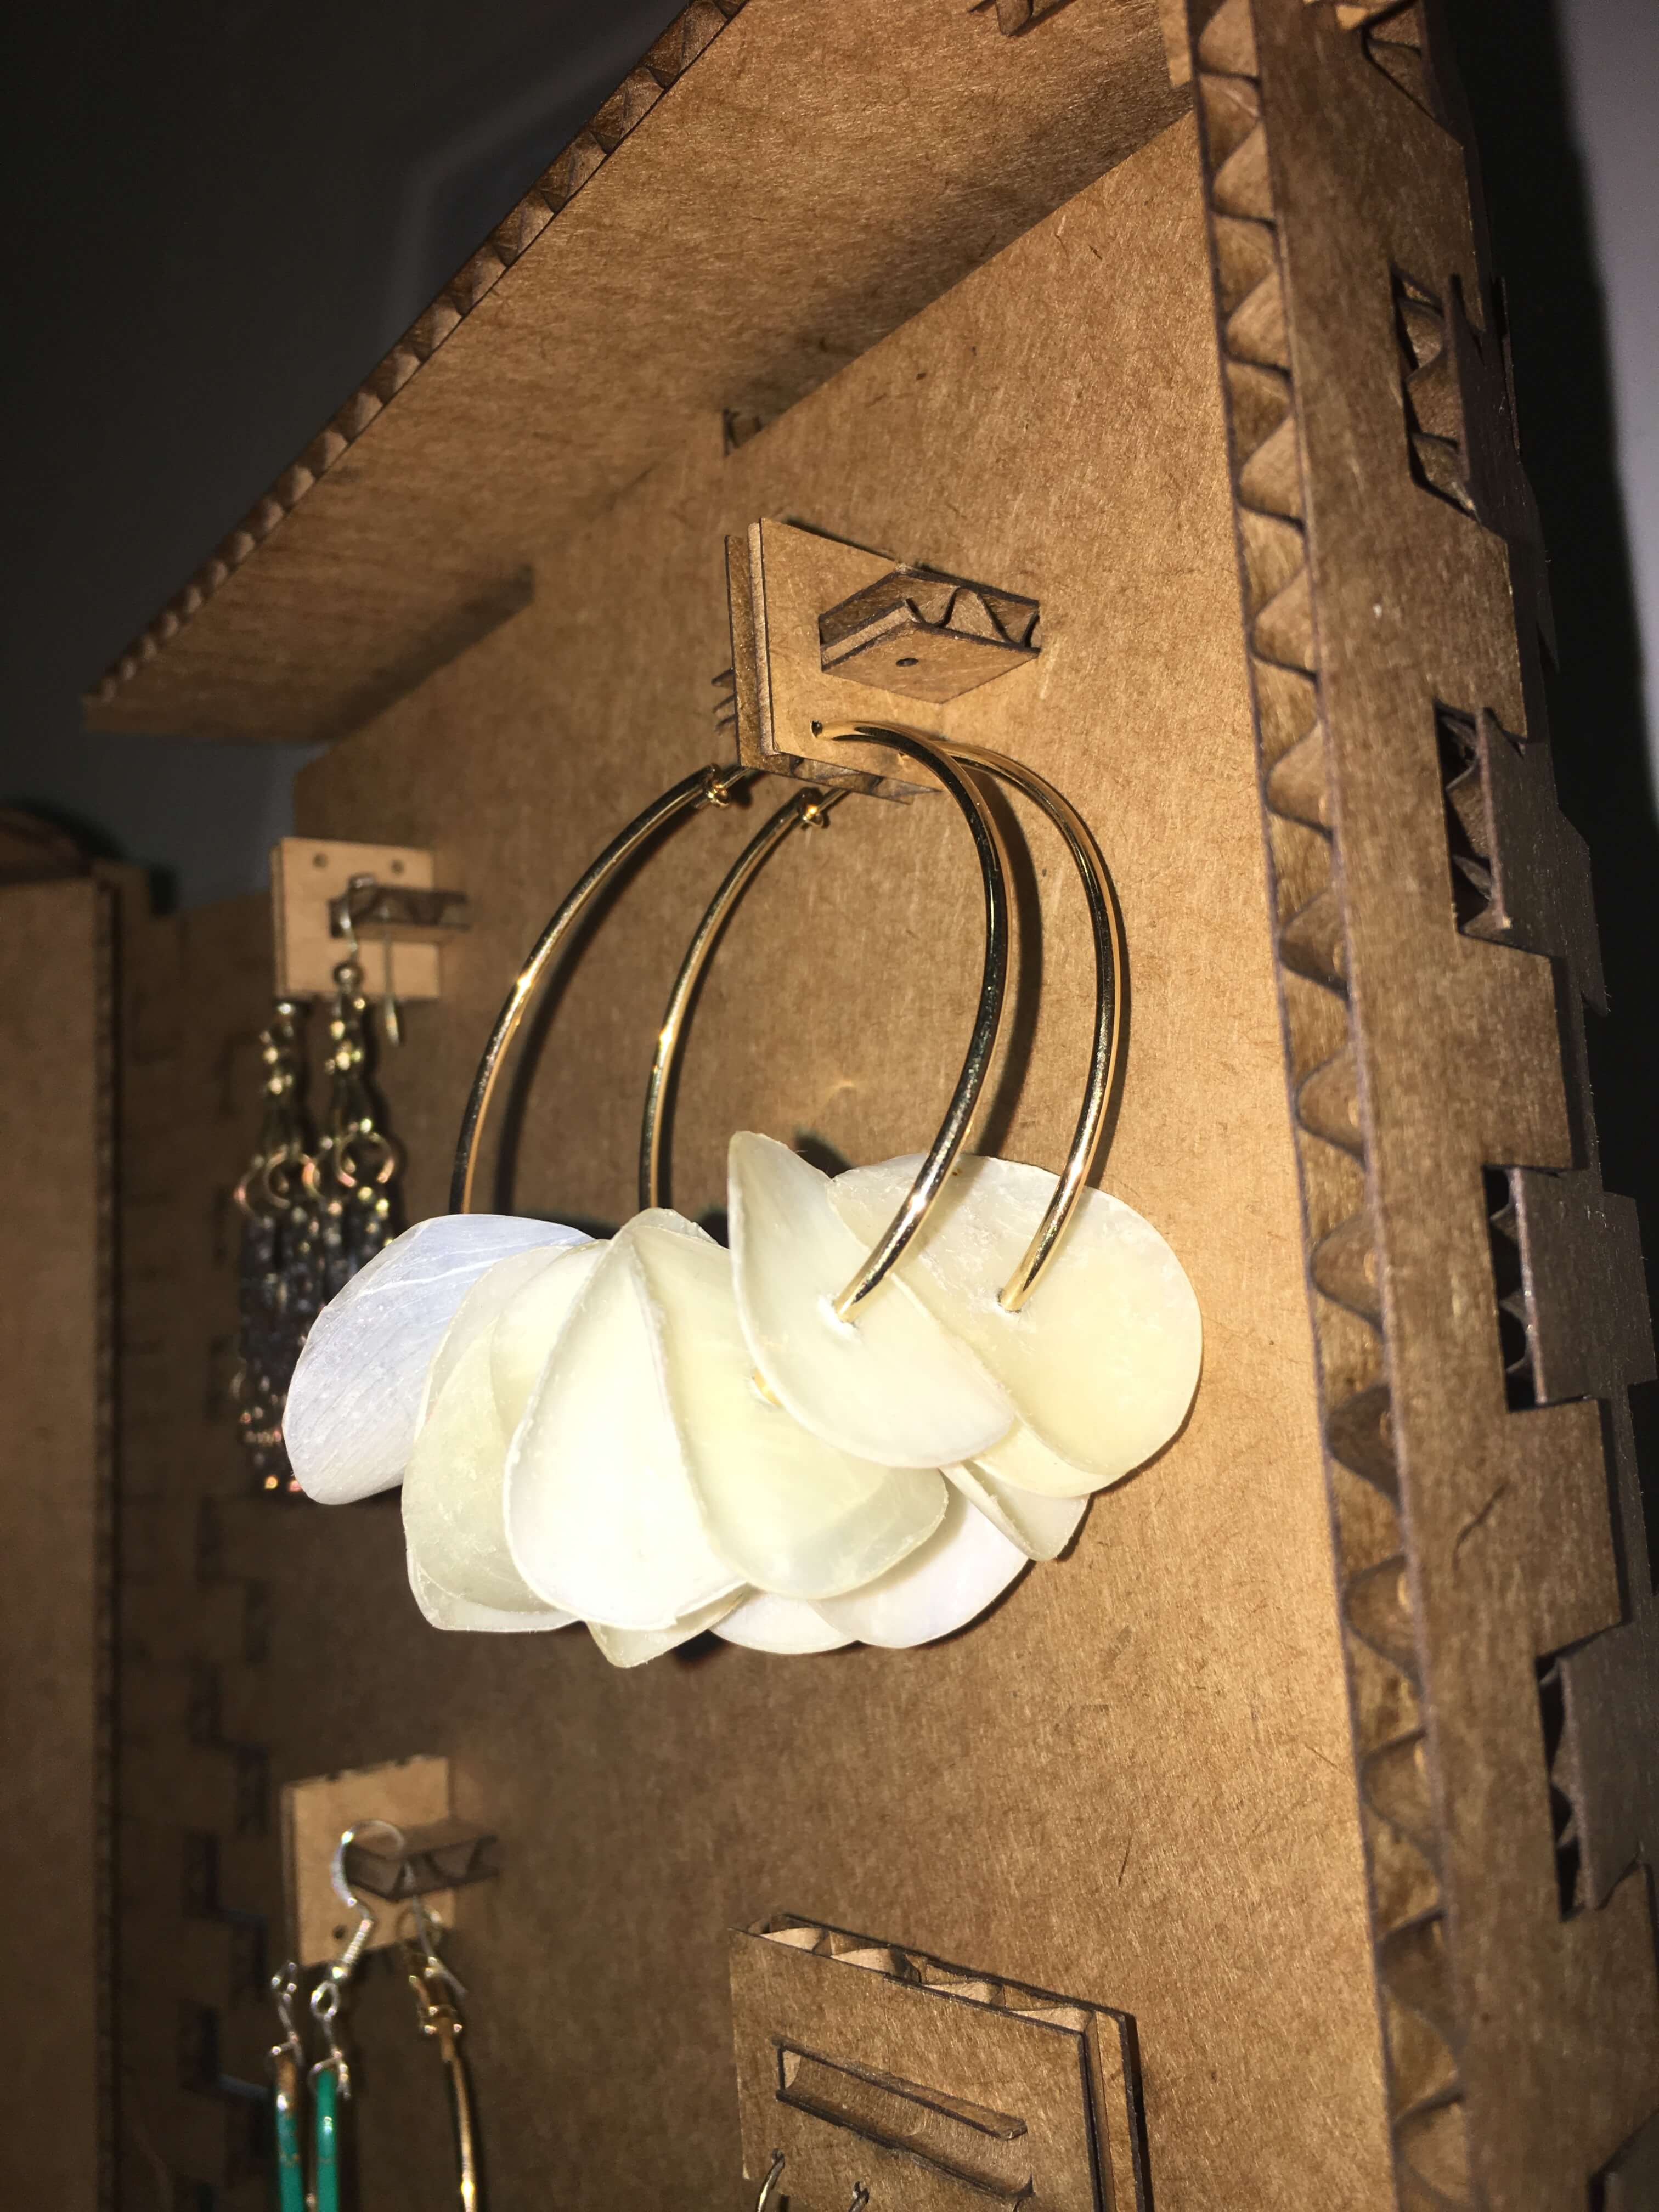
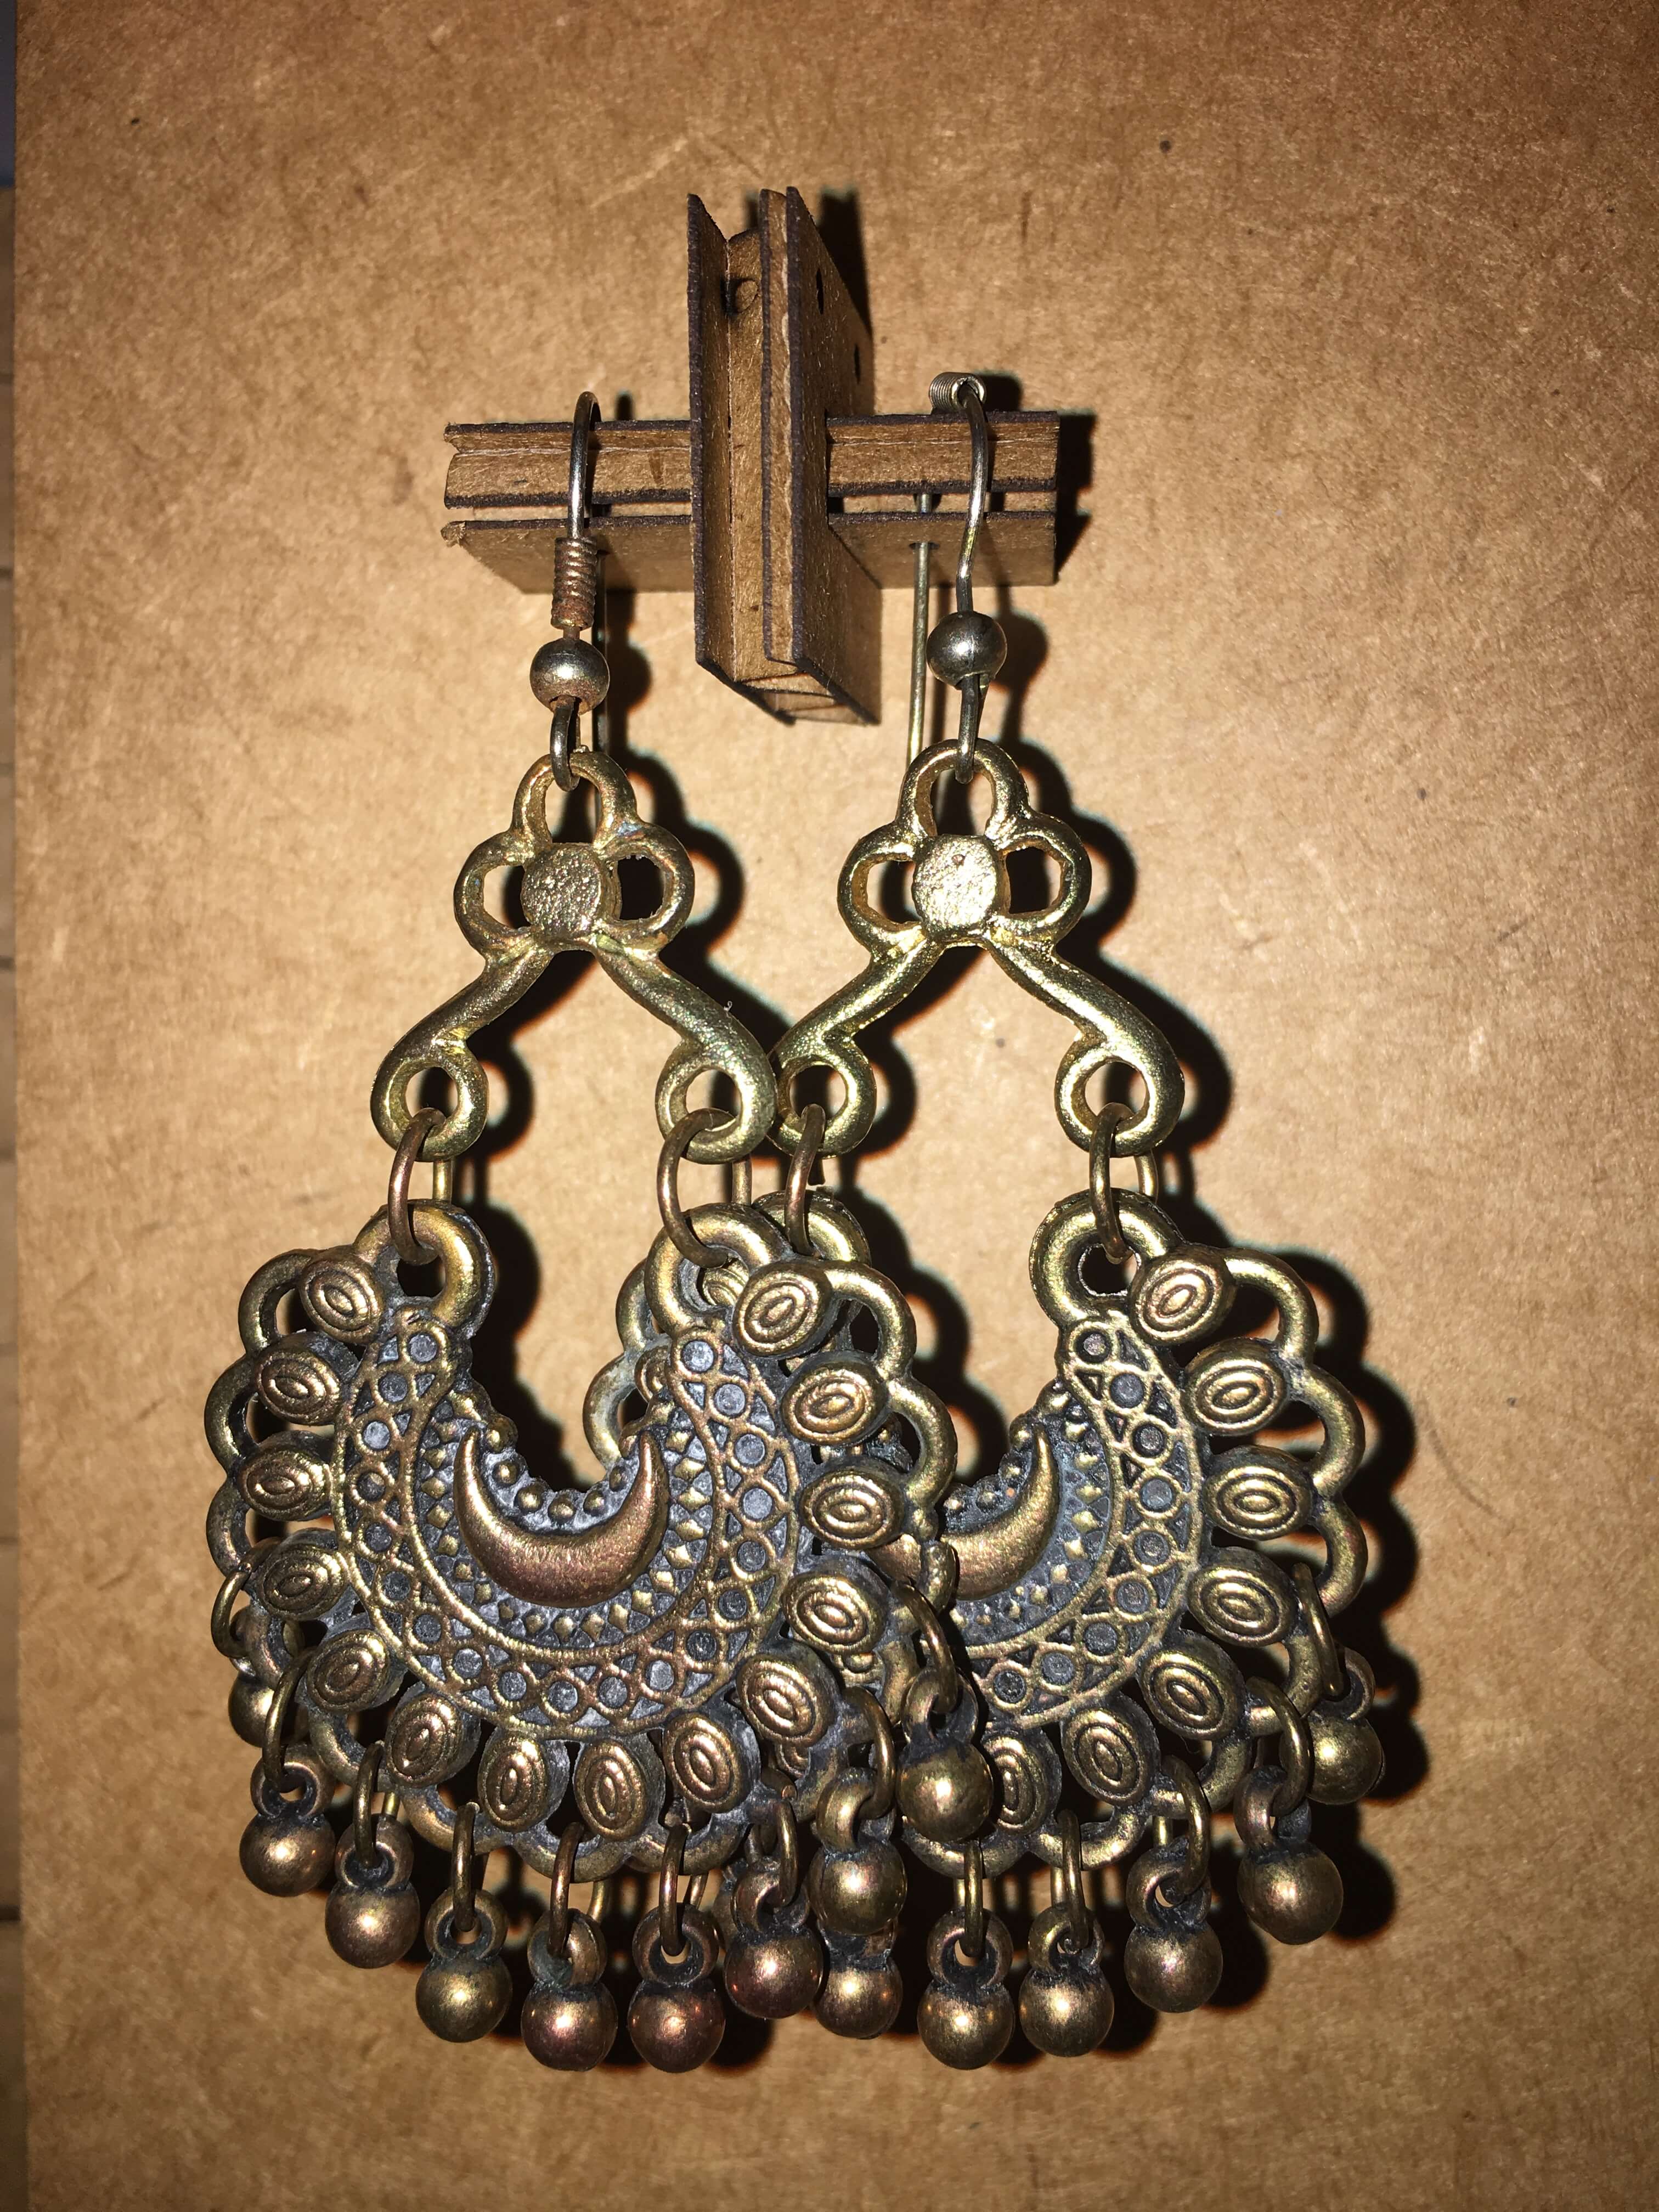
I was very pleased with the different small pieces that I cut out. Originally I was only planning on accomodating for 12 earrings (only hoops, dangly earrings, and studs) to go through the sides or vertically but by combining the different joints in different ways than I originally anticipated, I was able to accomodate for different earring backing styles, different hoop widths, and a larger number of earrings (see above)! One thing that was slightly off about my model is I didn't account for how connecting the living hinge and the top of the case would lift it slightly off of the vertical support all the earrings are attached to. Thus as seen above in the final assembly images, there is a slight gap (cardboard width) between the top of the case and the vertical support, that I would like to change for future iterations. I was able to get a nice bend with the living hinge; however it was slightly jagged and not as nicely curvy as I would have liked. I hope to change this as well. It would be nice to add LED lights on the inside of the living hinge and I feel like it would create some cool light patterns.
Important lessons learned:
- Double check your solidworks before exporting as a DXF that there are no overlapping line segments!
- When changing parameters in an external file, open up all the corresponding parts and rebuild the document before exporting as a DXF to ensure the model changes
- There is a mat board setting on the epilog laser cutter that is optimal for the cardboard, rather than balsa wood