3D Scanning and Printing
3D Printing
3D Printer Design Rules
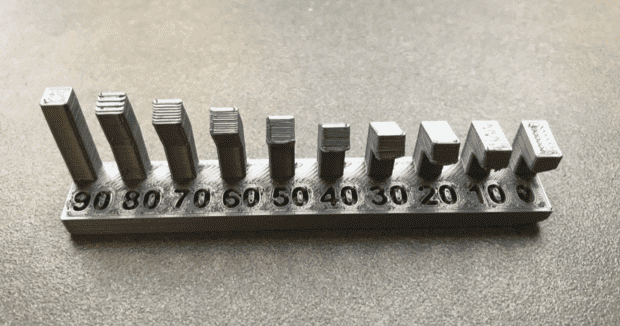
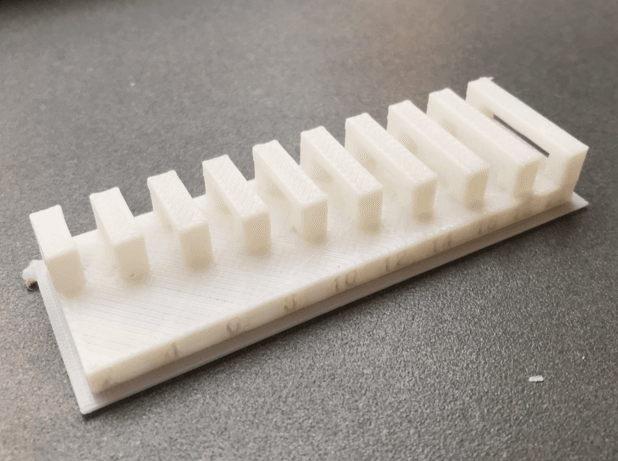
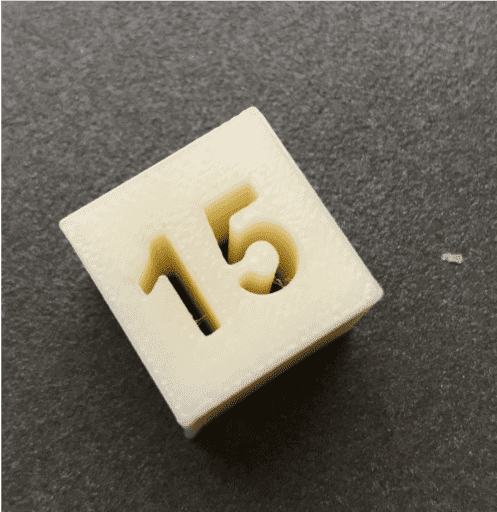
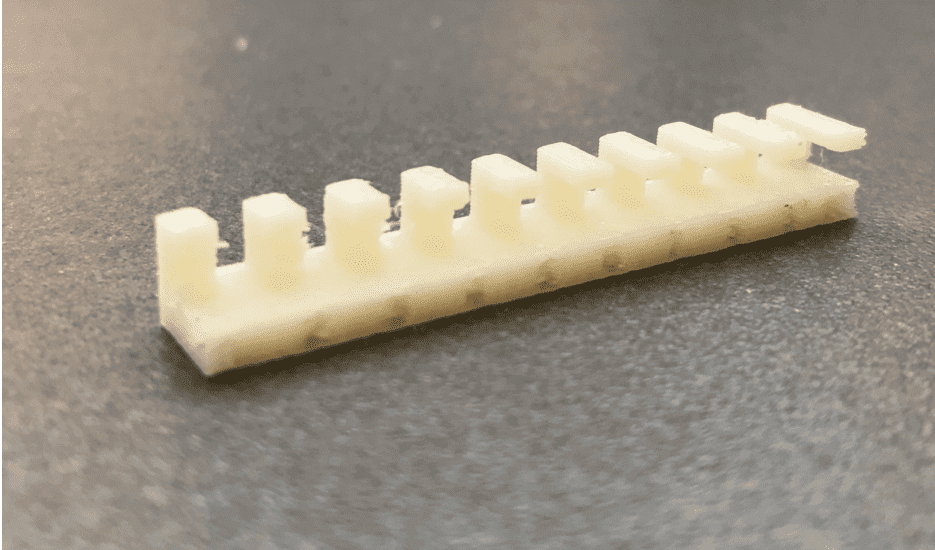
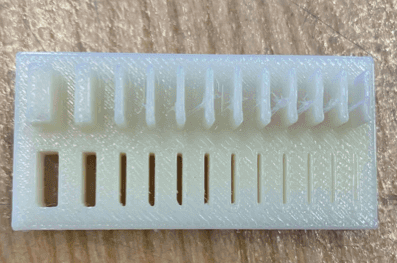
The EECS sections split up the work and printed out examples that are on the fab website to better understand the constraints on 3D printing. Some of the examples that we printed in order are: angle, anisotropy, bridging, clearance, dimensions, infill, supported overhang, overhang, surface finish, and wall thickness.


Designing Something Un-Machineable
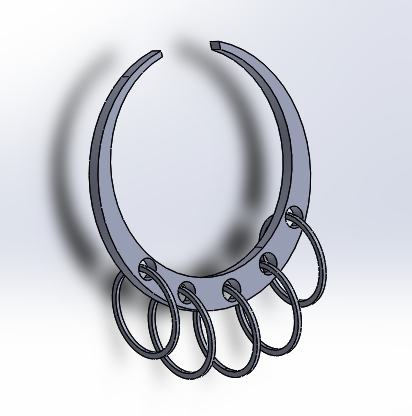
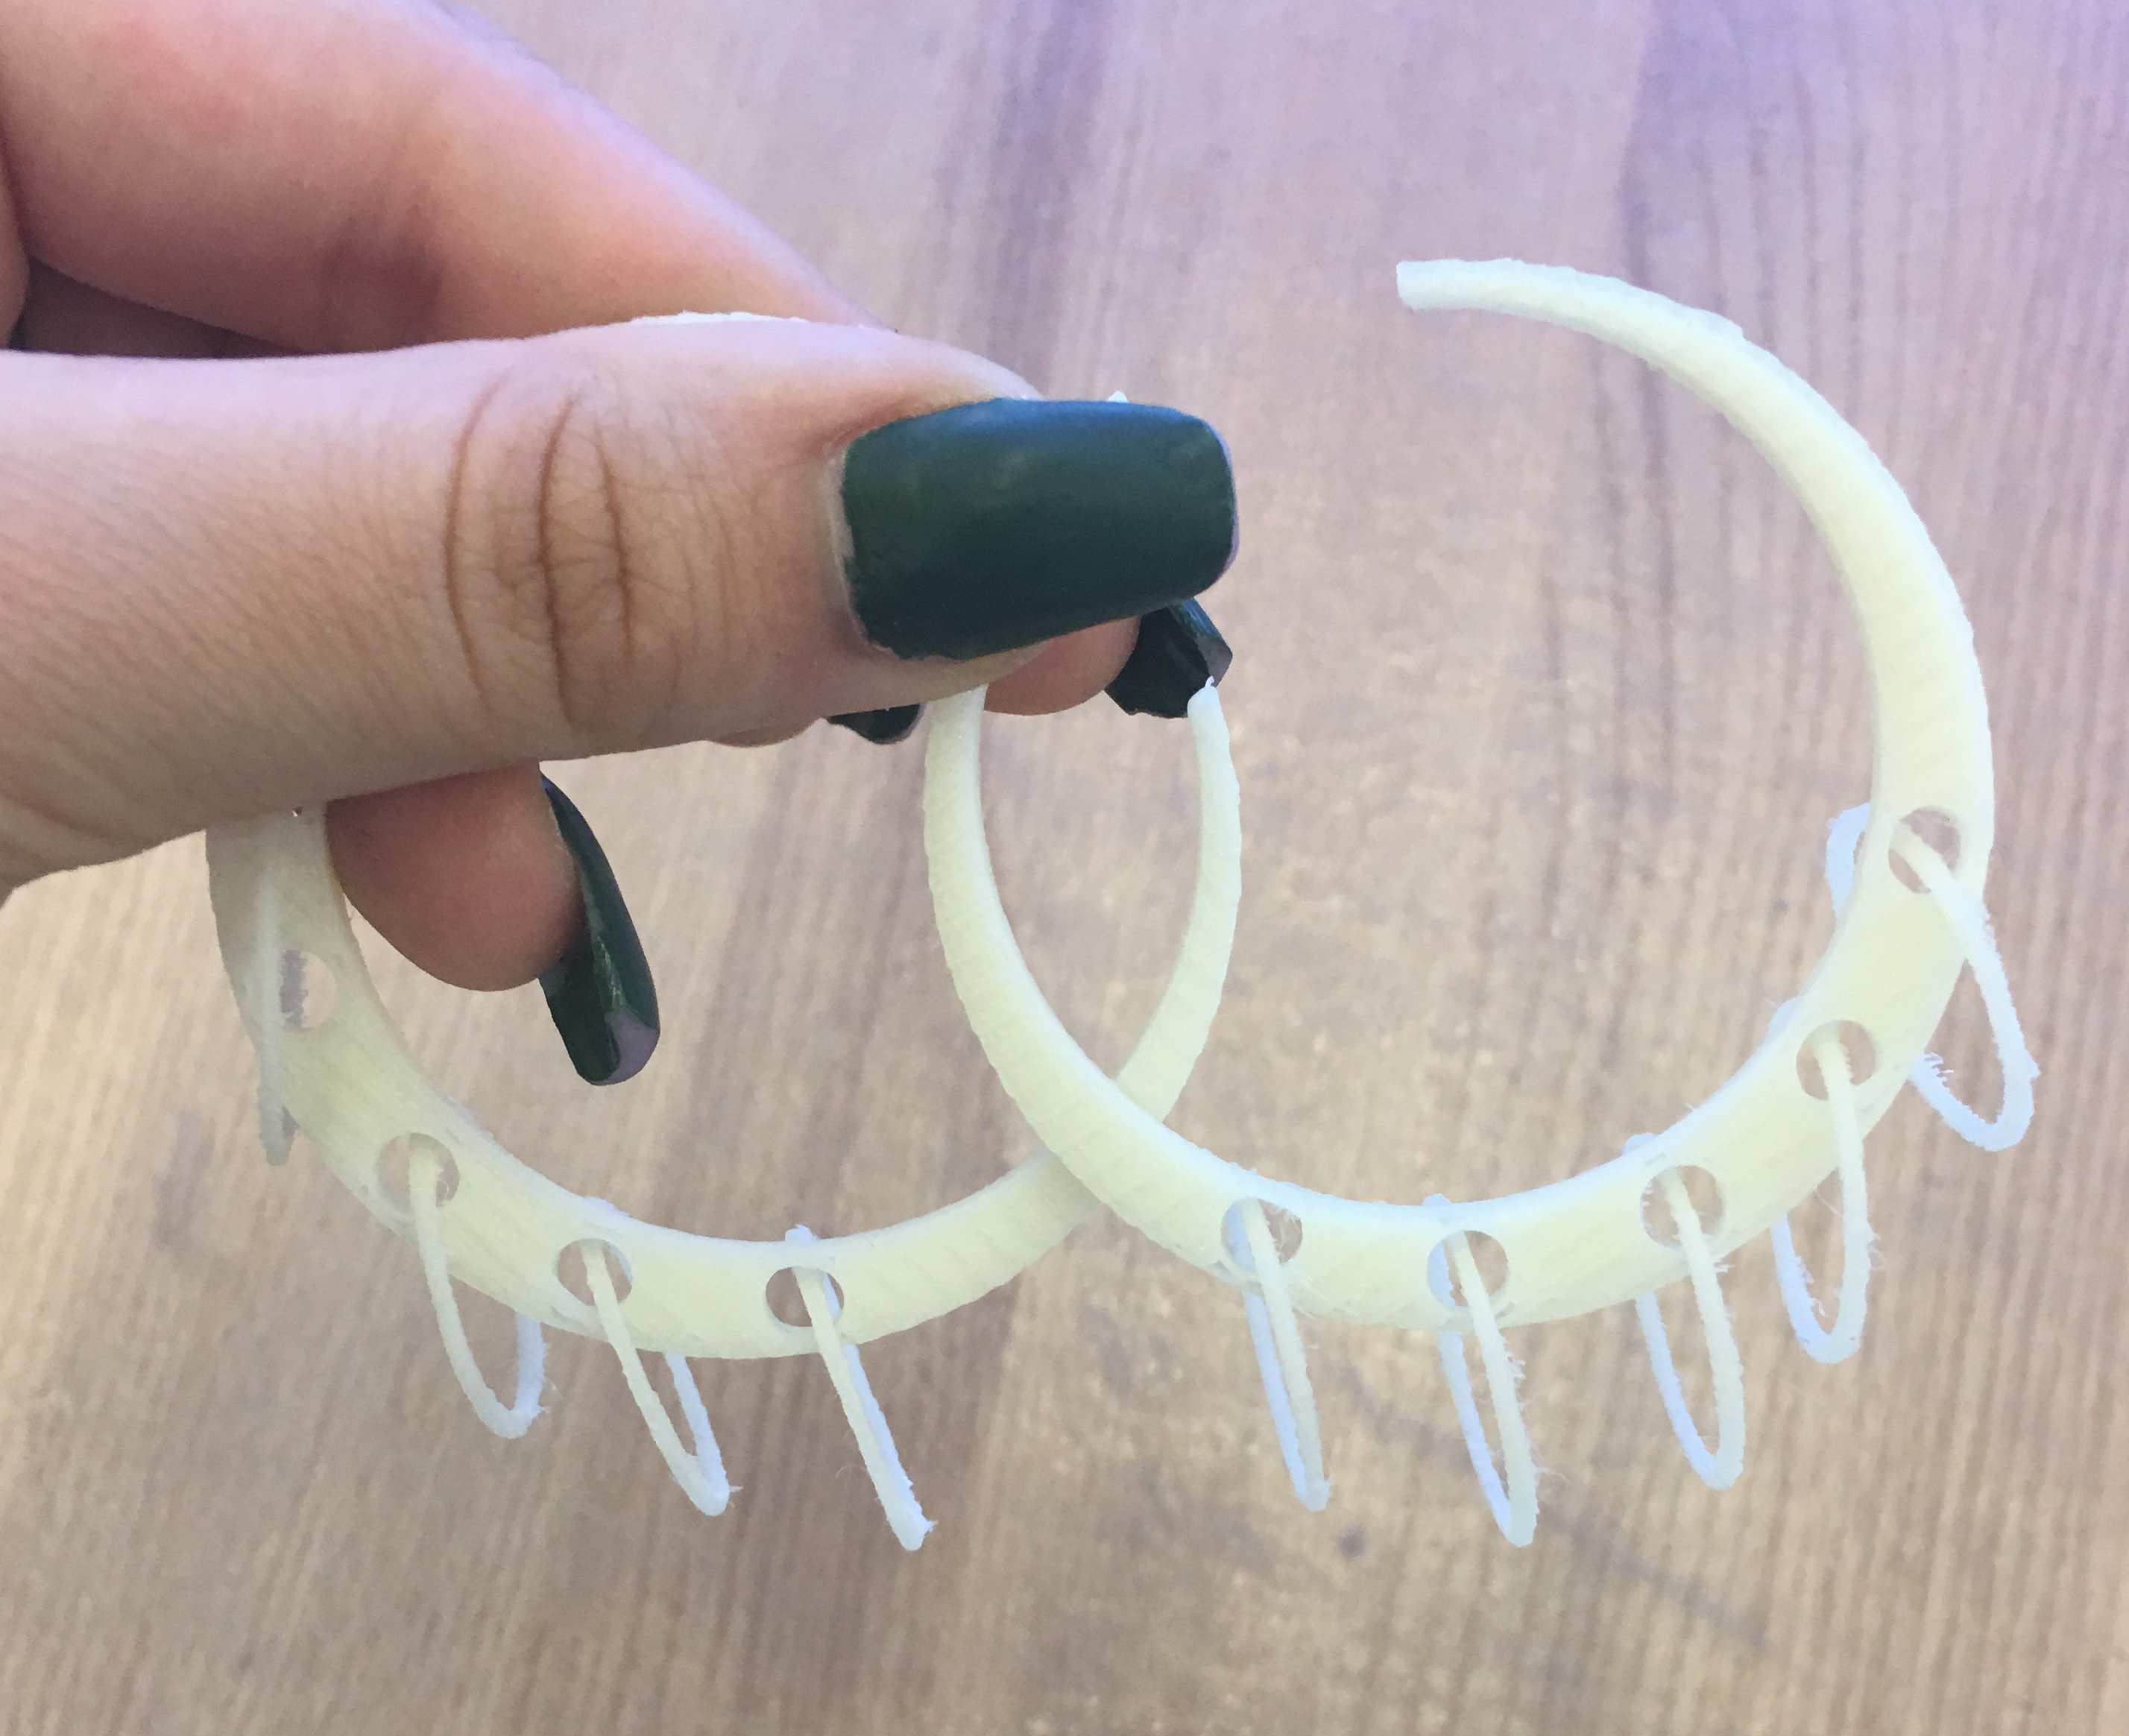
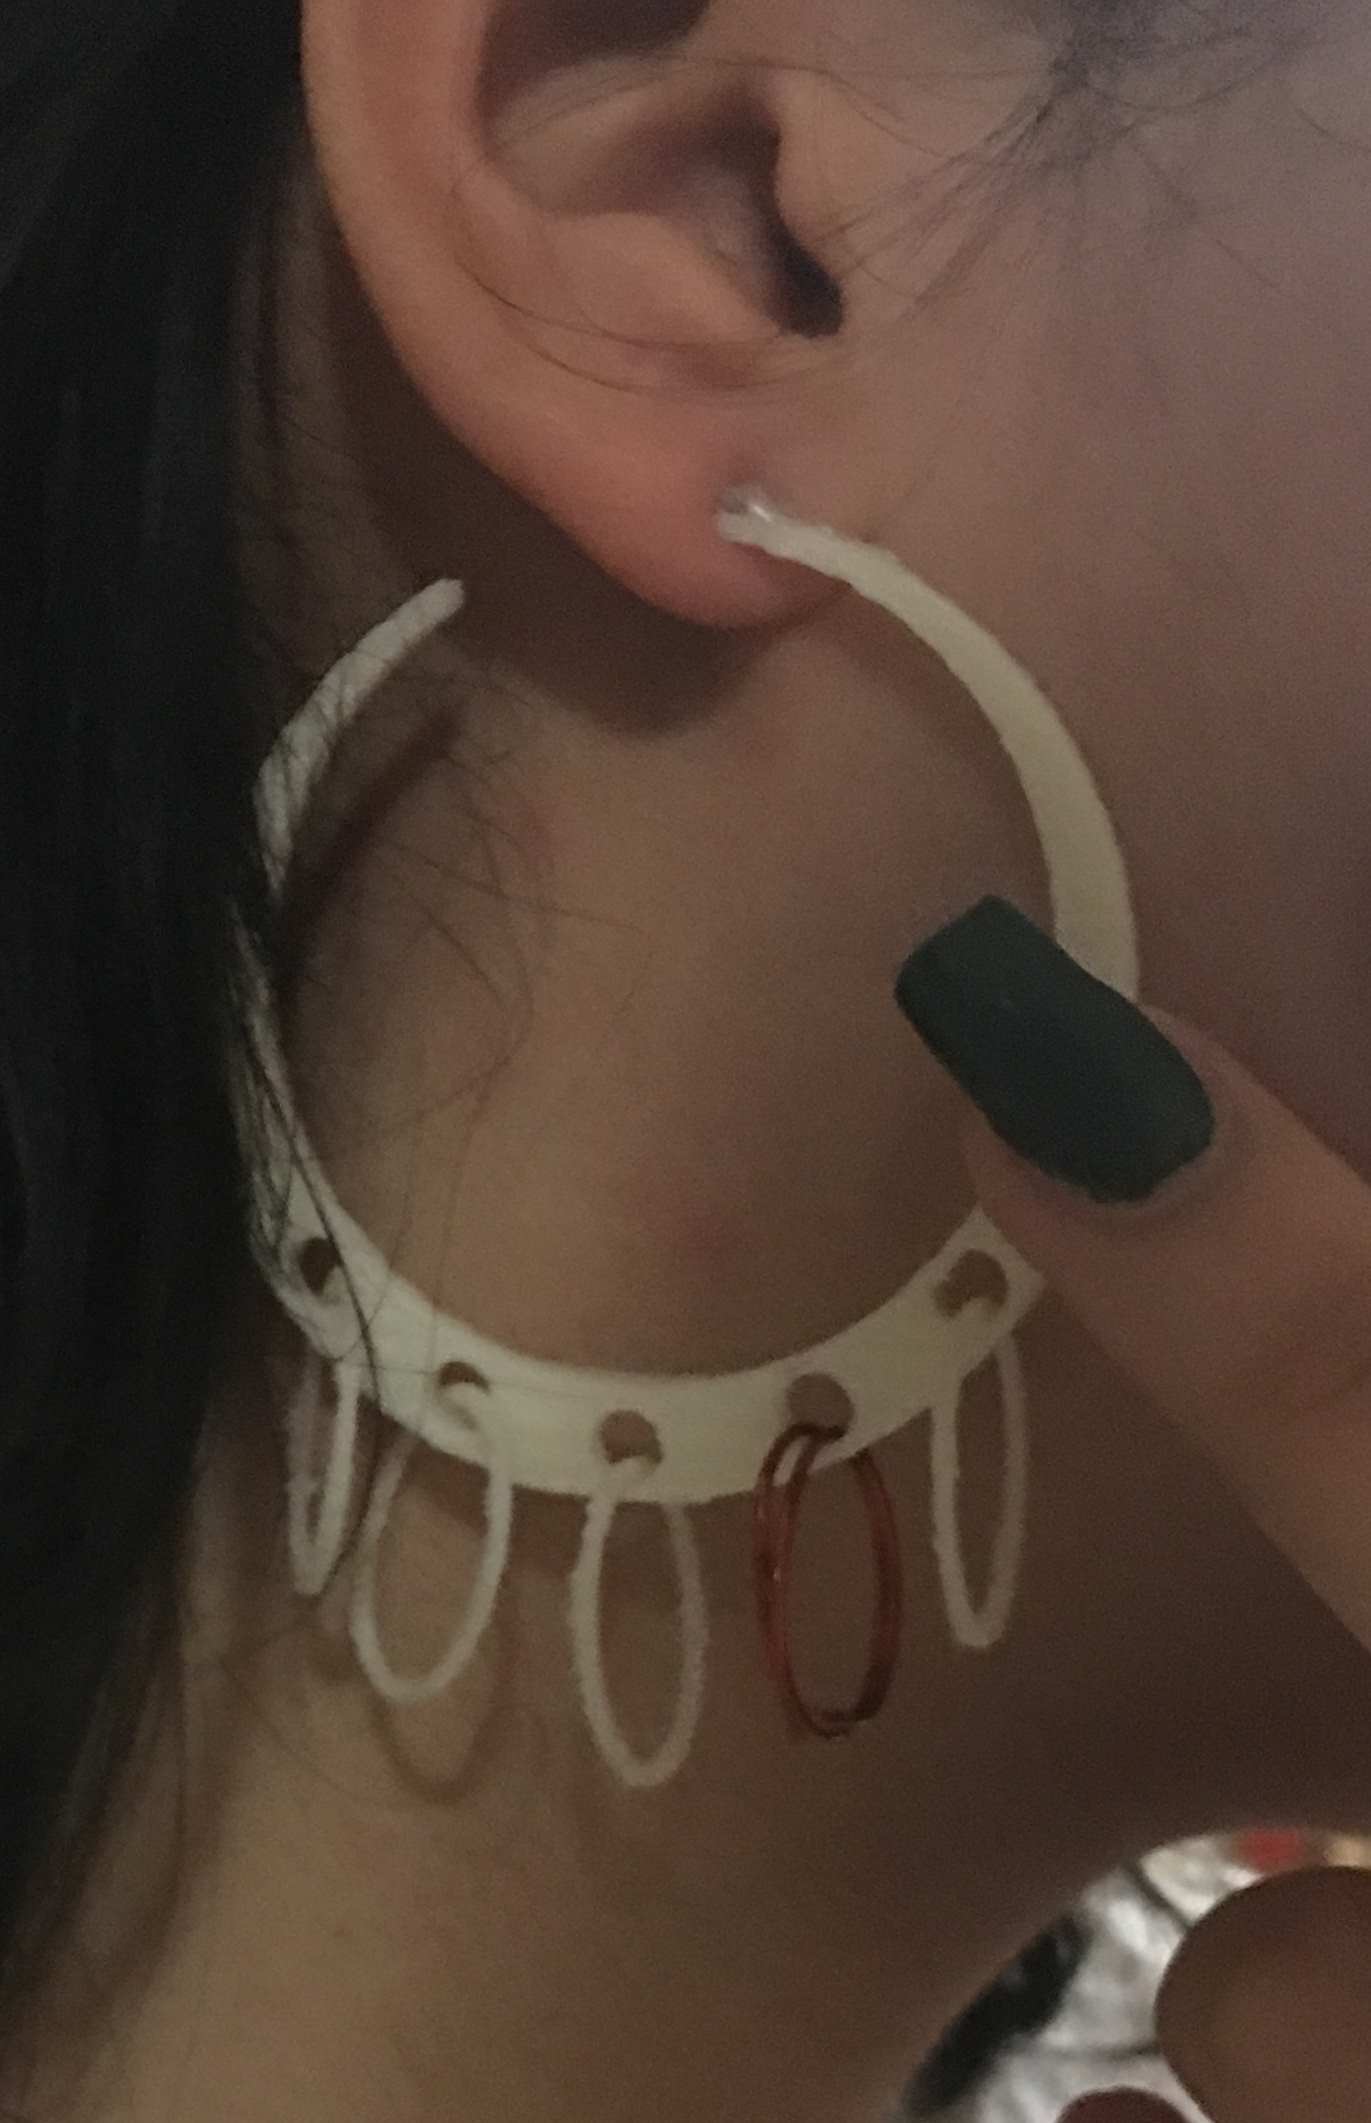
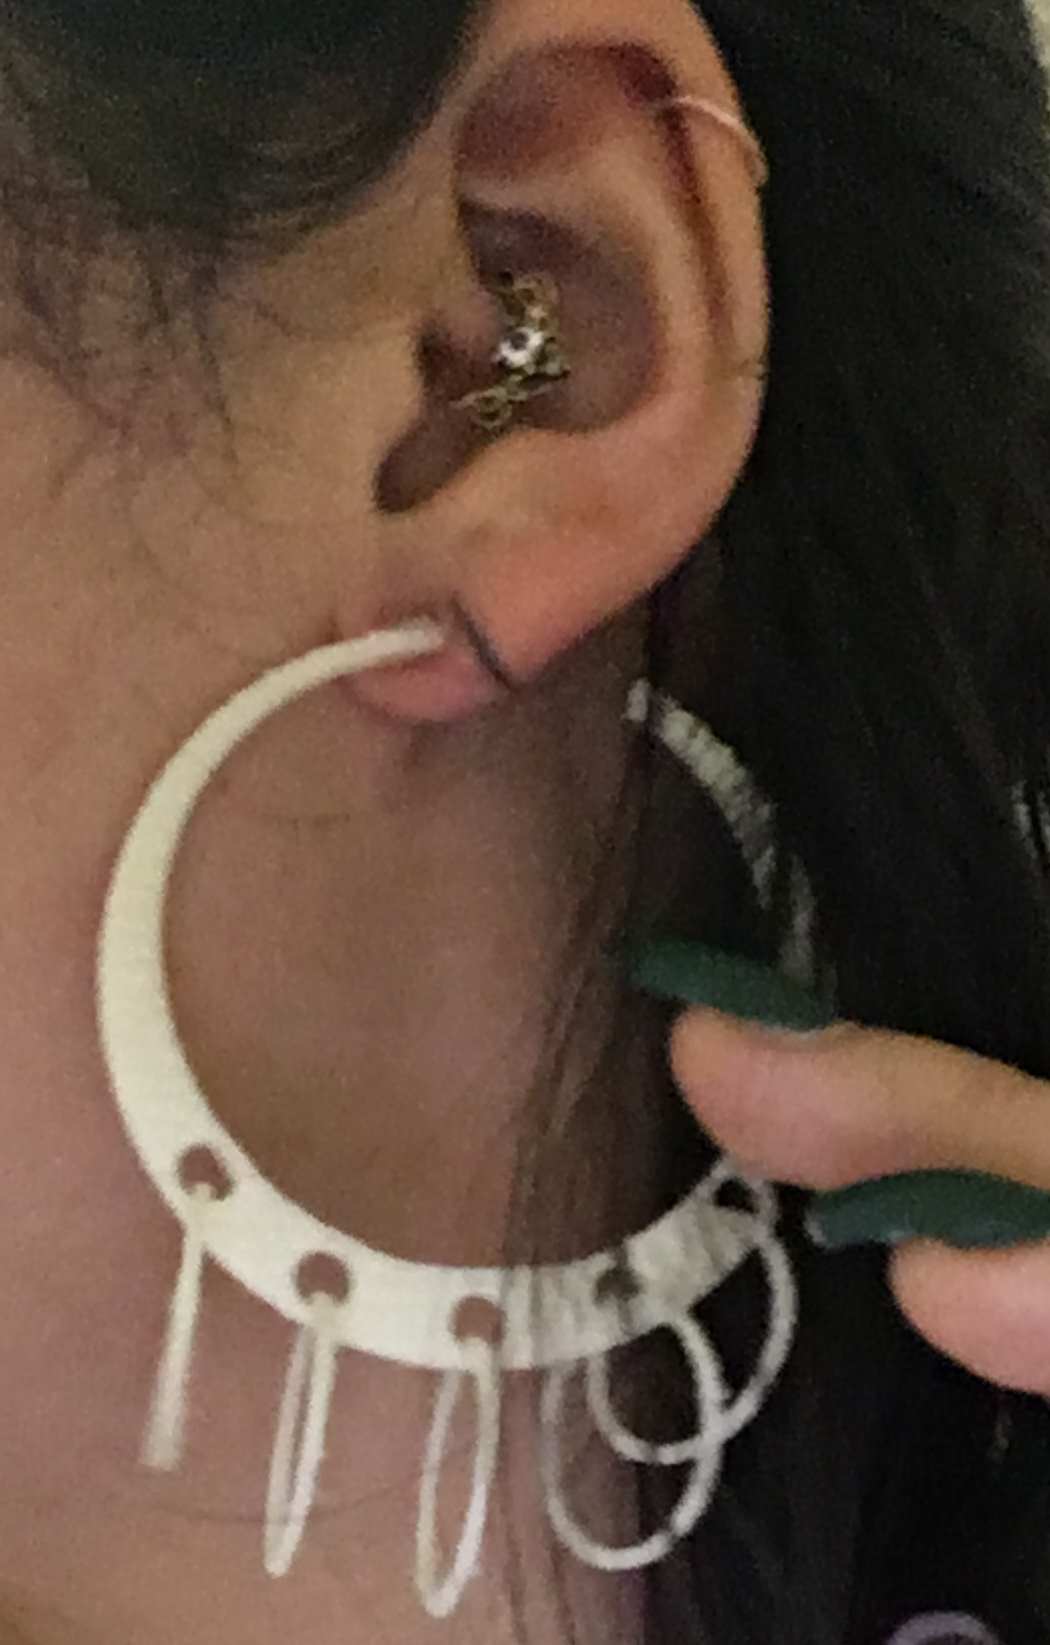
I had a really fun time with this week. For this week I decided I wanted to 3D print my own pair of earrings. I began by designing something that could not be machined in Solidworks. I came up with the following design which are a pair of hoops with hoops inside them. This design is a big waste of support material but its also super cute and small so I thought 2 hoops wouldn't be the biggest issue.
Printing the Earrings
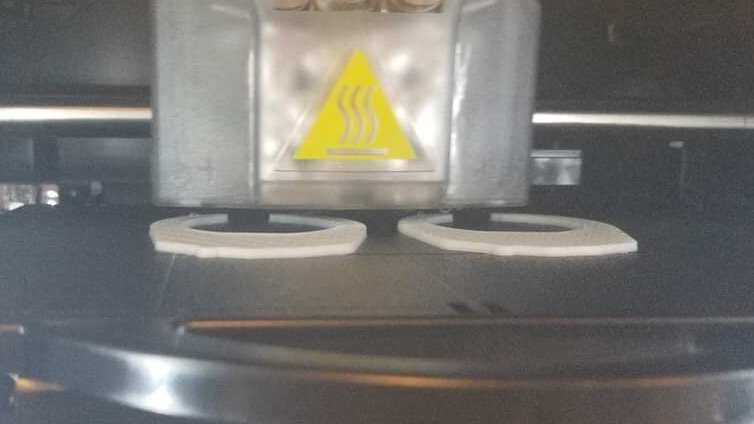
I saved the design as a .stl loaded it in to the lab computer and started the job which took 3 hours for a pair of 1.5 inch hoops. The next morning after they were put into the ecoworks solution I pulled them out dusted them off and accidentally broke one of the smaller hoops. They are very thin and delicate. I replaced it with a wire that I looped around the bigger hoop. I snapped off earring posts from a pair of old earrings and glued the posts onto the space in the 3D printed ones and it held up!

3D Scanning
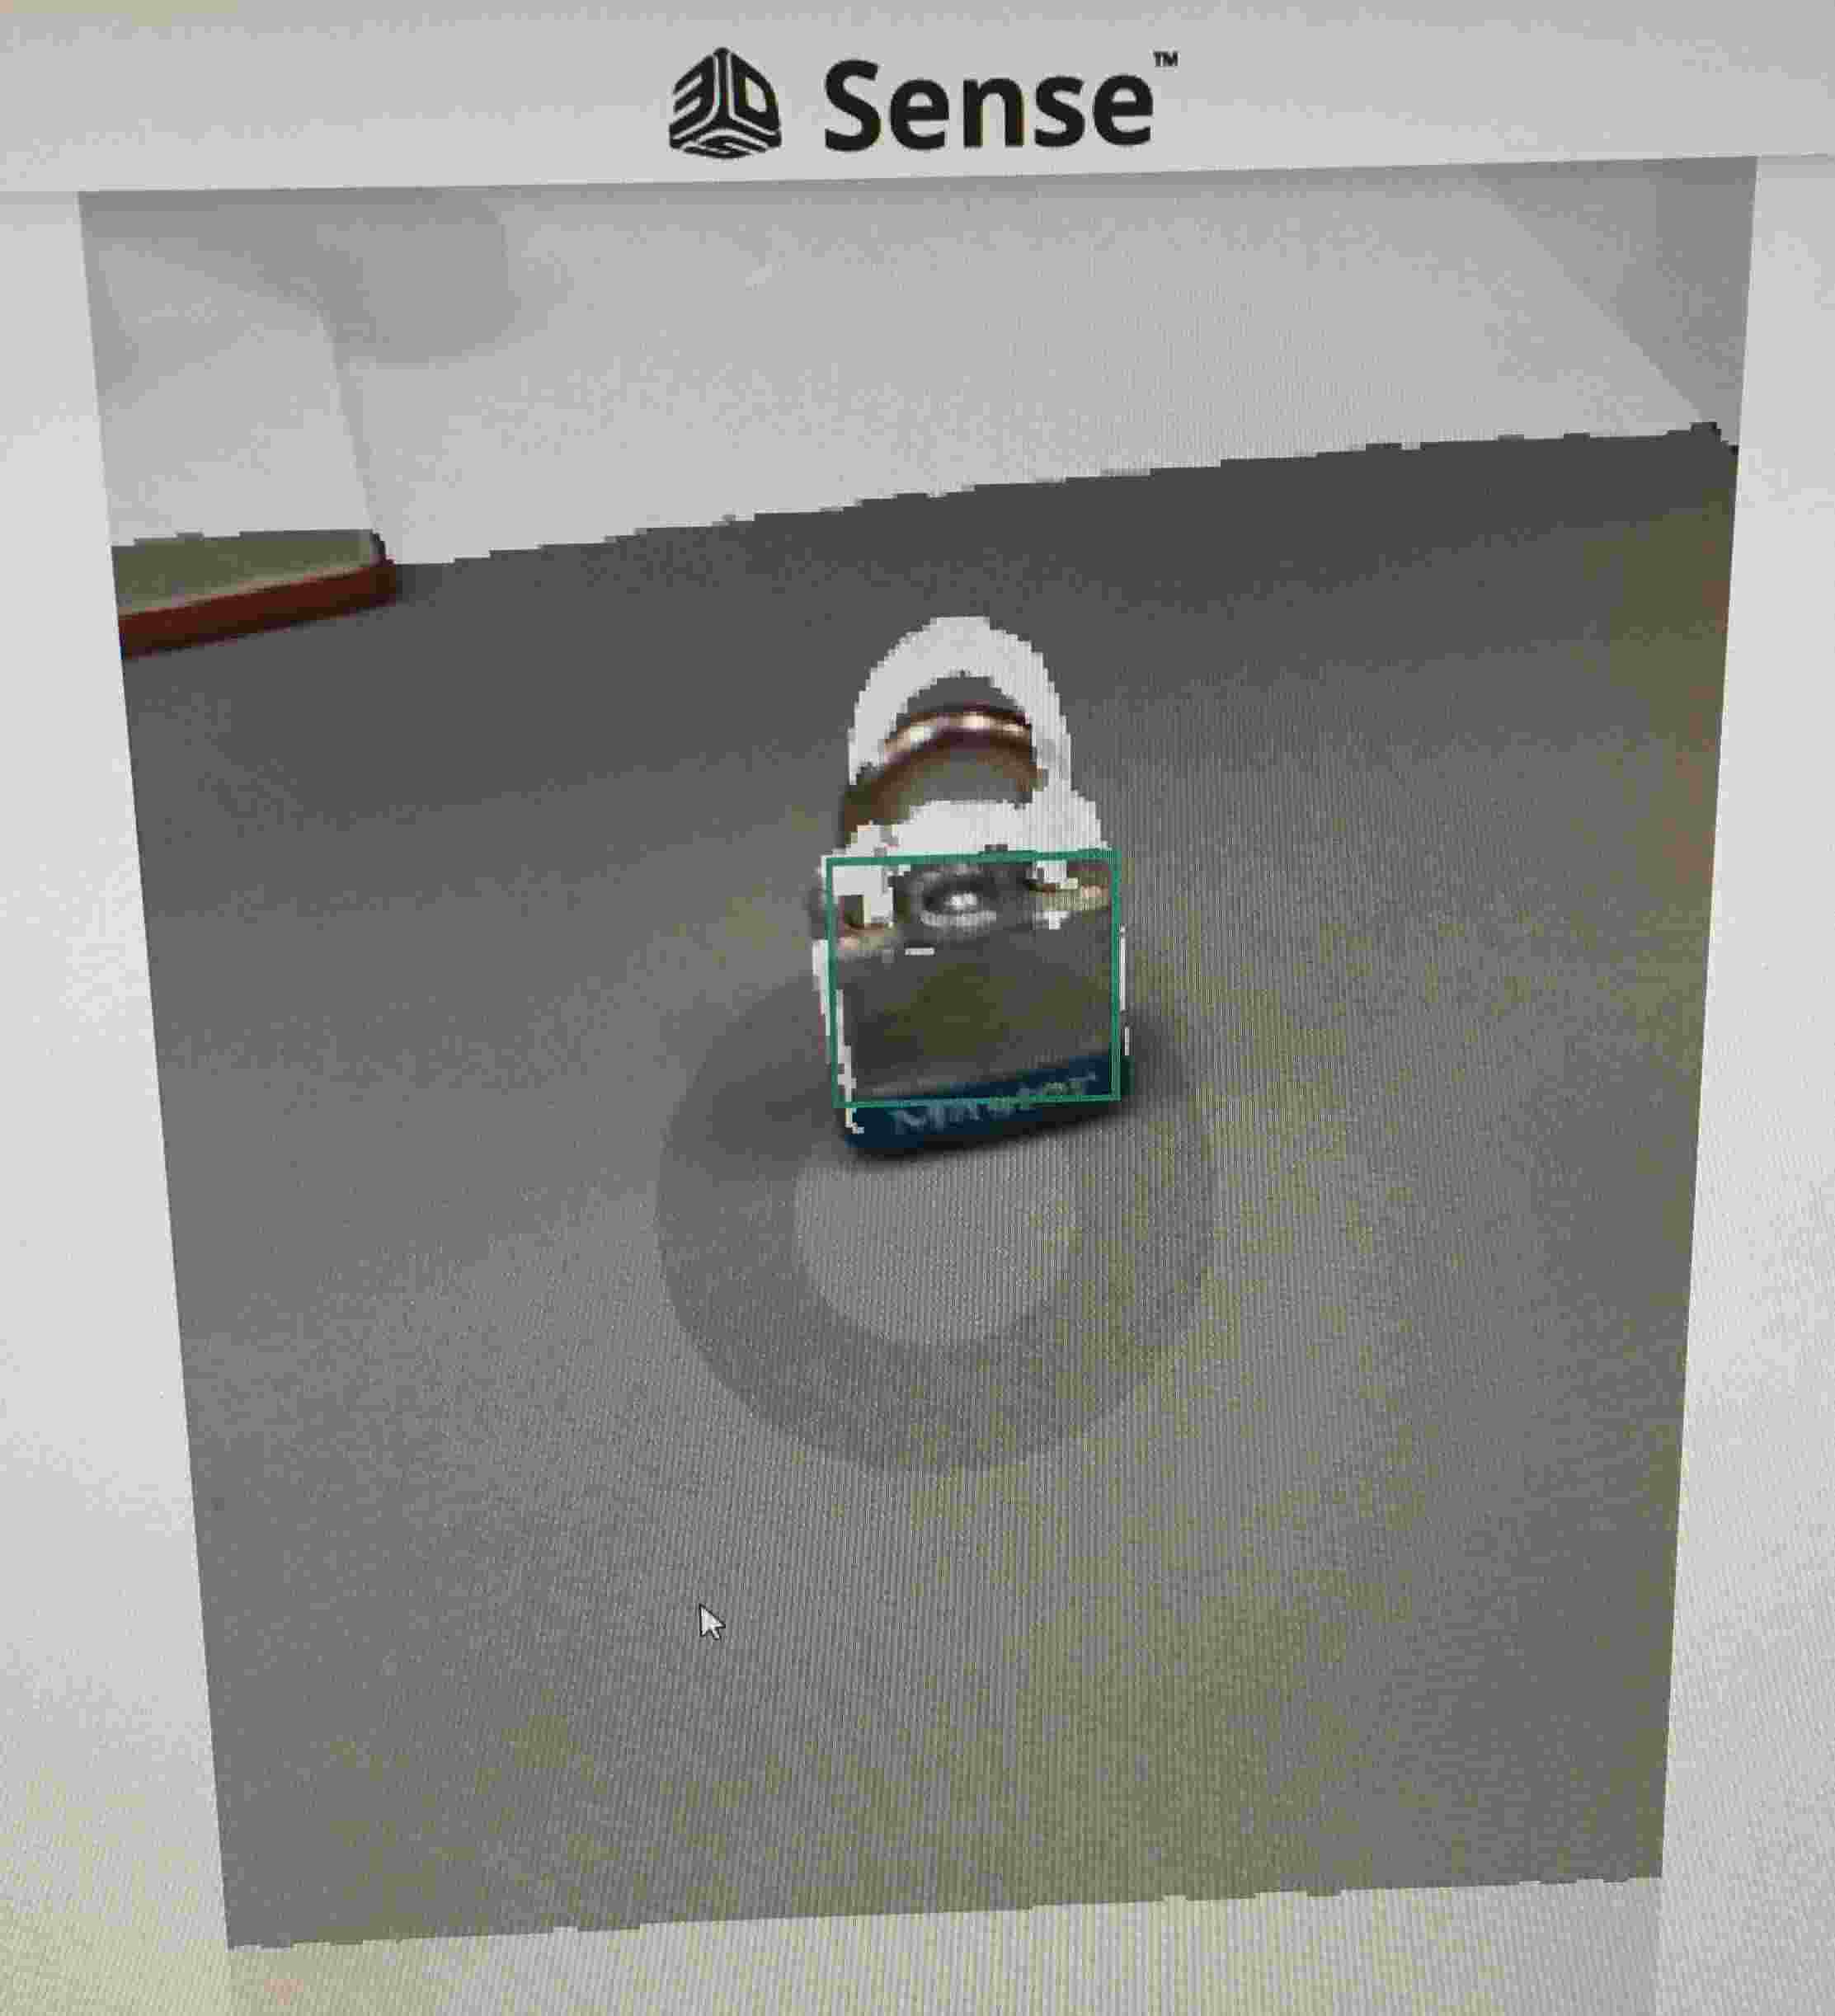
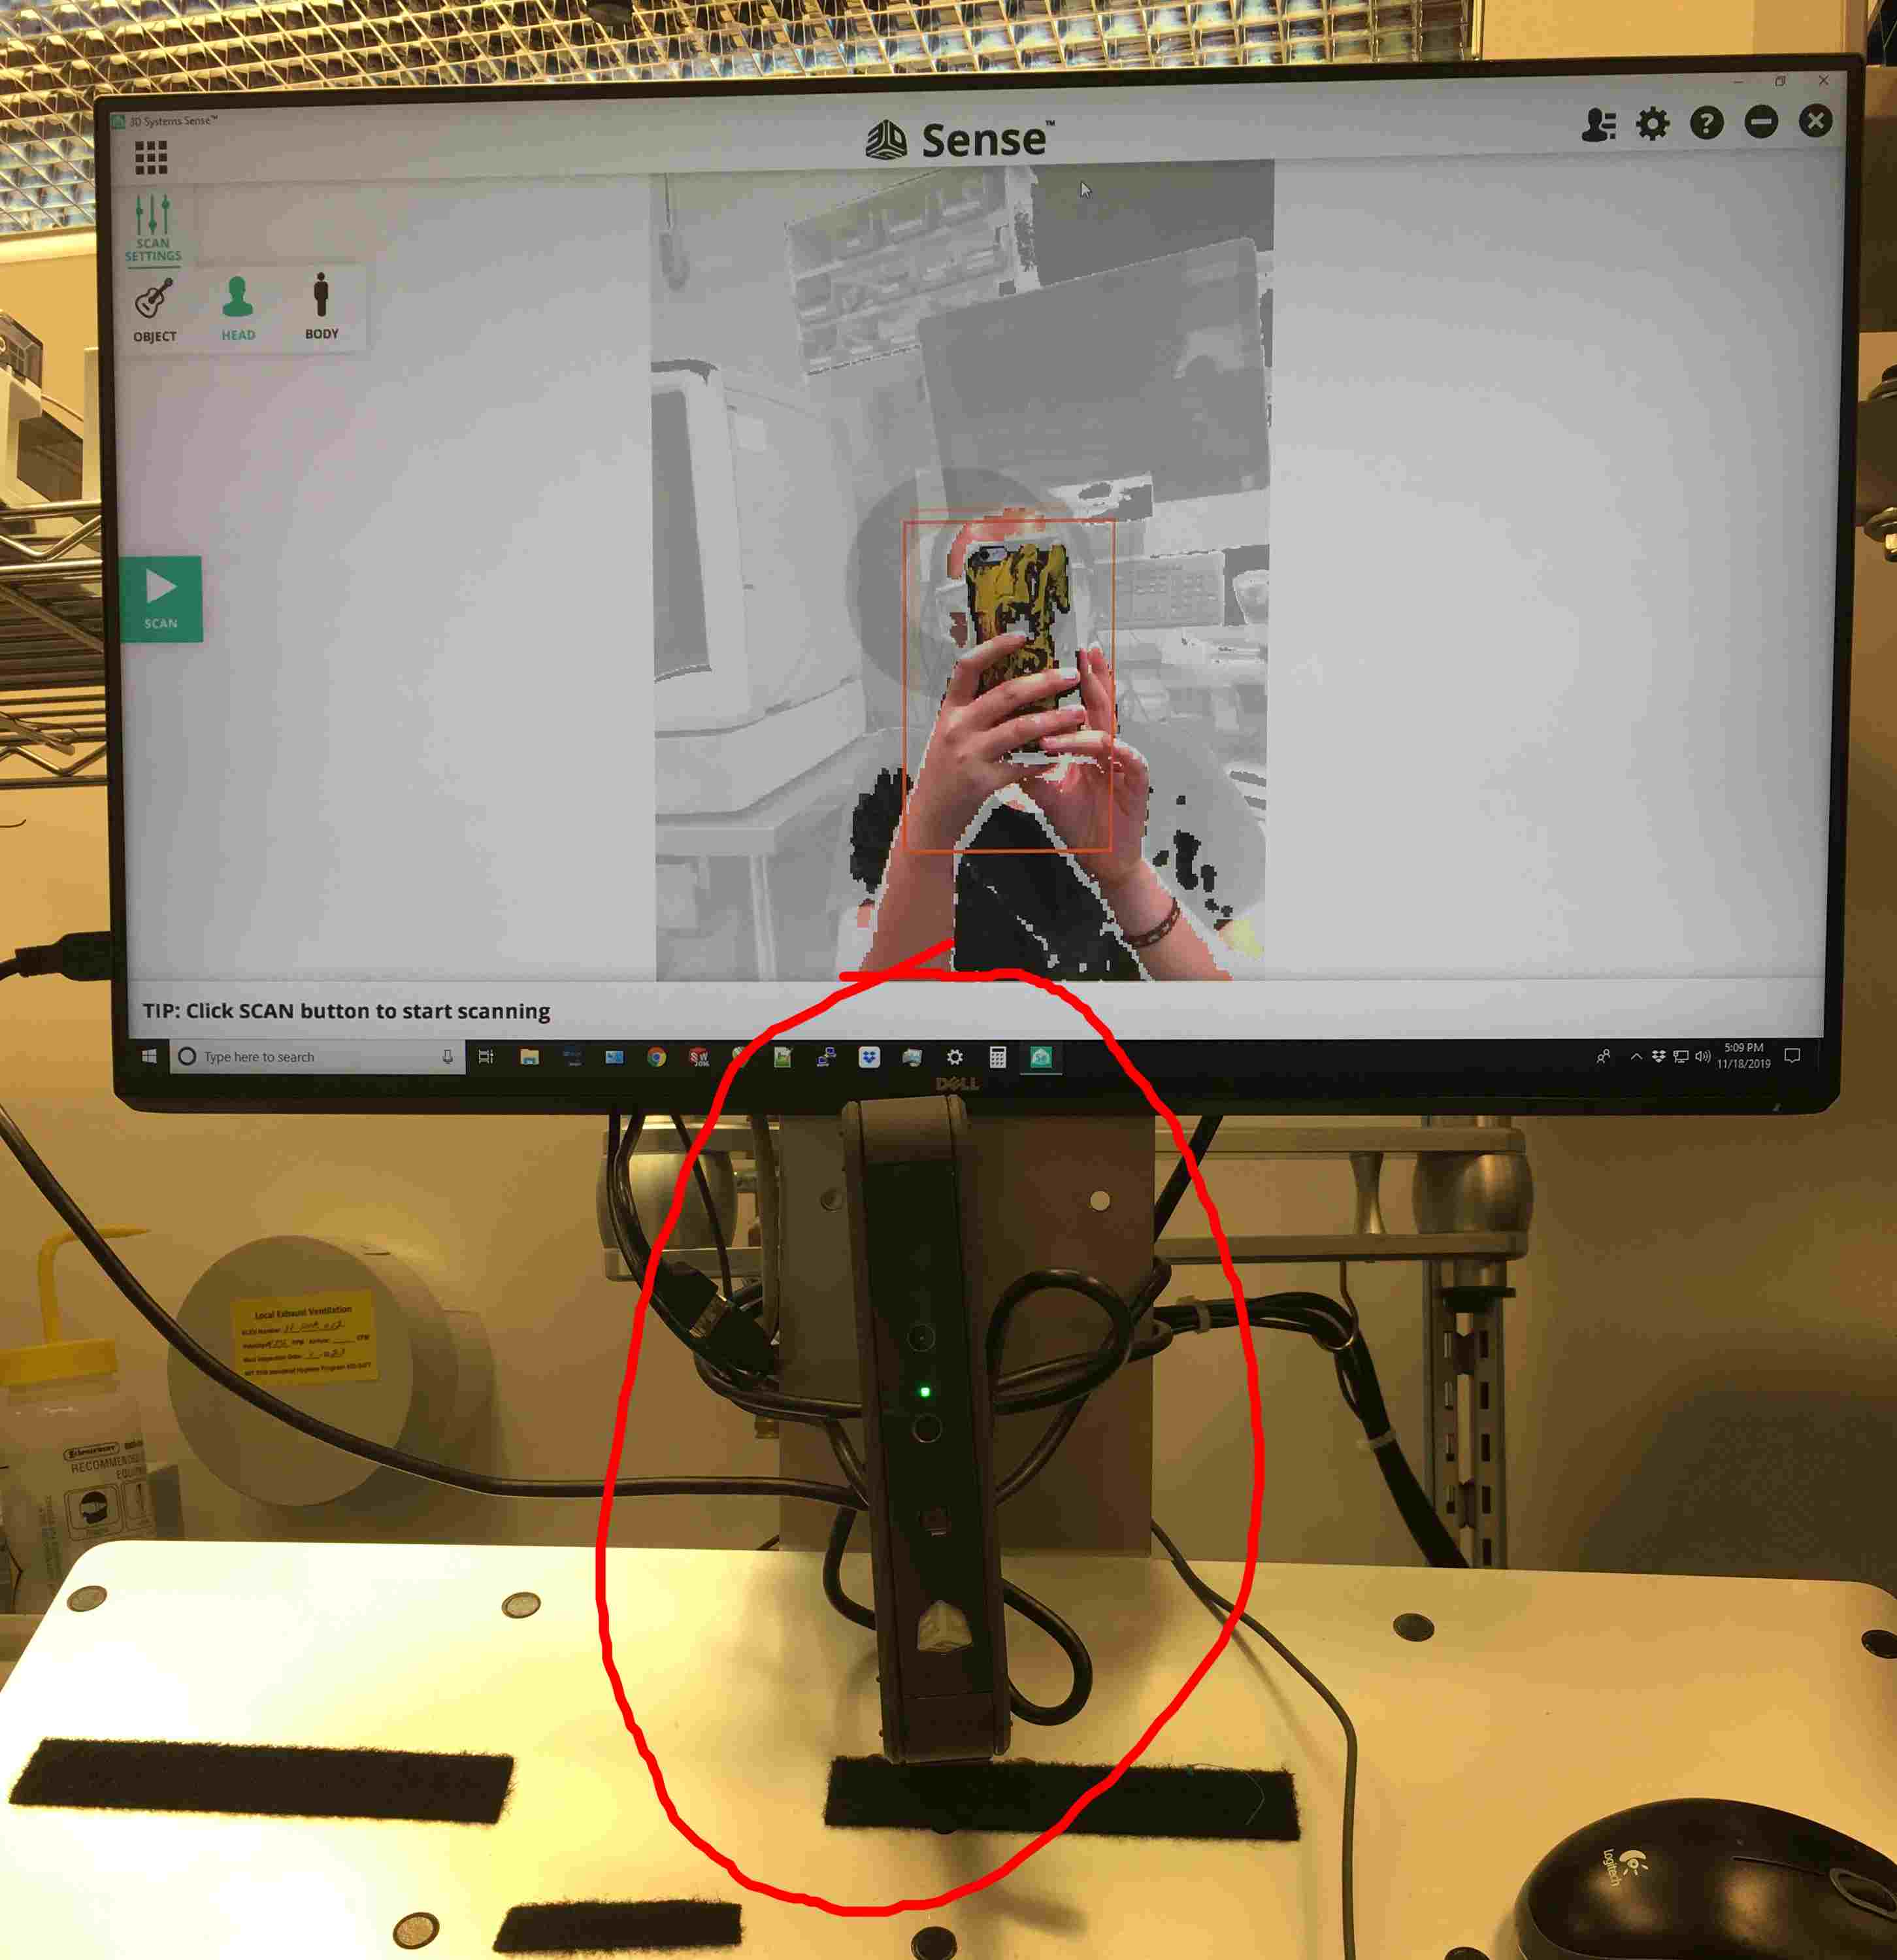
Scanning was much more difficult. Using the 3D sense scanner I tried to scan a lock at first but because of the size and because there were different colors the scan sense had a difficult time recognizing it. I ended up setting up the machine on a ledge (see red circle in image) and rotating myself in a spinny chair to get a scan of my face. The machine wasn't able to recognize my hair which resulted in some funky looking dimensions
Important lessons learned:
- The software for 3D printing will try to interpret what units you intended and might be off by some factor of inches to cm vice versa etc. (ie: 2.54, 25.4)