Week 07: MOLDING + CASTING
A. MOLD DESIGN
A1. Attempt 1...of 8
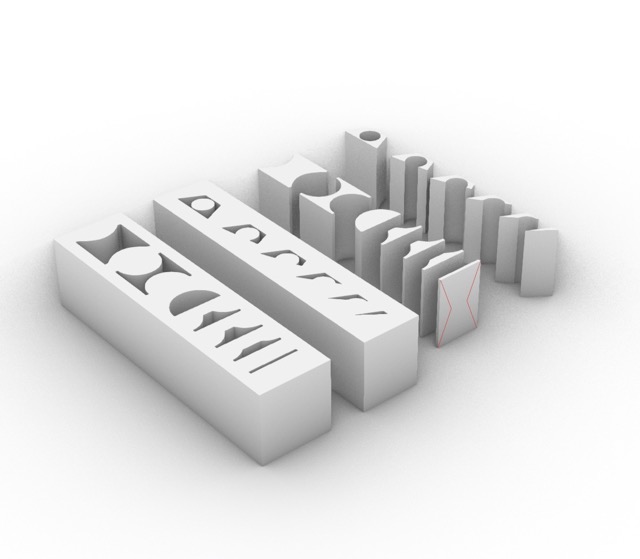
1.1 My first design attempt was way too big. I got excited and modeled what I wanted to make before reading in the instructions that we only have 6" x 3" of wax to mill. What I wanted to create was an architectural model of an aggregation of columns from previous studio project.
A2. Attempt 2 of 8
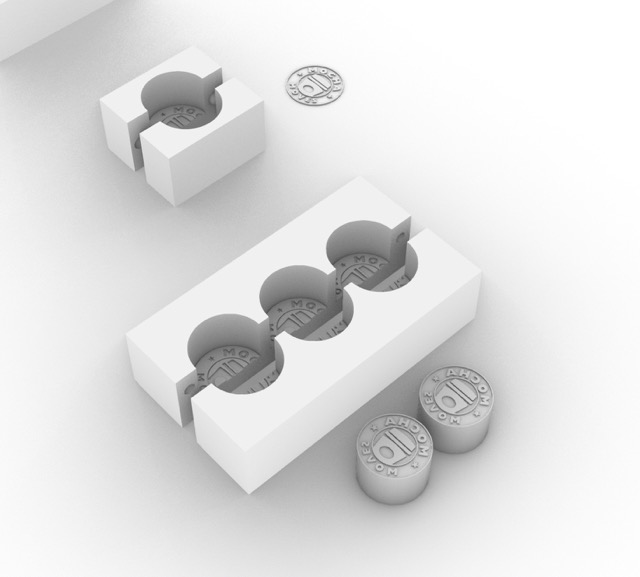
2.1 After realizing I had to downsize I decided to make a mold for my dance team logo to make stamps out of. These logos had way too much details that were too small for the mill bit to carve out. I also realized that we are casting our molds in plaster which would not work well as a stamp material.

A3. Attempt 3 of 8
3.1 Then I went back to my column models. These were very small again and as Jen (shop manager) pointed out could be made using an easier extrusion method. She suggested I try a design that utilizes 3 axis milling for this week.
A4. Attempt 4 of 8
4.1 I finally decided to make a geometric paperweight inspired by my favorite architect, Carlo Scarpa. This iteration would not work, however, because it has undercuts and overhangs which the machine cannot mill. Jen explained that the machine can only see from above and cannot excavate underneath.
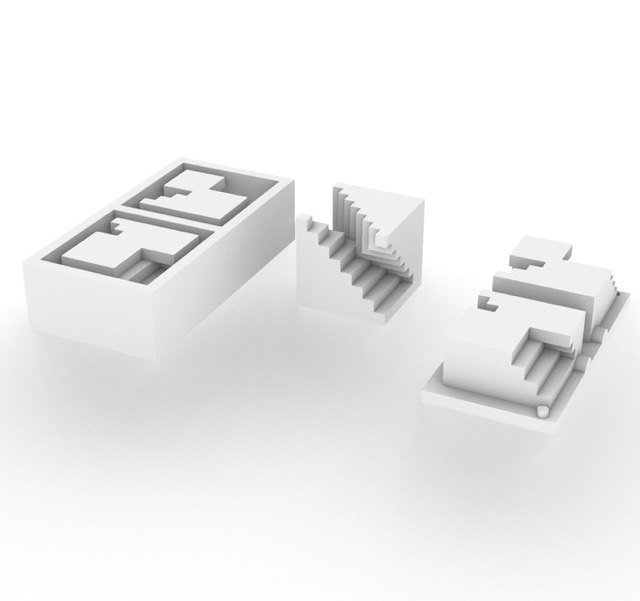
A5. Attempt 5 of 8
5.1 I tried a simpler design but soon realized this too had undercuts when cut in half.
5.2 Trying to understand all the different versions of my model for the wax, mold, and cast object was quite confusing because I had to think about what the object would look like as an open face sandwich while designing it in 3D. As you can see from my numerous attempts, it took me a while to get the hang of it.
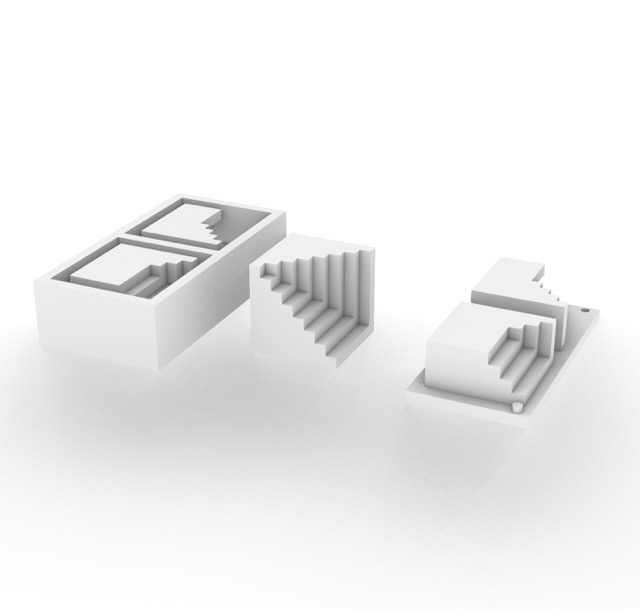
A6. Attempt 6 of 8
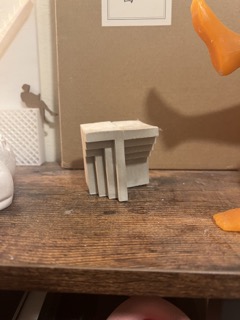
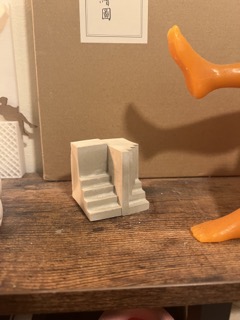
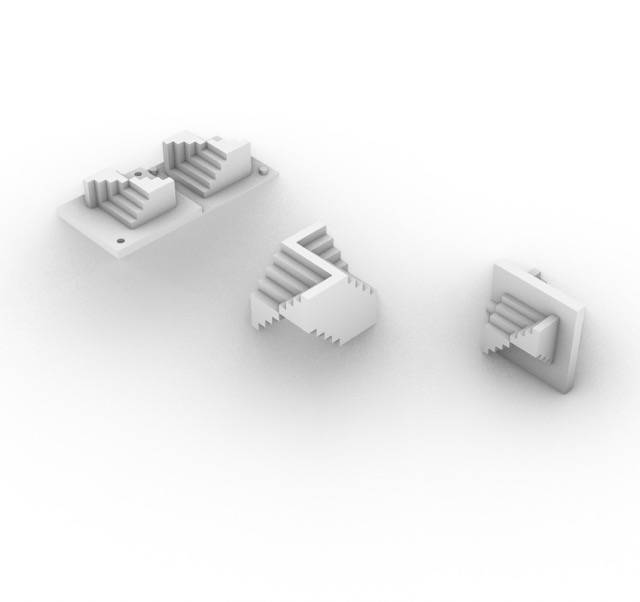
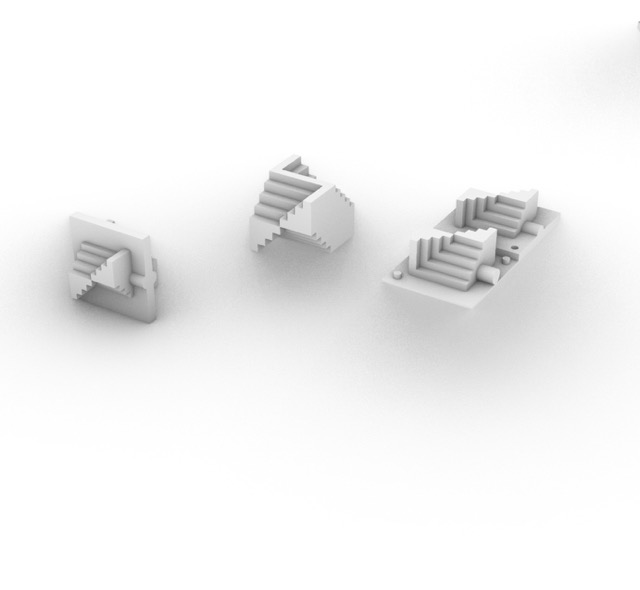
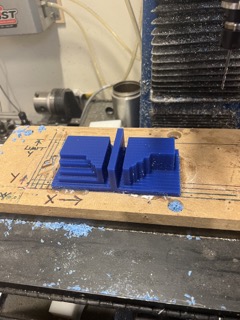
6.1 This was the design I eventually milled. Its the same design as attempt 5 except I just removed some of the stairs so that there wouldn't be an undercut. I wasn't super satisfied with this design, so kept playing around with it.
6.2 I eventually milled this one because this was the file I had sent Jen when she started setting up the CAM tool paths. However, it was only after she had finished the tool paths that I realized I had oriented my two halves backwards so instead of the two middle faces coming together to create my desired final object, it was the two exterior faces that would be joined together in the middle.
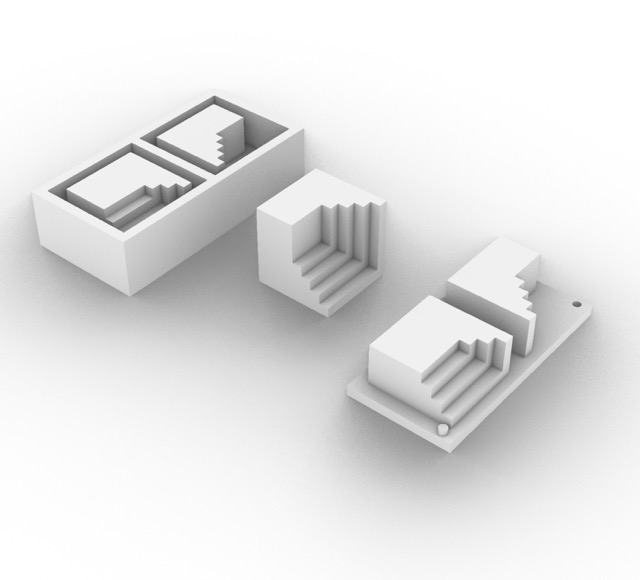
A7. Attempt 7 of 8
7.1 This one is much simpler and just has two interesting corners. I wasn't super happy with this design.
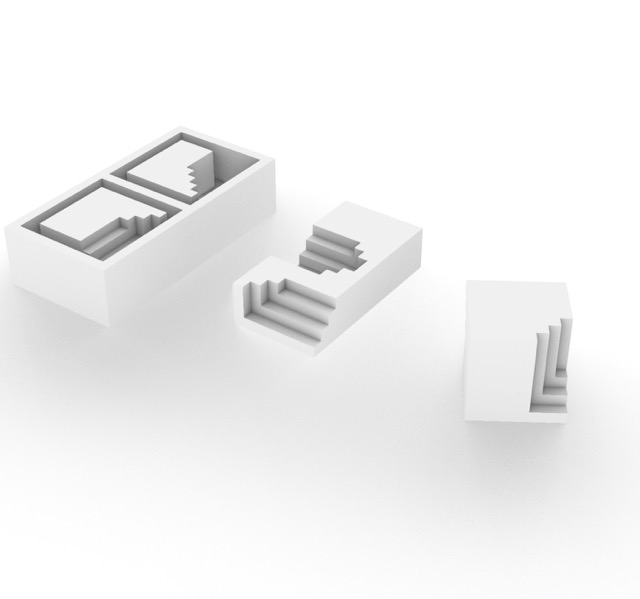
A8. Attempt 8 of 8
8.1 I went a little crazier with this one and actually made it off centered but then got stuck trying to make the wax mold with an interior cast that is two different heights. Jen had also already made the tool paths for my previous design so I just went with that one.
B. WAX MOLD FABRICATION
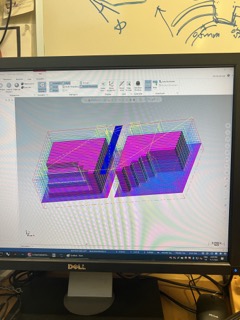
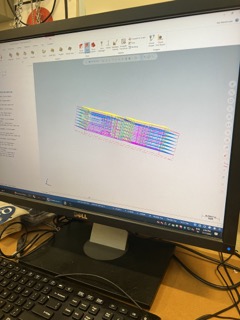
B1. Master CAM tool paths
1.1 Jen made the master cam tool paths for me and walked me through the different types of drill bits and cut paths.
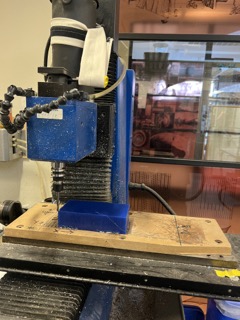
B2. Milling the wax
2.1 Jen then showed me how to send the cut file to the milling machine and to hot glue the wax so that it stays in one place when being milled.
C. OOVOO MOLD FABRICATION
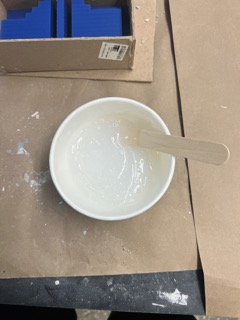
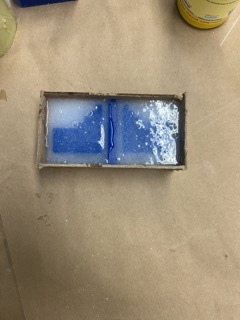
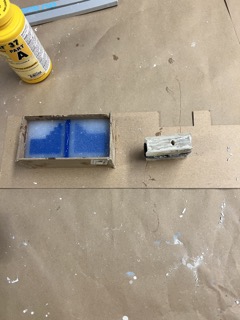
C1. To make the oovoo mold I first glued cardboard to the sides of my wax so that there was a container for the oovoo to fill. Then I mixed the oovoo in equal parts and poured it into my mold, making sure I tapped out any air bubbles. Then I left it for a few hours and came back once it was dry.
D. PLASTER CASTING
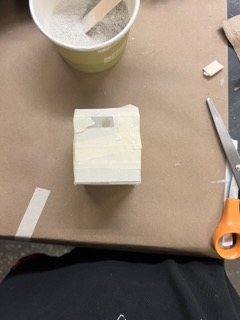
D1. Once my oovoo mold was done, I took it out of the wax and taped the two sides together so that none of my plaster would dribble out. Then I mixed the plaster powder with water until I got my desired consistency and poured it into the mold. I waited brought the plaster filled oovoo mold home with me so it could dry overnight and took it out the next day!