Week 02: 3D PRINTING + SCANNING
A. 3D PRINTING
A1. Getting to know machine…again
1.1 I’ve used the sindohs a lot before to make models for my architecture projects but was excited to try to use them again to make an initial prototype for my final project!
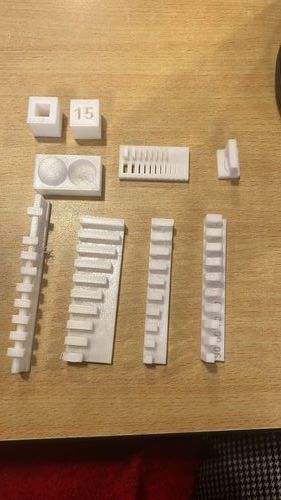
1.2 I first printed the test prints given to us on the website to show the abilities of the printer. These measured things like the angles, overhangs, and thicknesses the printer was capable of.
A2. Idea!
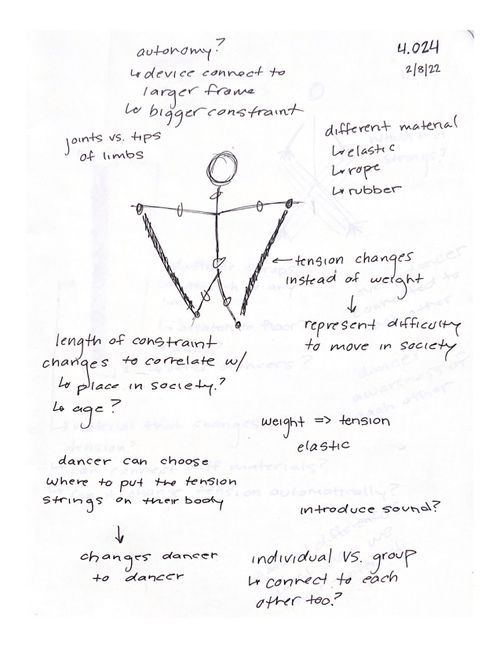
2.1 I did a studio project last year on dance and architecture and as a part of it did different dance experiments where dancers were connected to each other as they moved, and I would map their comfort levels throughout the dance. For my final project in this class, I want to create a second iteration of these tension ties that can measure the tensions between two dancers as they move connected to each other. I just started a UROP in the MIT Nano Immersion Lab where they measure performers bodies with sensors while they are performing. I’m planning on testing out my new iteration of wearable tension ties over IAP with a new set of dance experiments for my project.
2.2 My first iteration of tension ties last year were large elastic bands that had loops at the end that the dancers could place on their wrists or ankles. I sewed stretchy fabric onto the elastics and pleated it so that when the band was stretched the fabric would lay flat and when the elastic was slack the fabric would pleat.
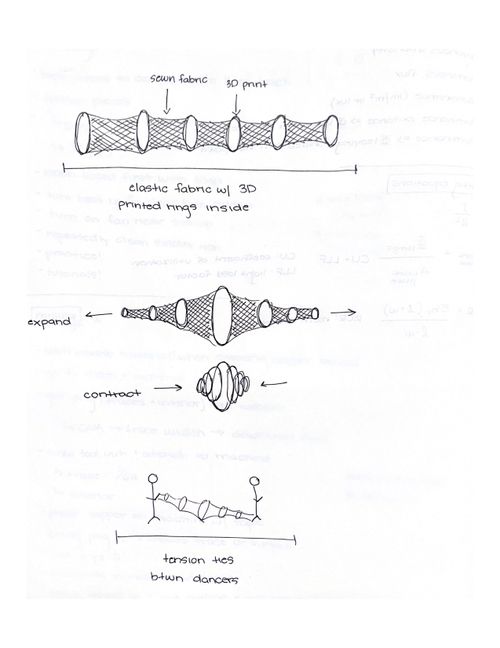
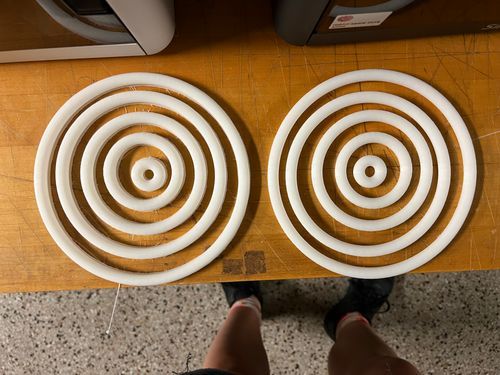
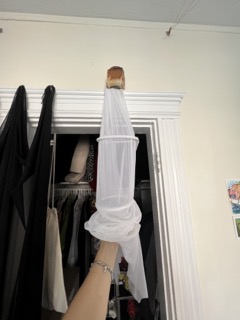
2.3 For this first iteration, I was thinking about how to have the band do the measuring for me and thought of this connected ring concept. My goal is to add sensors to the 3d printed rings so that the band can internally measure when it is stretched (the rings are far apart), or slack the rings are close to one another).
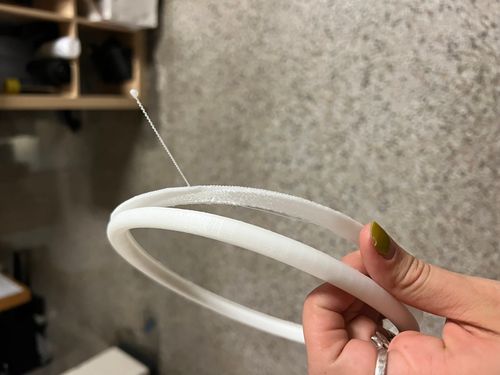
2.4 A slight disclaimer, this model is more of a proof of concept. I think I need to scale down a lot more and have the elastic fabric be stronger and thicker than the 3d printed rings. My 3d printed rings were too heavy and so the fabric just sagged to the floor and didn’t act as a tensile device.
A3. Modeling
3.1 To print and fabricate my model I first modeled the rings in rhino, my modeling software of choice.
3.2 I first drew the bounding box of the 3d printer in rhino which is 200mmx200mm. This way I knew how large I could make the rings without them being too big for the 3d printer.
3.3 I modeled the rings using mainly the polyline tool and sweep tool.
3.4 Then I export the file as an .stl so that I could bring it into the 3d printer software.
A4. Make 3d print file
4.1 Next I opened up 3Dwox on my computer and clicked load file to bring my .stil file from rhino into 3Dwox.
4.2 First you have to go to printer settings and select the right one. If you are printing on a black Sindoh you set the printer to “dp200,” if you are printing on a white sindoh then you set the printer to “3dwox 1”
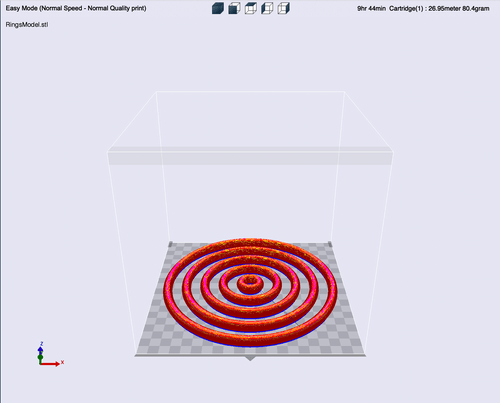
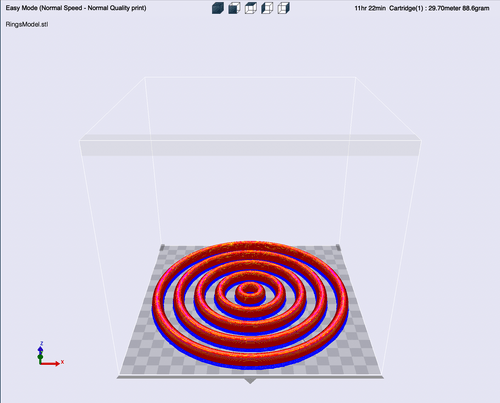
4.3 I decided to play around with the print and support settings because when I had printed before I had always used the same settings. I did one print with normal speed and no supports, and the other print with fast speed and supports.
4.4 Then I generated the G codes and exported them onto a flash drive so that I could send them to the printer.
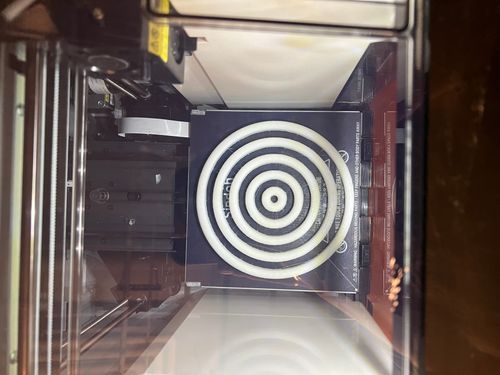
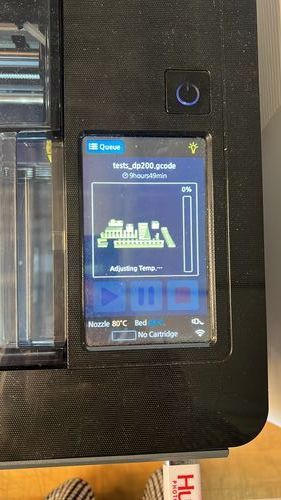
A5. Start 3d print
5.1 First you plug your flash drive into the printer and wait for the files to load on the screen.
5.2 Then you select the file you want and hit print.
5.3 Stay and watch the printer start and print for about 10 minutes to make sure it doesn’t malfunction, or the nozzle is clogged. You don’t want to be that person that they email out about who clogged the Sindoh with filament so watch your prints when you start them!
5.4 Then come back after the print time, which you can find when you generate your gcode in 3dwox or when you load your file on the Sindoh.
A6. Remove 3d print from bed
6.1 Use a pallet knife to pop your 3d prints off of the print bed
6.2 Remove any of the supports from the bottom of your prints using the big tweezer tools, I forget what they are called but they are usually a box of them near the printers.
A7. Prototype fabrication
7.1 I borrowed a sewing machine from arch shops to sew the fabric to insert my 3d prints into. I’ve used the sewing machines before to create my first iteration of tension ties last year, but I am by no means a good sewer. I get by on the basics.
7.2 First, I measured my fabric to the circumference of my largest hoop. The fabric was leftover from my previous iteration.
7.3 In my first attempt of connecting the rings to the fabric I tried first sewing the whole piece of fabric on one side into a long tube and then inserting the rings and sewing them into the fabric with them inside. I quickly realized this wouldn’t work because I could not lower the foot of the sewing machine with the 3d printed rings in the way.
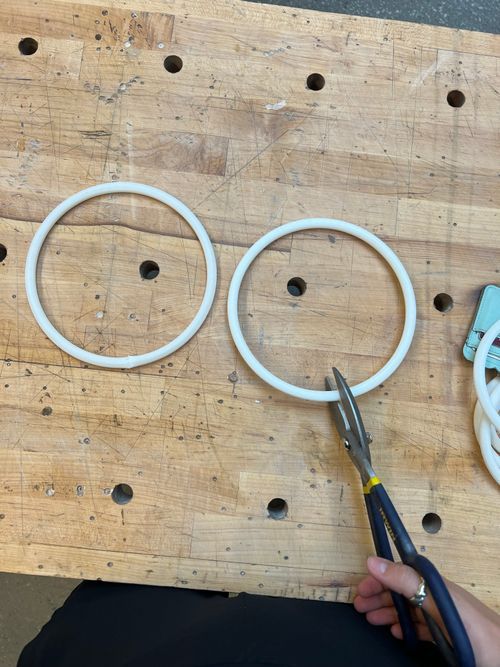
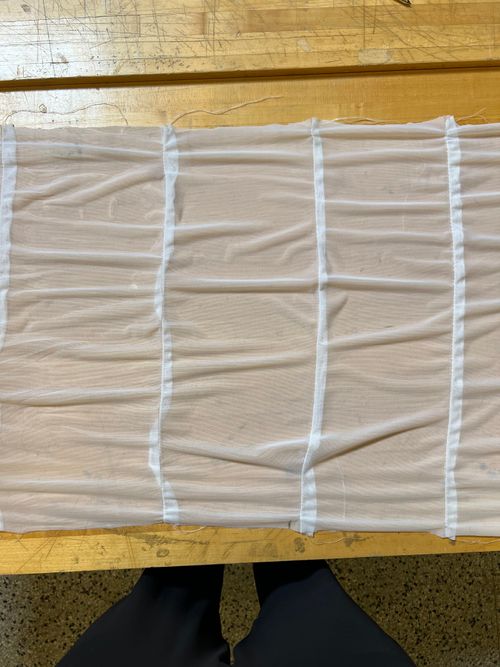
7.4 My second attempt, I sewed pleats into the fabric so that there was a channel to feed the 3d print rings through. This did mean I had to cut the 3d print rings so that there was an opening through which I could loop them into the fabric.
7.5 This second attempt worked well and I was able to connect all of the 3d printed rings to the fabric.
A8. Prototype analysis
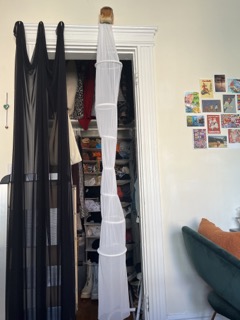
8.1 Unfortunately, as I mentioned before, the rings are too heavy and make the tension tie hang in the middle. For my next prototype I could try smaller and more frequent rings? Or less slack in the fabric? Or use elastic instead of fabric? I’ve decided I need to ideate on this and get help but I have realized my two main goals for my final project.
8.2 Goal#1: create new tension ties that measures dancers tension itself and can create tension diagram in real time
8.3 Goal#2: create larger scale piece that dancer can exist IN and interact with, new type of “tension tie” that also generates real life diagram, instead of tension between dancers, map tension between dancer and built environment
B. 3D SCANNING
B1. Set up the scanner
1.1 Get scanner and rotating turn table from arch shop.
1.2 Plug both into a computer that has 3d scanner software installed.
B2. Scan your object
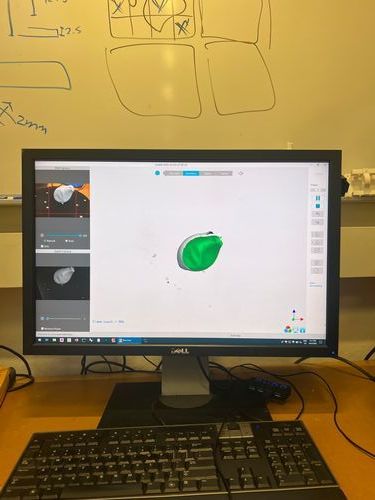
2.1 Place your object on the turn table in the center, making sure you can see it on the computer screen.
2.2 Choose the scan setting through which you can best see your object, for example if it’s a dark object choose “dark,” my objects had a lot of texture so I choose “features”
2.3 Then you start the scan, I waited until my scan had around 1,000 frames
2.4 Next, press stop and process the scan, then generate the meshes
2.5 Now you can export your scan object!
B3. Printing my scanned object
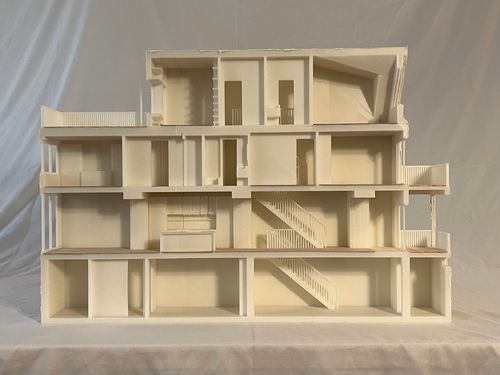
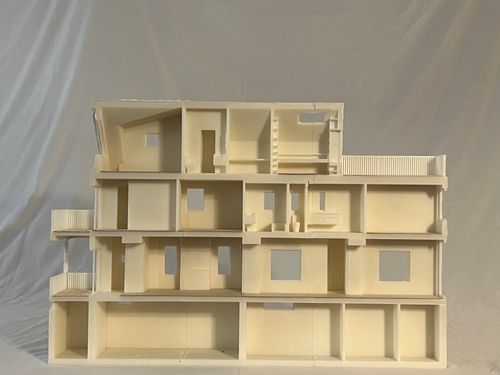
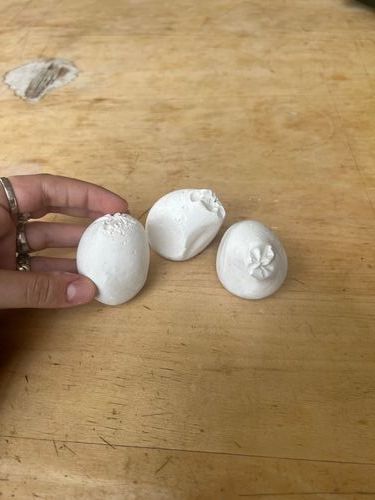
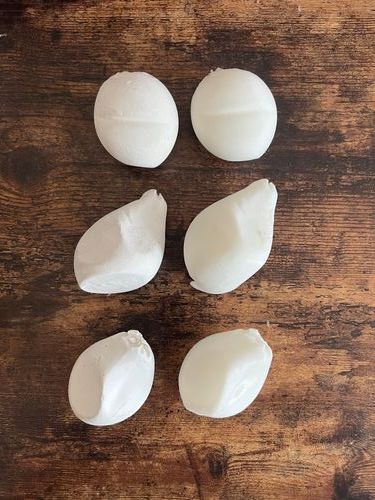
3.1 For the 3d scan I chose a concept model that I made for a past studio class (4.023). In the class I struggled to reproduce the organic quality of the concept model in my final project. I made the original models by filling balloons with plaster and forming them to each other. I was curious to see if the 3d printer could recreate the more curved and bulbous shapes of my mode.
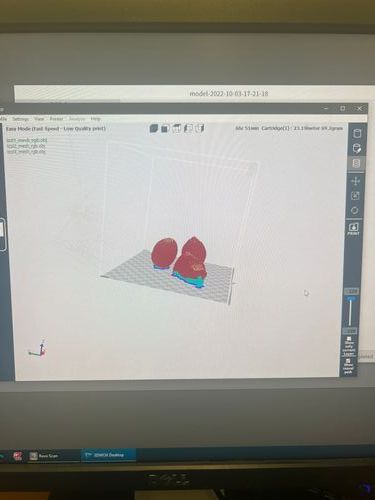
3.2 Once I scanned the models I placed them in 3dwox and went through the same steps as I did previously to prepare the g code files
3.3 Then I sent the gcode to print on the sindoh and came back 9 hours later!
3.4 I was pleasantly suprised with the printer's ability to recreate my plaster models with plastic filament. However, the models did reveal some imperfections from my 3d scan, such as extraneous volumes that are not in the original model.