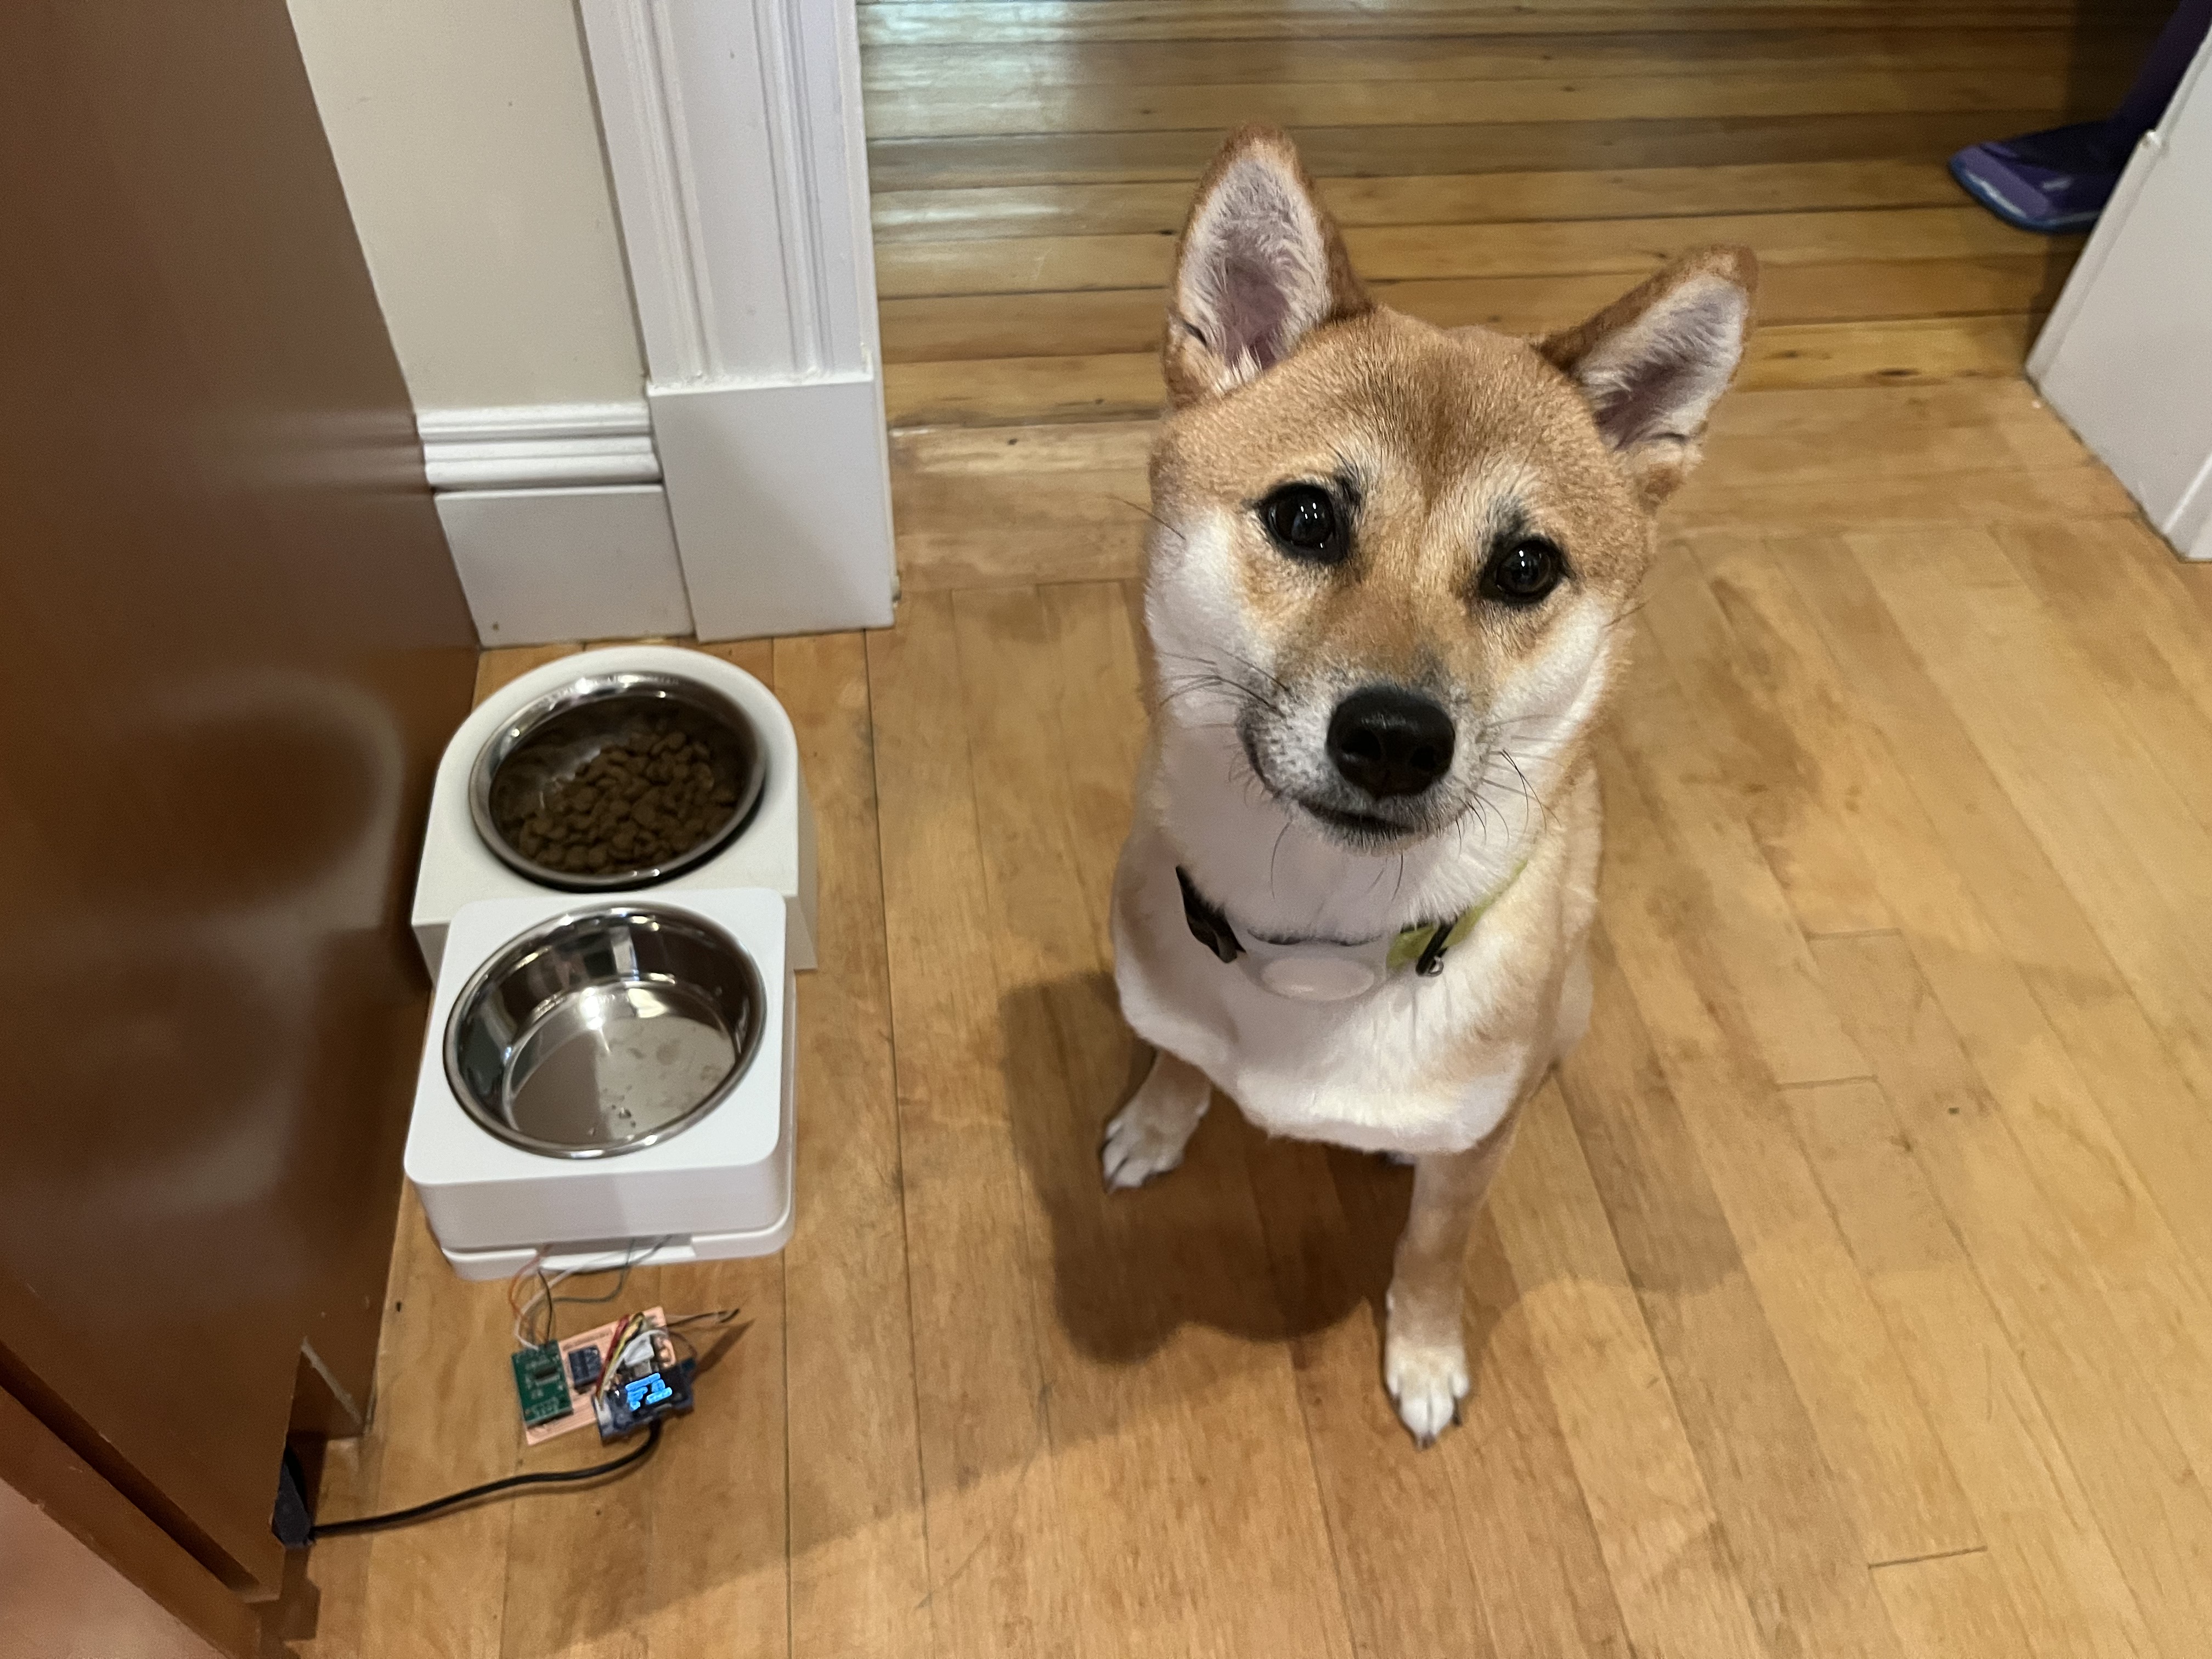
This week’s theme is networking and communications, a continuation of the last two weeks’ exploration of input and output devices. In my project, I took a simple dog bowl and transformed it into a smart device capable of recording the weight of food and displaying the information on a 0.96” OLED screen. To elevate the project further, I used the WiFi module on the XIAO ESP32S3. With STA mode, I set up a dedicated website for this project, allowing real-time updates of the recorded food/water weight and consumption data.x

Hardware:
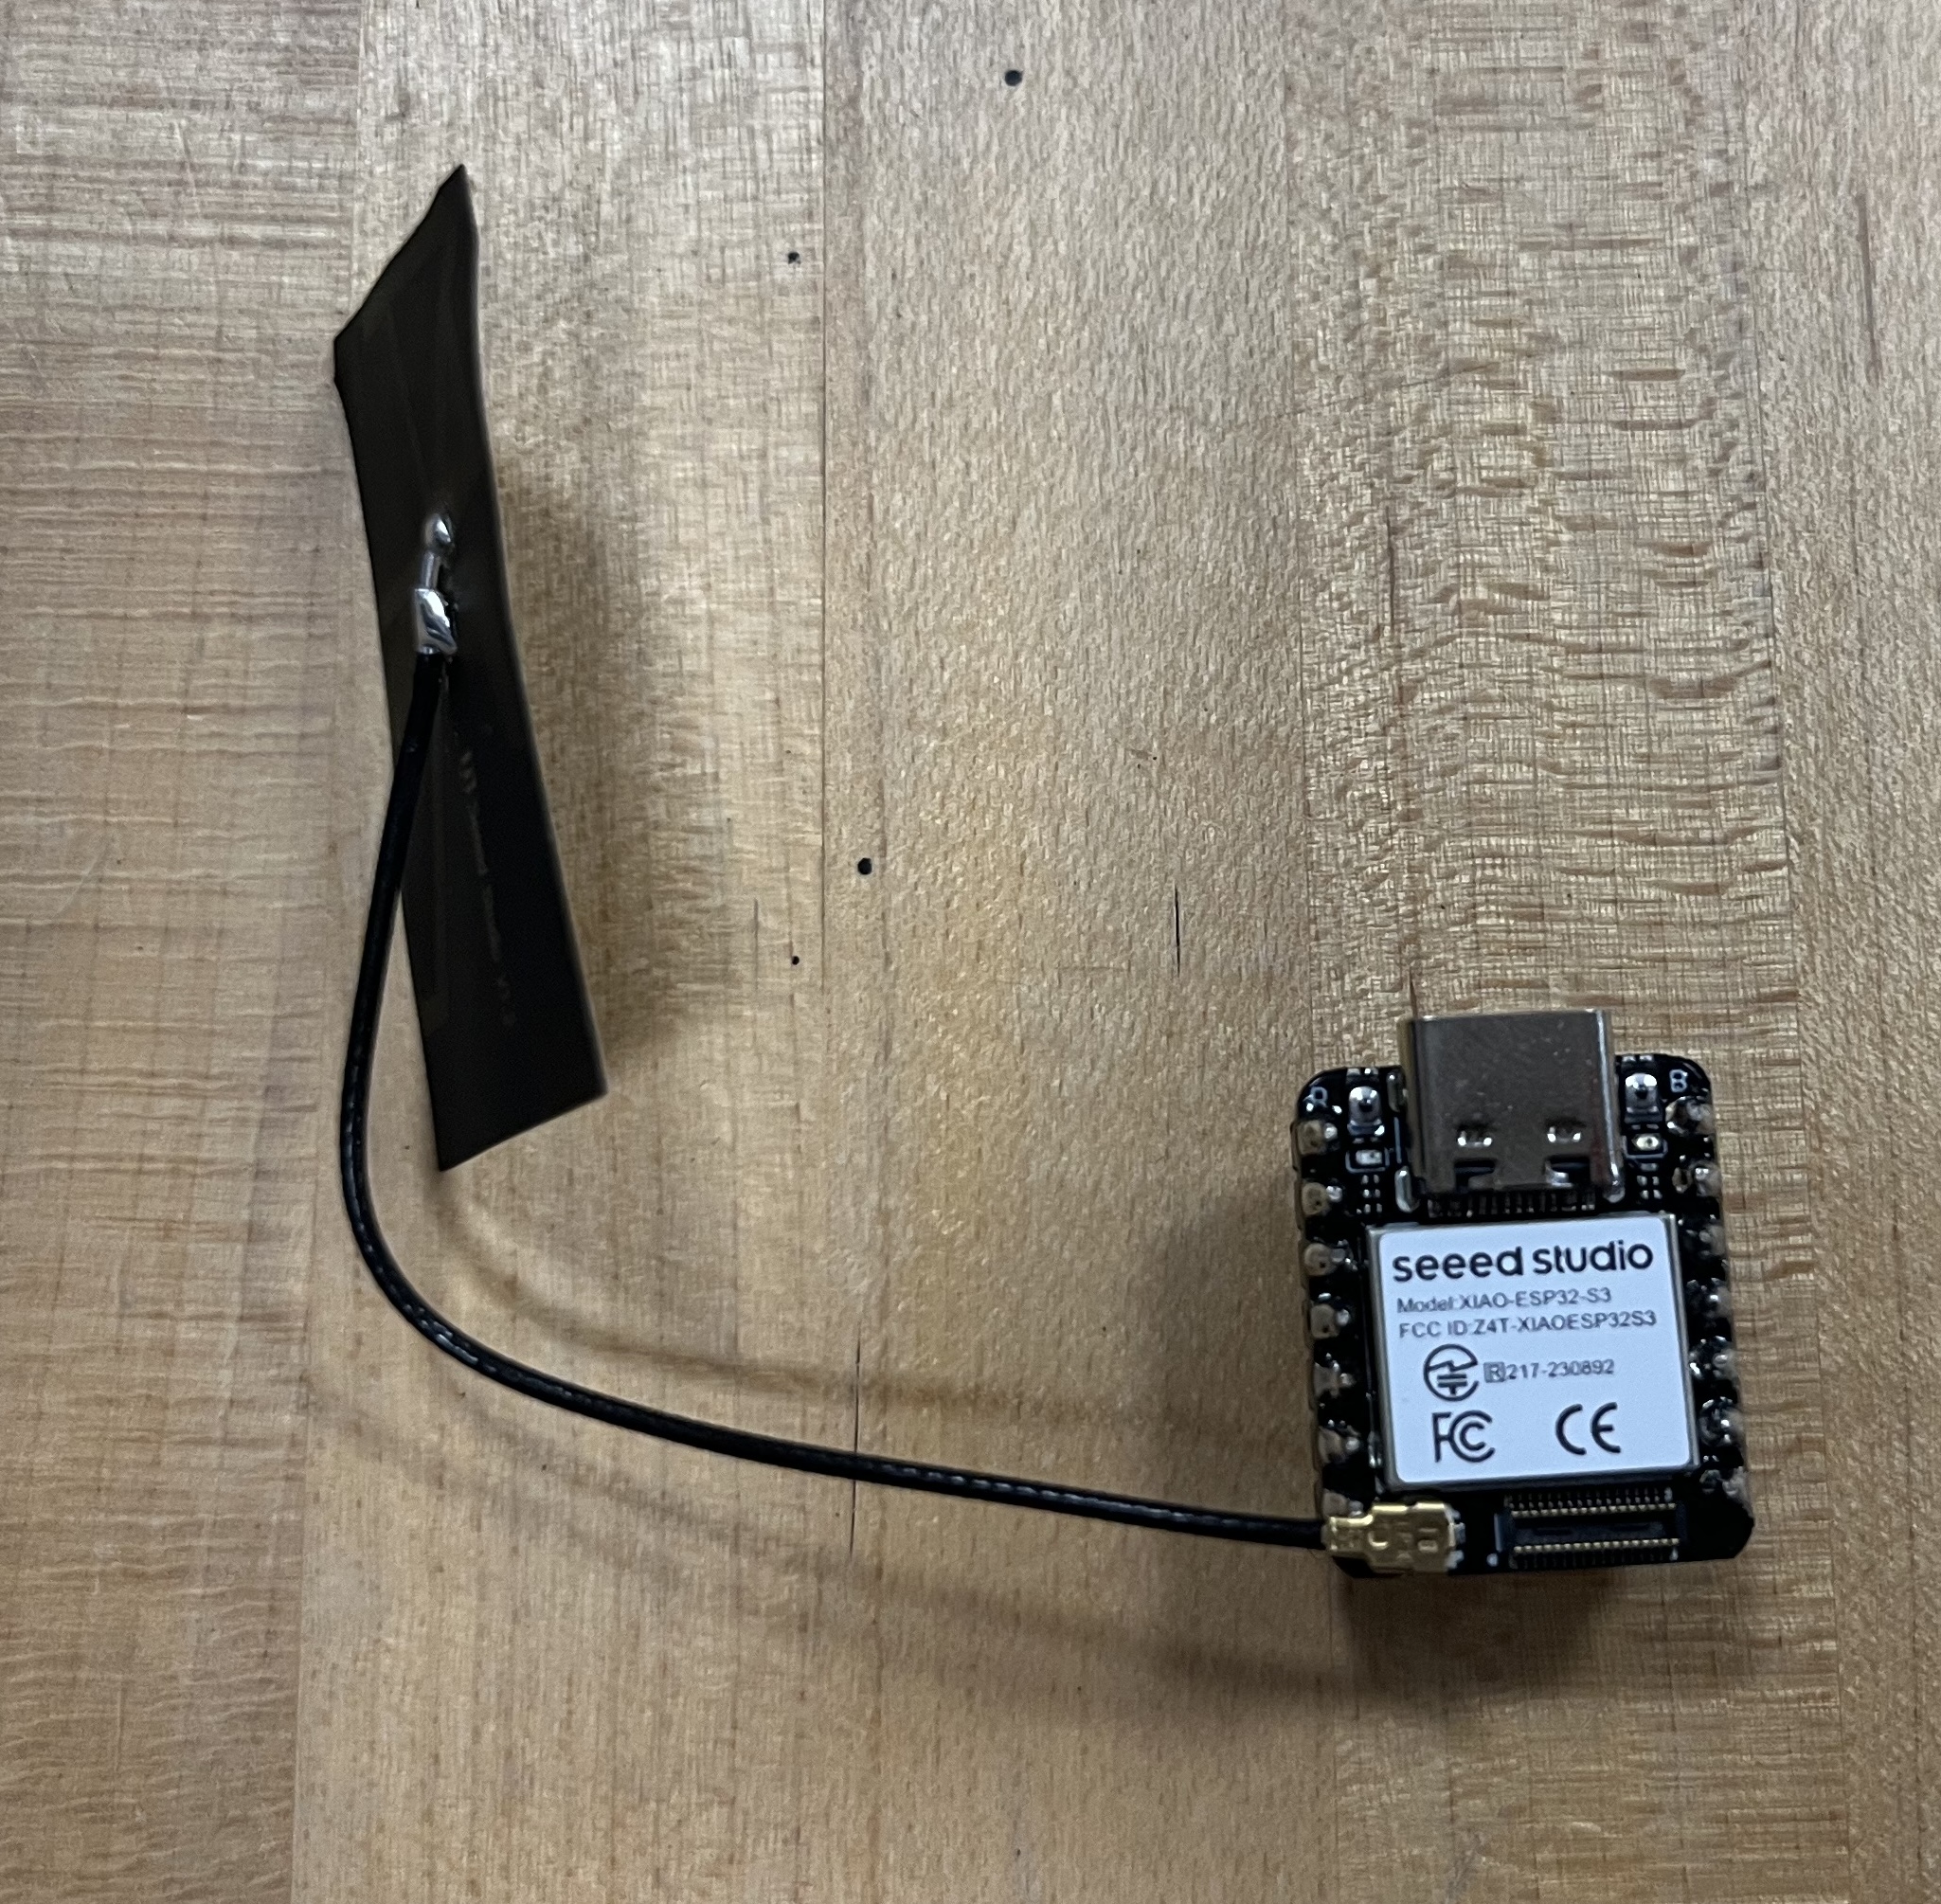
- XIAO ESP32S3 (originally XIAO RP2040, but for WiFi connectivity in the upcoming weeks, I switched to XIAO ESP32S3)
- Load Cell Weight Sensor
- AD HX711 Weighing Pressure Module
- Logic Level Converter Bi-Directional 3.3V-5V Shifter Module
- 0.96” OLED Display
Library:
- WiFi.h
- WebServer.h
- WebSocketsServer.h
- ArduinoJson.h
- HX711.h
- U8g2lib.h
- Wire.h
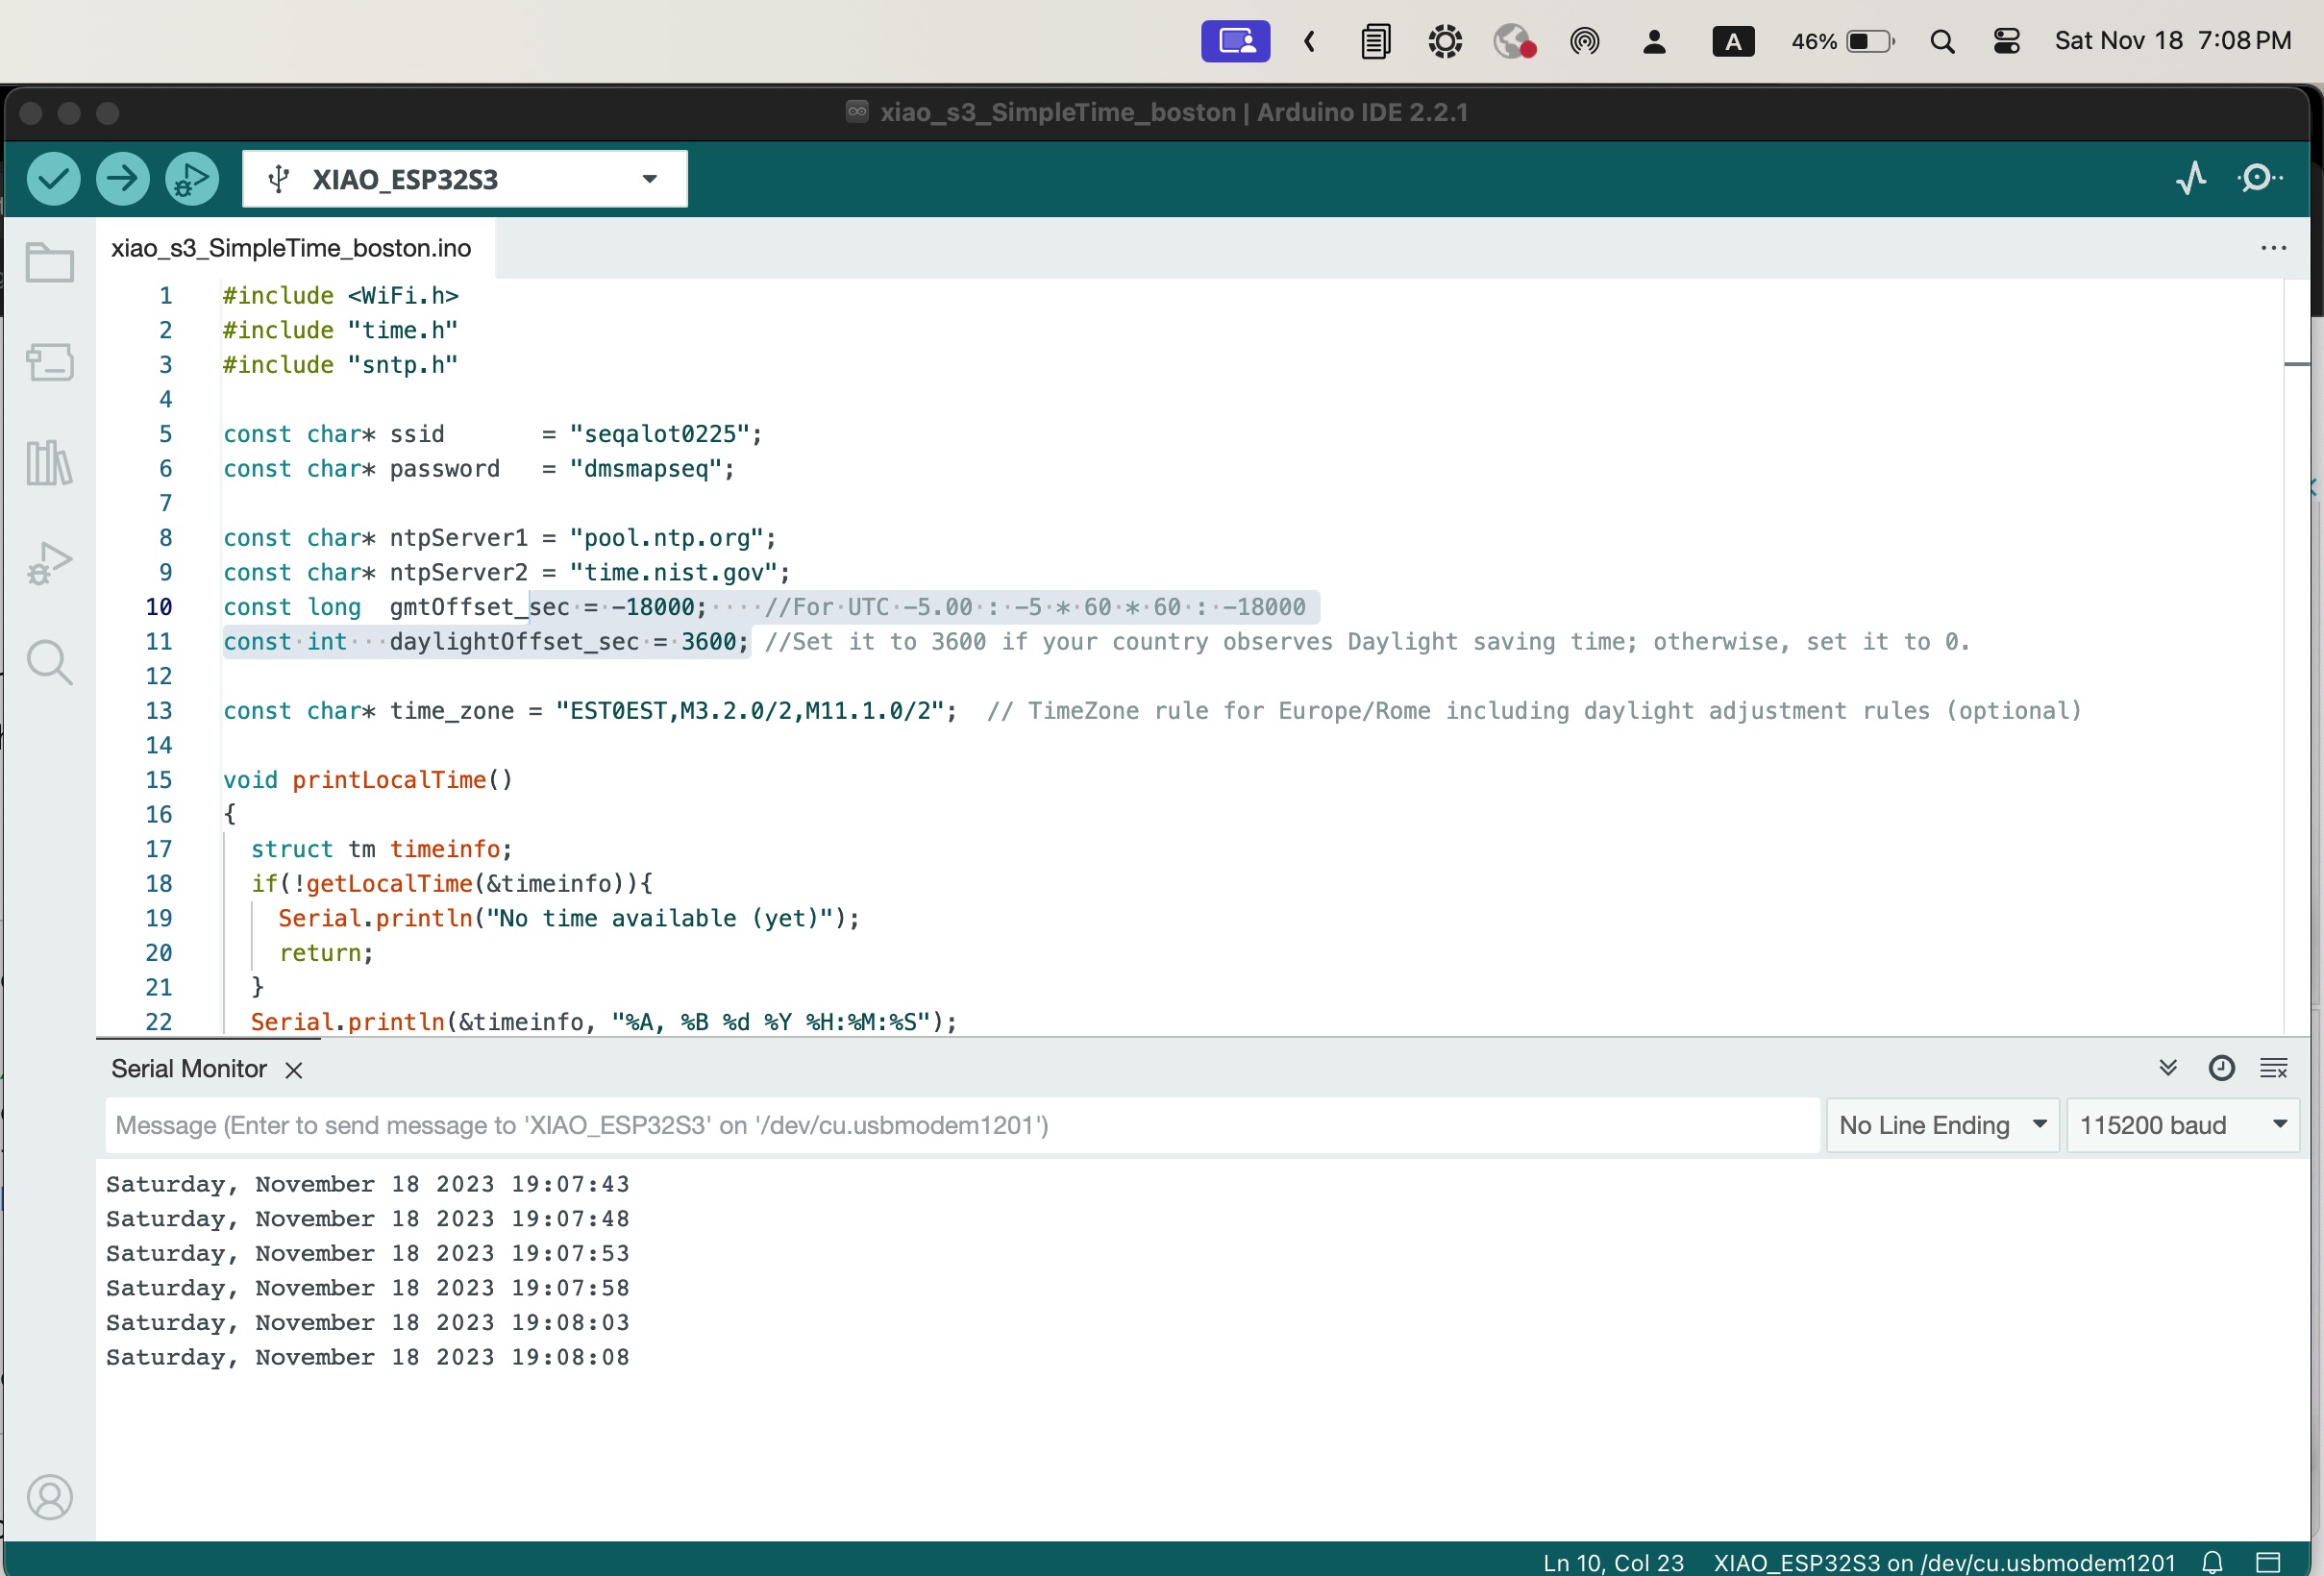
Network Time Protocol
NTP stands for Network Time Protocol, which is a standard Internet Protocol (IP) used for synchronizing computer clocks over a network. Before I attempted to set up a website for updating weight data, I initialized the NTP client to obtain the date and time from the NTP server. This step ensured that my project had accurate time data.
Challenge 1 - WiFi Connection:
One of the initial challenges I encountered was getting the WiFi module to connect to MIT WiFi. It turned out that it required a 2.4GHz WiFi source instead of 5GHz. To work around this, I used my iPhone hotspot as a WiFi source. However, I had to make a special setup to ensure that the hotspot operated at 2.4GHz.
To switch to 2.4GHz on the iPhone:
- Open Settings and tap Personal Hotspot.
- Toggle on Maximize Compatibility.
Challenge 2 - Updating Data in Real-Time:
Initially, I sent a random number to the website, but I soon realized that this data needed to be refreshed to retrieve new values. To achieve real-time data updates, I turned to a YouTube tutorial that explained how to use WebServer.h and WebSocketsServer.h to establish a seamless flow of real-time data updates.

Challenge 3 - Multi-Tasking:
My project required multi-tasking, involving reading sensor data from a load cell, displaying the value on the OLED screen, and updating data on the web server. Initially, I attempted to use the “scheduler.h” library, but it proved incompatible with the ESP32 architecture. As an alternative, I employed the “millis()” function as a timer to perform periodic tasks.

Code (for XIAO ESP32S3):
//--- WiFi and Webserver
#include <WiFi.h> // needed to connect to WiFi
#include <WebServer.h> // needed to create a simple webserver (make sure tools -> board is set to ESP32, otherwise you will get a "WebServer.h: No such file or directory" error)
#include <WebSocketsServer.h> // needed for instant communication between client and server through Websockets
#include <ArduinoJson.h> // needed for JSON encapsulation (send multiple variables with one string)
// SSID and password of Wifi connection:
const char* ssid = "wifi-ssid";
const char* password = "password";
// The String below "webpage" contains the complete HTML code that is sent to the client whenever someone connects to the webserver
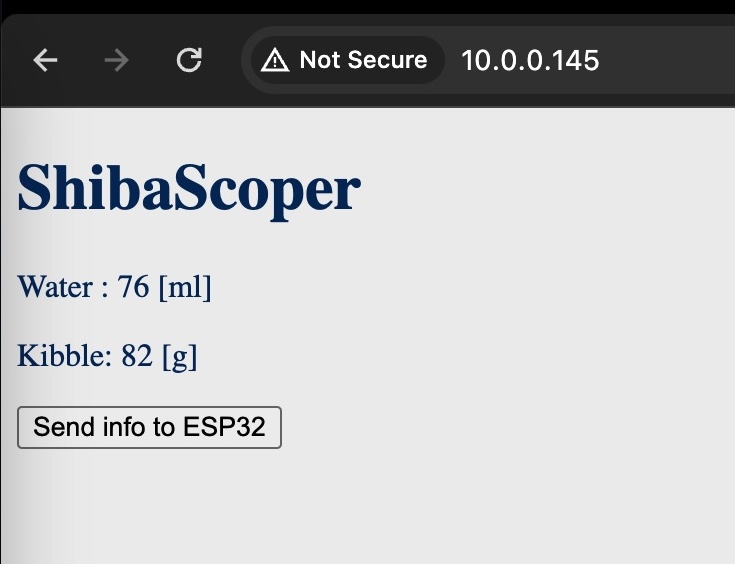
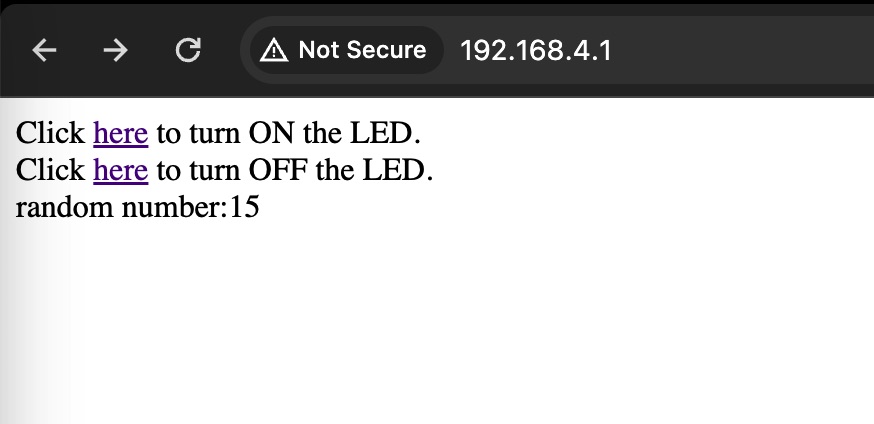
//String webpage = "<!DOCTYPE html><html><head><title>Shiba Scope</title></head><body style='background-color: #EEEEEE;'><span style='color: #003366;'><h1>Shiba Scope</h1><p>Water: <span id='rand1'>-</span> [ml]</p><p>Kibble: <span id='rand2'>-</span> [g]</p><p><button type='button' id='BTN_SEND_BACK'>Send info to ESP32</button></p></span></body><script> var Socket; document.getElementById('BTN_SEND_BACK').addEventListener('click', button_send_back); function init() { Socket = new WebSocket('ws://' + window.location.hostname + ':81/'); Socket.onmessage = function(event) { processCommand(event); }; } function button_send_back() { var msg = {brand: 'Gibson',type: 'Les Paul Studio',year: 2010,color: 'white'};Socket.send(JSON.stringify(msg)); } function processCommand(event) {var obj = JSON.parse(event.data);document.getElementById('rand1').innerHTML = obj.rand1;document.getElementById('rand2').innerHTML = obj.rand2; console.log(obj.rand1);console.log(obj.rand2); } window.onload = function(event) { init(); }</script></html>";
String webpage = "<!DOCTYPE html><html><head><title>Shiba Scope</title></head><body style='background-color: #EEEEEE;'><span style='color: #003366;'><h1>Shiba Scope</h1><p>Water Remained: <span id='water'>-</span> [ml]</p><p>Water Intake: <span id='sum'>-</span> [ml]</p><p><button type='button' id='BTN_SEND_BACK'>Reset the bowl</button></p></span></body><script> var Socket; document.getElementById('BTN_SEND_BACK').addEventListener('click', button_send_back); function init() { Socket = new WebSocket('ws://' + window.location.hostname + ':81/'); Socket.onmessage = function(event) { processCommand(event); }; } function button_send_back() { var msg = {command: 1,};Socket.send(JSON.stringify(msg)); } function processCommand(event) {var obj = JSON.parse(event.data);document.getElementById('water').innerHTML = obj.water;document.getElementById('sum').innerHTML = obj.sum; console.log(obj.water);console.log(obj.sum); } window.onload = function(event) { init(); }</script></html>";
// The JSON library uses static memory, so this will need to be allocated:
// -> in the video I used global variables for "doc_tx" and "doc_rx", however, I now changed this in the code to local variables instead "doc" -> Arduino documentation recomends to use local containers instead of global to prevent data corruption
// We want to periodically send values to the clients, so we need to define an "interval" and remember the last time we sent data to the client (with "previousMillis")
int interval = 1000; // send data to the client every 1000ms -> 1s
unsigned long previousMillis = 0; // we use the "millis()" command for time reference and this will output an unsigned long
// Initialization of webserver and websocket
WebServer server(80); // the server uses port 80 (standard port for websites
WebSocketsServer webSocket = WebSocketsServer(81); // the websocket uses port 81 (standard port for websockets
//---- button
uint8_t buttonPin = D6;
int buttonState = 0;
//---- sensor
#include "HX711.h"
HX711 scale;
uint8_t dataPin = D3;
uint8_t clockPin = D7;
float w1, w2, previous = 0;
float tolerance = -1.5;
float delta = 0.0;
float sum = 0.0;
//---- OLED
#include <U8g2lib.h>
#ifdef U8X8_HAVE_HW_SPI
#include <SPI.h>
#endif
#ifdef U8X8_HAVE_HW_I2C
#include <Wire.h>
#endif
U8G2_SSD1306_128X64_NONAME_F_SW_I2C u8g2(U8G2_R0, /* clock=*/ SCL, /* data=*/ SDA, /* reset=*/ U8X8_PIN_NONE);
void setup() {
Serial.begin(115200); // init serial port for debugging
//---- Button
pinMode(buttonPin, INPUT);
//---- scale senser set-up
Serial.println(__FILE__);
Serial.print("LIBRARY VERSION: ");
Serial.println(HX711_LIB_VERSION);
Serial.println();
scale.begin(dataPin, clockPin);
Serial.print("UNITS: ");
Serial.println(scale.get_units(10));
// load cell factor 20 KG
// scale.set_scale(127.15);
// load cell factor 5 KG
// scale.set_scale(429.4845); // TODO you need to calibrate this yourself.
scale.set_scale(438.51); // TODO you need to calibrate this yourself.
scale.tare();
Serial.print("UNITS: ");
Serial.println(scale.get_units(10));
// OLED
u8g2.begin();
//---- WiFi
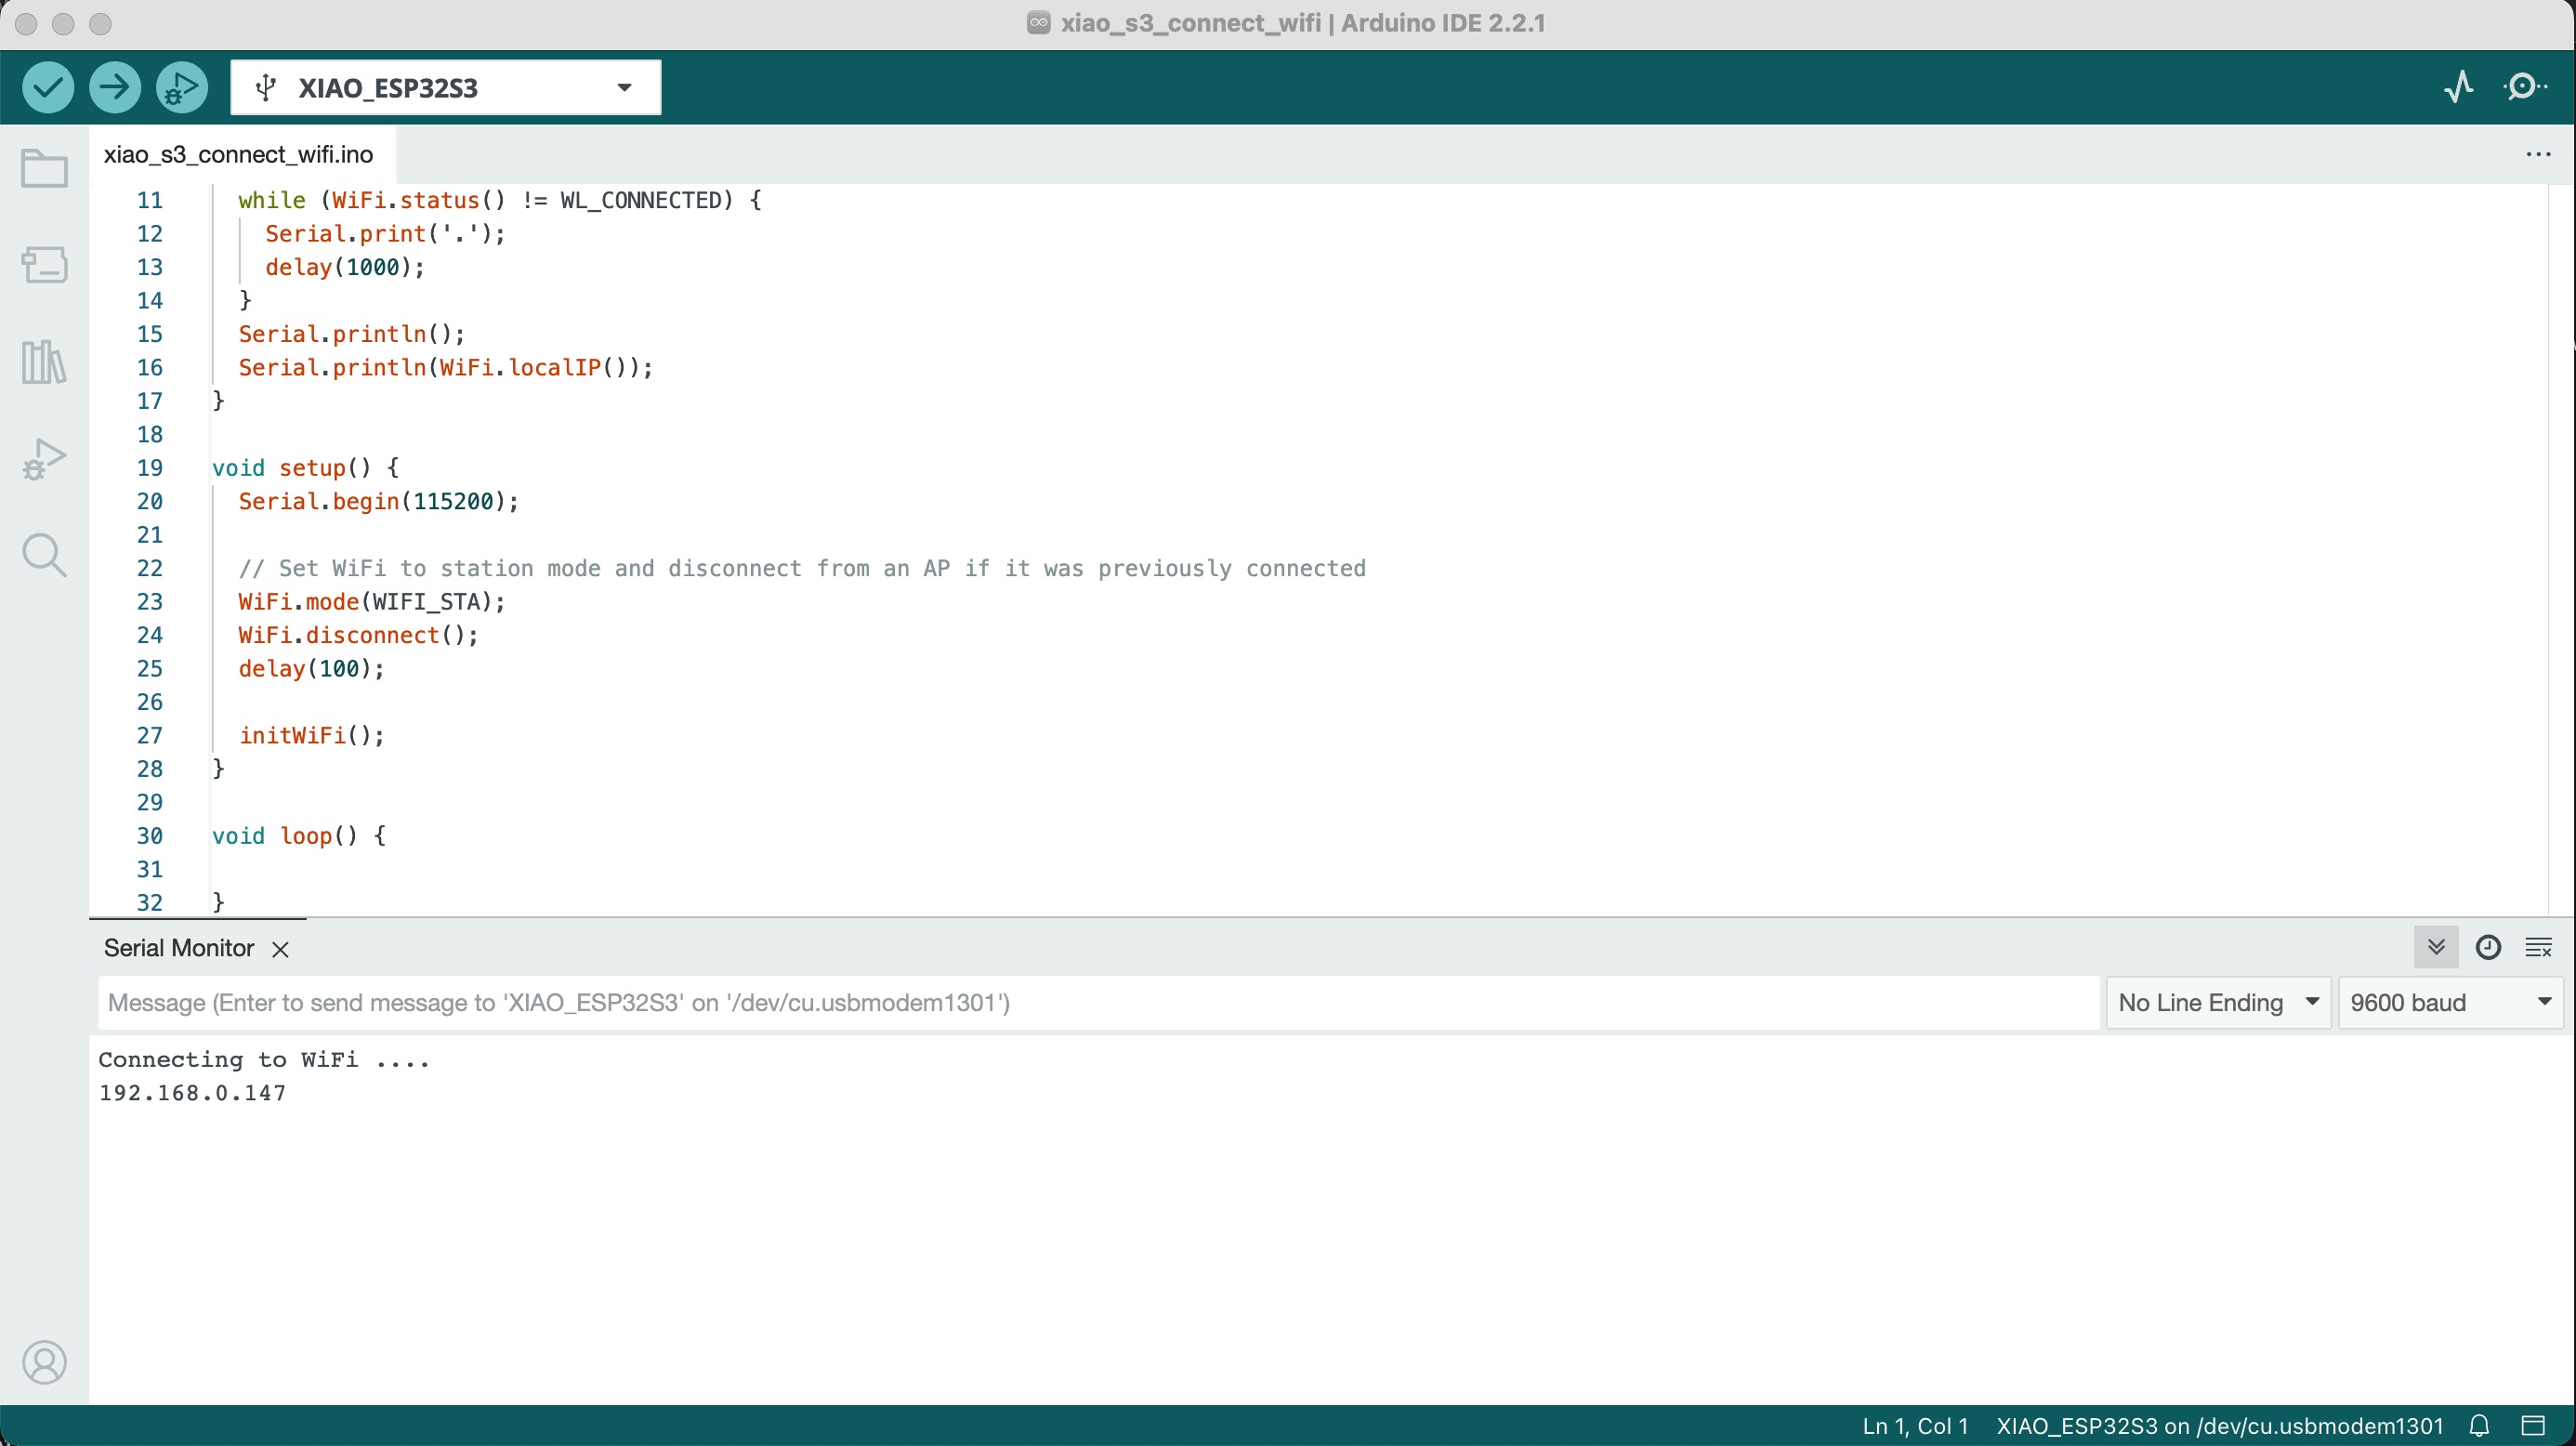
WiFi.begin(ssid, password); // start WiFi interface
Serial.println("Establishing connection to WiFi with SSID: " + String(ssid)); // print SSID to the serial interface for debugging
while (WiFi.status() != WL_CONNECTED) { // wait until WiFi is connected
delay(500);
Serial.print(".");
}
Serial.print("Connected to network with IP address: ");
Serial.println(WiFi.localIP()); // show IP address that the ESP32 has received from router
server.on("/", []() { // define here wat the webserver needs to do
server.send(200, "text/html", webpage); // -> it needs to send out the HTML string "webpage" to the client
});
server.begin(); // start server
webSocket.begin(); // start websocket
webSocket.onEvent(webSocketEvent); // define a callback function -> what does the ESP32 need to do when an event from the websocket is received? -> run function "webSocketEvent()"
}
void loop() {
server.handleClient(); // Needed for the webserver to handle all clients
webSocket.loop(); // Update function for the webSockets
buttonState = digitalRead(buttonPin);
buttonUpdater();
weigh_function();
oledUpdater();
unsigned long now = millis(); // read out the current "time" ("millis()" gives the time in ms since the Arduino started)
if ((unsigned long)(now - previousMillis) > interval) { // check if "interval" ms has passed since last time the clients were updated
String jsonString = ""; // create a JSON string for sending data to the client
StaticJsonDocument<200> doc; // create a JSON container
JsonObject object = doc.to<JsonObject>(); // create a JSON Object
object["water"] = int(w1); // write data into the JSON object -> I used "rand1" and "rand2" here, but you can use anything else
object["sum"] = abs(int(sum));
serializeJson(doc, jsonString); // convert JSON object to string
Serial.println(jsonString); // print JSON string to console for debug purposes (you can comment this out)
webSocket.broadcastTXT(jsonString); // send JSON string to clients
previousMillis = now; // reset previousMillis
}
}
void webSocketEvent(byte num, WStype_t type, uint8_t * payload, size_t length) { // the parameters of this callback function are always the same -> num: id of the client who send the event, type: type of message, payload: actual data sent and length: length of payload
switch (type) { // switch on the type of information sent
case WStype_DISCONNECTED: // if a client is disconnected, then type == WStype_DISCONNECTED
Serial.println("Client " + String(num) + " disconnected");
break;
case WStype_CONNECTED: // if a client is connected, then type == WStype_CONNECTED
Serial.println("Client " + String(num) + " connected");
// optionally you can add code here what to do when connected
break;
case WStype_TEXT: // if a client has sent data, then type == WStype_TEXT
// try to decipher the JSON string received
StaticJsonDocument<200> doc; // create a JSON container
DeserializationError error = deserializeJson(doc, payload);
if (error) {
Serial.print(F("deserializeJson() failed: "));
Serial.println(error.f_str());
return;
}
else {
// JSON string was received correctly, so information can be retrieved:
const int g_command = doc["command"];
Serial.println("Received command from user: " + String(num));
Serial.println("Command: " + String(g_command));
if(g_command == 1){
// reset the weight scale
scale.tare();
// reset the value of water consumption
sum = 0;
}
}
Serial.println("");
break;
}
}
void weigh_function(){
// read until stable
w1 = scale.get_units(10);
//delay(100);
w2 = scale.get_units(10);
while (abs(w1 - w2) > 10)
{
w1 = w2;
w2 = scale.get_units();
delay(100);
}
Serial.print("UNITS: ");
Serial.print(w1);
if (w1 == 0)
{
Serial.println();
}
else
{
delta = w1 - previous;
Serial.print("\t\tDELTA: ");
Serial.print(delta);
calculate_water();
previous = w1;
}
//delay(100);
}
void calculate_water(){
if (delta <= tolerance){
sum += (w1 - previous);
}
else{}
Serial.print("\t\tSum: ");
Serial.println(sum);
}
void oledUpdater(){
u8g2.clearBuffer(); // clear the internal memory
u8g2.setFont(u8g2_font_ncenB08_tr); // choose a suitable font
u8g2.drawStr(0,10,"HTM(A)A 2023"); // write something to the internal memory
u8g2.drawStr(0,30,"Weight: ");
u8g2.setCursor(60, 30);
u8g2.print(w1);
u8g2.drawStr(0,40,"Sum: ");
u8g2.setCursor(60, 40);
u8g2.print(sum);
u8g2.drawStr(0,60,"IP: ");
u8g2.setCursor(40, 60);
u8g2.print(WiFi.localIP());
u8g2.sendBuffer(); // transfer internal memory to the display
}
void buttonUpdater(){
// check if the pushbutton is pressed. If it is, the buttonState is HIGH:
if (buttonState == HIGH) {
// reset the weight scale
scale.tare();
} else {
// do nothing
}
}
// -- END OF FILE --
Code (for the website):
  <!DOCTYPE html>
  <html>
  <head>
  <title>Shiba Scope</title>
  </head>
  <body style='background-color: #EEEEEE;'>

  <span style='color: #003366;'>

  <h1>Shiba Scope</h1>
  <p>Water Remained: <span id='water'>-</span> [ml]</p>
  <p>Water Intake: <span id='sum'>-</span> [ml]</p>
  <p><button type='button' id='BTN_SEND_BACK'>
  Reset the bowl
  </button></p>

  </span>

  </body>
  <script>
    var Socket;
    document.getElementById('BTN_SEND_BACK').addEventListener('click', button_send_back);
    function init() {
      Socket = new WebSocket('ws://' + window.location.hostname + ':81/');
      Socket.onmessage = function(event) {
        processCommand(event);
      };
    }
    function button_send_back() {
      var msg = {
    command:  1,
    };
    Socket.send(JSON.stringify(msg));
    }
    function processCommand(event) {
    var obj = JSON.parse(event.data);
    document.getElementById('water').innerHTML = obj.water;
    document.getElementById('sum').innerHTML = obj.sum;
      console.log(obj.water);
    console.log(obj.sum);
    }
    window.onload = function(event) {
      init();
    }
  </script>
  </html>
How to put .html into arduino.ino file
- Tool: HTML Compression Tool
- Copy and paste the full html file to the HTML Compression Tool
- Press the “Compress HTML” button
- Copy your new smaller html code from the box below
- Insert the smaller html code into the arduino code
Conclusion:
This week’s exploration of networking and communications has allowed me to transform a simple dog bowl into a smart, connected device. Overcoming challenges related to WiFi connectivity, real-time data updates, and multitasking has been a valuable learning experience. As I continue to refine this project, I look forward to applying these newfound skills and knowledge to future endeavors. Stay tuned for more exciting developments on the “How To Make Almost Anything” website as I delve deeper into the world of making and innovation!