This week’s adventure took me on a journey through 3D scanning and printing. I embarked on a creative exploration that led me to unexpected challenges and rewarding solutions.
The Rubik’s Cube Misadventure:
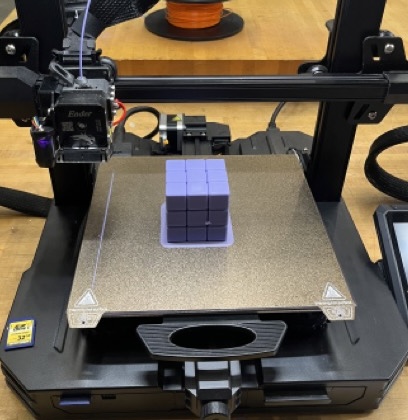
My 3D printing odyssey began with a noble ambition - to create a fully functional Rubik’s Cube. Armed with a 3D printer and a vision, I set out to make the iconic puzzle toy. However, reality had other plans. My first attempt turned out to be less functional than I had anticipated. The cube didn’t quite function as expected, and I realized that achieving perfection in 3D printing required a deeper understanding of the process.
Enter the Spinning Dodecahedron:
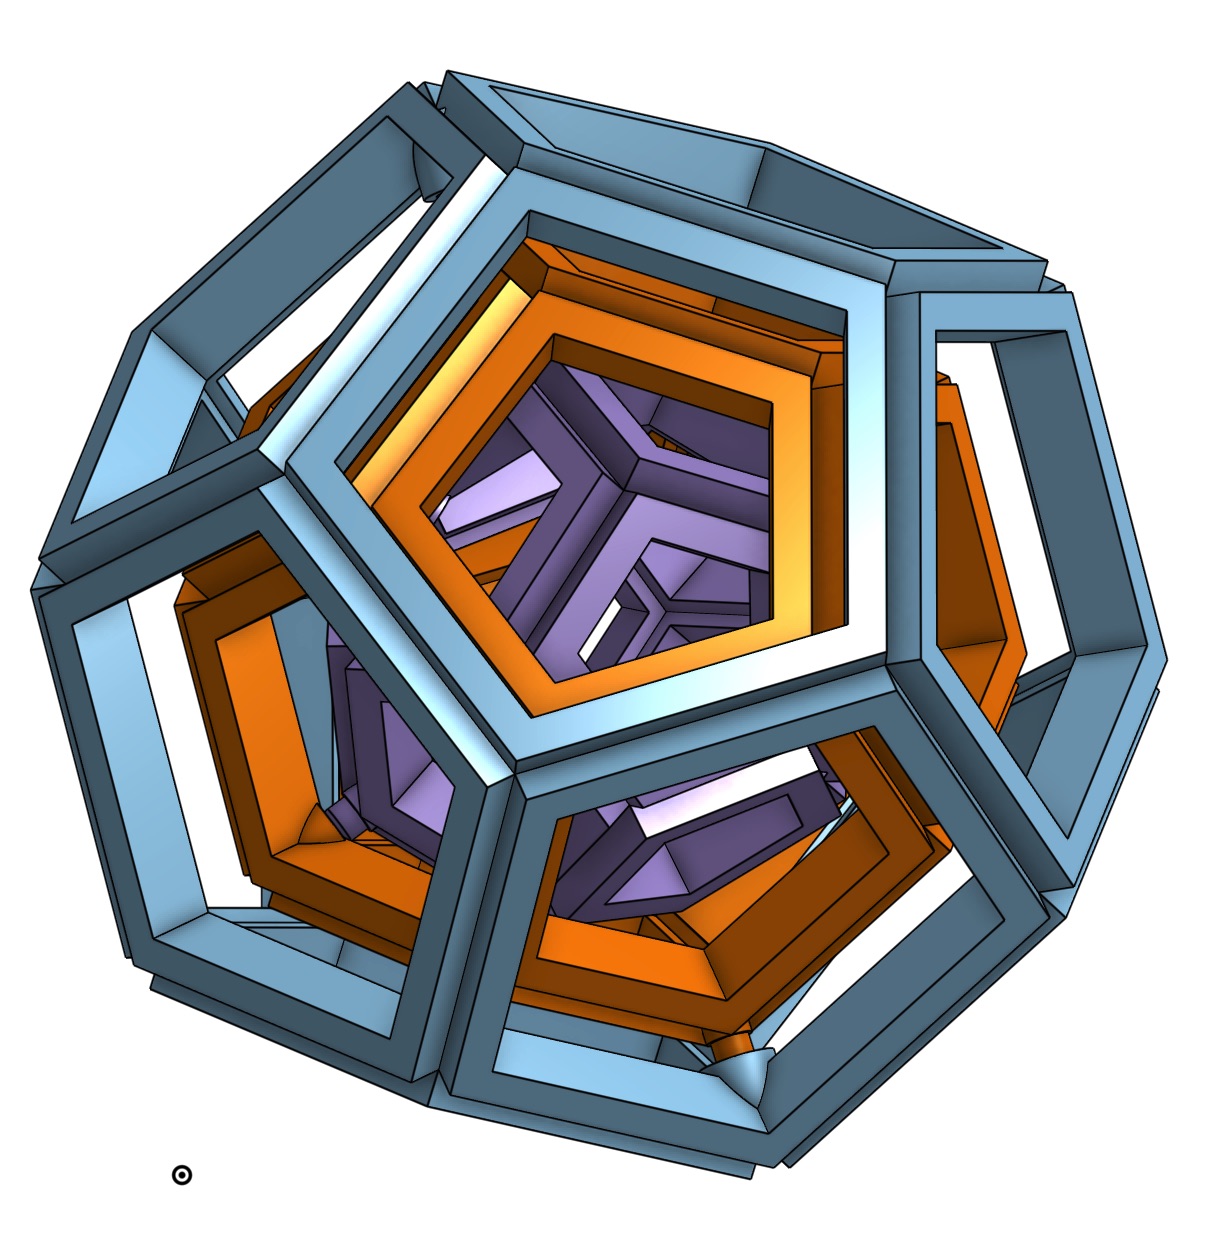
Undeterred by my initial setback, I decided to try something different. I ventured into the world of designing and printing a spinning 3-layer dodecahedron. This geometric marvel promised to be a unique and exciting project.
CAD file:
I design this piece on Onshap. The file is here.
The Tolerance Challenge:
One of the crucial aspects of 3D printing is setting the right tolerance, and I opted for a 1.1 mm tolerance for my project. This setting was tailored for the 0.2 mm resolution printing I intended to use. But the question remained - would it work?
Putting the Design to the Test:
To ensure the success of my spinning dodecahedron, I didn’t want to take any chances. So, I decided to print a test piece to gauge the accuracy of the 1.1 mm tolerance. For this test, I chose a flexi fish template, a small yet intricate design that would provide valuable insights into the printing process.

Design rule
As part of the group assignment, I printed out a model for testing out the design rules(support, overhangs, horizontal bridges, etc) of the Prusa MK3 printer. The online CAD file is here.

The Showdown: Creality Ender-3 vs. Stratasys J55
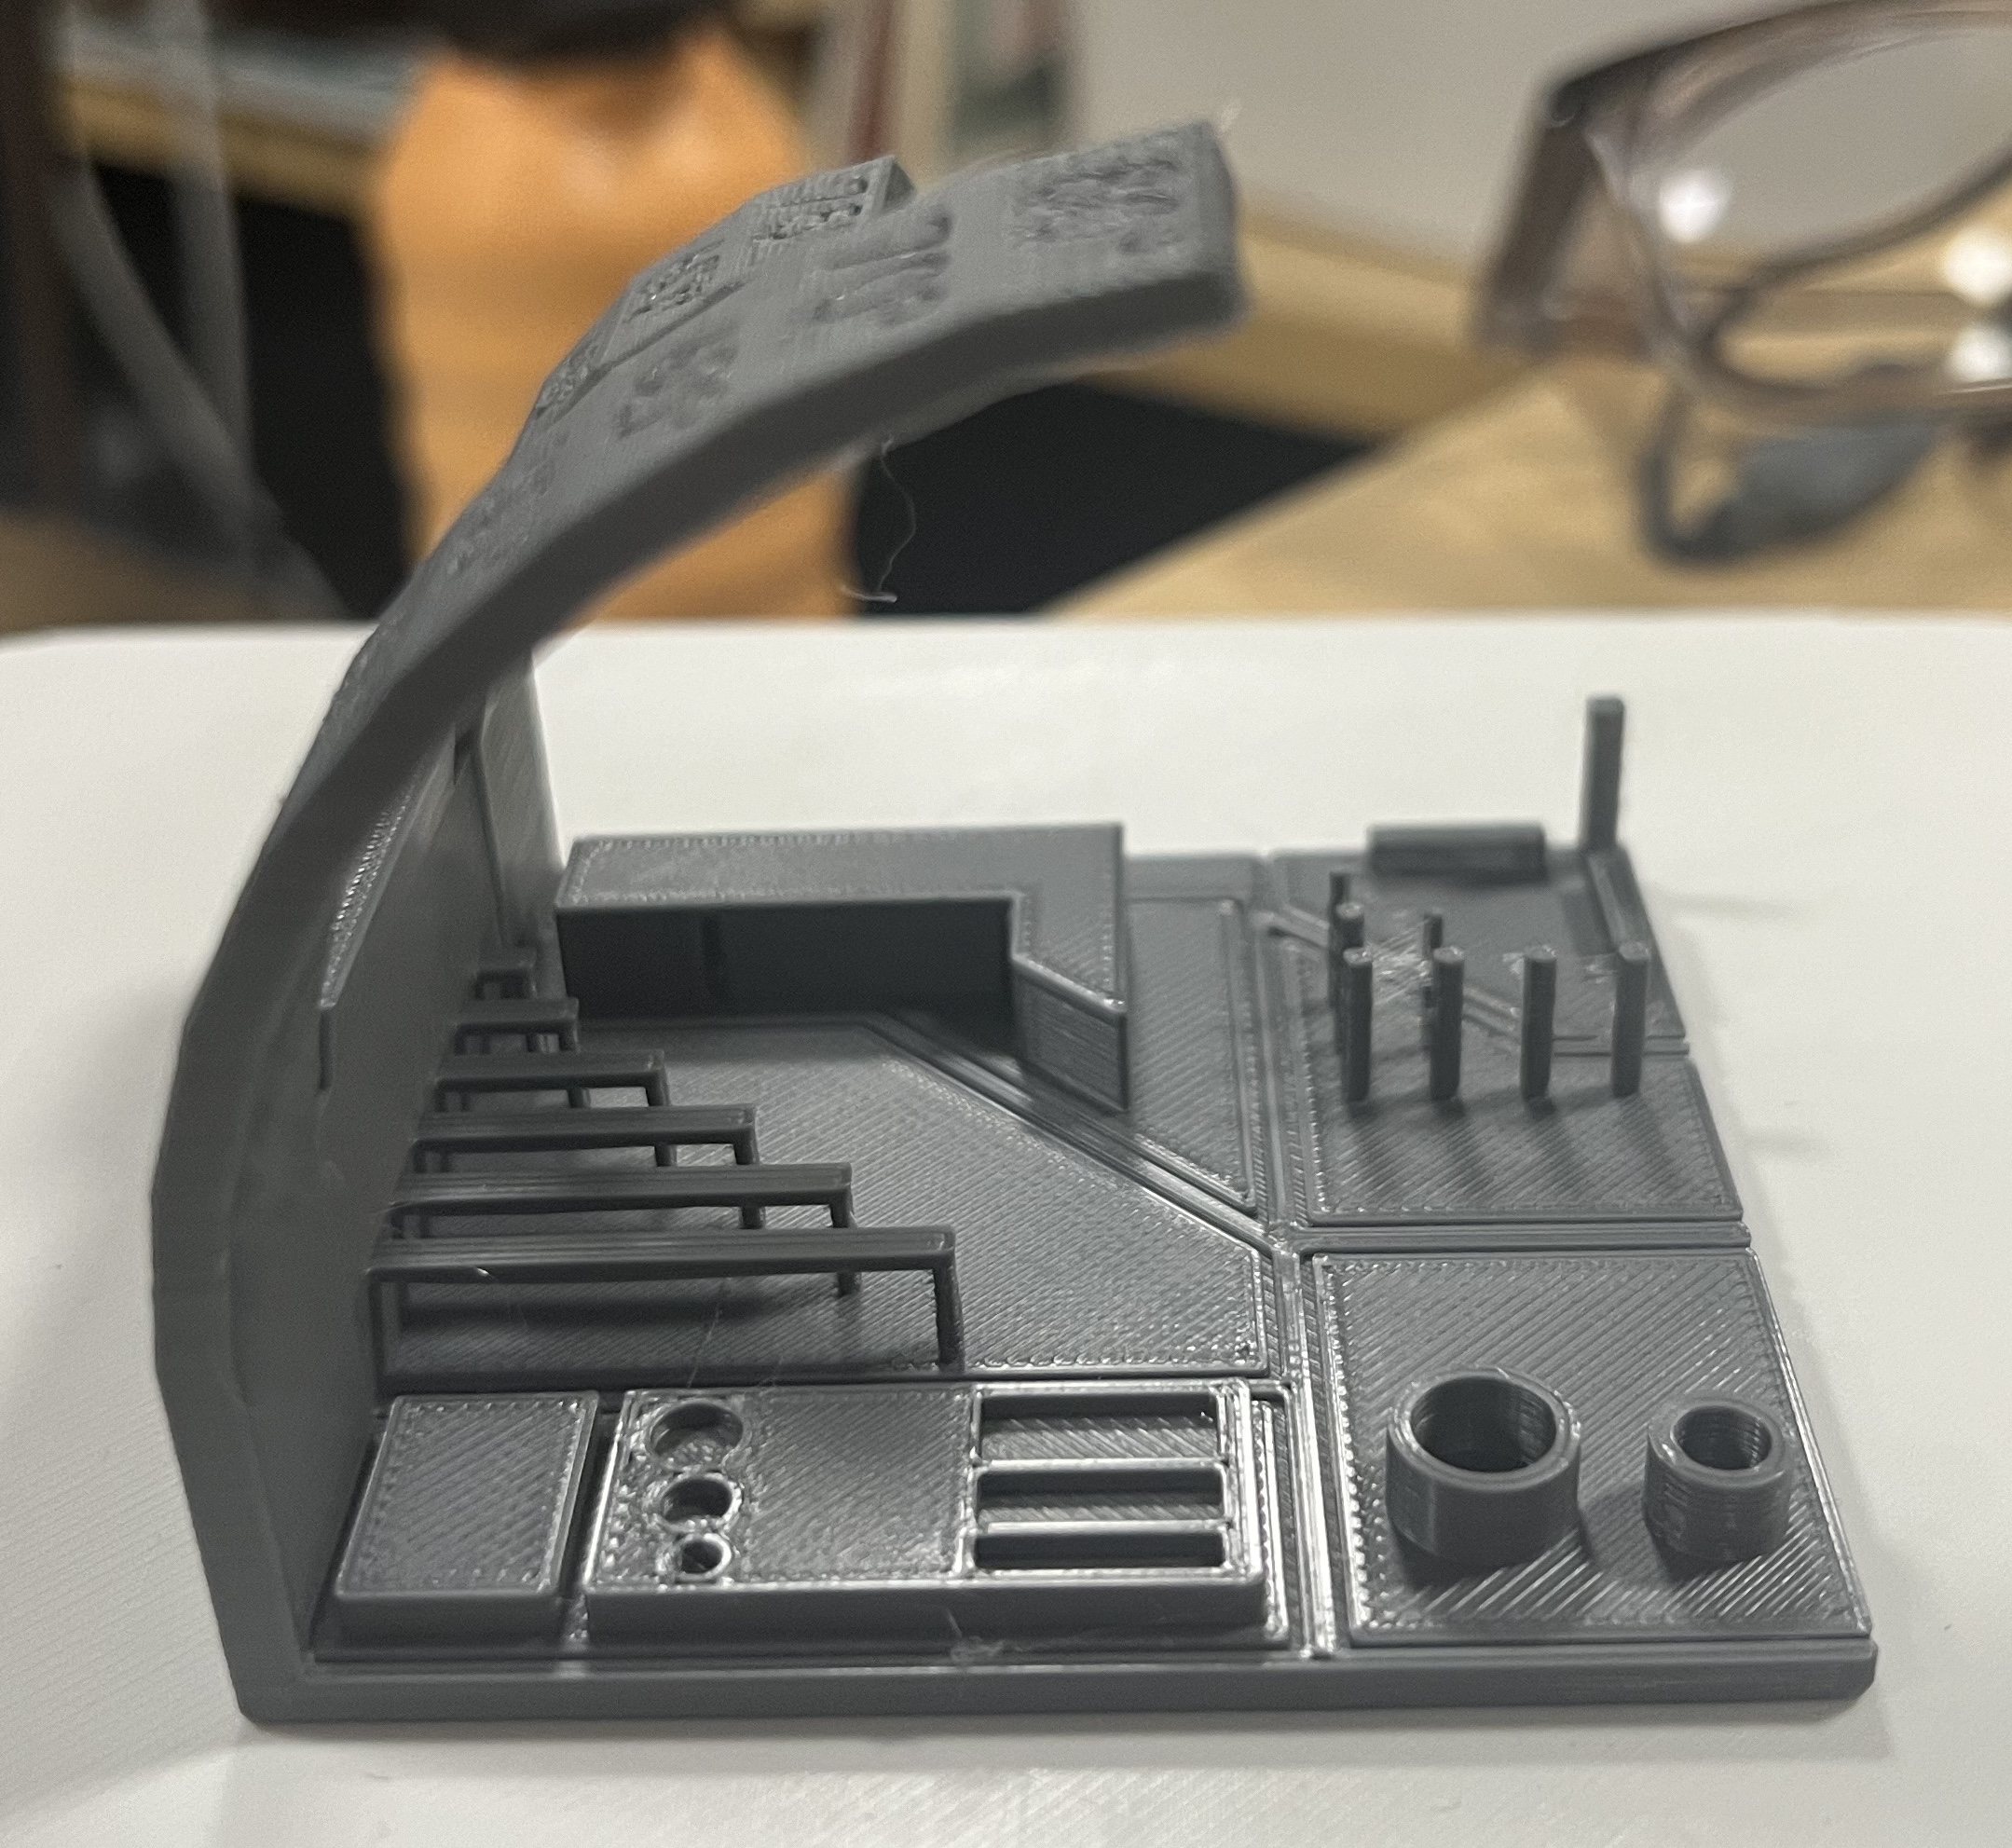
To truly put the 1.1 mm tolerance setting to the test, I printed the flexi fish template on two different 3D printers - the Creality Ender-3 and the Stratasys J55.
-
Creality Ender-3: While the Ender-3 produced a usable print, it came with a significant challenge. The support structures were overwhelming(the image on the left) , making it a daunting task to remove them all. This experience highlighted the importance of optimizing support structures for successful 3D printing.
-
Stratasys J55: Printing on the Stratasys J55 was a game-changer(the image on the right). Thanks to its water-recessable support material, the post-processing was a breeze. It demonstrated the immense value of investing in high-end 3D printing technology when it comes to ease of use and print quality.

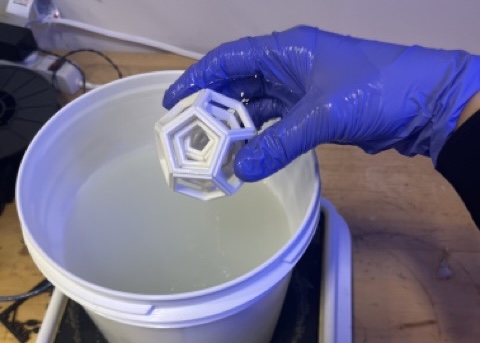
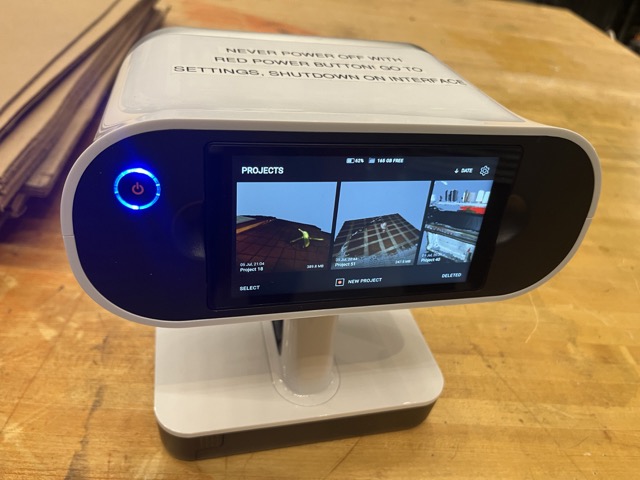
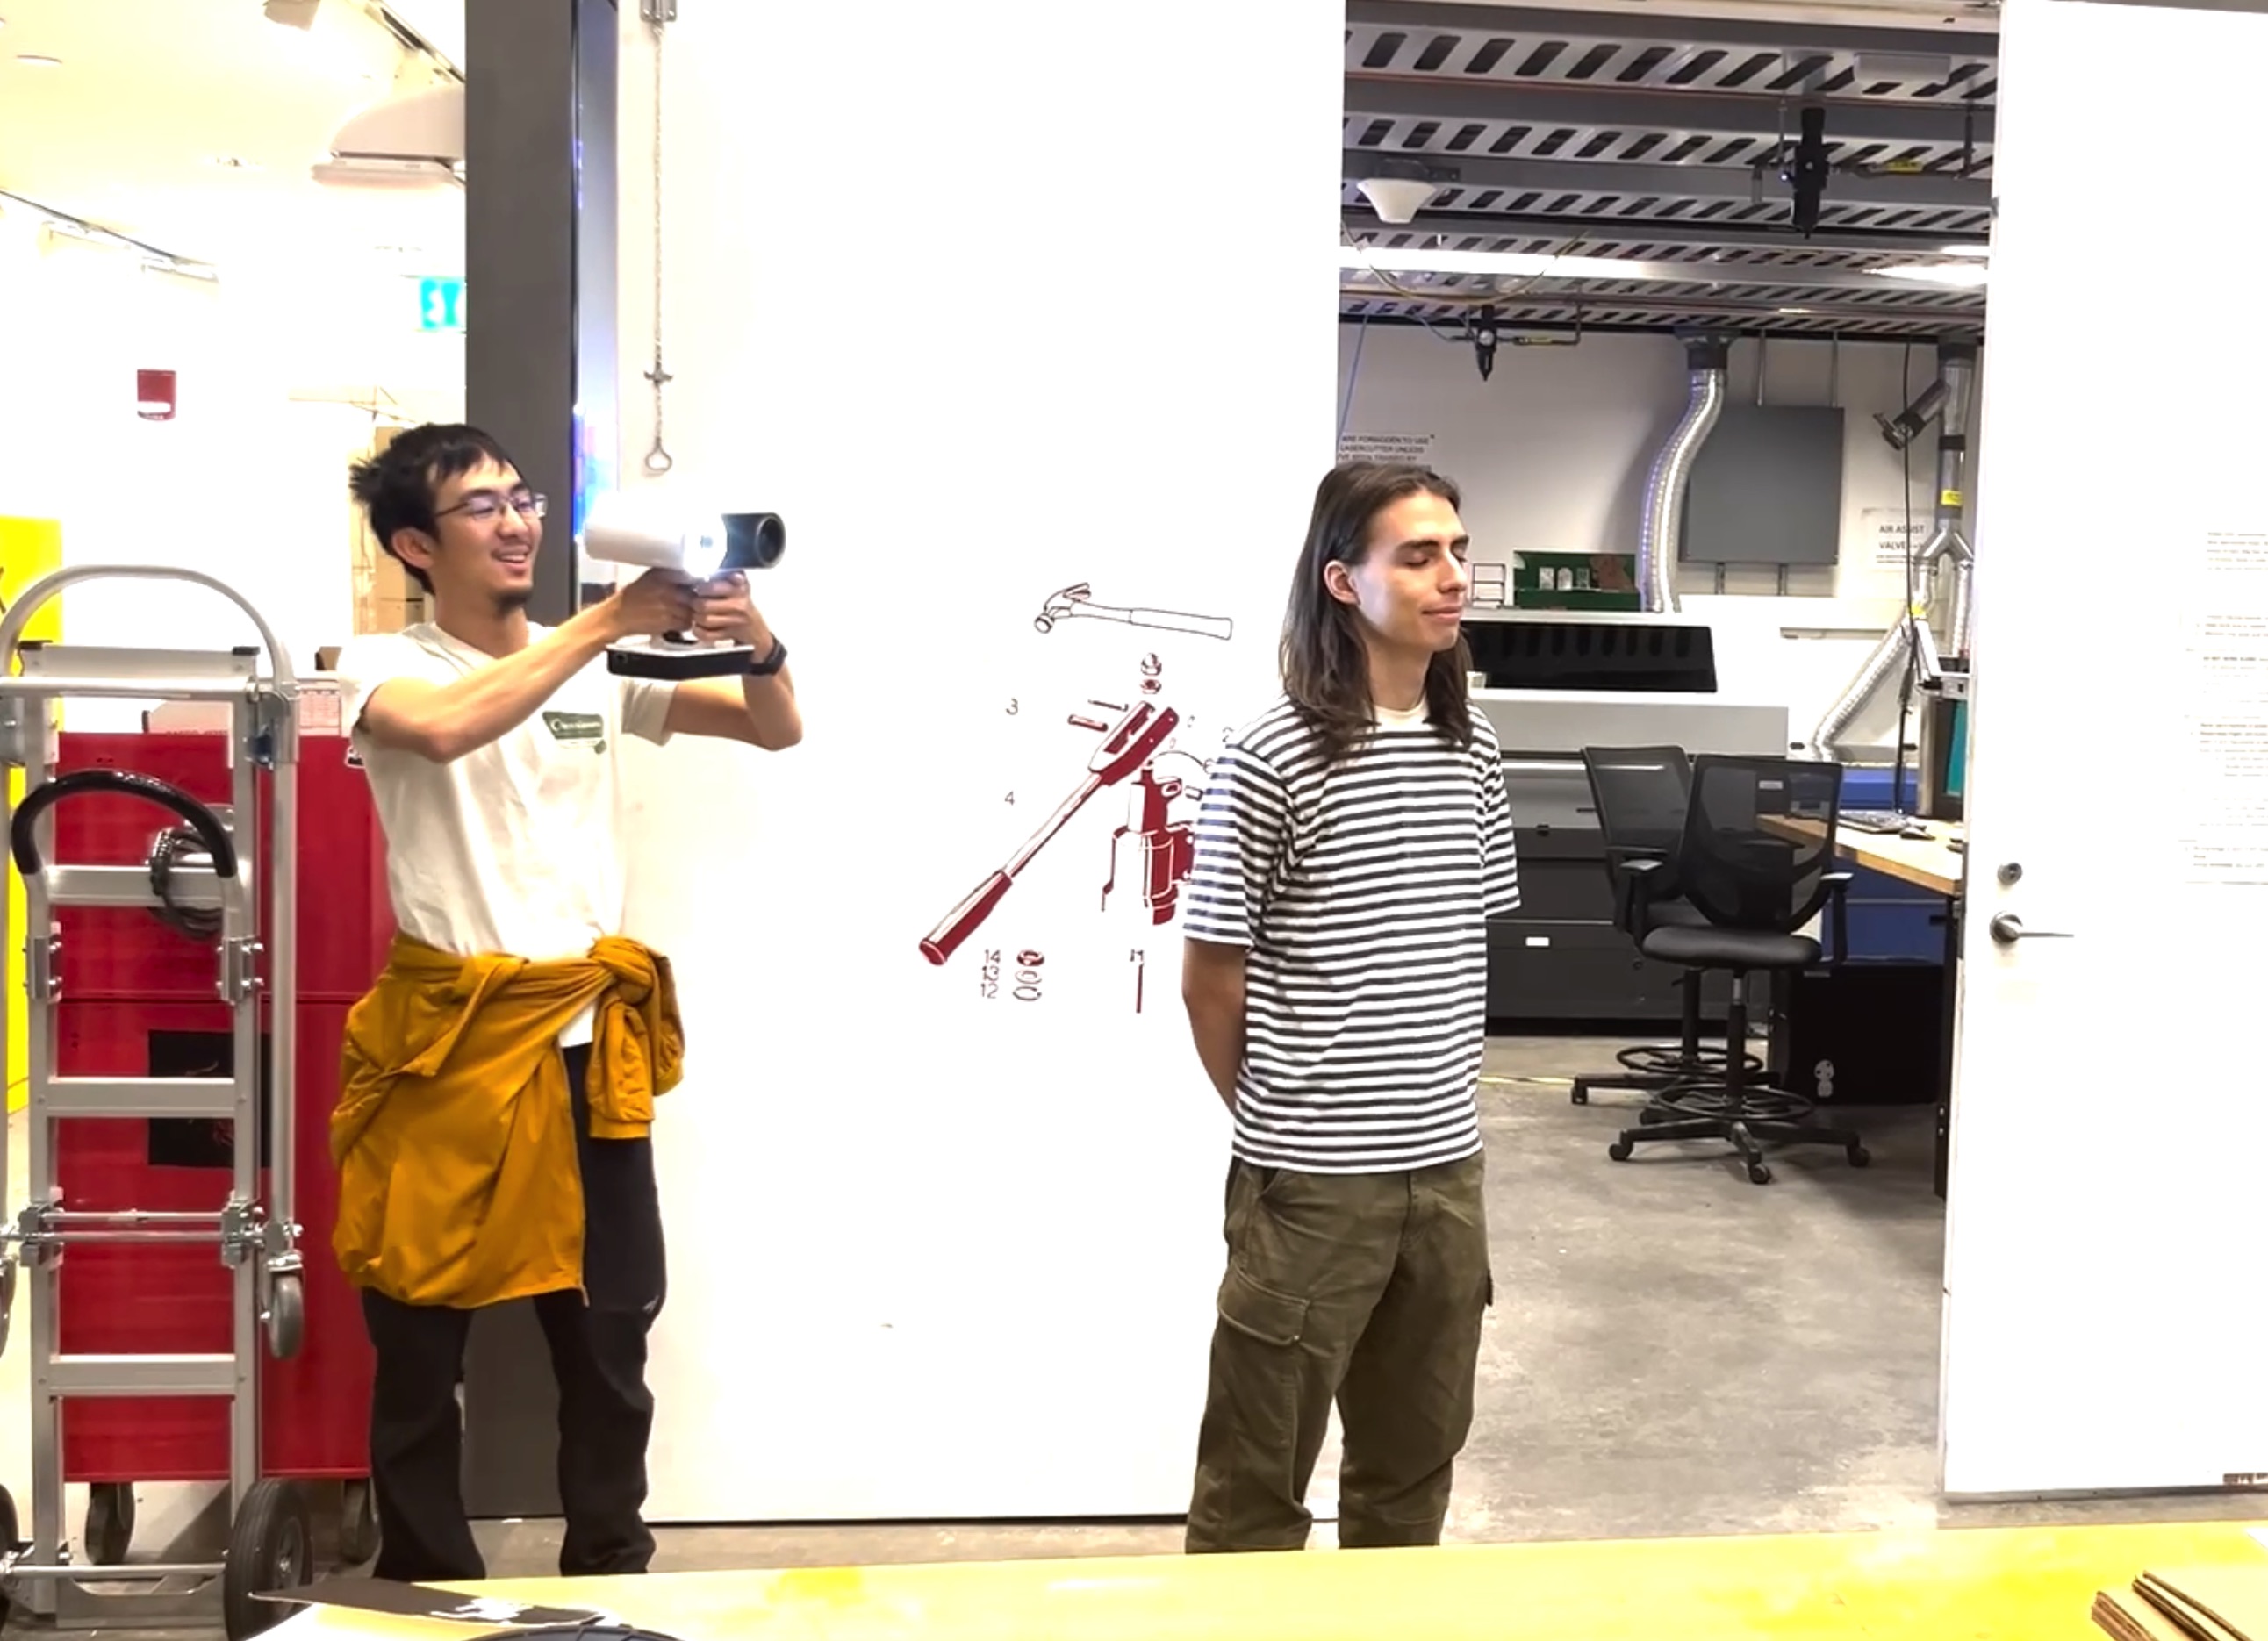
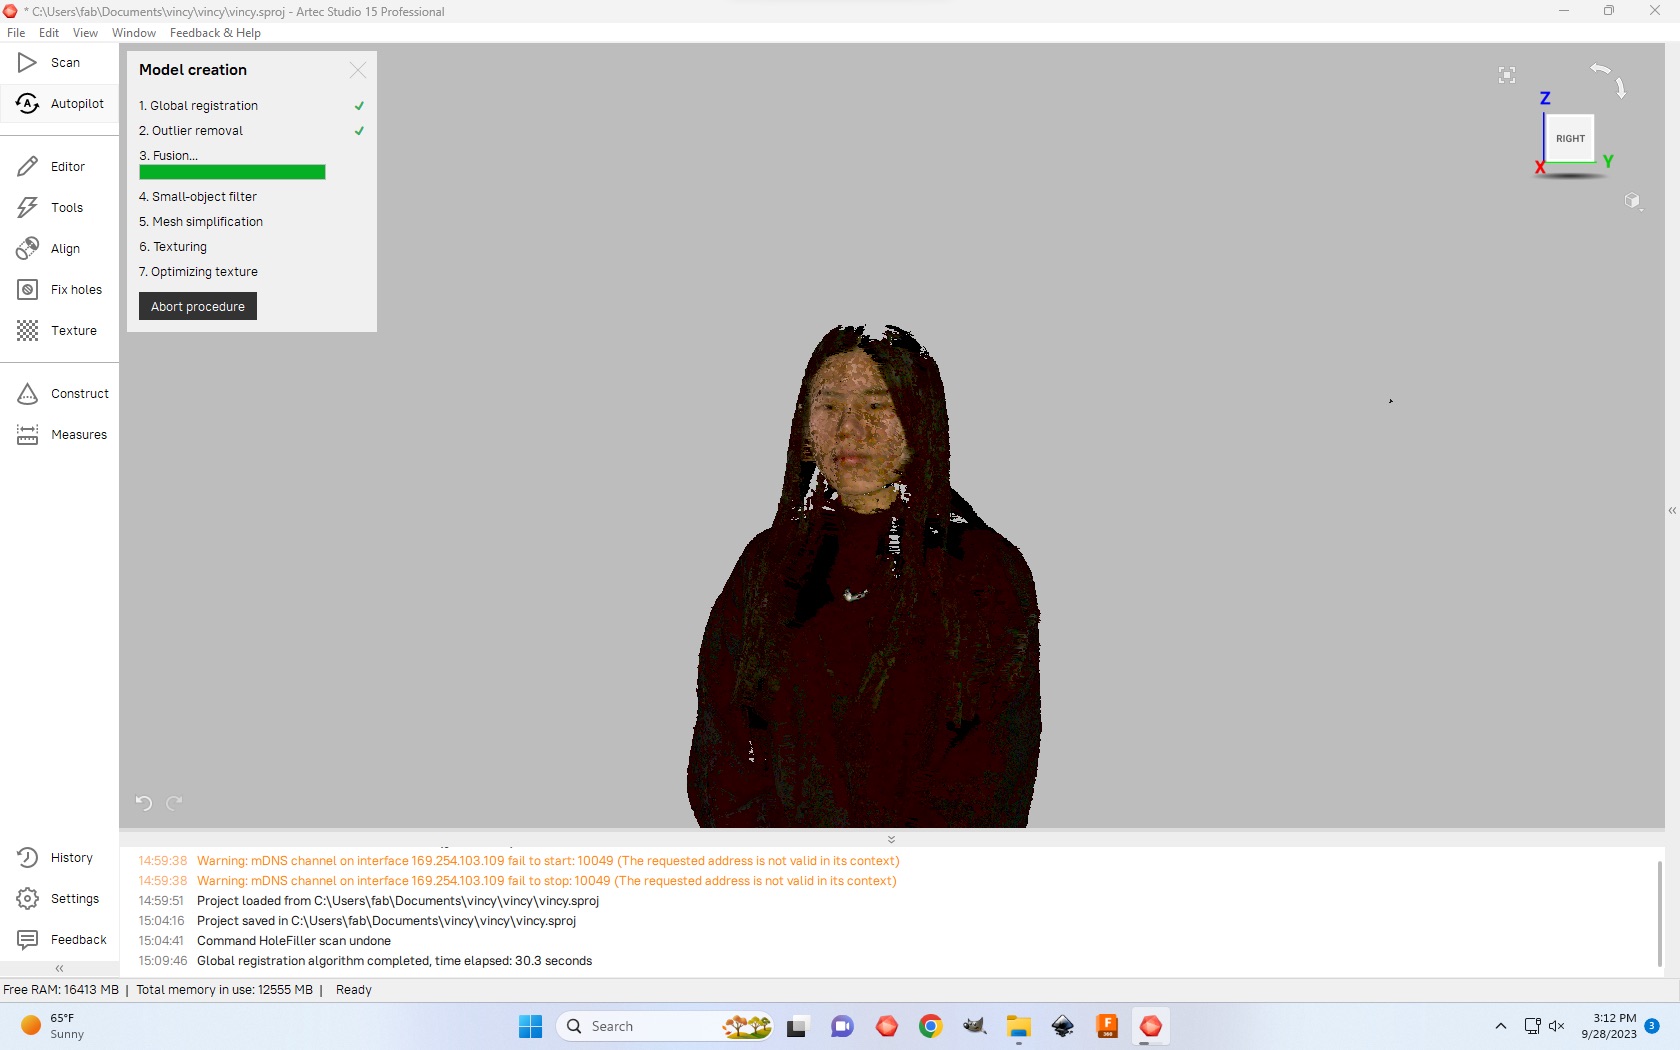
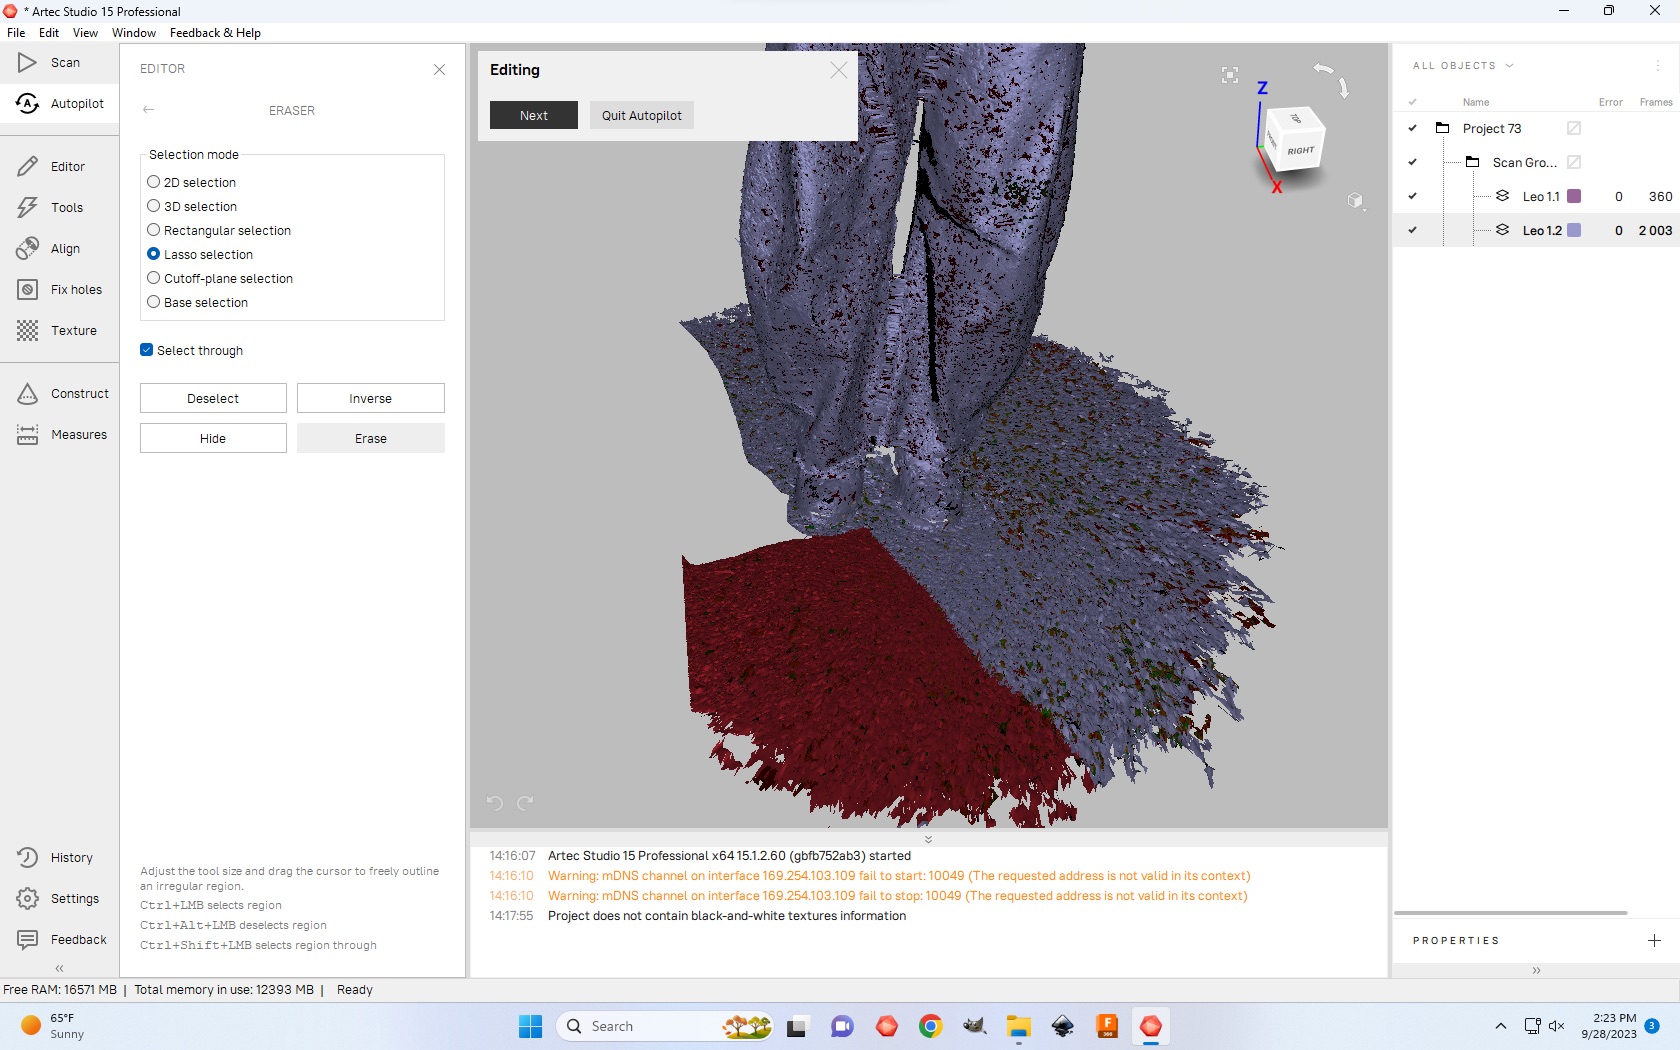
3D Scanning
I used the portable 3D scanner to scan my full body, and cleaned up the model on Artec Studio 15 Pro for futher 3D printing.
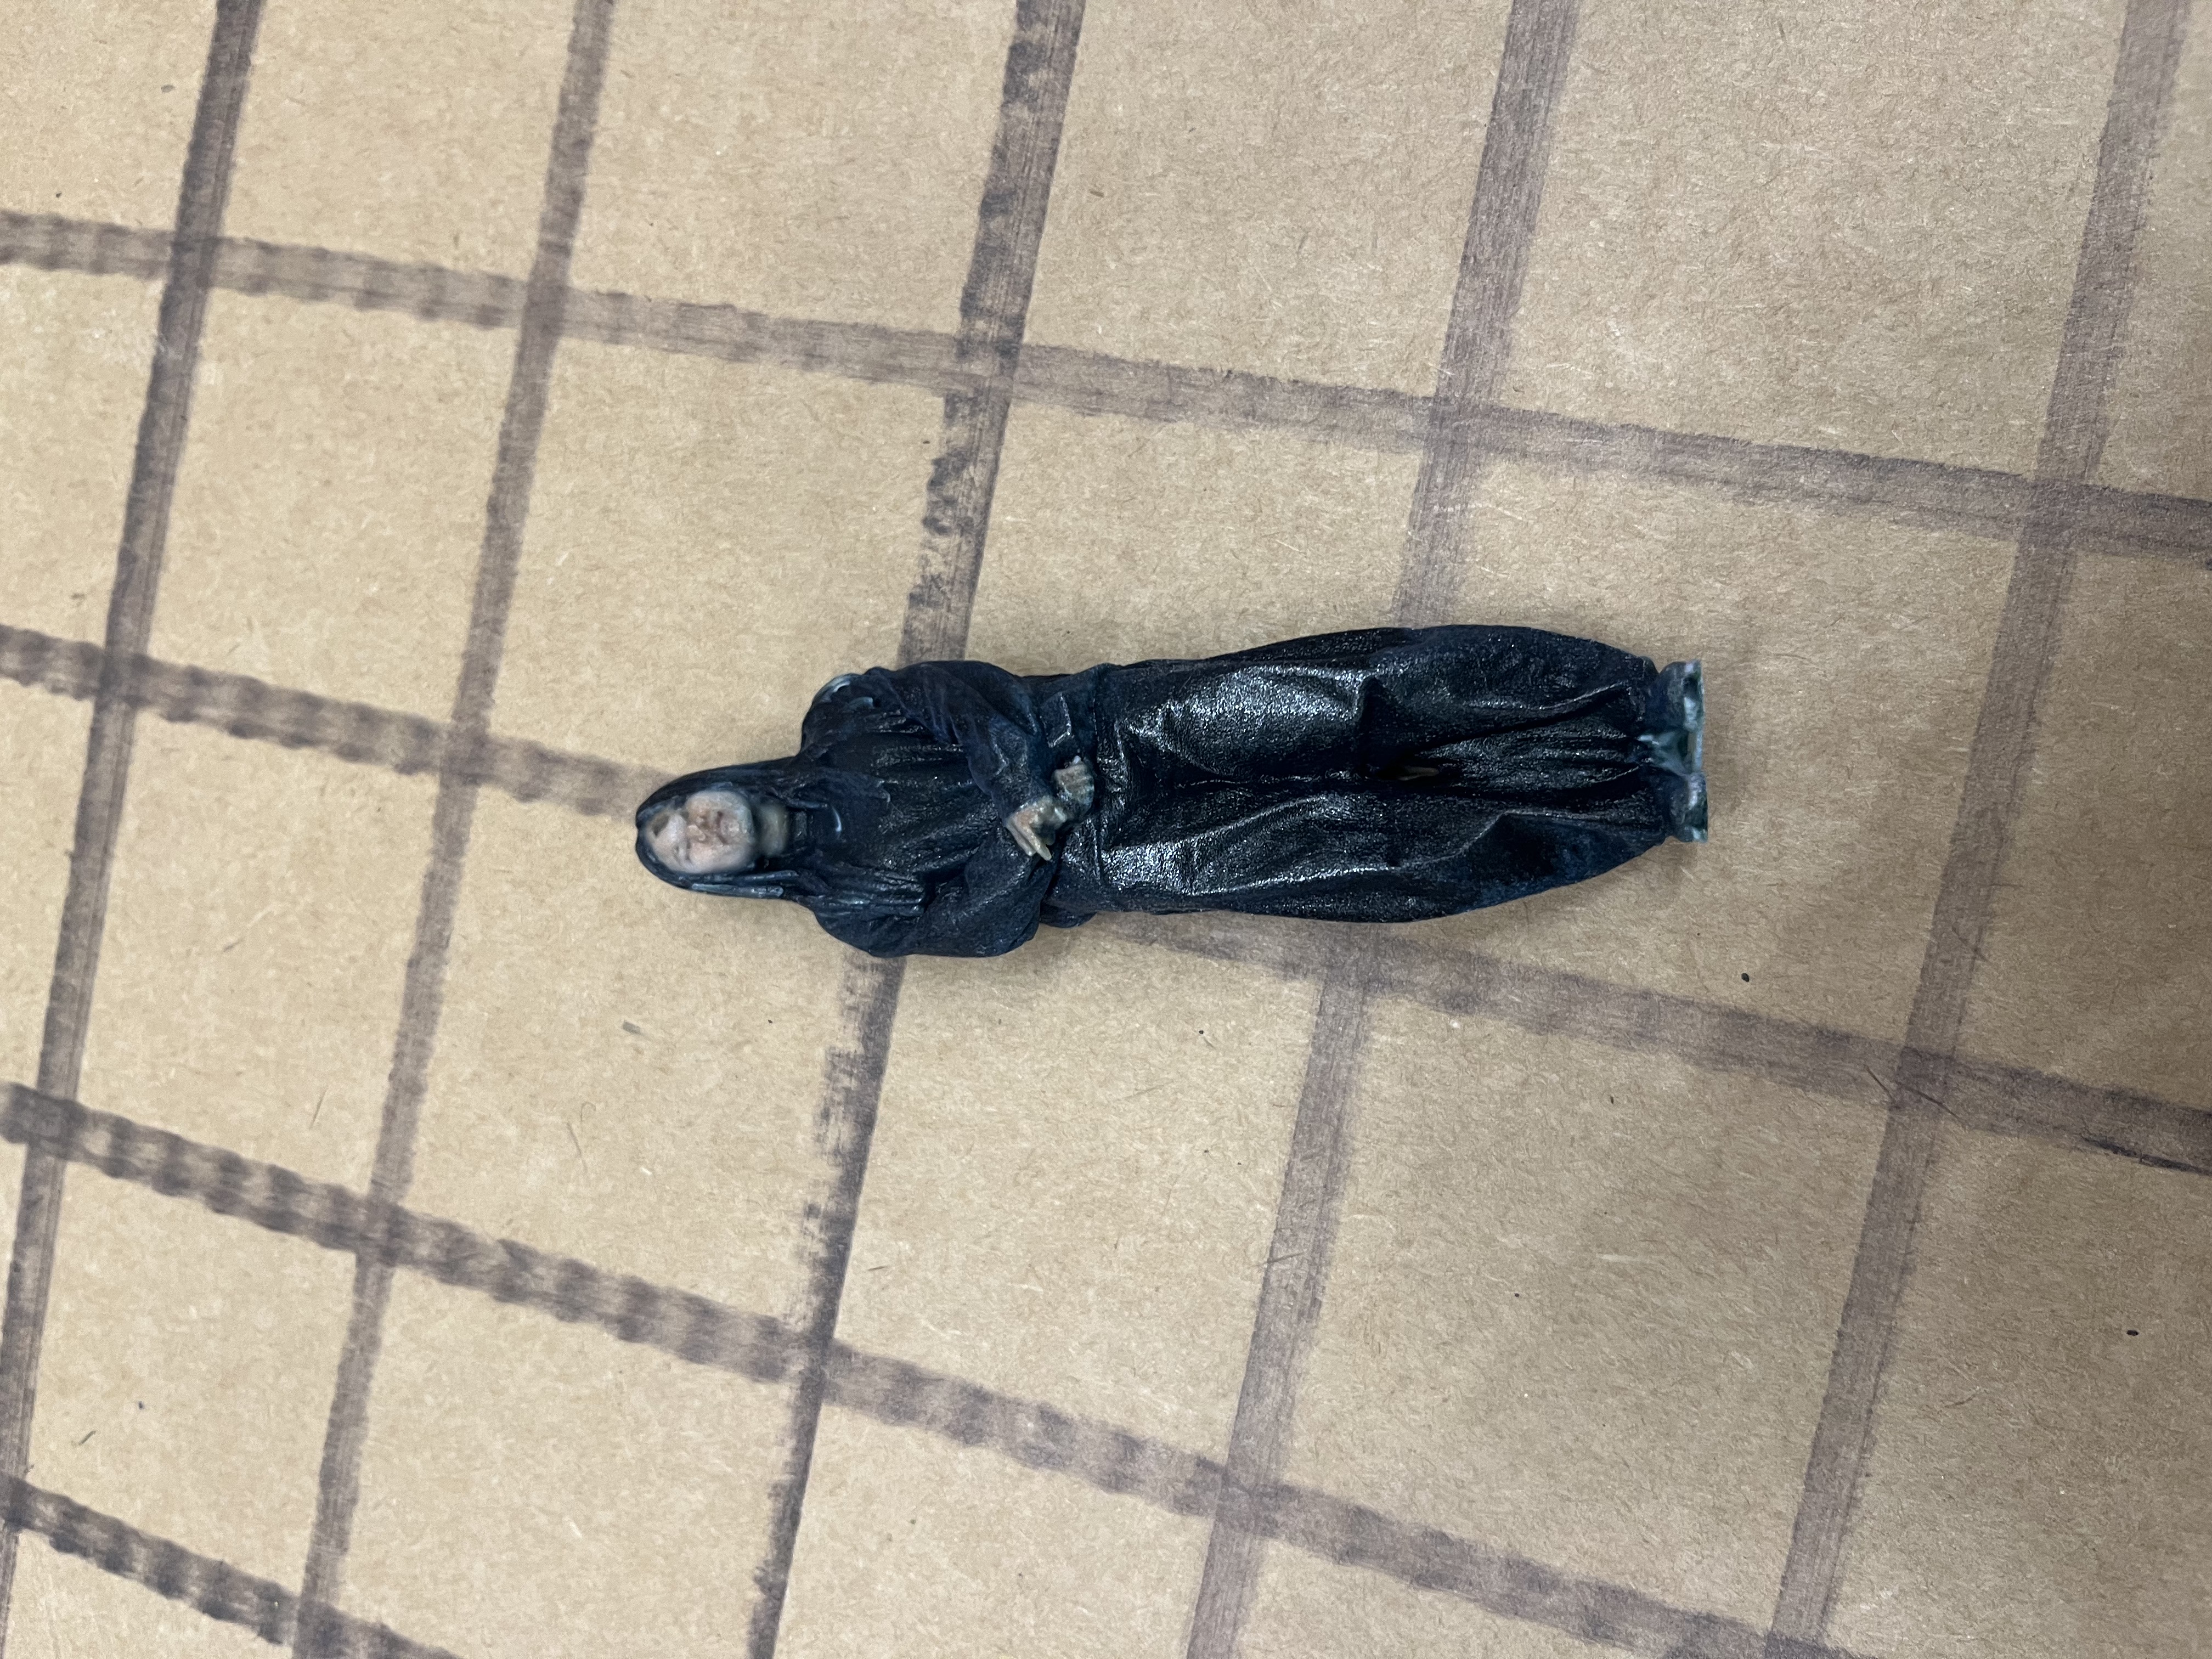
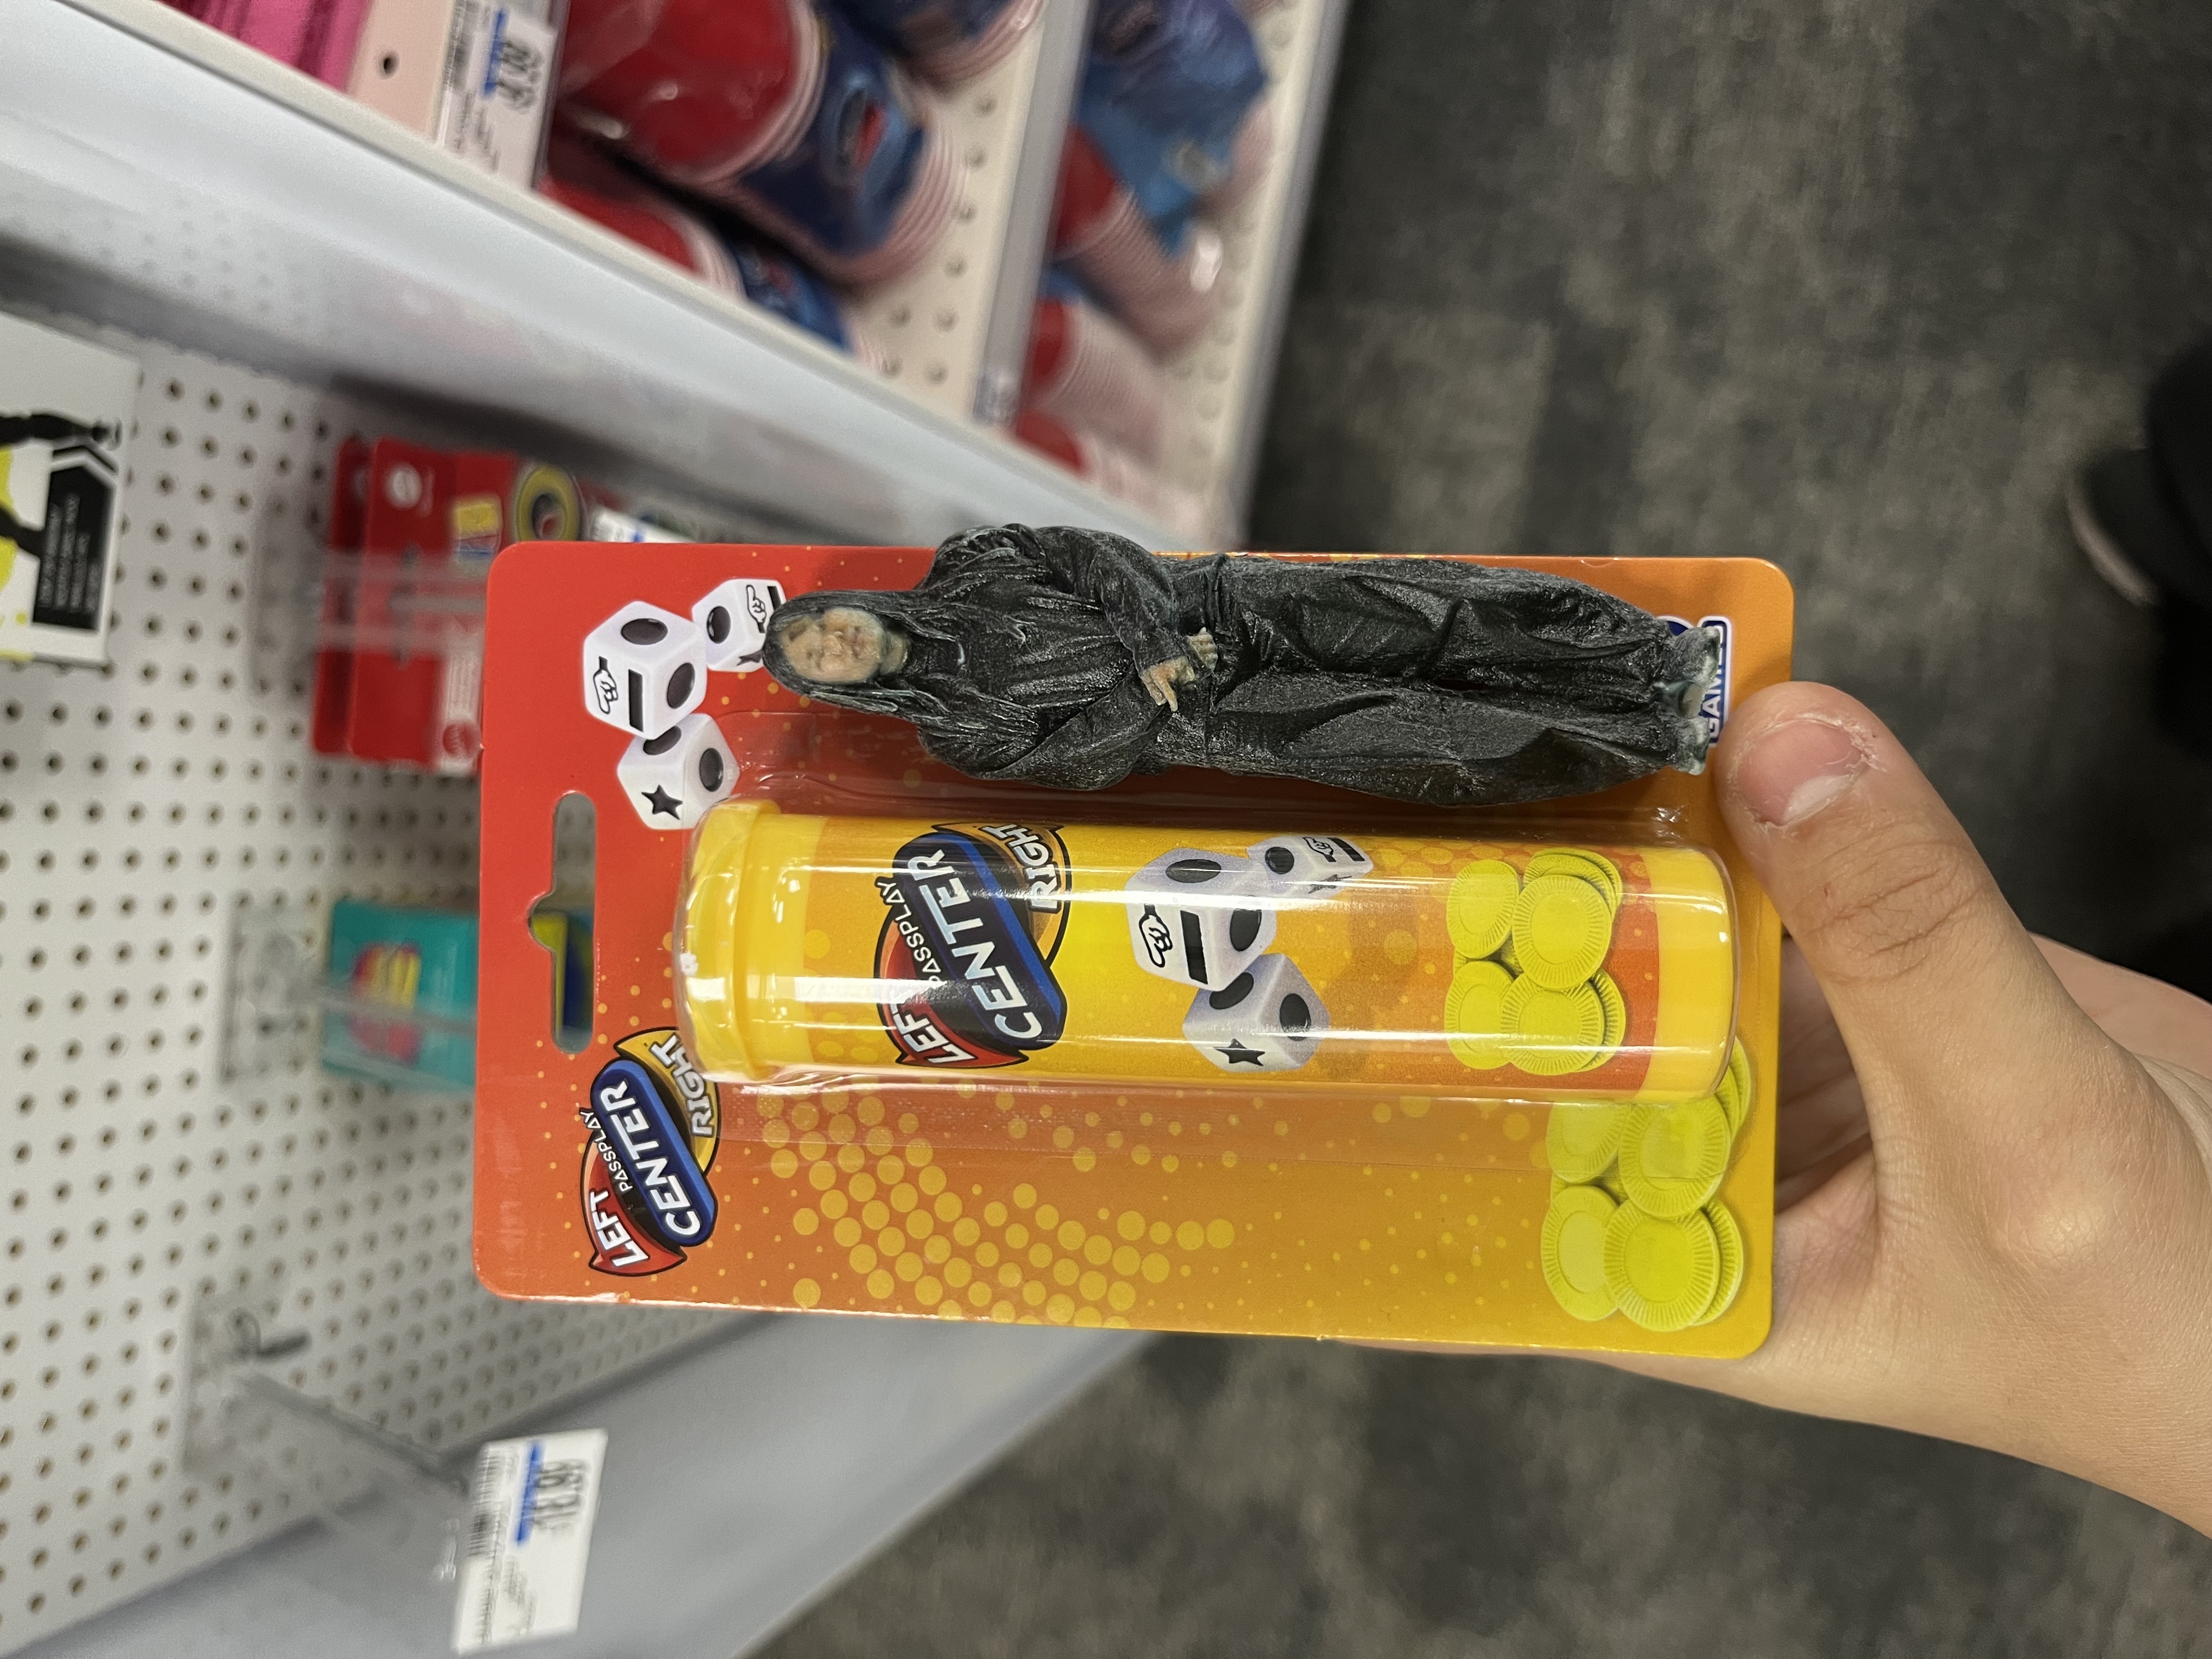
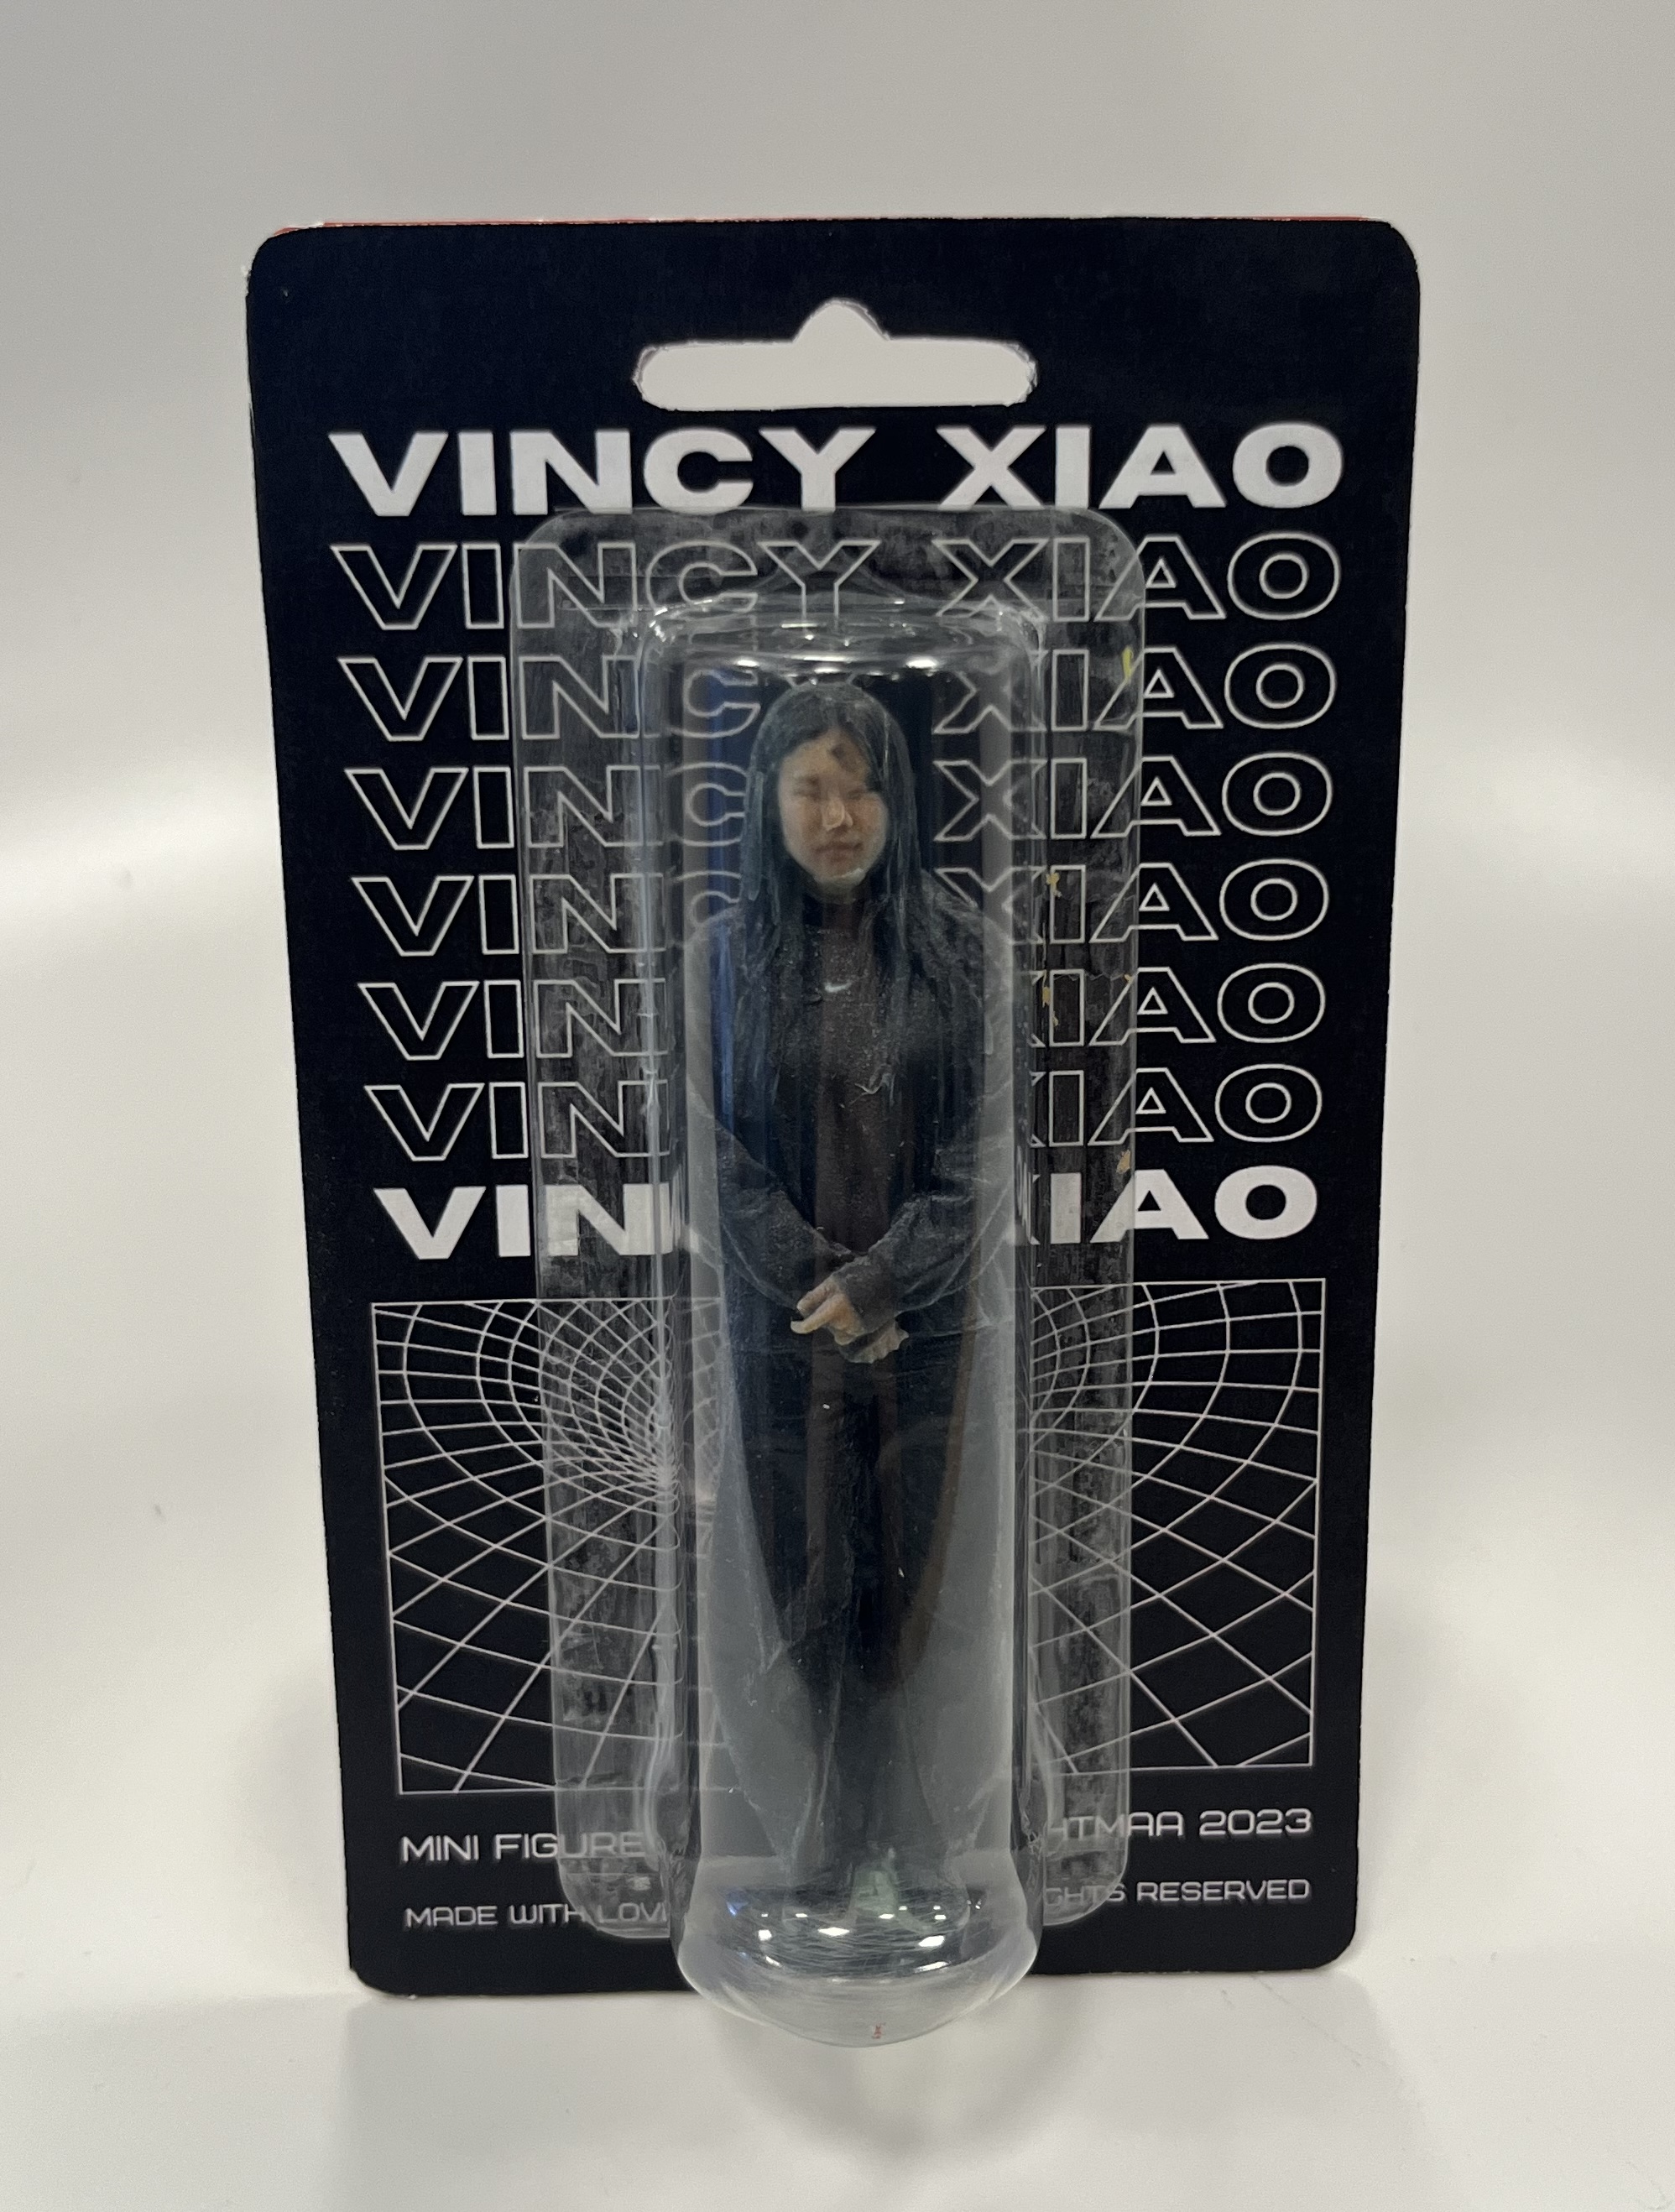
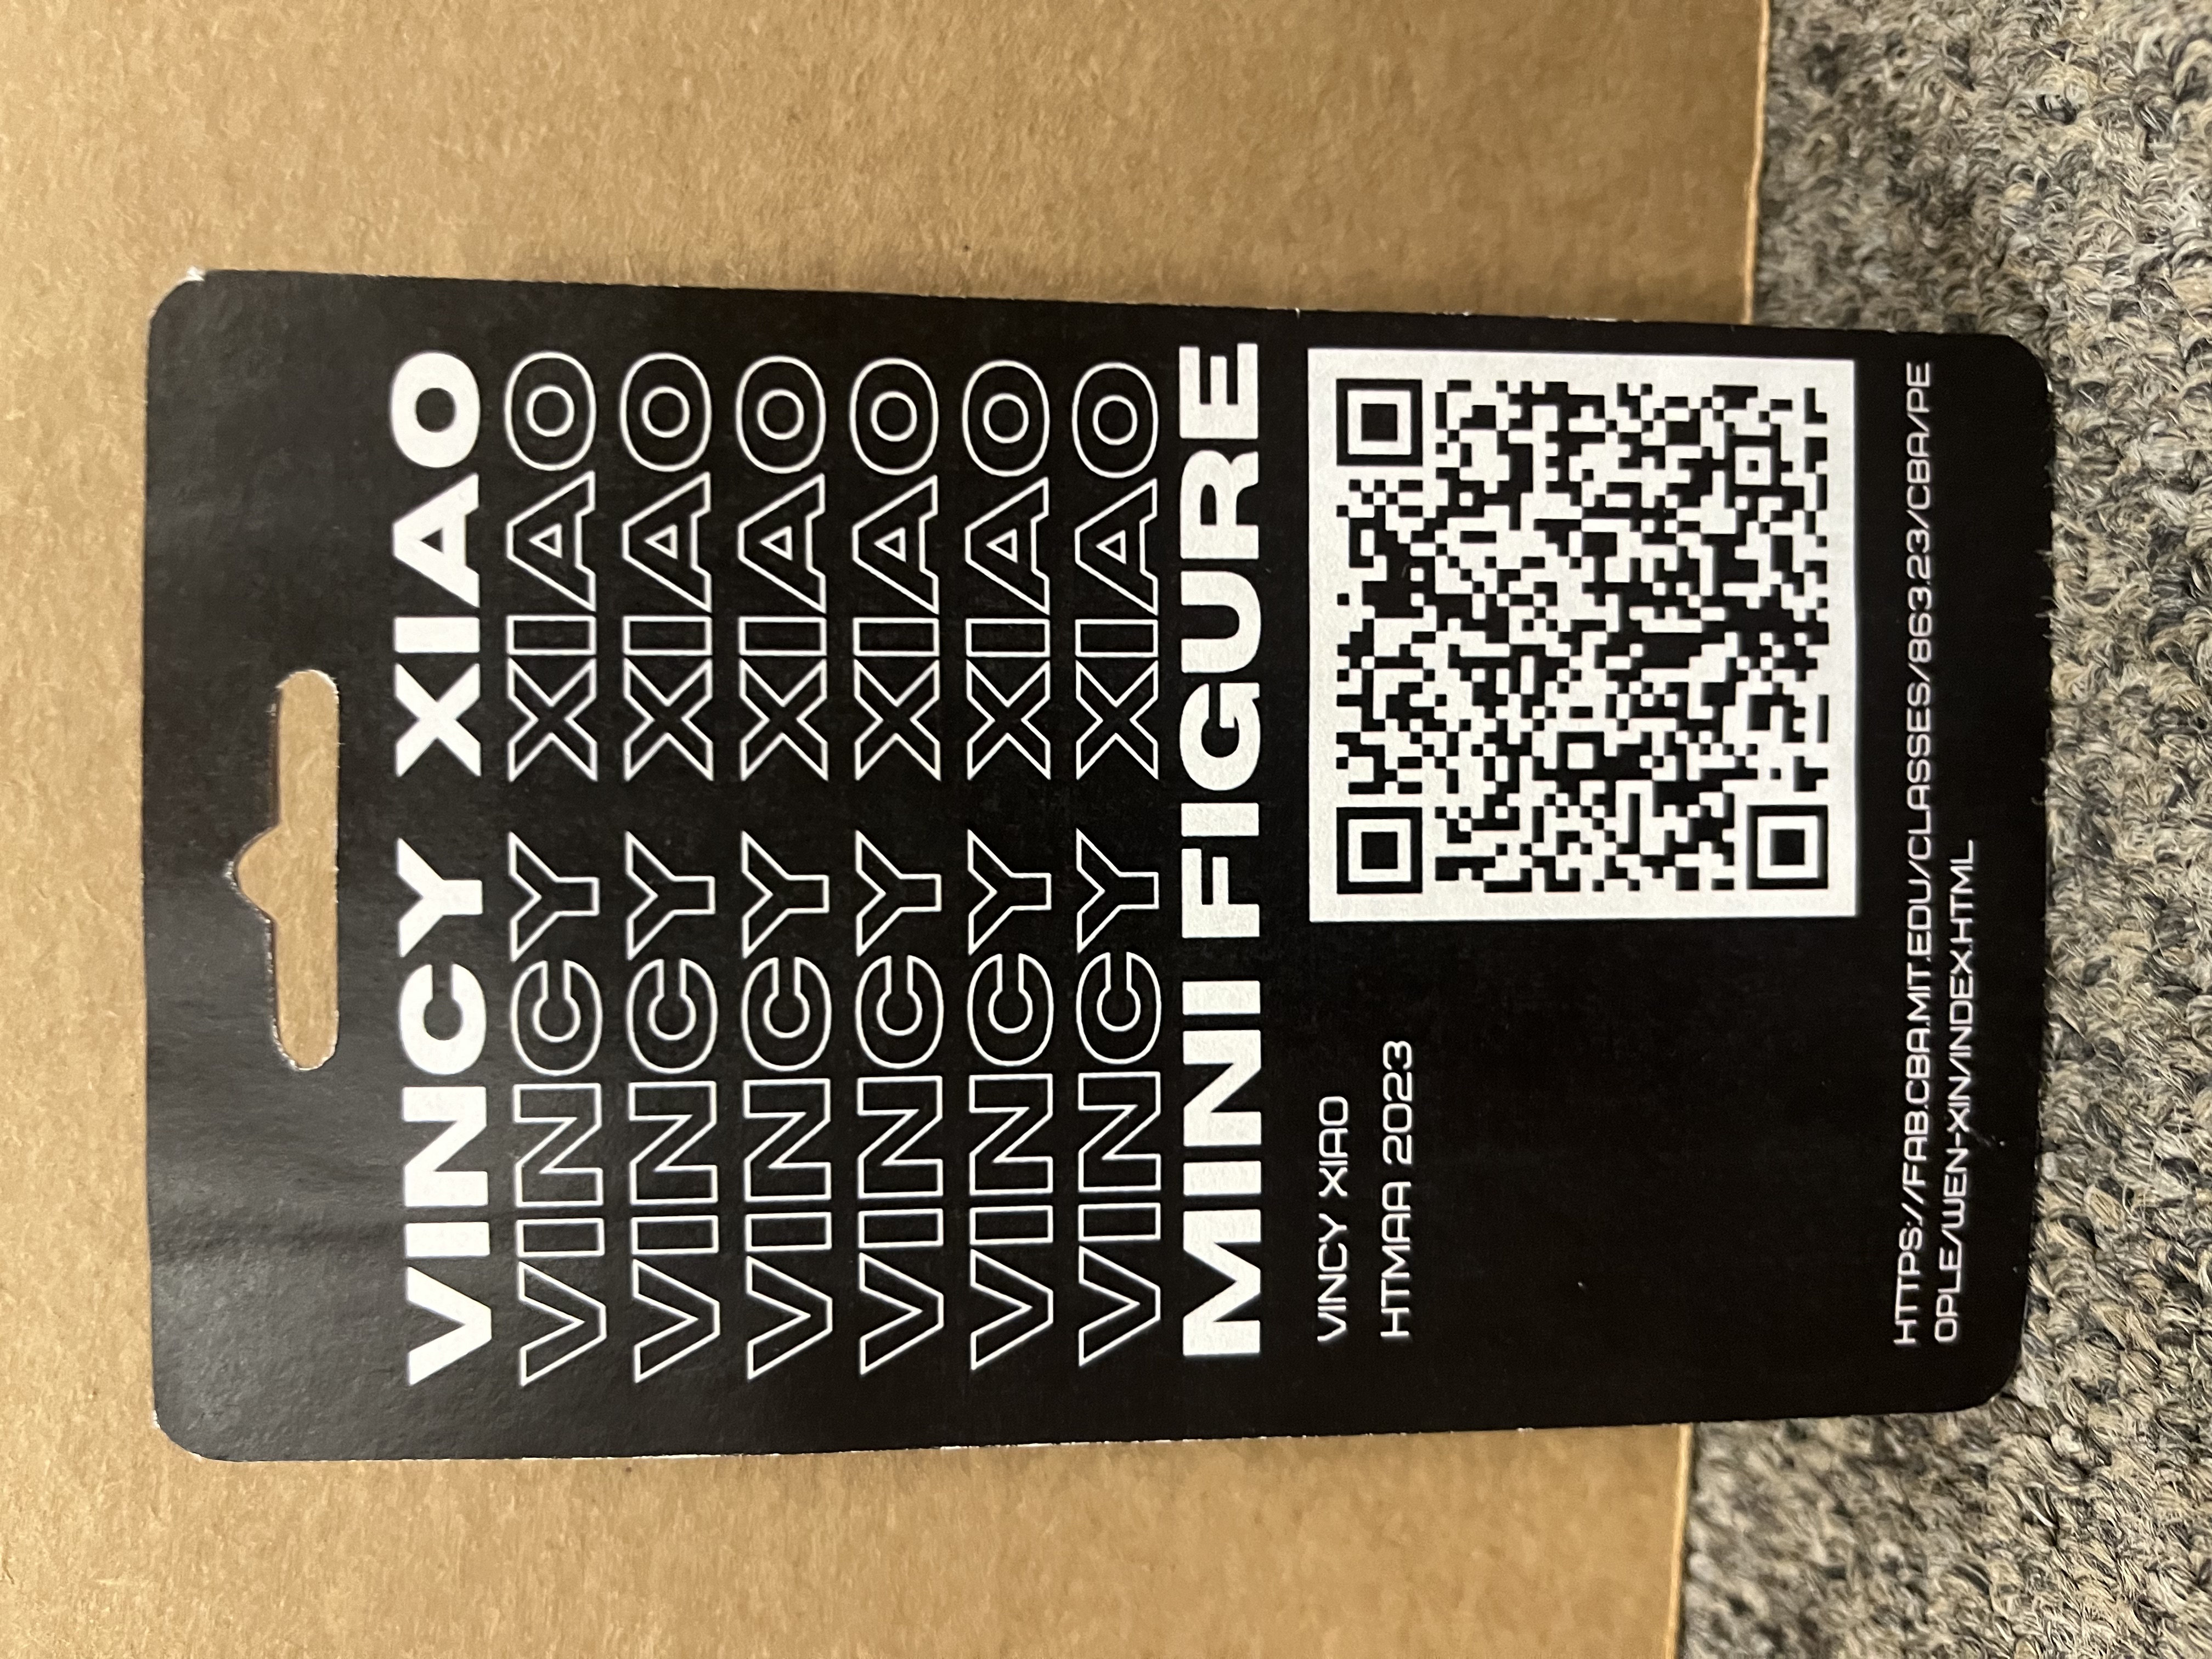
Mini Figure
After clean-up the 3D model, John help us to print the model on Statasys J55. I then made a package for my mini figure inspired by the action figure displayed at the MARS lab.
The Triumph:
In the end, my perseverance paid off. The final print on the Stratasys J55 was a testament to the importance of choosing the right tools and settings for a 3D printing project. With the support material dissolved away, my spinning dodecahedron came to life, smoothly and elegantly.