Tool: Gund Machine Material: Adhesive Parameters: Design: Inflattable Puppy Vest
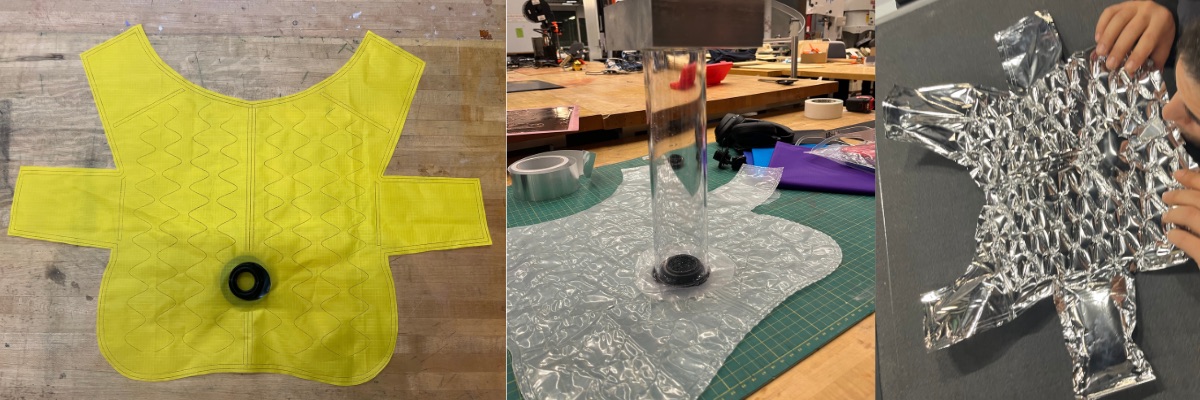
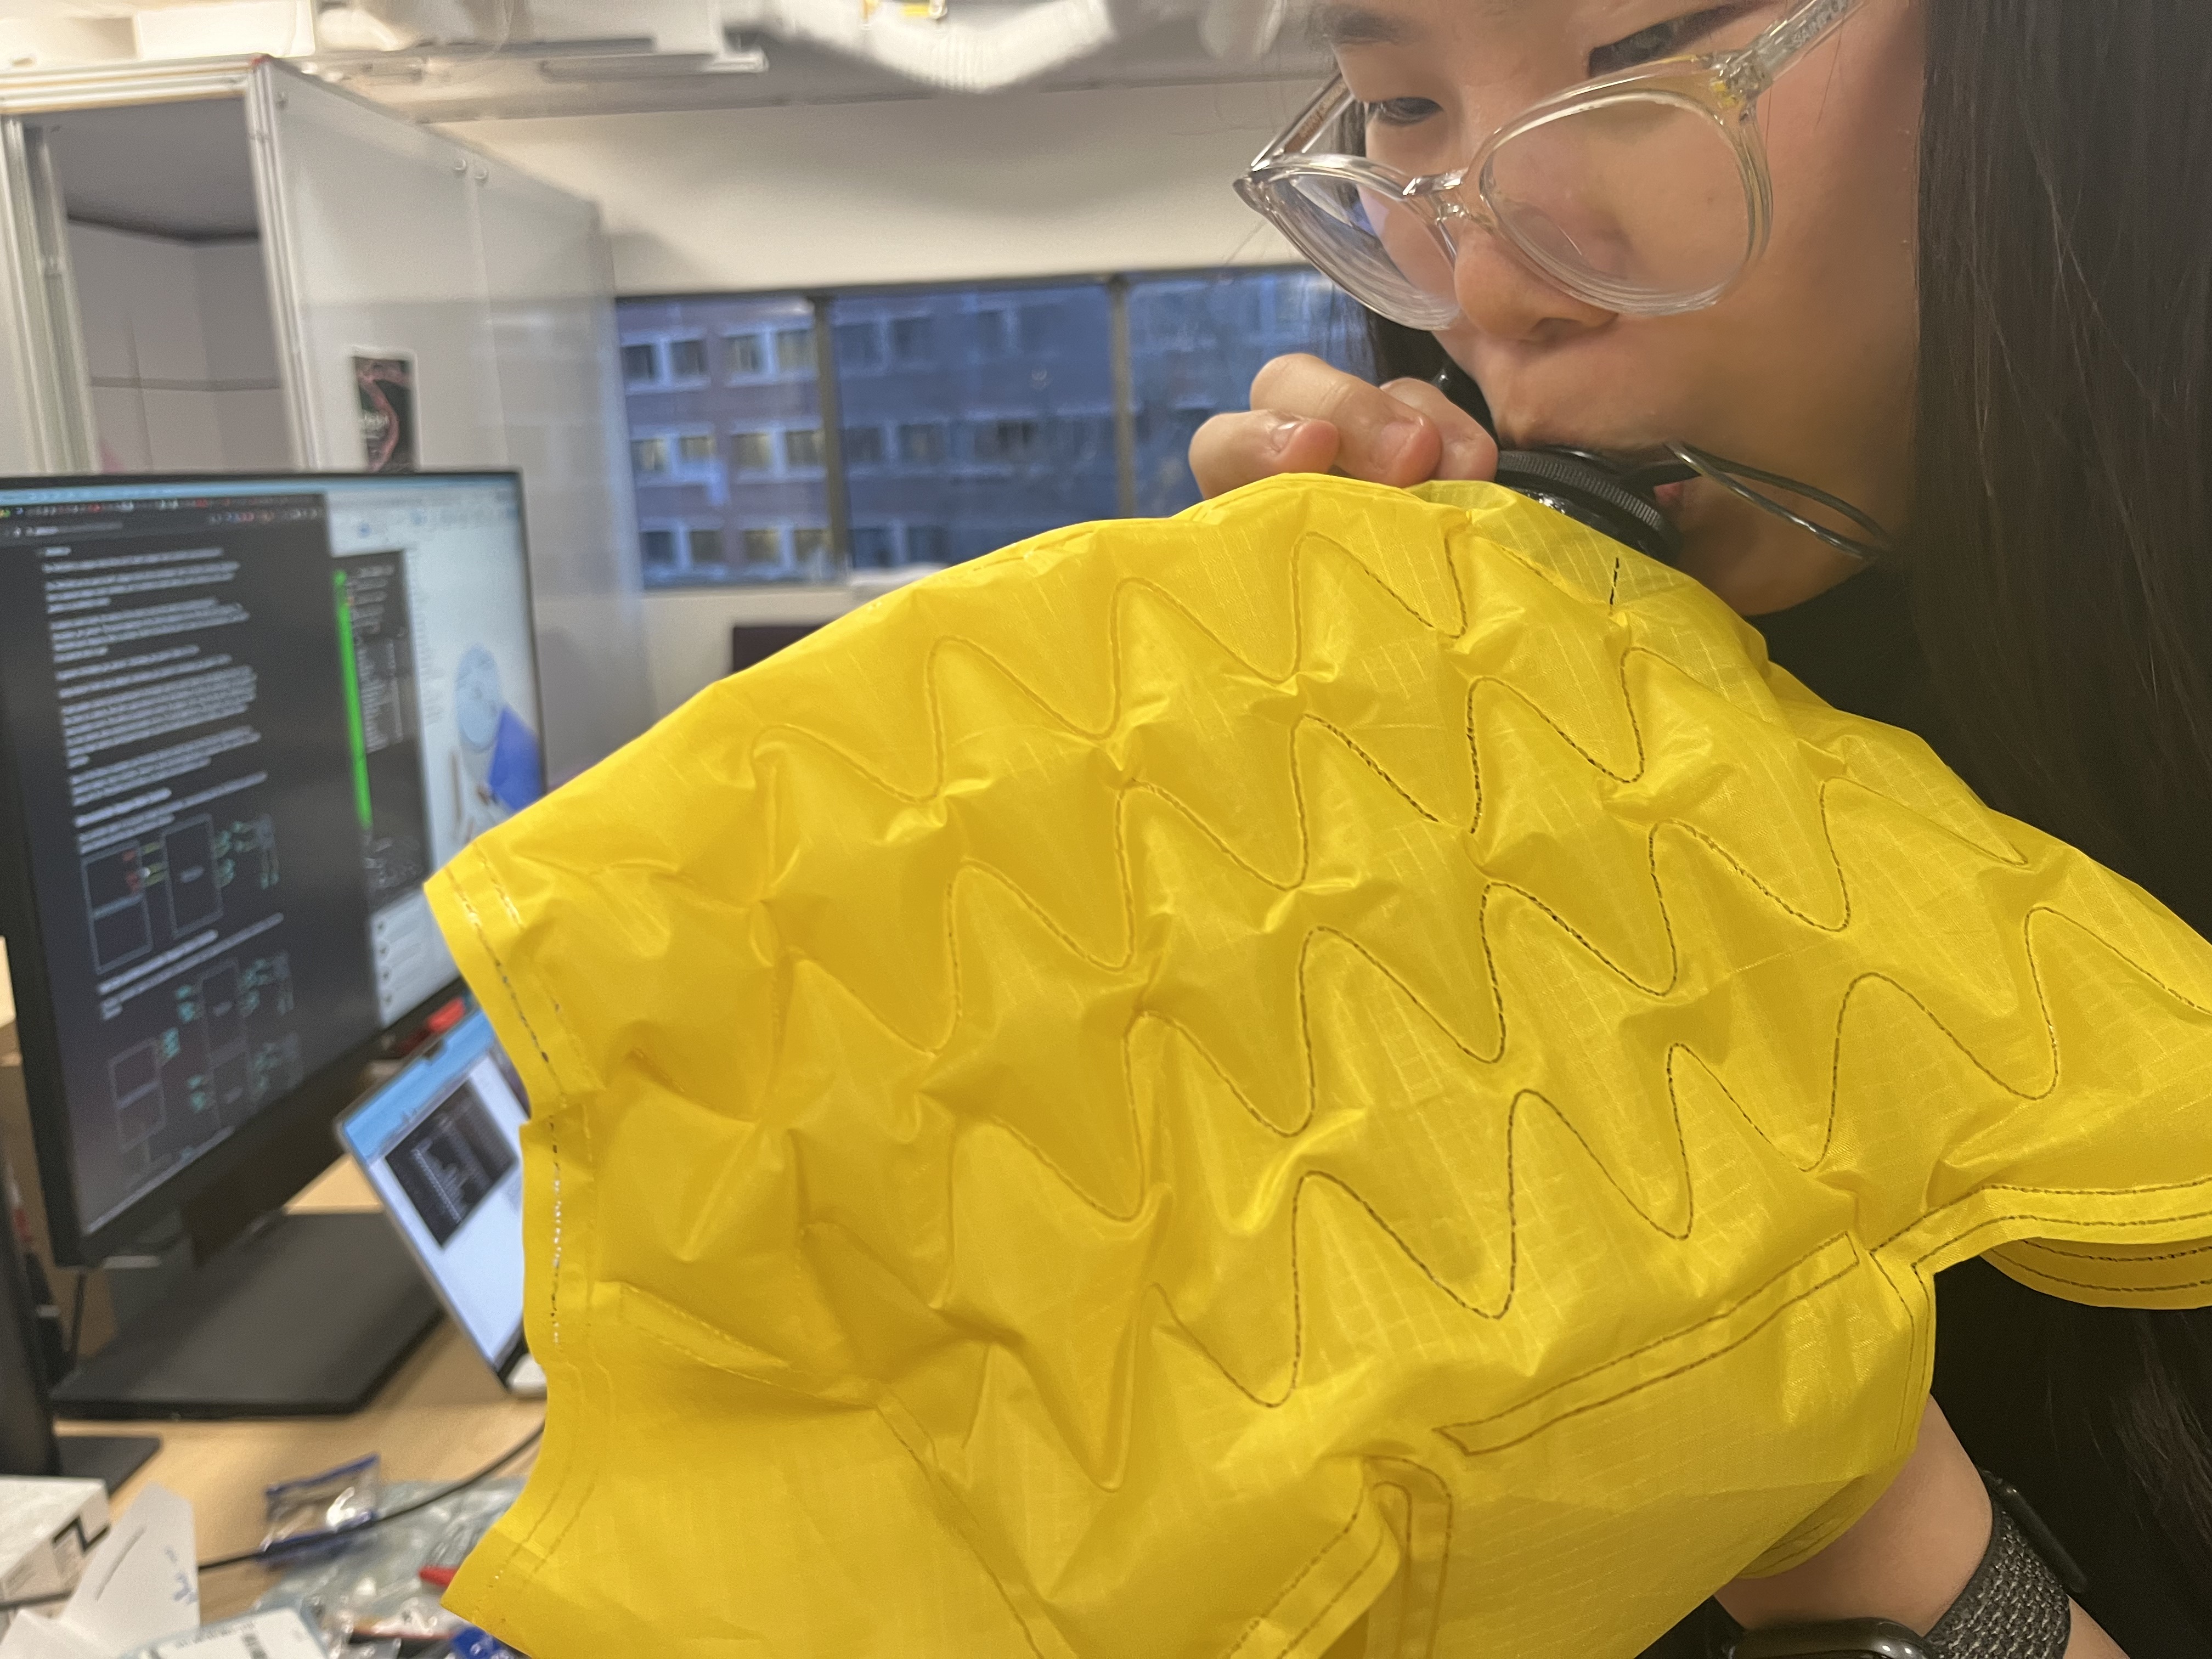
Initially, we tried using nylon fabrics, which adhered well to the nozzle when glued with fabric glue. However, we couldn’t achieve the correct settings for the sealing process, leading to leaks along the sealing line. Consequently, we switched to using a plastic sheet, but it proved incompatible with the fabric glue, making nozzle adhesion difficult. This led us to opt for a Mylar sheet instead.
1. Design Phase
- Creating a DXF File: I begin by designing a 2D puppy vest model(Onshape file) and generating a DXF file. This format is crucial for precision in manufacturing and is compatible with the Zund cutting machine. The DXF file contains different layers, aiding in specifying processes like cutting, welding, and registration.
- Modifications to the Design: After my initial design, Alfonso modified it, enlarging the model and adding a hole for the nozzle.

2. Material Preparation
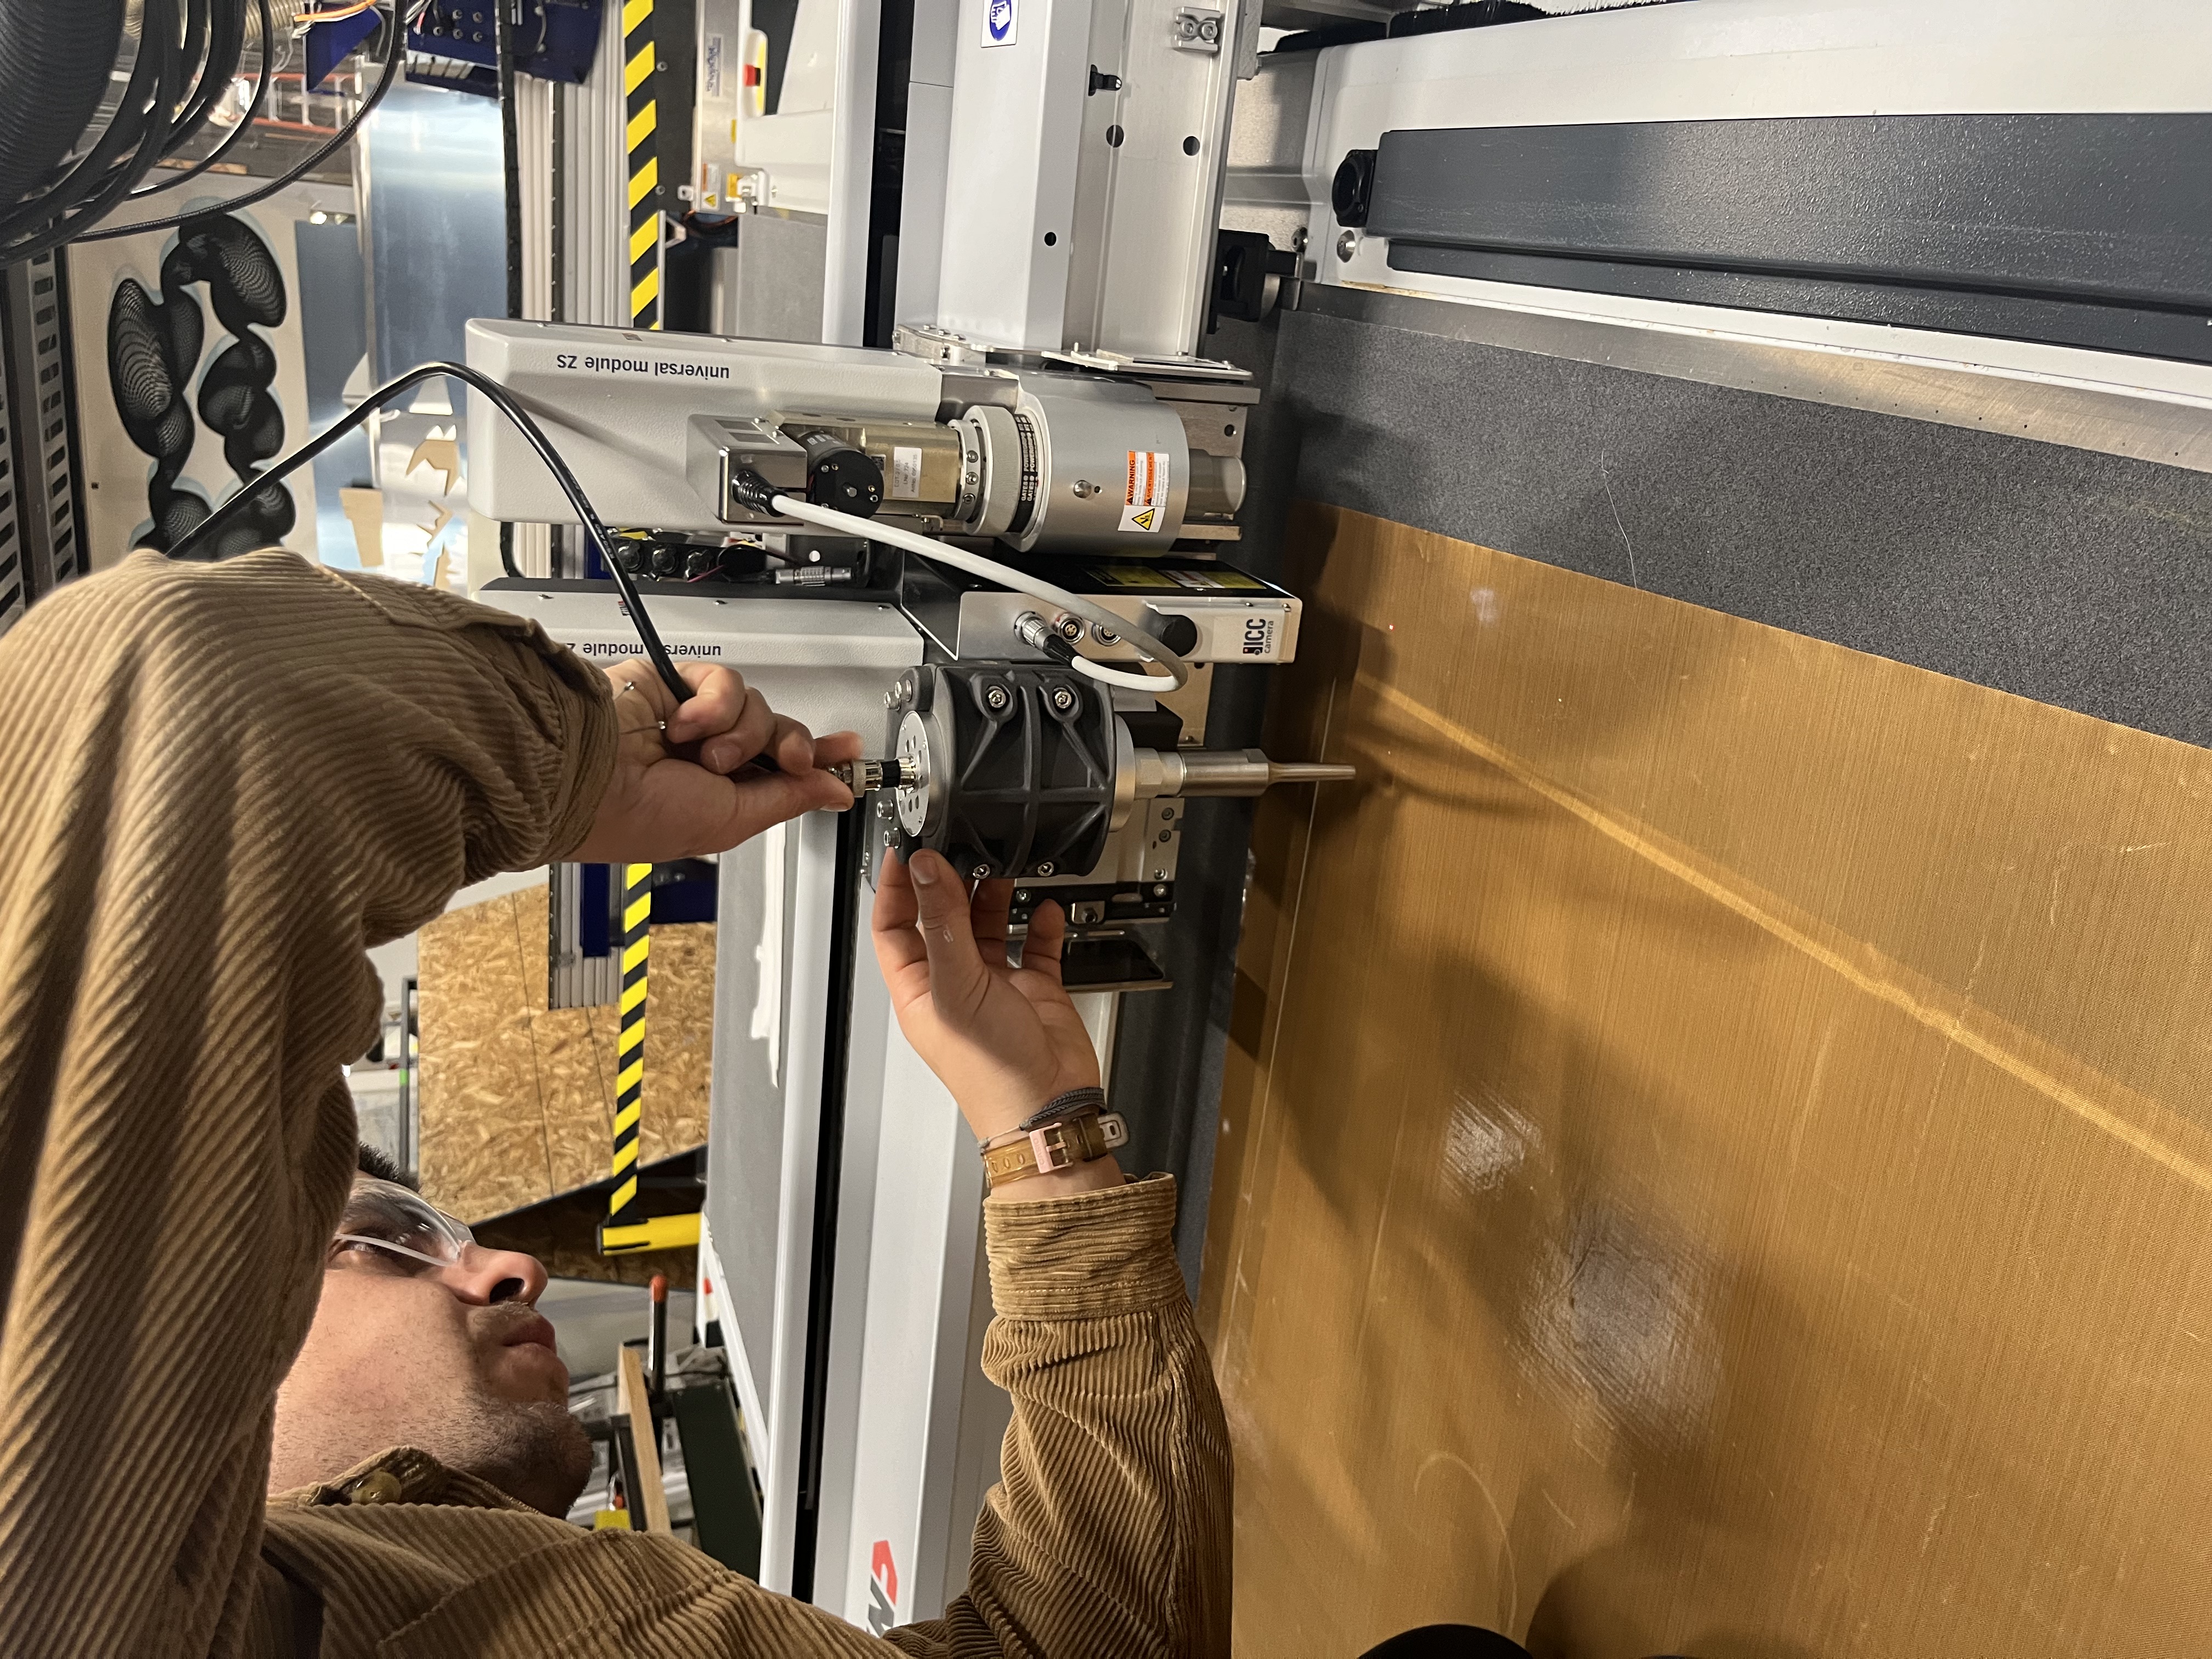
- Cutting the Initial Design: In the CBA shop, we use the Zund machine to cut the initial bounding box of the model, along with the registration and valve holes. We experimented with three different materials: nylon fabric (0.2mm thickness), an unknown transparent plastic sheet (0.1mm thickness), and Mylar film (thickness unknown, but using the same settings as the transparent plastic sheet).
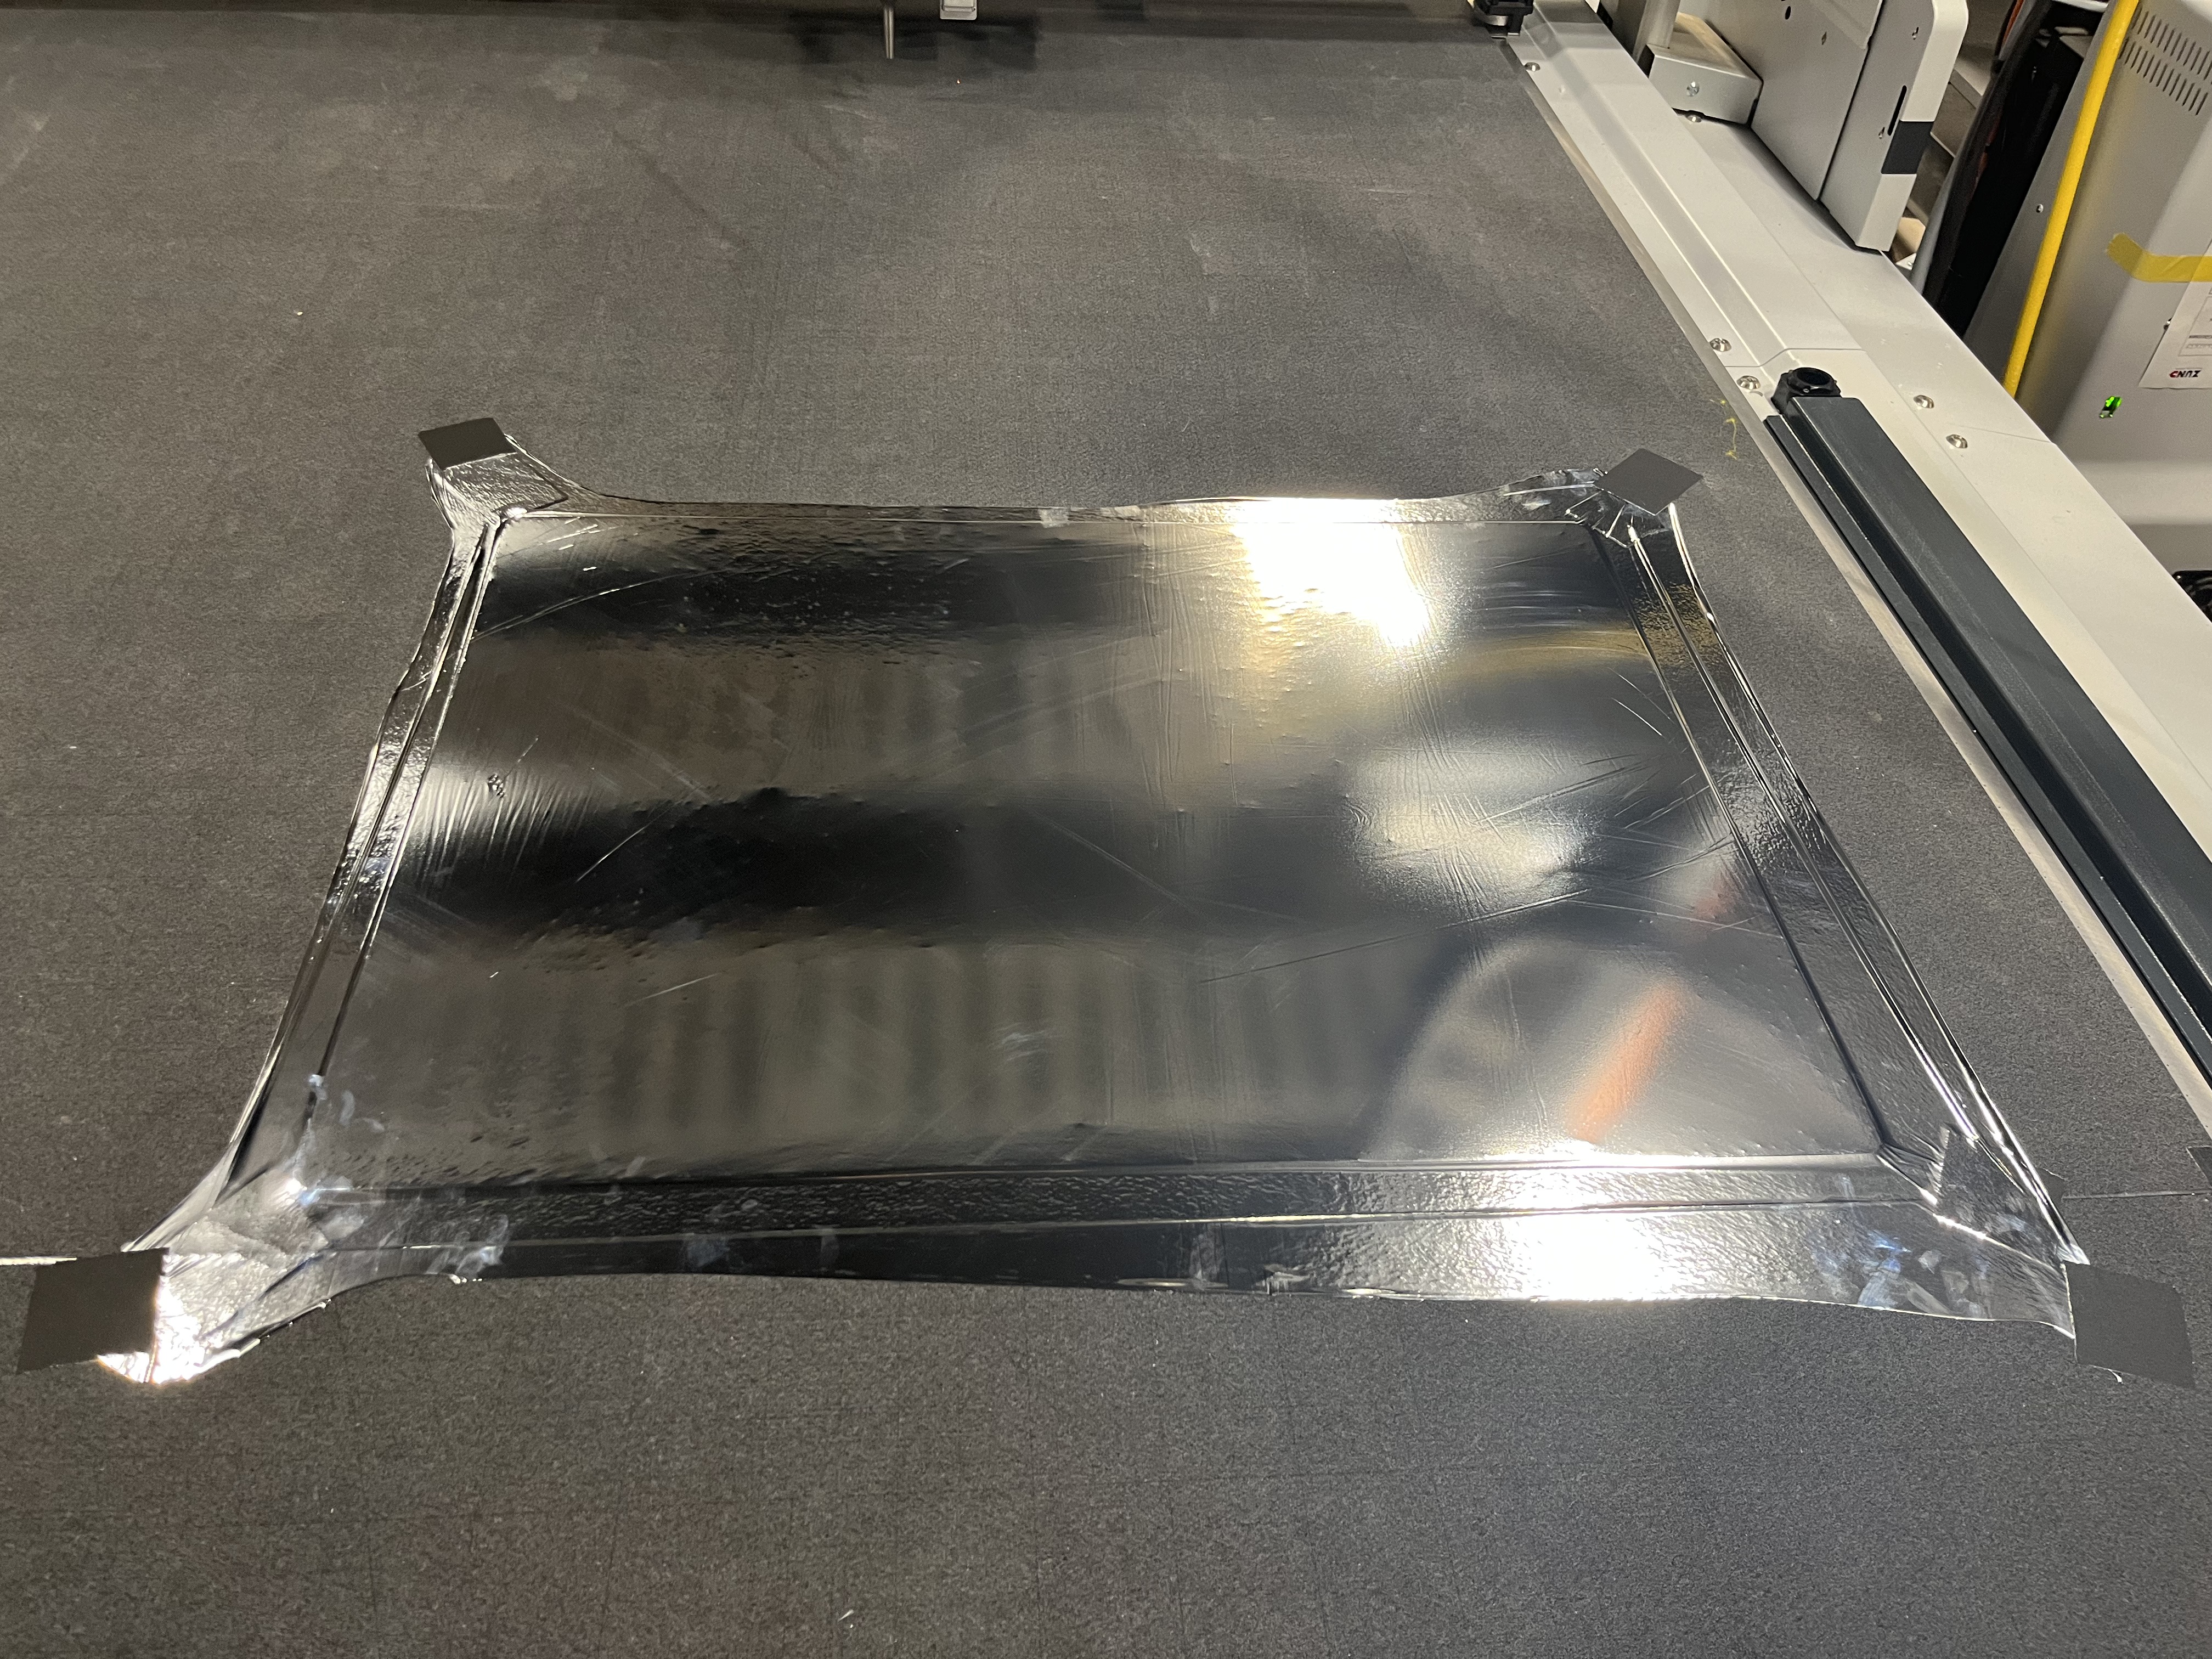
- Layering the Plastic: We placed a second layer of mylar on top of the first(the matt side should be placed face to face and leave the shiny sides face outside), sandwiching it between silicone and Teflon sheets for protection.
3. Ultrasonic Welding Process
- Welding with Precise Settings: We use ultrasonic welding to join the plastic pieces, setting the y-axis offset to 70.8mm for accurate alignment and effective welding.
- Visual Inspection: We conduct a visual inspection of the pieces post-welding to ensure their quality and integrity.
4. Registration and Final Cut
- Re-registration for Final Cut: The subsequent step is re-registering the plastic for the final edge cut.
5. Manual Adjustments and Problem-Solving
- Manual Cutting: To simplify the process, we decided to manually cut the edges after the welding process.
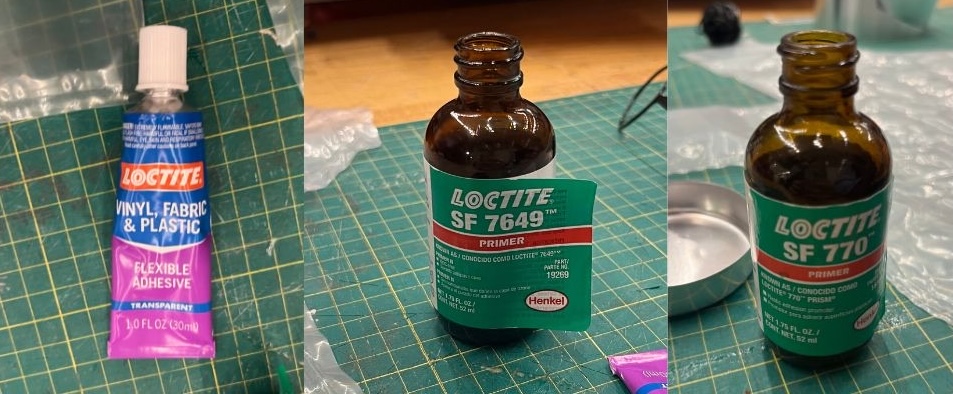
- Gluing the Valve: We attempt to glue the valve to the inflatable plastic using Loctite primer and plastic glue. However, the glue fails to adhere properly to the valve plastic, resulting in leaks.
6. Revision and Final Prototype
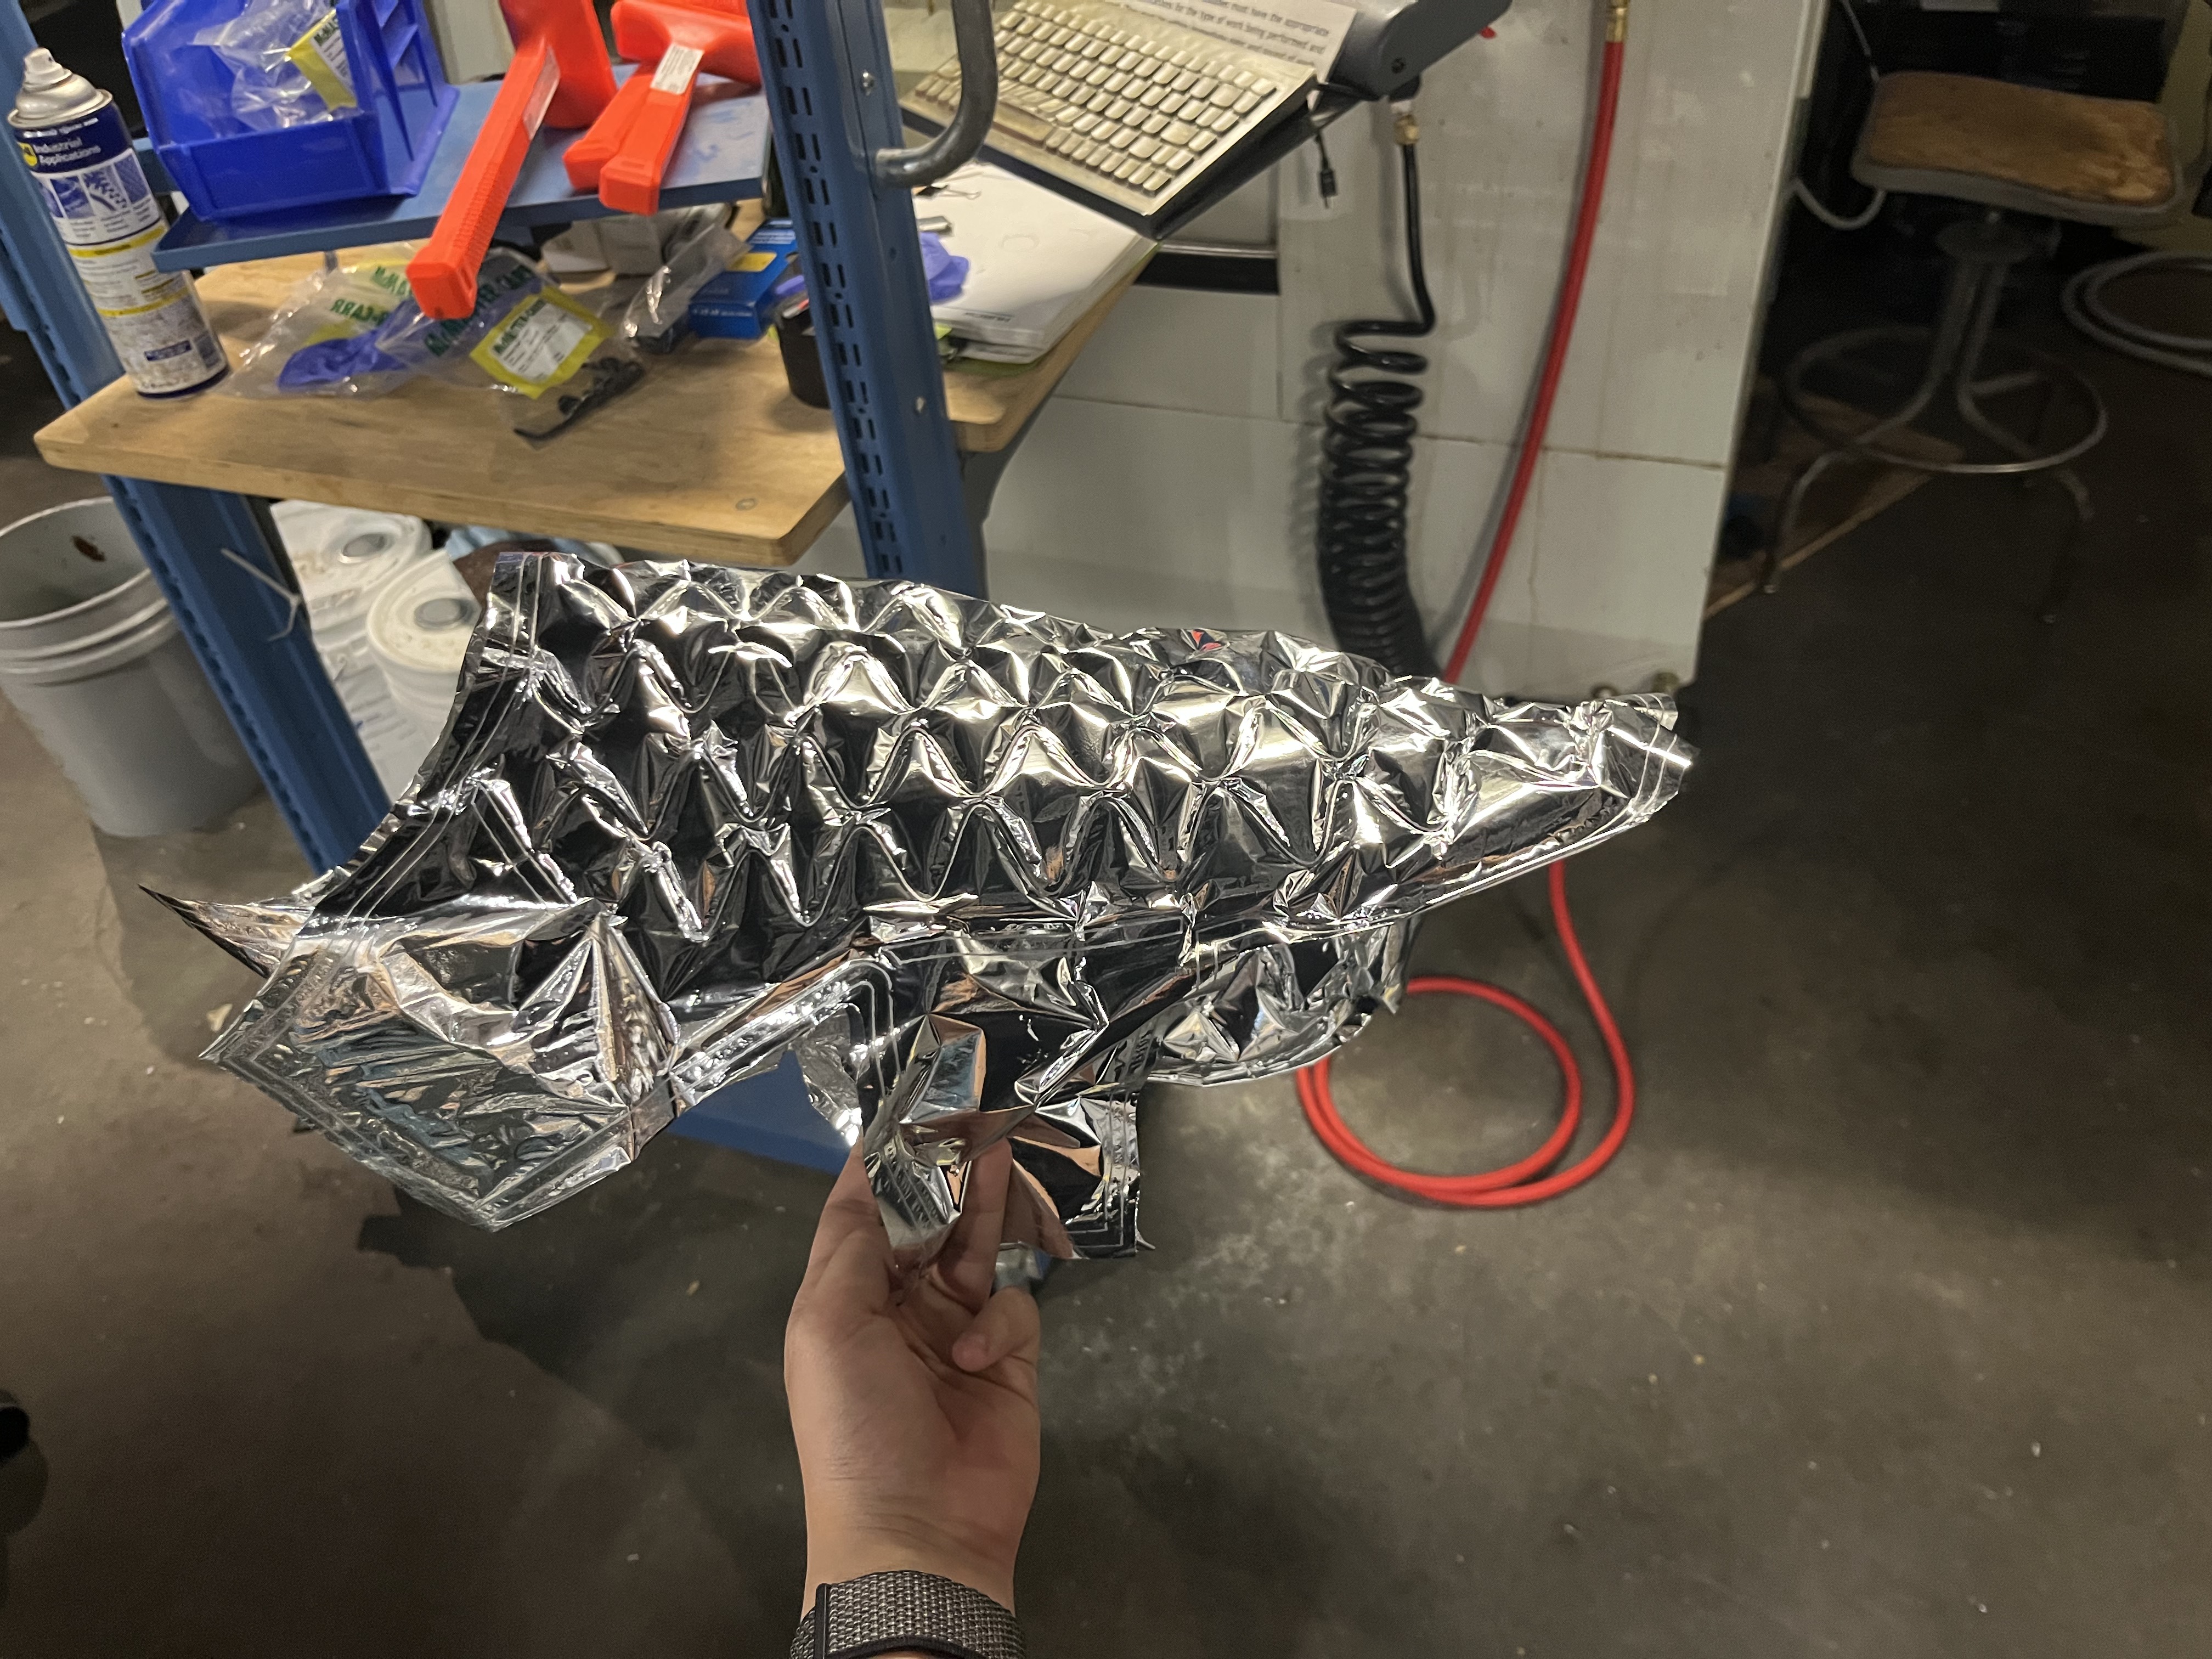
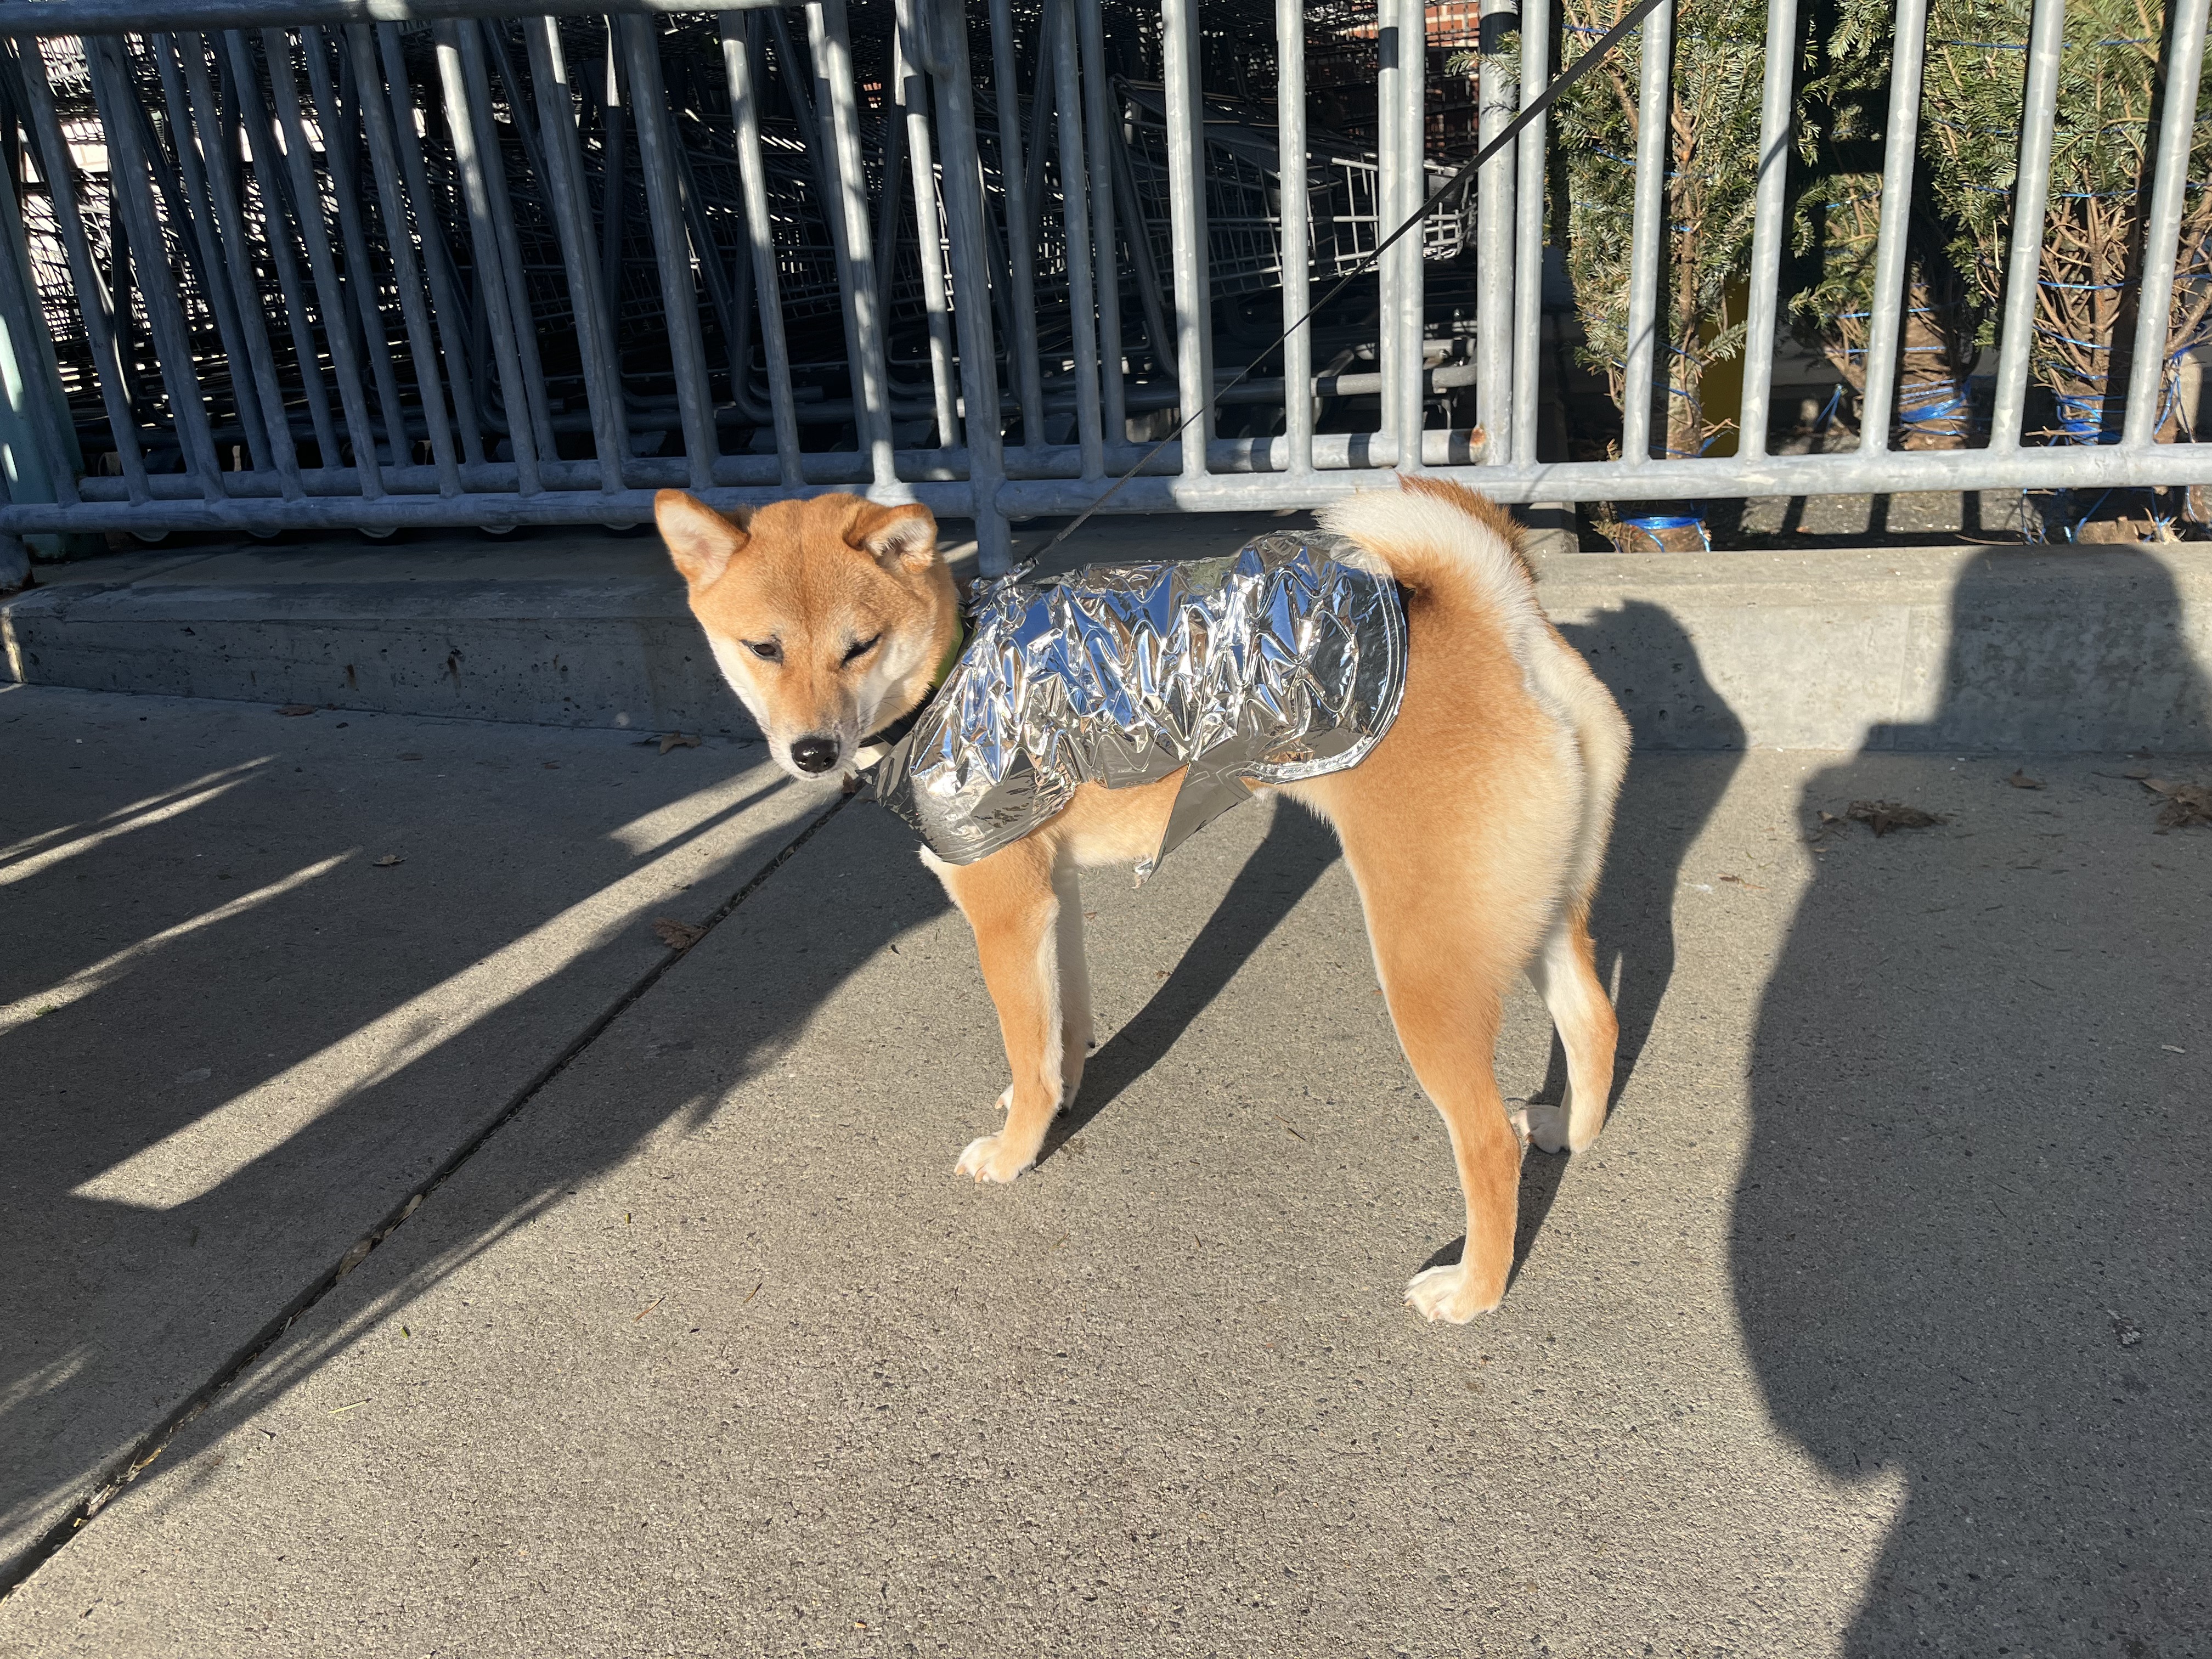
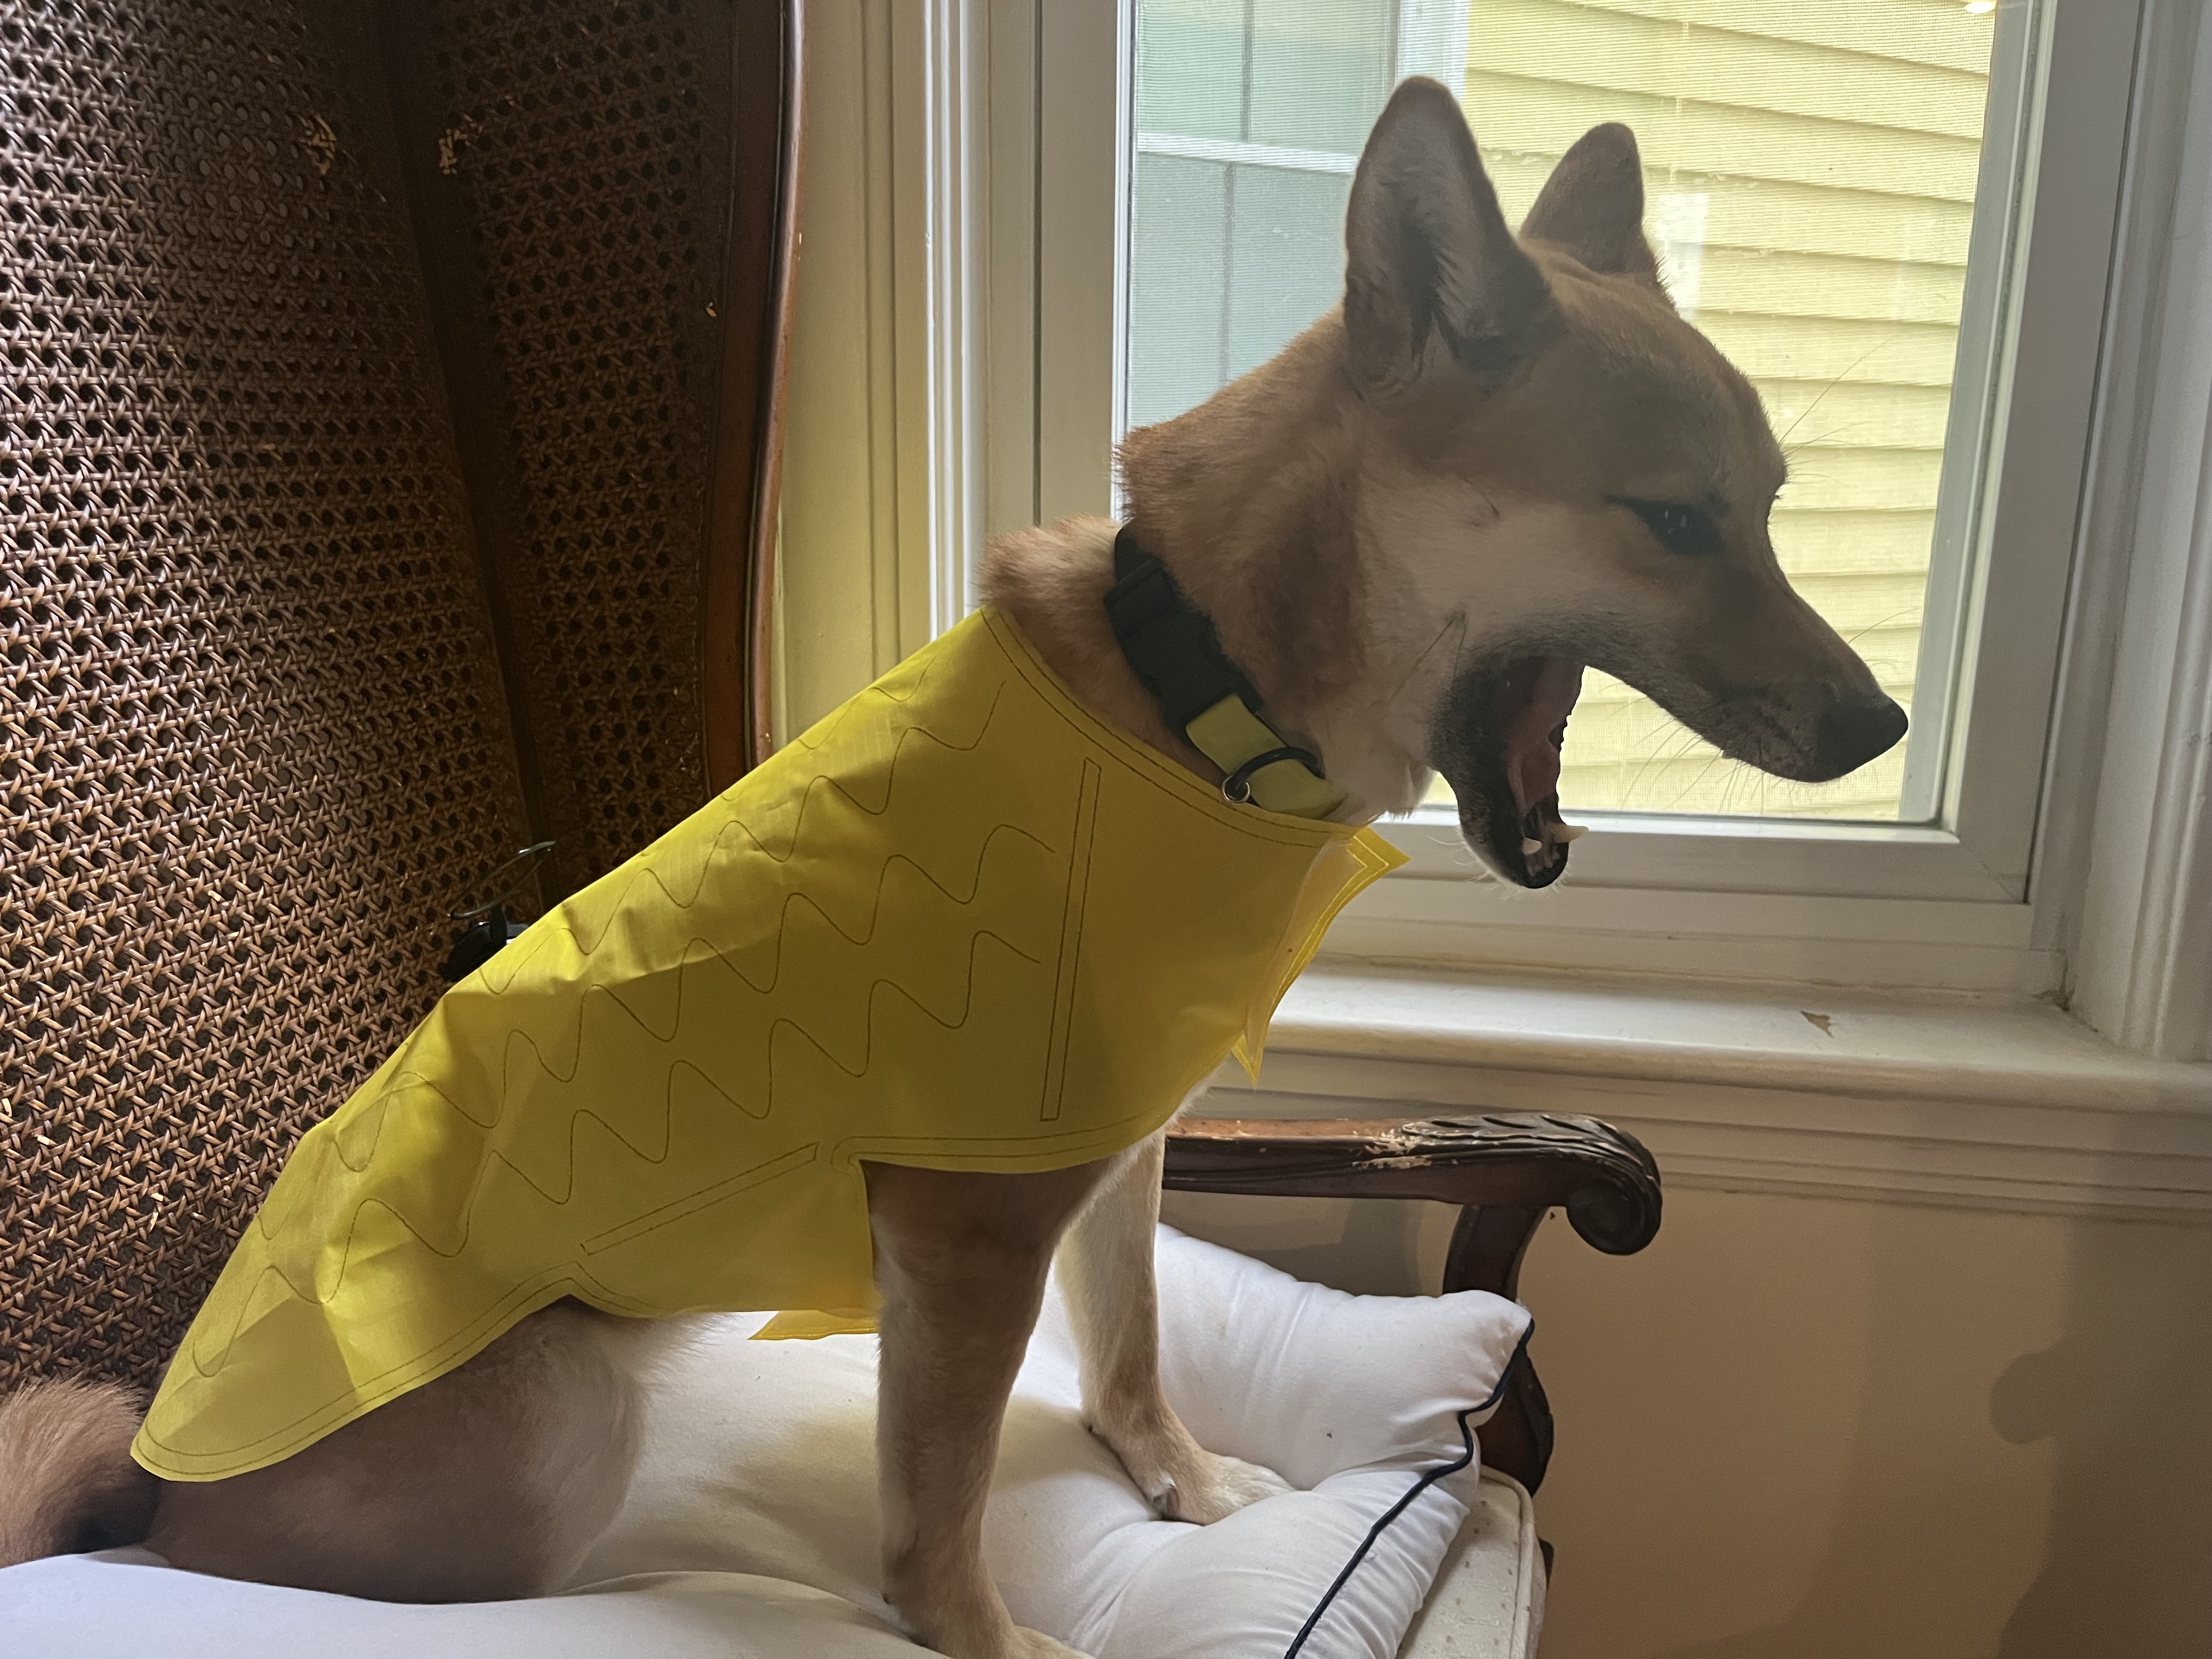
- Rethinking the Valve Design: Alfonso suggests creating a new version without a valve hole. Instead, he adds a tail for mouth inflation, then manually re-sealed.
- Final Prototype Completion: Adopting this new approach, we successfully created the Mylar version of the inflatable puppy vest. However, it only remains inflated for 30 minutes before deflating.