Or another opportunity to revisit processes we learned in previous weeks
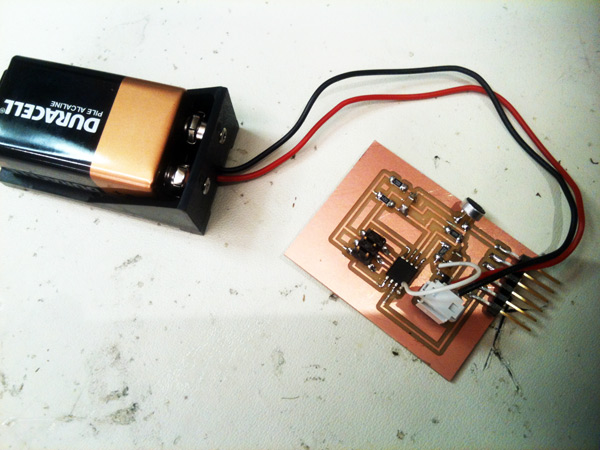
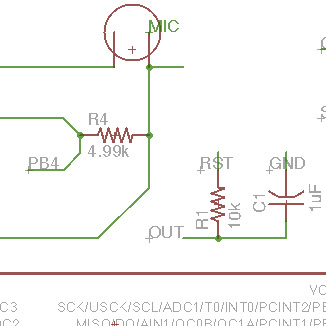
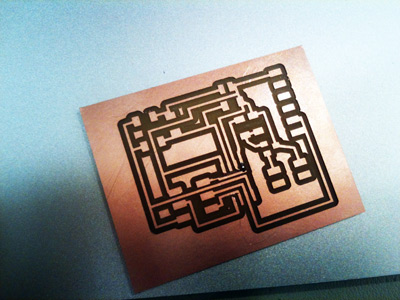
This week, we had to make a circuit board that would get a sensor input. I chose to work with sound
The first step is to choose the sensor you want to work with and then get cracking on how it works and what it needs. Fortunately, there are tons of information already on the fab website and some board examples. Because of time constraints and minimal skills, I opted to follow Neil's board example and tried to understand the different parts as I was designing the board. As well, I wanted to add an amplifier but I had to put that aside for the week.
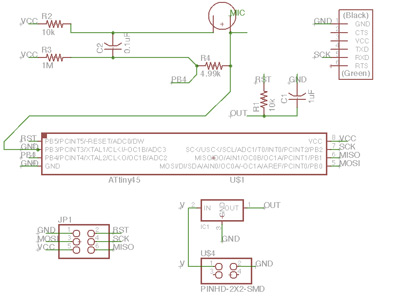
Eagle is a very neat software but has not the most intuitive of interfaces. Plus our last assignment with it was 2-3 weeks old, so it took me some time to remember all the commands. The board part lets you be creative with the connections, which is both fun and frustrating because it's like a puzzle with many possible solutions.
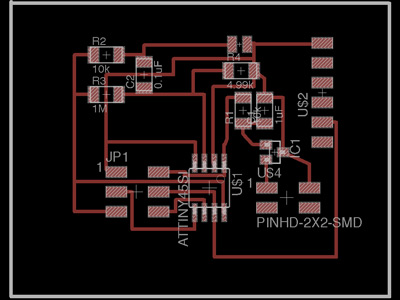
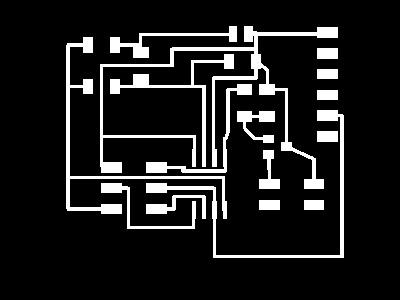
Next step is the milling of the board on the Modela machine. I'm starting to get well used to it, except I ran into a couple of problems, like for instance the computer lost its connection with the machine. Thankfully the TA was able to find a quick fix. I was able to mill the board on my third attempt (I also had a problem with my png files).
Soldering: it either goes really fast and you're on a roll, or it's painful and takes forever. This week it was the latter. Just needs some more practice I guess. One good thing to do like all cooking recipes is to gather all the components on a piece of paper with tape. Makes the process much smoother. At the end, I also added a 9V battery for power.
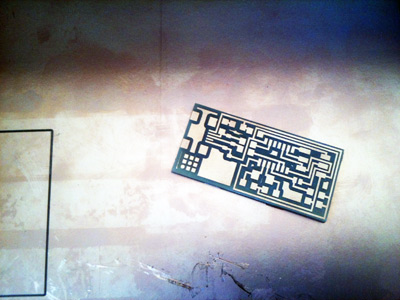
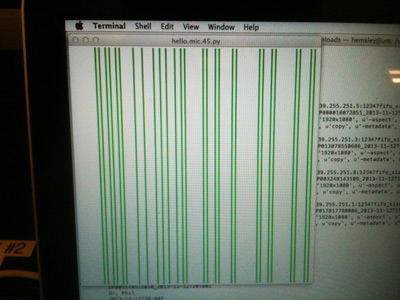
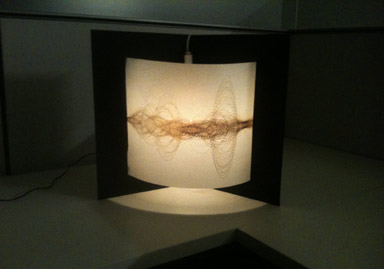
Final part: check if it's working turns into many final parts. The TA helped me debugging the board. We replaced the regulator and the microprocessor and added a connection with a jumper from the vcc of the ATtiny45 to the regulator. Fortunately this worked and I was able to resume the work. Good news is the FabISP I made some time ago is still working. I launched the python program that Neil wrote which gave some result (see picture) but it kept crashing. I also tried few other programs in Arduino but with poor results. I need to write my own program possibly, in the output week. This time I'd like also to add an op-amp which will let me have more results.

Week 10
Week 11
Week 12

Week 13

Week 14

Week 15
Week 16