Or an opportunity to revisit processes we learned in previous weeks
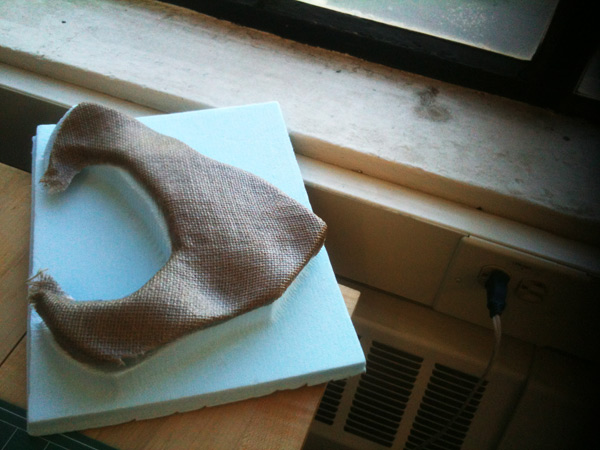
This week, we had to design an object, with a max. size of 12''x12''x2'', mill a mold in order to cast the object in a composite of burlap and epoxy
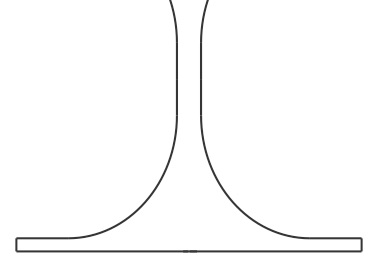
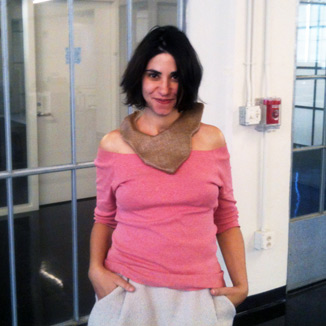
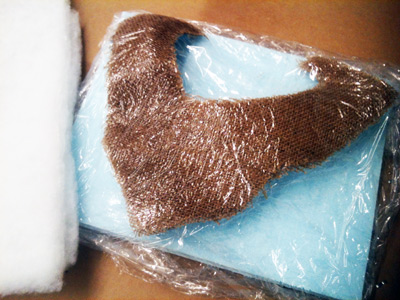
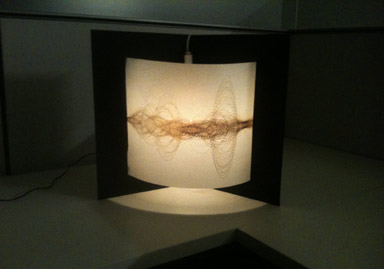
Again, it's a hard one: what to make that is both relevant for my own personal history and makes a case study for the learning process. After looking at prior years' projects, browsing the web for inspiration and wondering about my own interest, I remember that in the 3D print week, I wanted to do a necklace but I was limited by the size. This time I could work with a larger surface, so decided to think of a necklace that would make the best use of the burlap material. I opted for a collar necklace that can be worn as a piece of garment on top of strapless shirts.
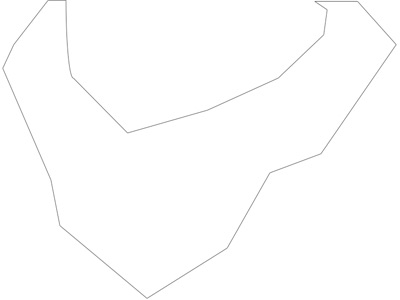
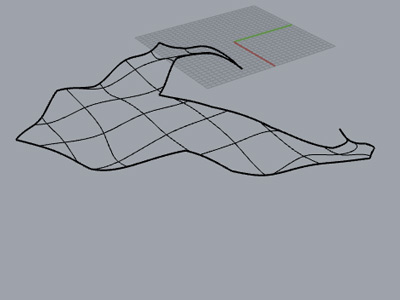
Comes then the 3D design part. I first had to understand how to make a mold for this material, which is quite a different process than with the mold and casting week. There are 3 types of mold: closed one, where you need to mill the two sides of the surface, a core one that is needed for parts that are enclosing, and an open one which is cast in a vacuum bag. For my design I opted for the latter. So I drew the main shape in Illustrator. Then imported the file in Rhino and modified the surface to add volume. For the Rhino part, I followed my friend Kevin's tips on how to make this process as simple as possible, and thanks to him it was.
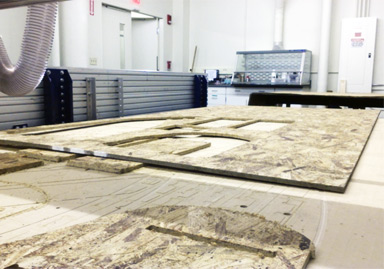
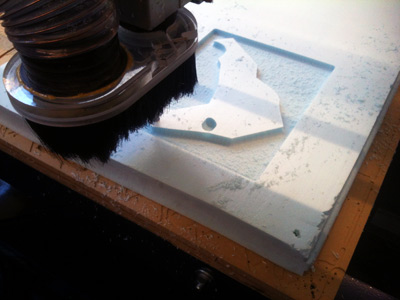
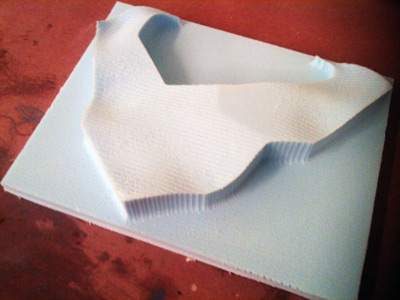
Then on to the milling machine where we'll mill the surface onto foam. The process is becoming smoother, as we're getting used to the machine. We input settings in Pathworks 3D for a ball end mill 0.5''. The whole process took about 40mns, and I was quite pleased with the results.
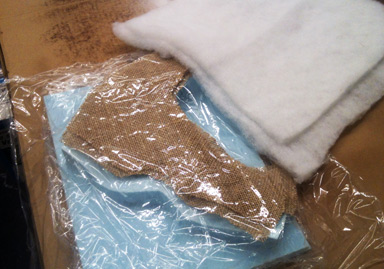
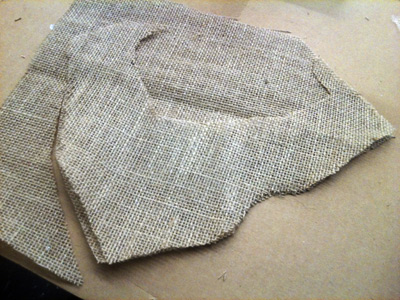
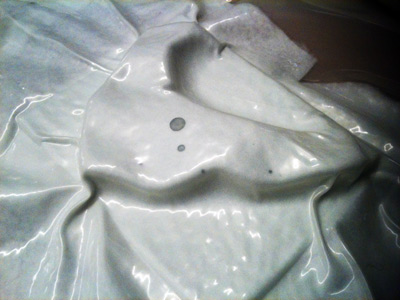
Last part is the composite. This part reminded me a lot of my family couture's workshops. I cut 4 layers of burlap according to the shape that I milled. I didn't bother being super precise as I didn't mind variations but it was cut close enough. Then you cover each layer with epoxy (watch the mixing ratio that differs from brand to brand) and layers on top of each other. The rest is standard: the mold is covered with plastic wrap, then the burlap, then another plastic wrap perforated for breathing, then 2 layers of bleeders and hop!into the vacuum bag. 24 hours later, I peeled the plastic wrap of my necklace, cut some residues of epoxy on the edges and wore it to take pictures.

Week 10
Week 11
Week 12
Week 13

Week 14

Week 15
Week 16