[11] Input Devices
Summary
This week I learn... and still learning... how to build a capacitive sensor and program it.
What I did in this session:
- Design a Circuitboard.
- Use SNB-20 to mill the board.
- Solder components to the board.
- Program the microcontroller and upload the program via a programmer.
- Debug the board.
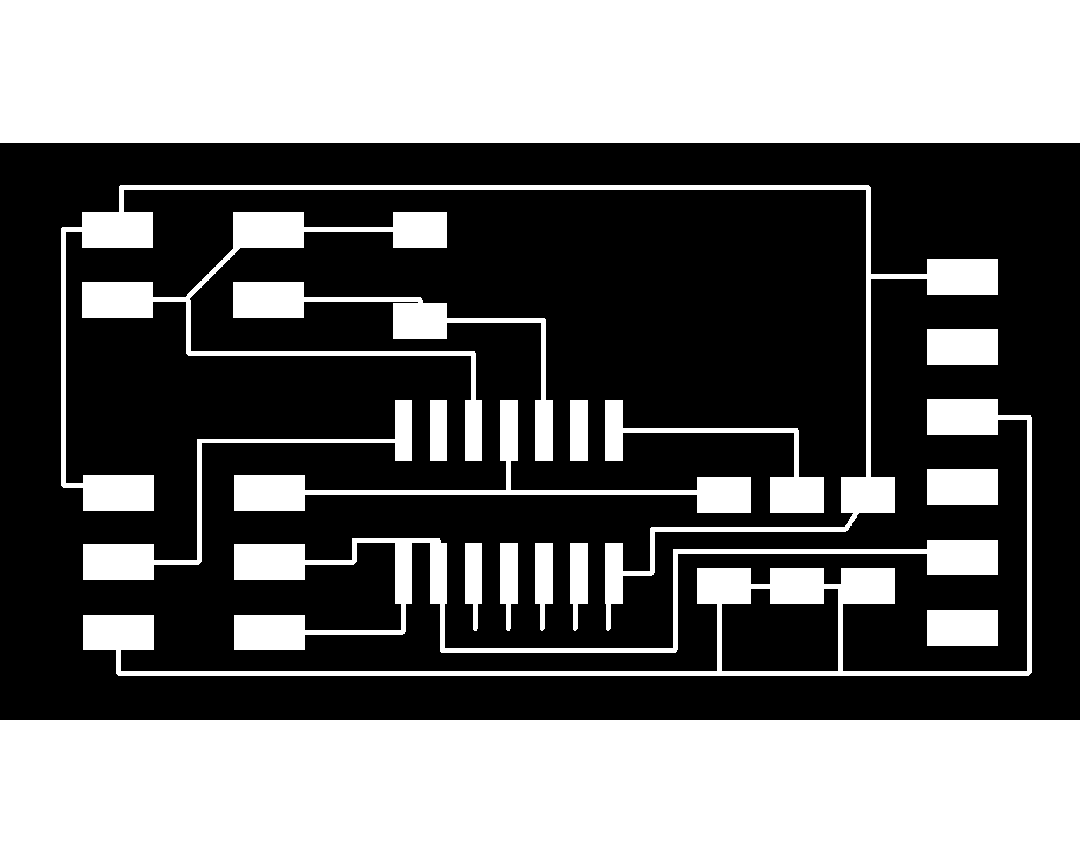
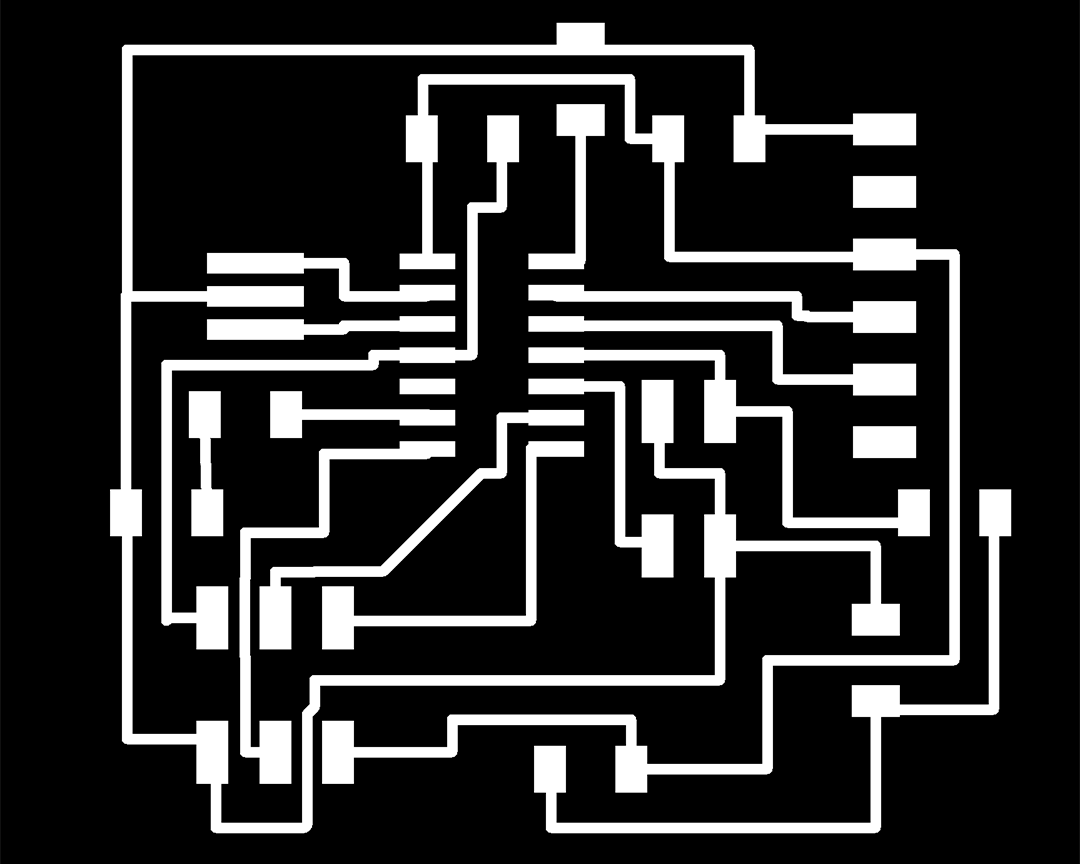
Design the Circuitboard
This week I decided to join two board seen in class, the step capacitive sensor with a LED. The project was, again, too ambicious...
- Design the board in Eagle.
- Miil the board in the SMB-20.
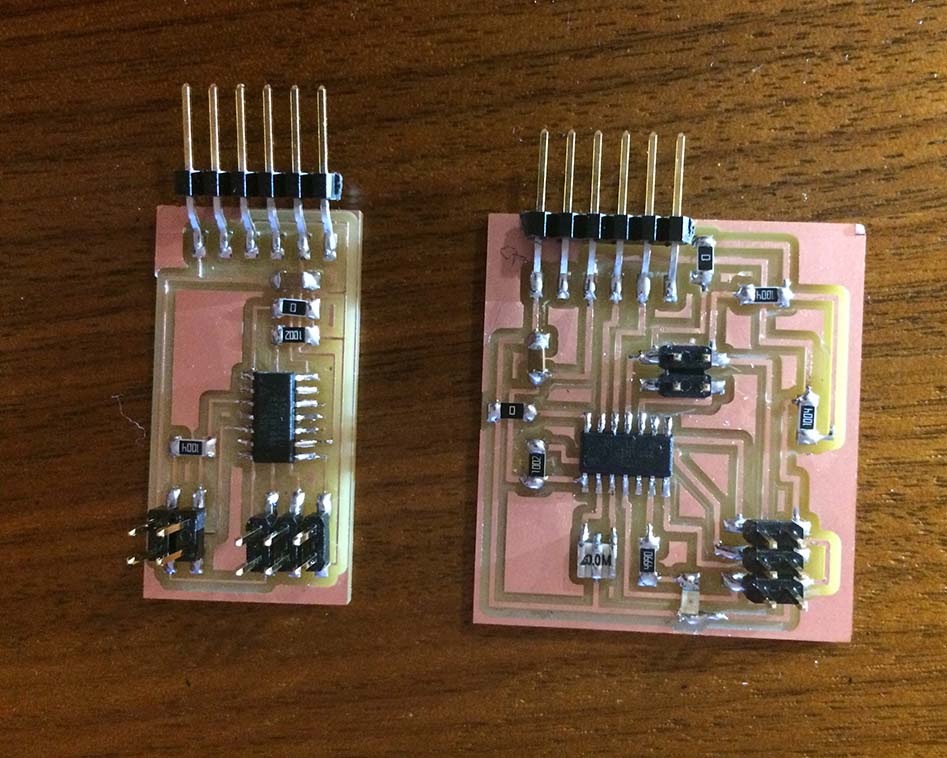
- Solder the components.
- Program the board
Eagle can be a very frustrating program, follow one of the tutorial we use on week 5.
This week help me understand better how a microcontroller works, and how the pins work. Changing from the ATTiny 44 to the 45 changed a lot of the connections and pins, but this helped me undertand the function of each of the pins.
This was also my first attempt to modify a C code, althought without sucess. Thanks to Jonah and Will I was able to get the microcontroller to send some information. The problem was that the Receiving side of the sensor apparently was not receiving the signal and the sensor did not work at the end.
To be continue...
I am back and I manage to create a capacitive sensor! After strugling to much with the code I decided to go back and build my sensor with the Attiny45, which worked perfectly. I manage to get connection with the computer and read the sensor inputs. Special thanks to Paloma and Jonah.