[02] Computer-controlled Cutting
Summary
The basics on how to use a laser and a vinil cutter. The exercise is to build a press-fit cardboard kit.
What I learned from this session is:
- Use a vinyl cutter using the software install on the Architecture Lab.
- Use the Laser Cutter; the workflow includes multiple software (Fusion 360, Adobe Illustrator, Rhino).
Walkthrough of my learning process (it could help you if you do not know anything about Laser cutters, Design software, etc.)
When you start the process of designing your process you must have this in mind:
- Select a software or set of software that you are going to use to design. If you are a novice user, begin with the software that most people use in your FabLab.
- Plan the workflow that you will follow to take your design from the software to the laser cutter.
- Understand the different file extensions that exist and the compatiblity between programs.
My main learning takeaways are:
Learn the software and file extensions
No all of the computer programs are compatible between them. I recommend that you ask your FabLab mates about the software that they use (the laser cutter can be specially configure to an specific software). Some software can not be configure or to be used in some of the FabLab machines.
Understand the limitations of file migration
Trying to migrate a file from one program to another could become a great challenge and can take a lot of your time. Migrating files can create loose of information, like the scale of your drawing. Basic design rules, like adding a scale reference to ypur drawing can be very usefull. Thanks to this you can rescale your drawing to your desire size.
Take into acount the kerf
All the cutting machines have kerf. When cutting a material part of it is lost in the process. To have precise pieces your design must acount for the kerf.
To do this press-fit the software used was the following (note: you can use different combinations, the combination that I used was optimal for me because compatibilities, license of sotware that I have, etc. This could be not optimal for everybody).
Workflow
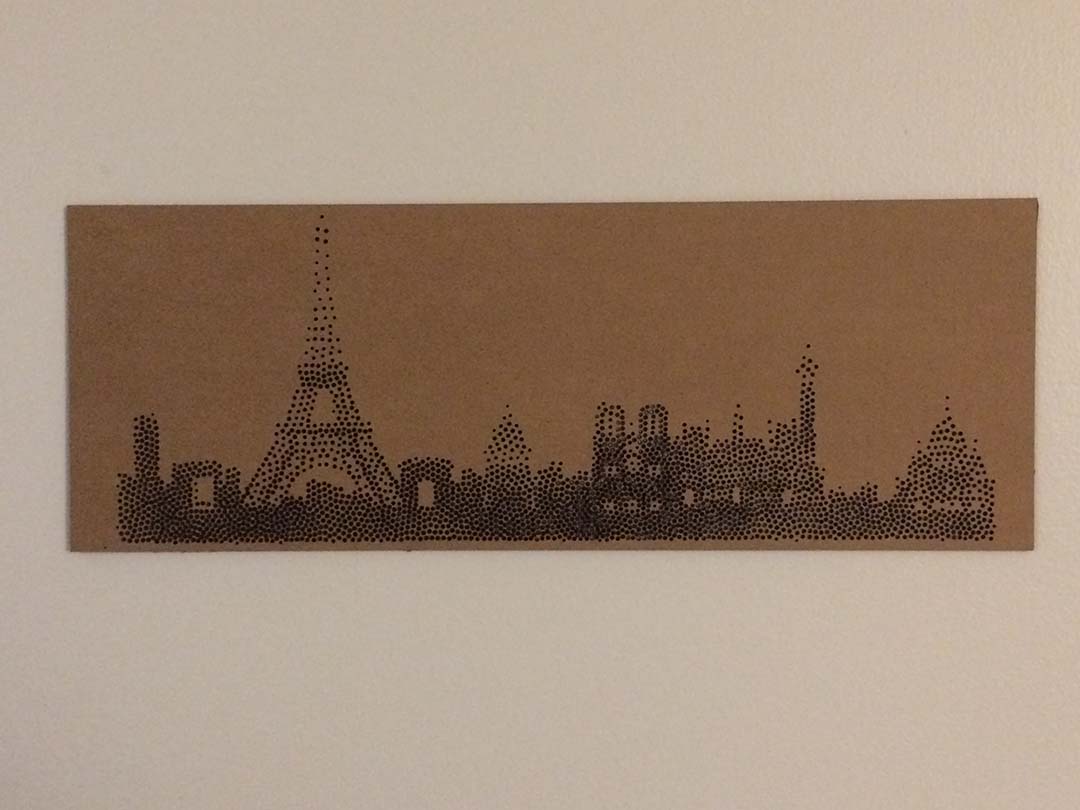
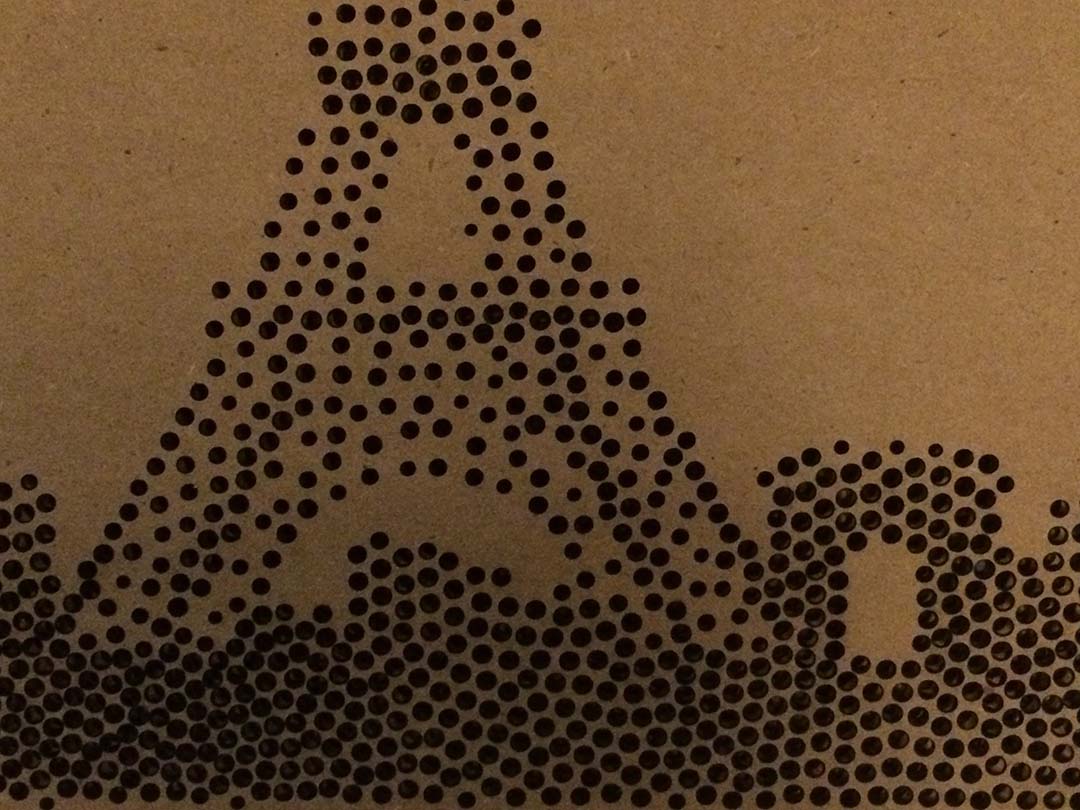
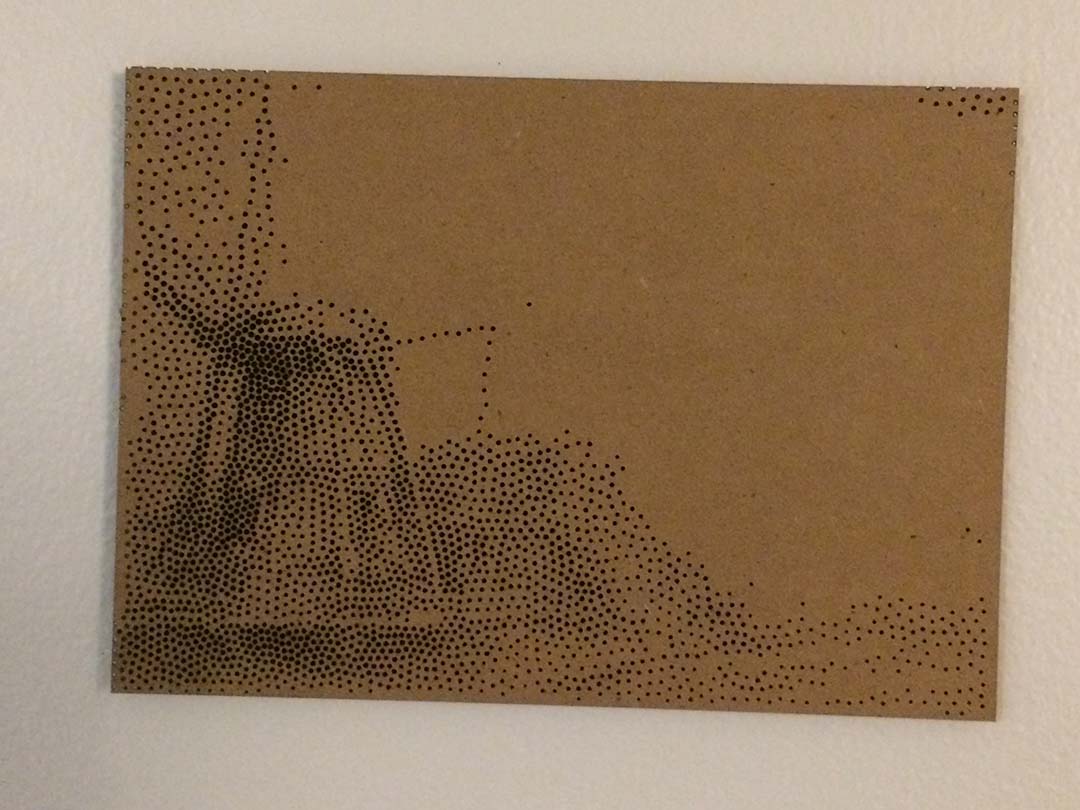
Design|LASER CUTTER: For the design I used Autocad Fusion 360. I choose this software because it let me do parametric drawings and also export my drawing as a .DXF file. Parametric drawing is very useful, since you can change some parameters of your drawing by just changing the value of that parameter, that way you do no have to resketch the whole piece again. I also use StippleGen2 to create my stipple diagrams.
Design | VINIL CUTTER: The vinil cutter was a lot more easier to use, you just need your image in .PNG and the software will calculate the rest.
- Migration to Rhino | LASER CUTTER: The FabLab where I am working riht now uses Rhino to interact with the Laser Cutter. Basically if you don no want to deal with drivers, the best way is to use what is already in place. I read that Fusion 360 conversion to Rhino was not a easy task. Because of that, I used Adobe Illustrator as a middle program that help me transform my DXF to AI and then import them to Rhino (Fusion (IDX) - Illustrator (AI) - Rhino).
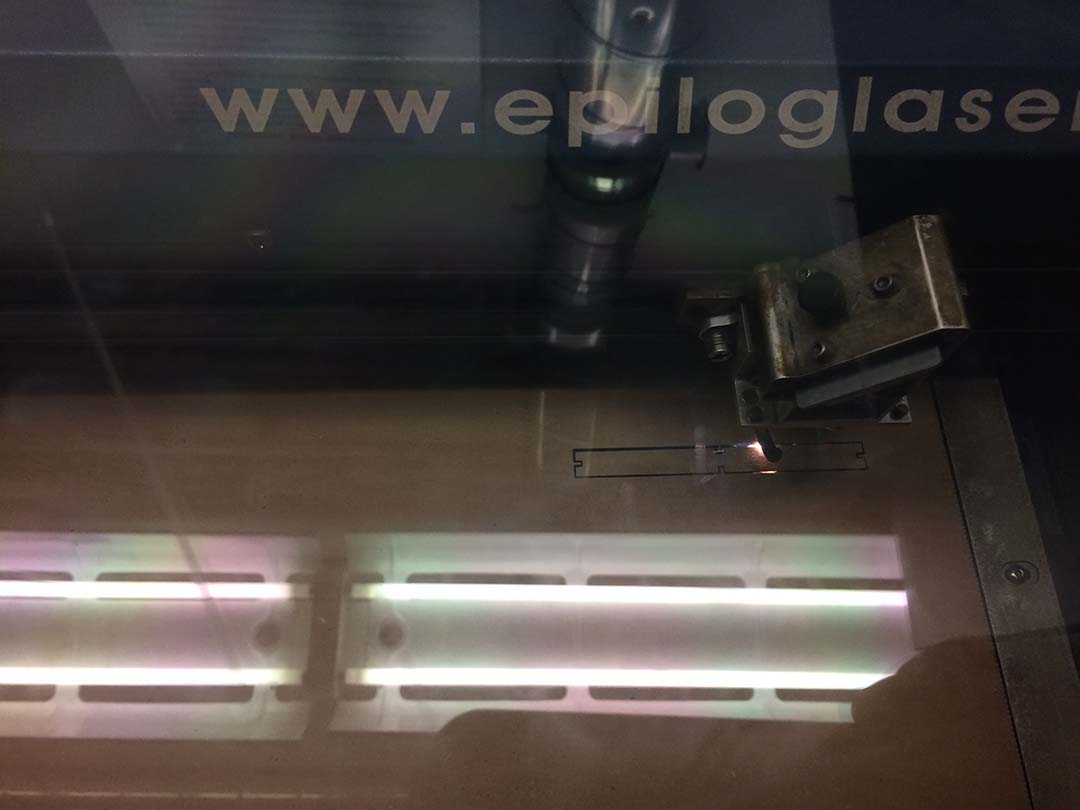
Printing | LASER CUTTER: Once in Rhino you just have to follow the instructions given in the printer manual that the FabLab has.
Printing | VINIL CUTTER: Once you have the image you just have to connect to the server and calculate the cutter path. Then press print. Note: remember to adjust for speed and force, ask for the parameters that are better for the specific machine that you are working on.
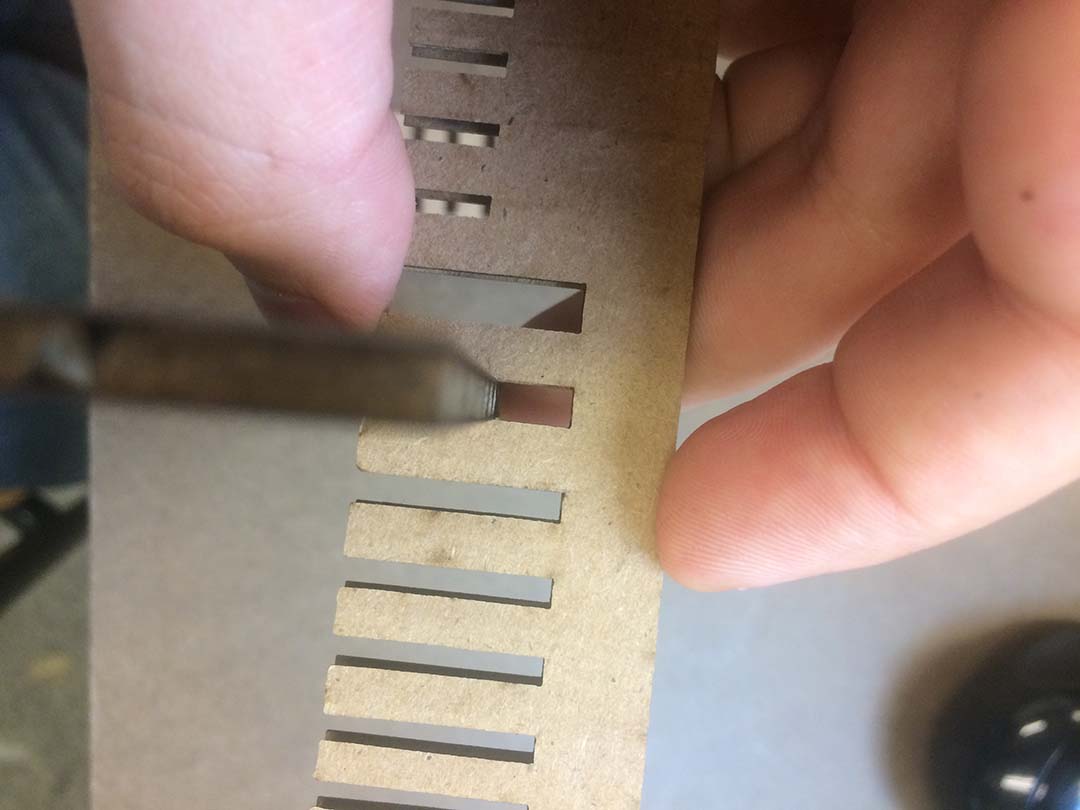
Note: For the machine I was using the kerf was 0.01 inches.
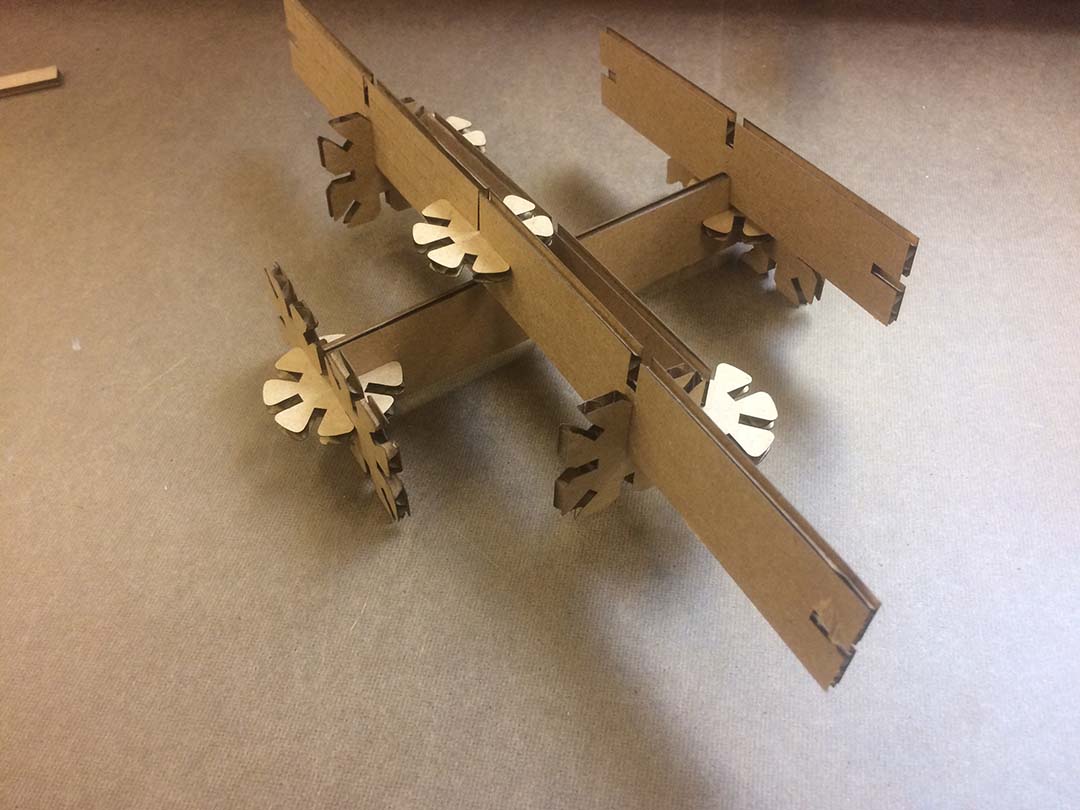
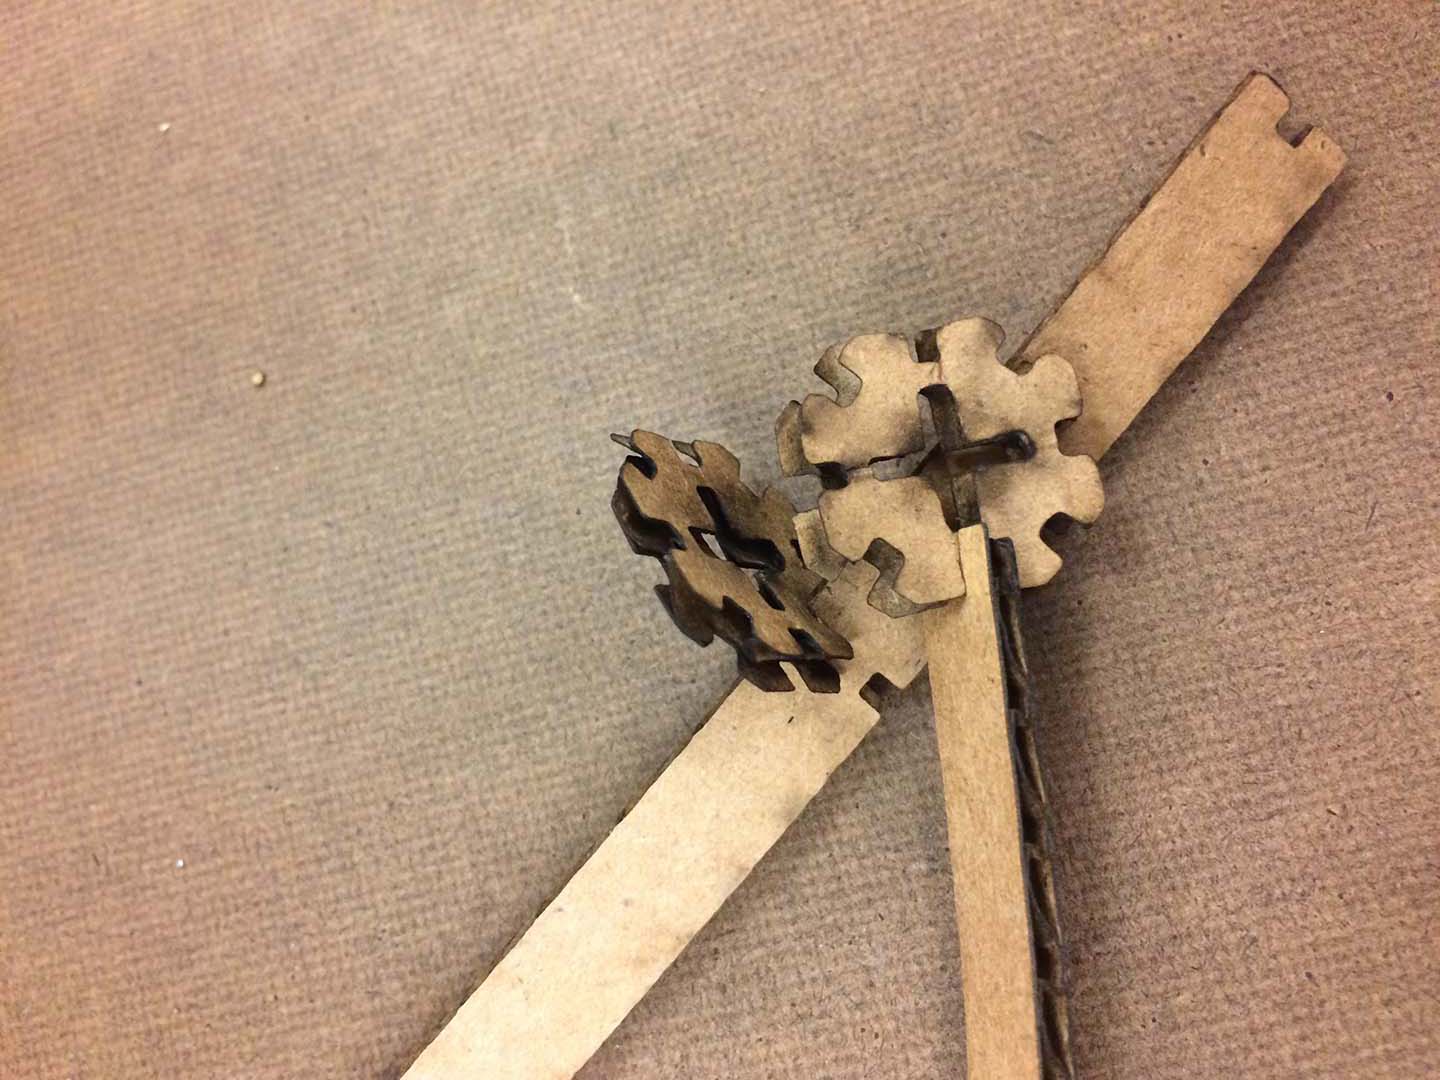
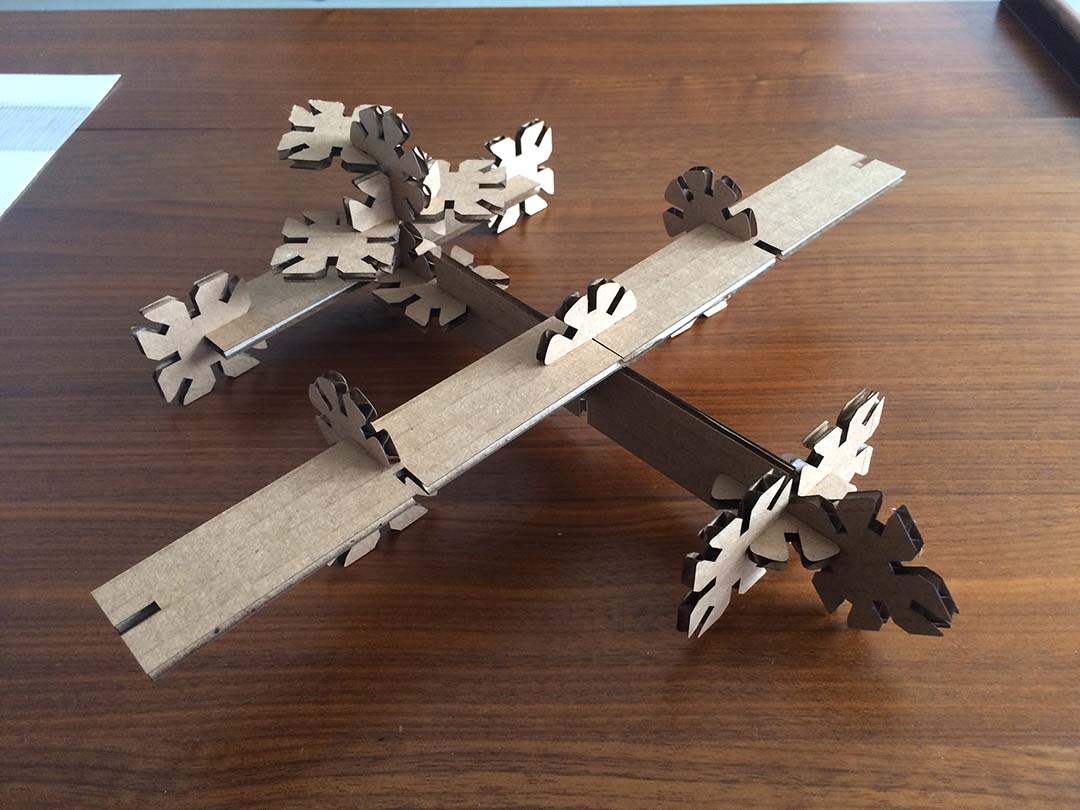
Laser Cutter | Project Sample
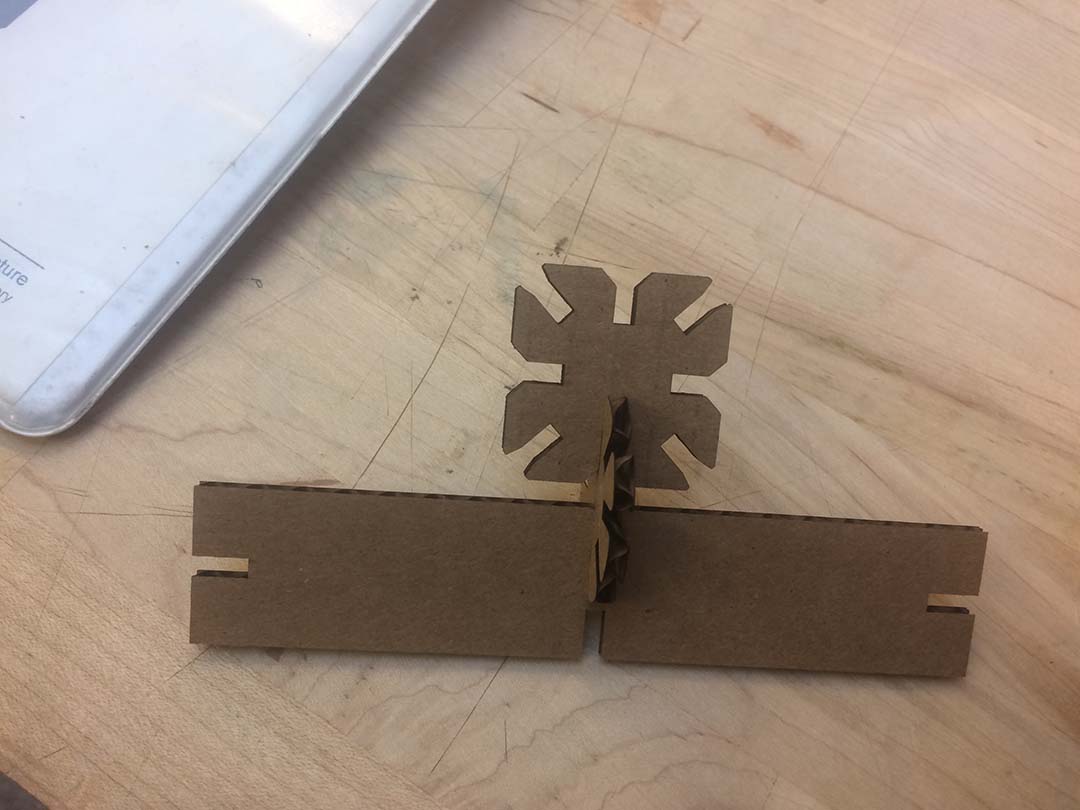
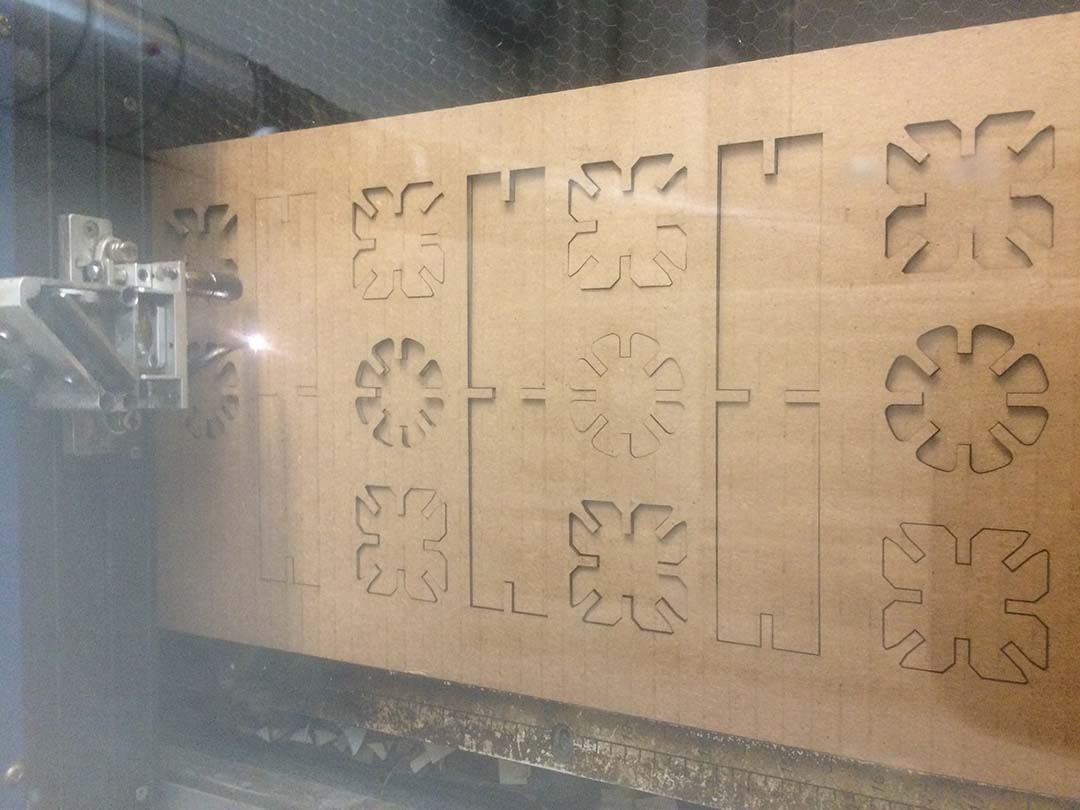
For my laser cutter assignment i did two things: a) Stipple Diagram (first row of photos), b) a press-fit carboard kit (second row of photos).
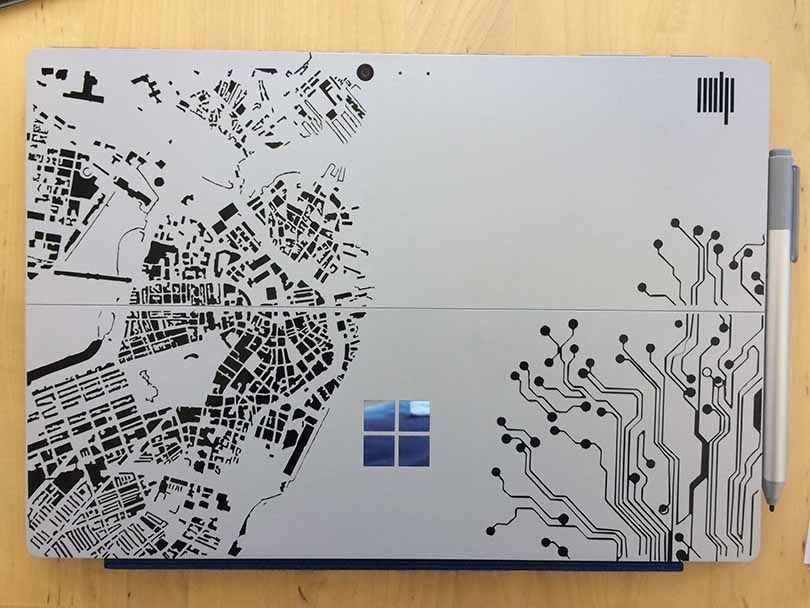
Vinil Cutter | Project Sample
For my vinil cutter assignment I cut a figure-ground diagram of Boston and a circuit board.