[08] Molding and Casting
Summary
This week we learn molding and casting... with 3-axis machining.
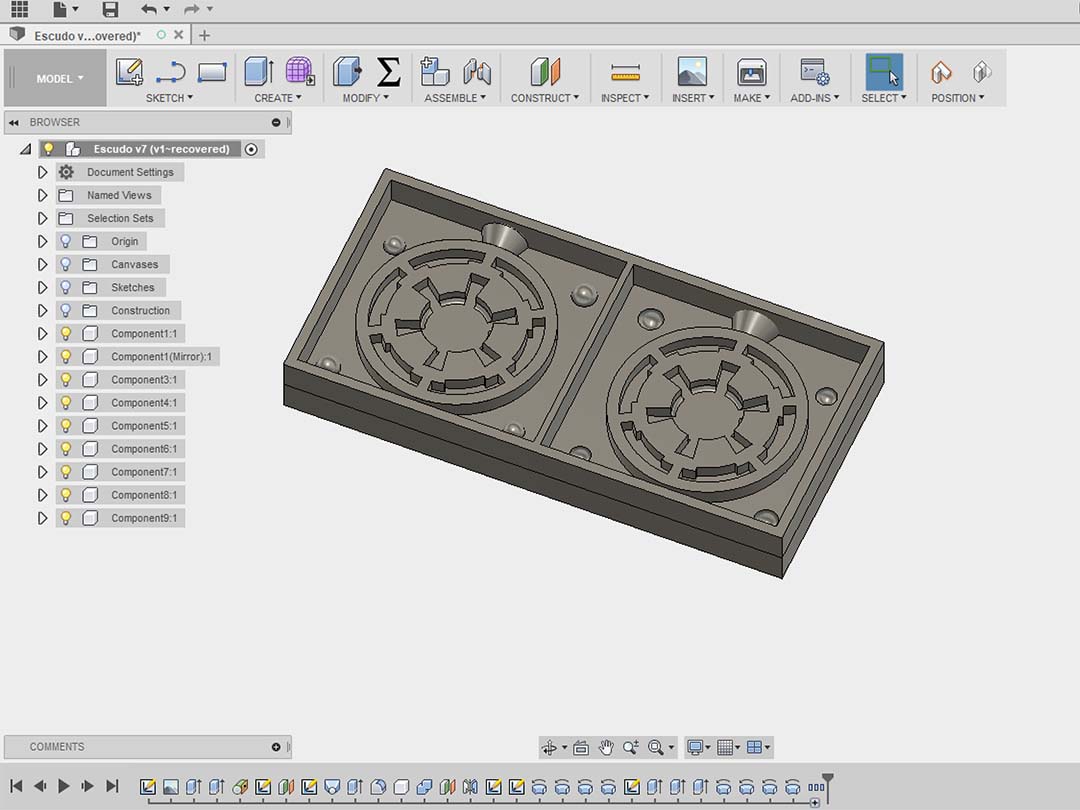
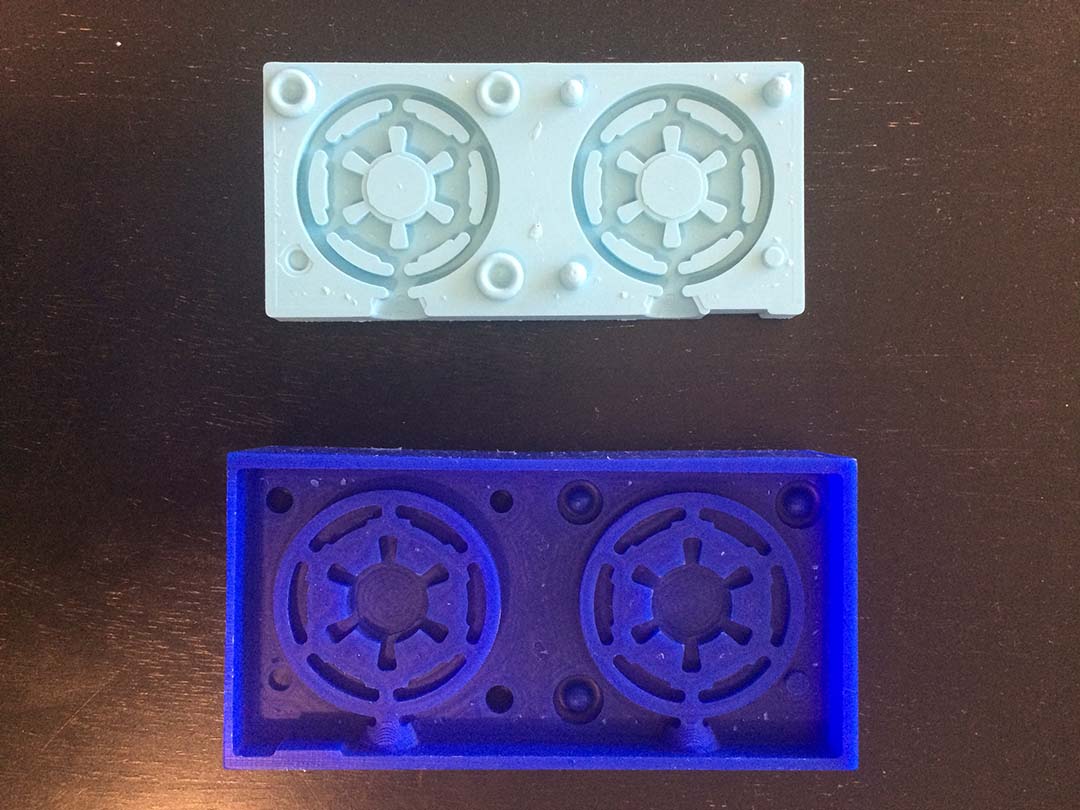
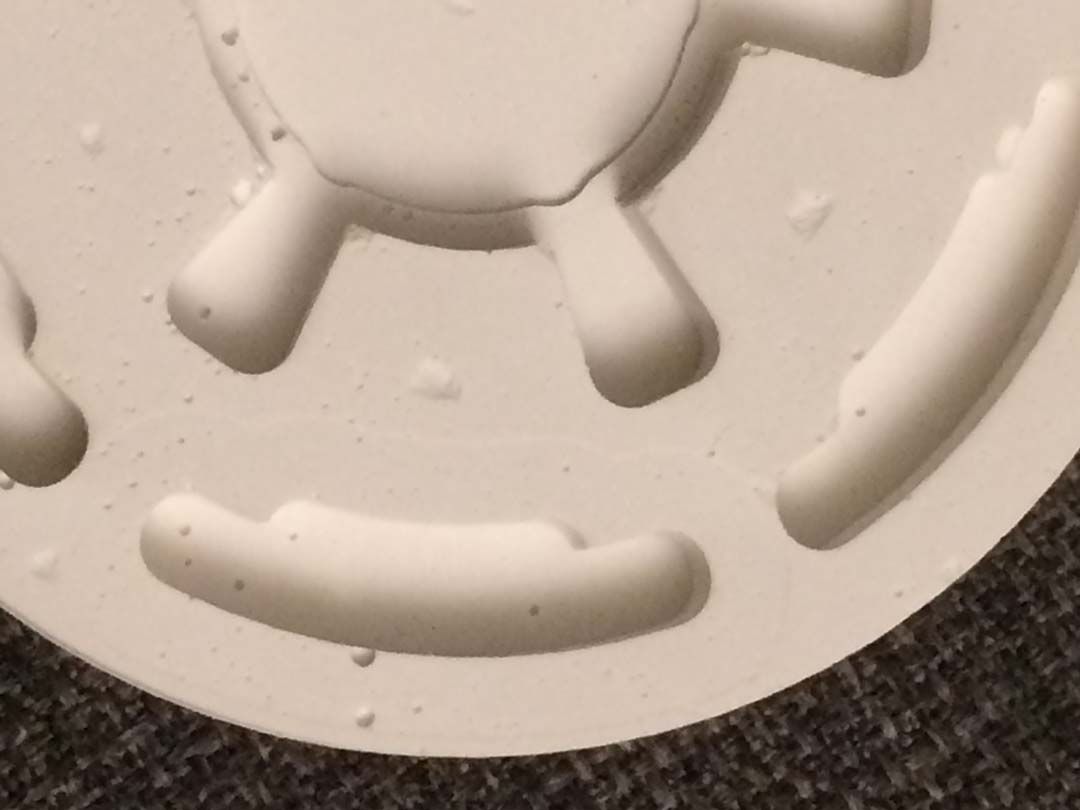
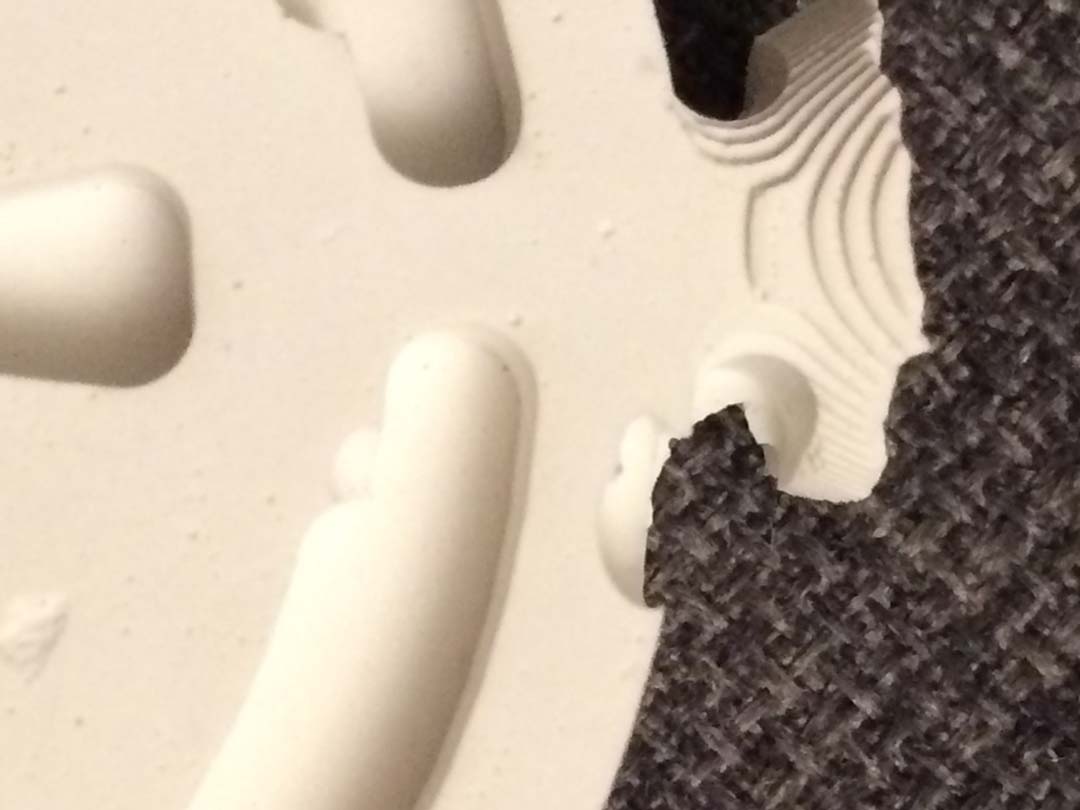
What I did in this session:
- Design a piece with 3-axis machining.
- Use MasterCad to prepare cutting intruction for ShopBot.
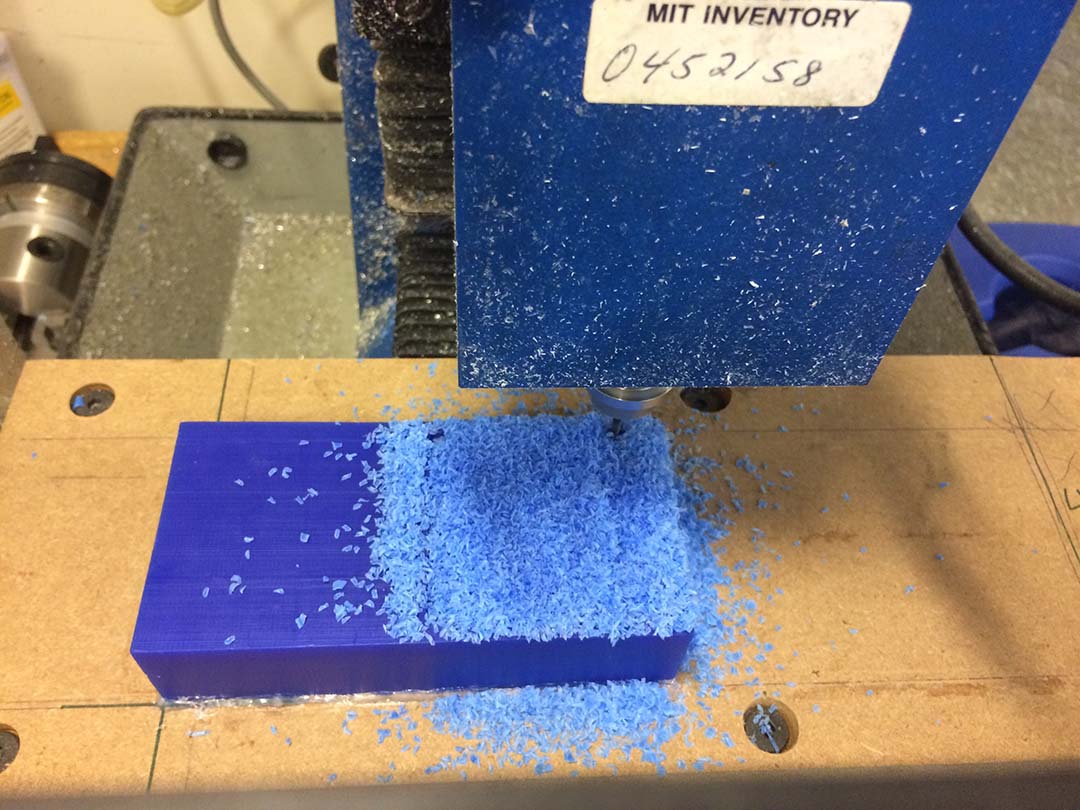
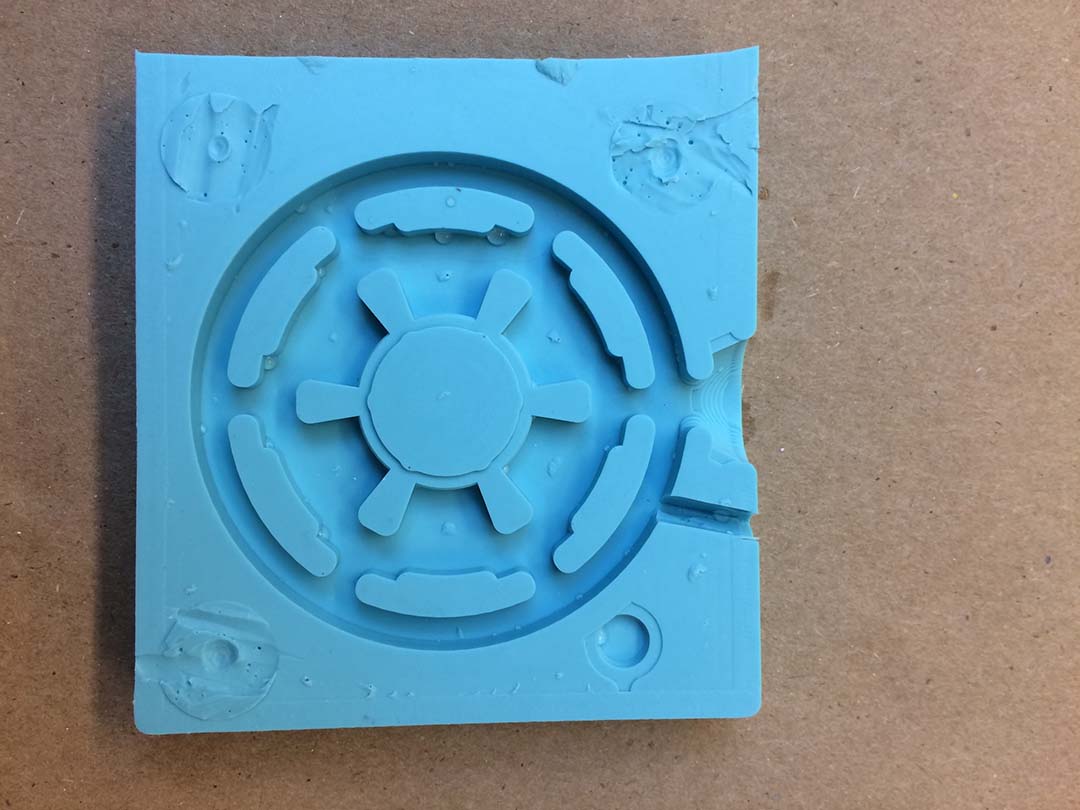
- Cut the pieces in ShopBot.
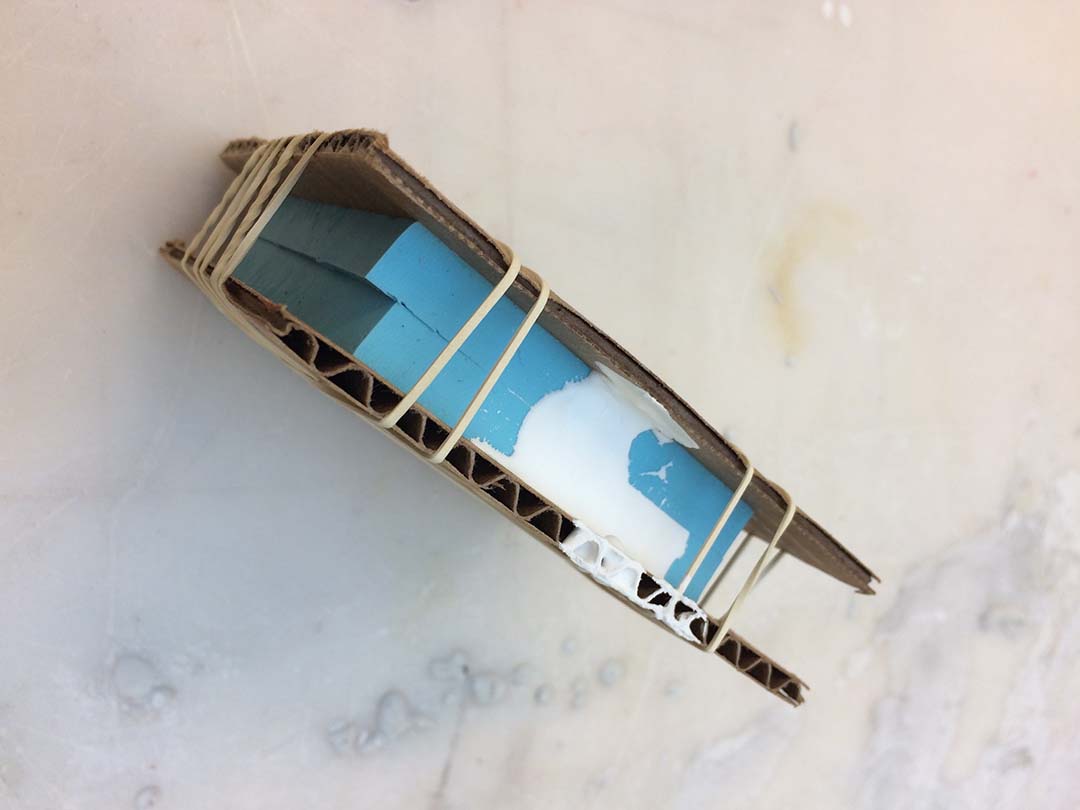
- Pour OOMOO into the mold to create the negative from the machined mold
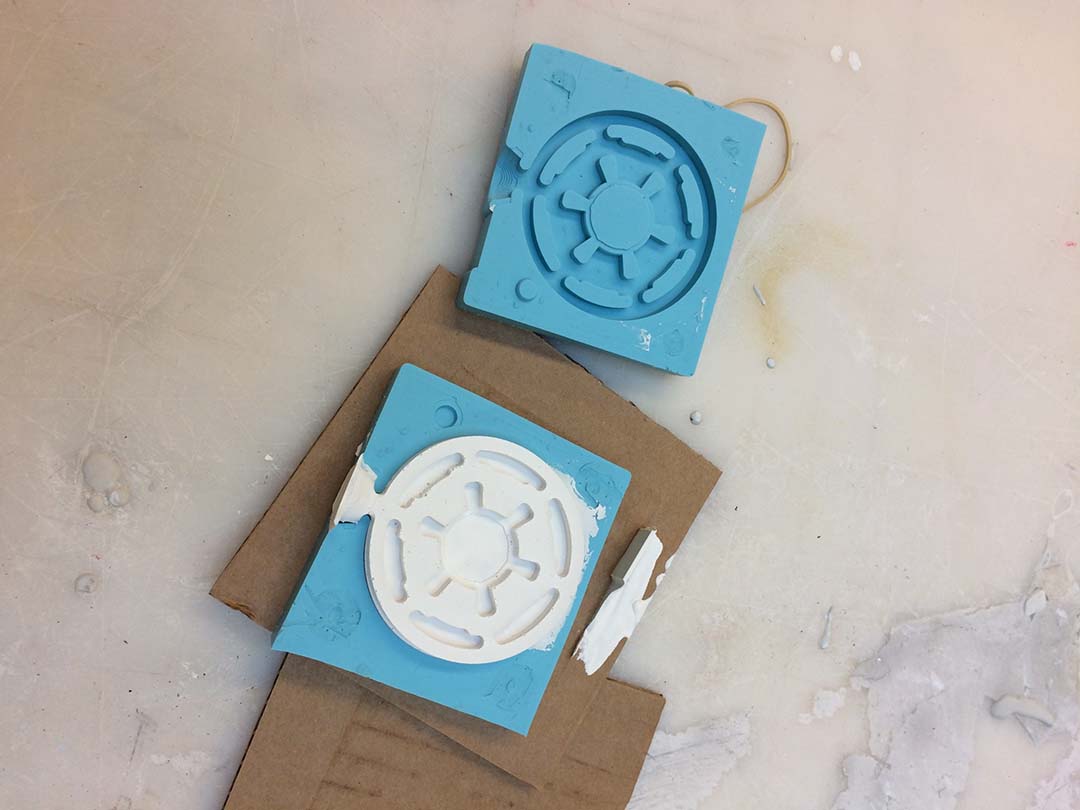
- Pour Drystone to cast the final piece
Molding and Casting
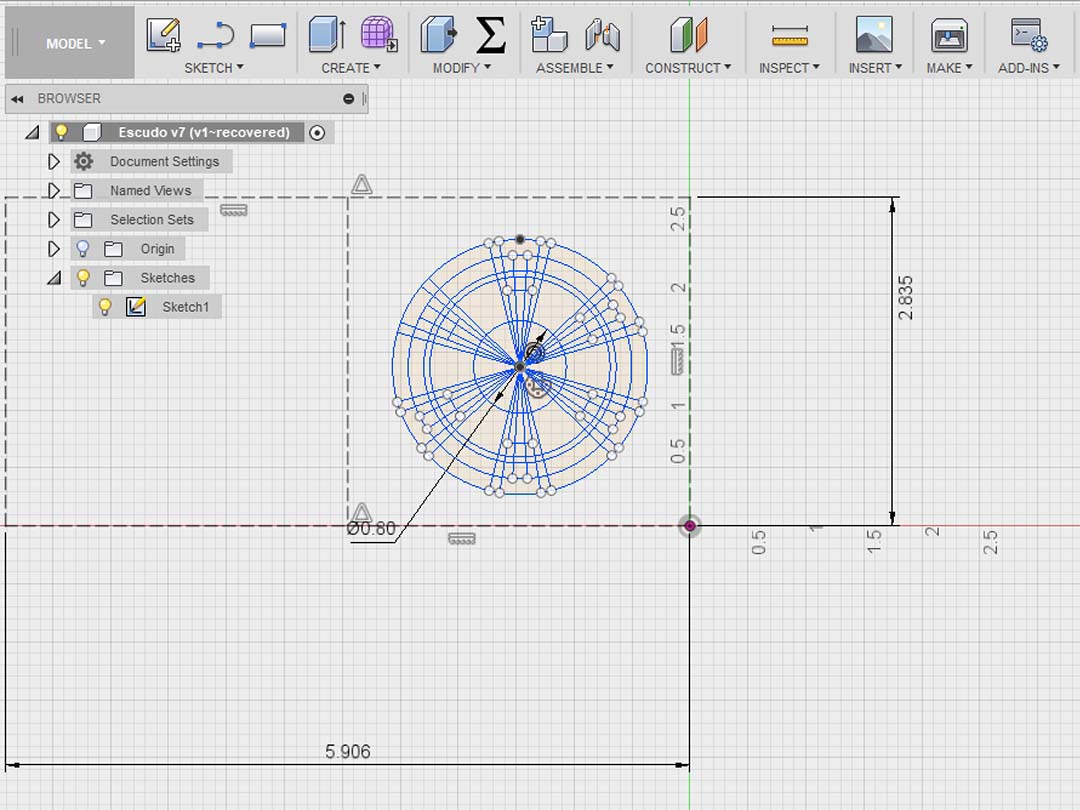
This week I decided to create a piece that I was trying to design for my SmartLamp. The part was pretty similar to the Empirial symbol from StarWars so I decided to change the piece to fully copy the Imperial Logo... in the end if this does not work, I least I have a StarWars souvenier:
- Design a mold in Fusion 360.
- Save your final model as STEP File and open it in MasterCam.
- Cut the wax in the machine of your preference.
- Pour OOMOO in your model, remember to mix 50/50 an stir thoroughly.
- After you get your model, pour DryStone and wait until it cures.
As always remember to draw your model parametrically, in case you have to change something (and believe me, you ar egoing to make changes to it).
Remember that MasterCam it is a software that can manage every little detail of how the machine operates. I learned one very important lesson this week... when you do not know how to do somehting ask for help. Special thanks to Jen O'Brien since without her help my model would have look very very bad.
Remember to select the correct speed, otherwise you can start burning or melting your model.


This could get very messy, so use paper and gloves to cover your work area and hands. Clean the bottles after you use them with a piece of paper.
Bubbles are the big enemy here, it is important to take all the possible bubbles out before pouring. You can include a vent hole on the model.


