
[14] Composites
Summary
I created composite.

What I did in this session:
- Created a piece that will be used as a model.
- Mix Epoxy and prepare the fabric.
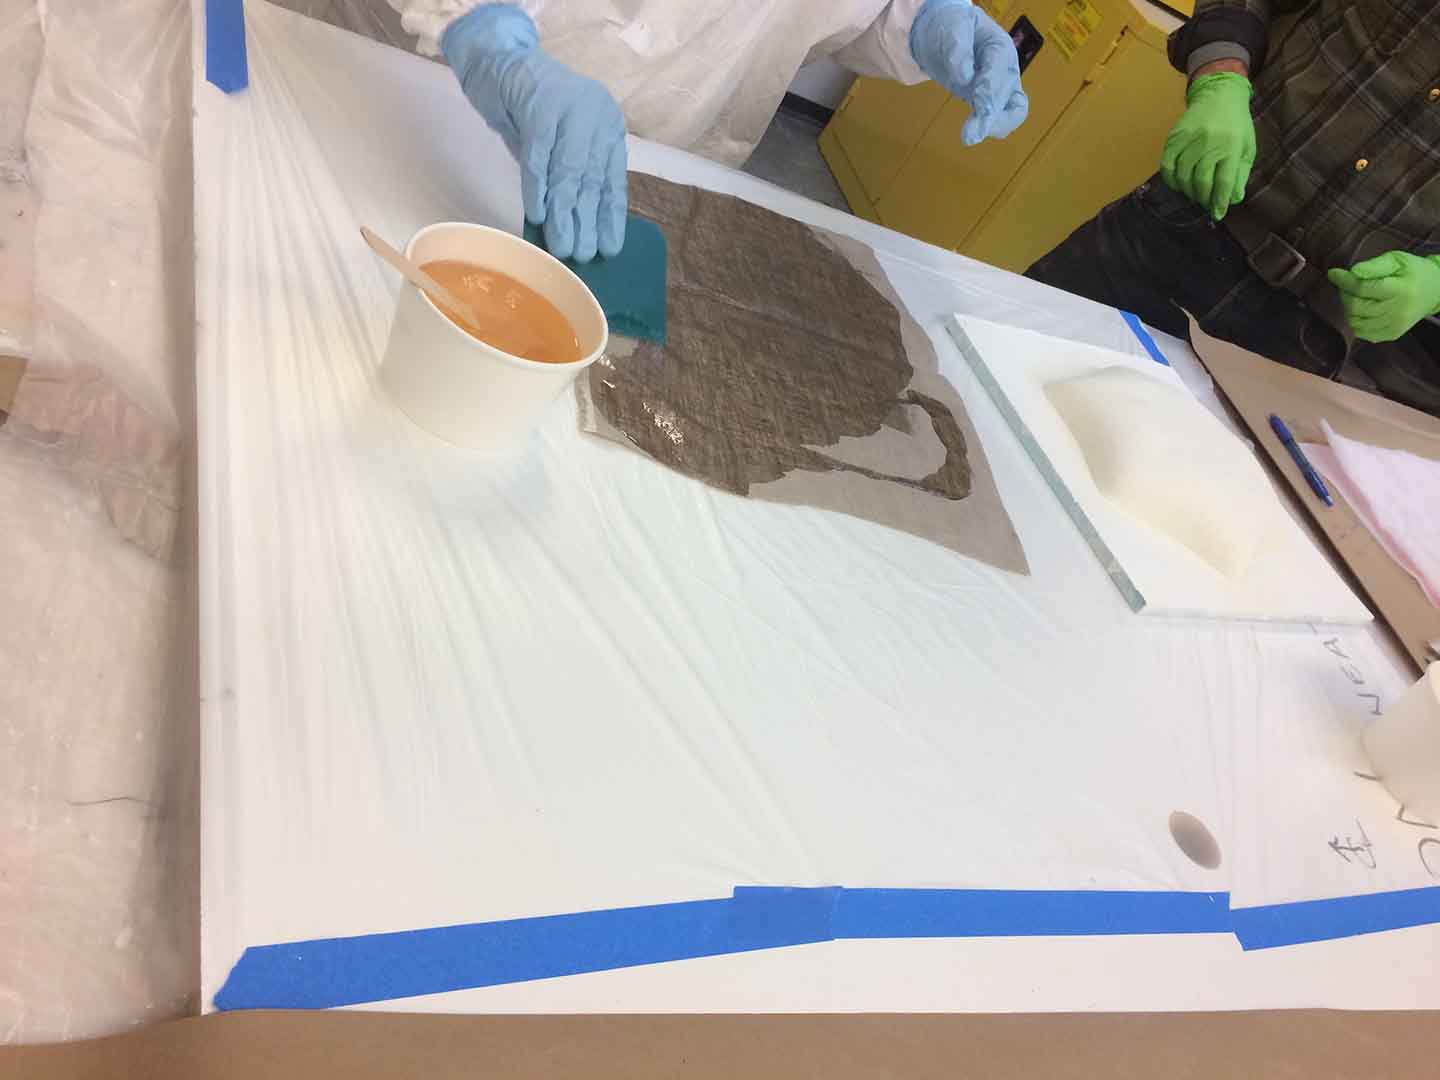
- Spread the epoxy on the fabric.
- Put the model in the vacuum platic bag.
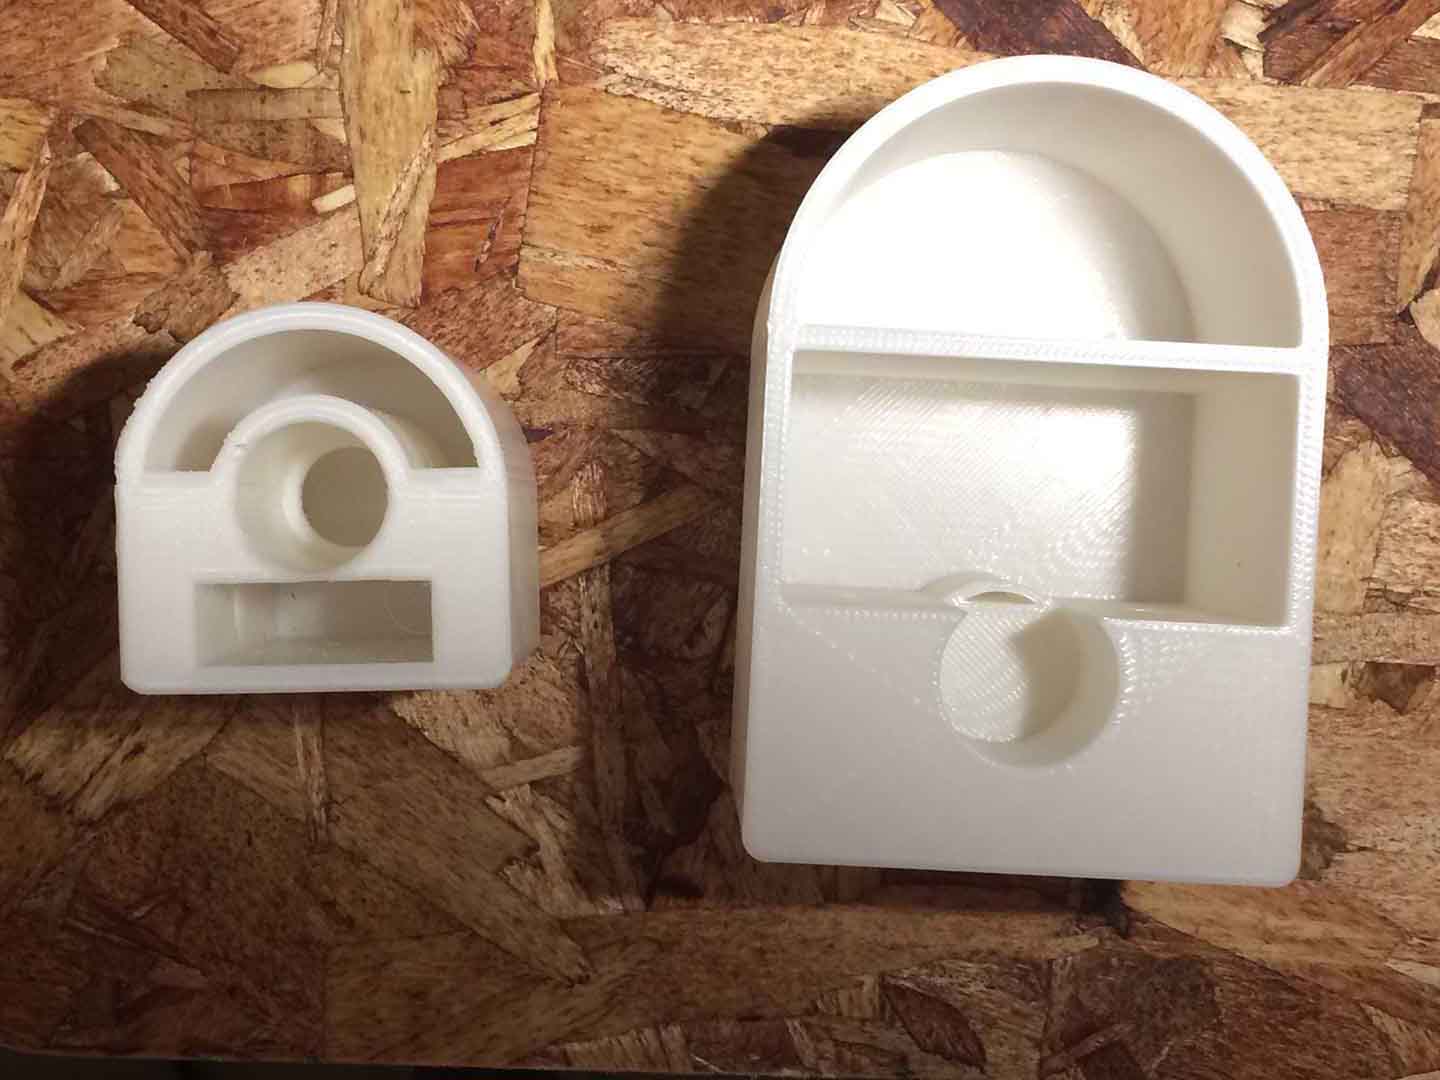
The model
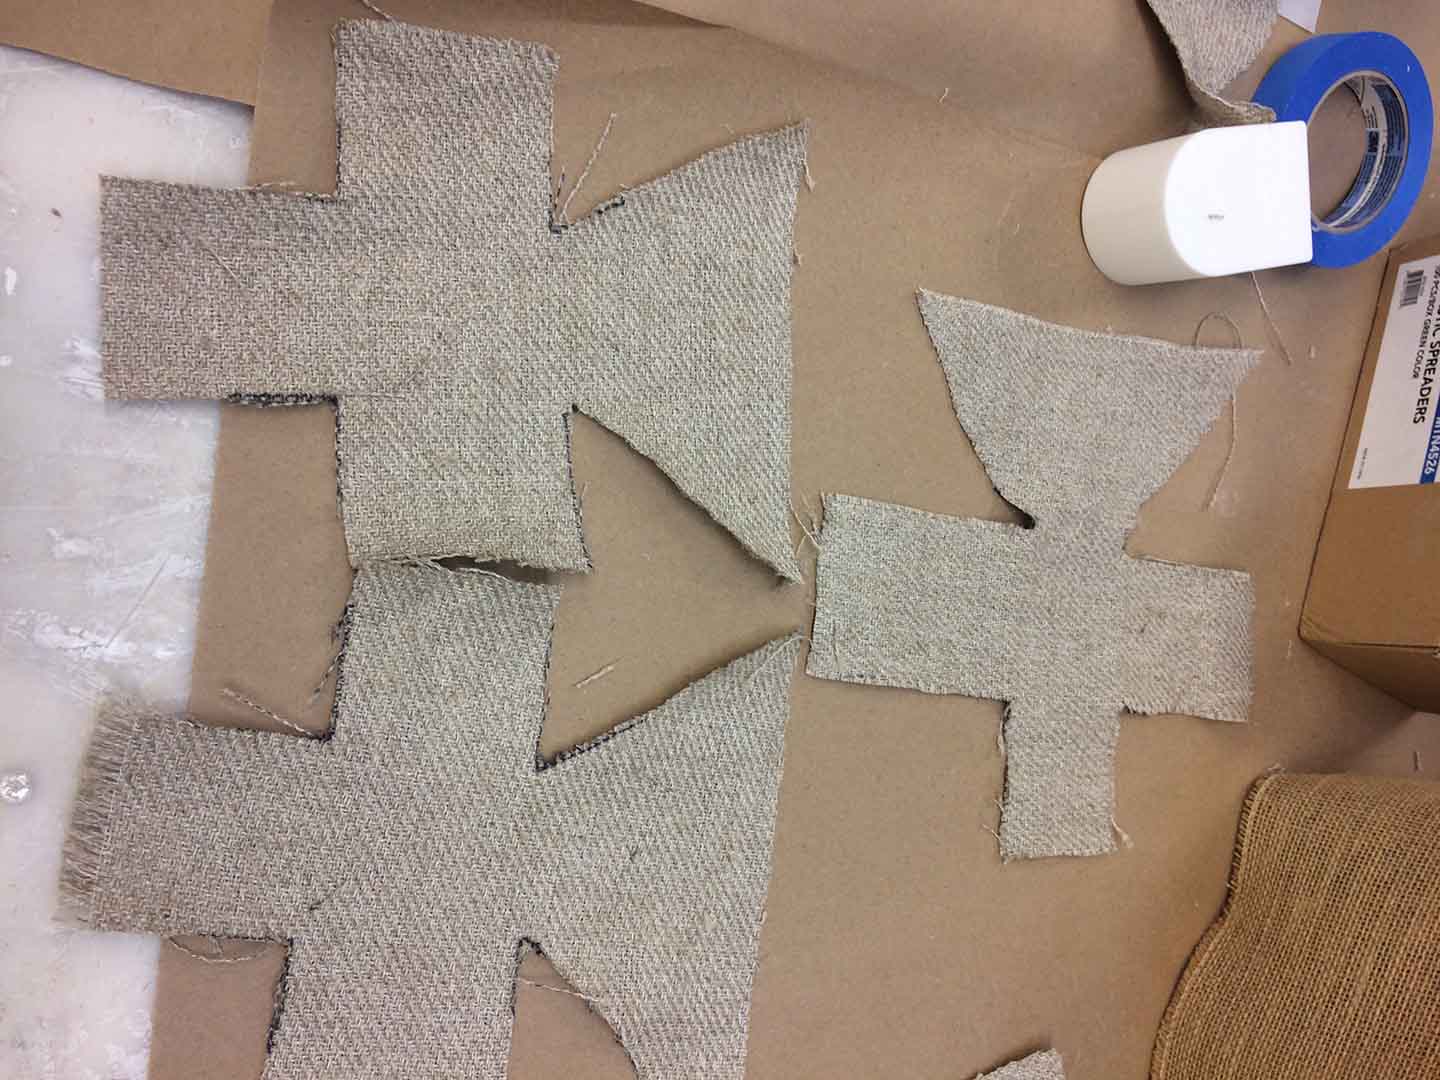
This week I wanted to create a composite to reinforce my side caps of the lamp that i was building. For that purpose I 3D printed my caps and cutted the fabrics so there were no folds in the fabric.
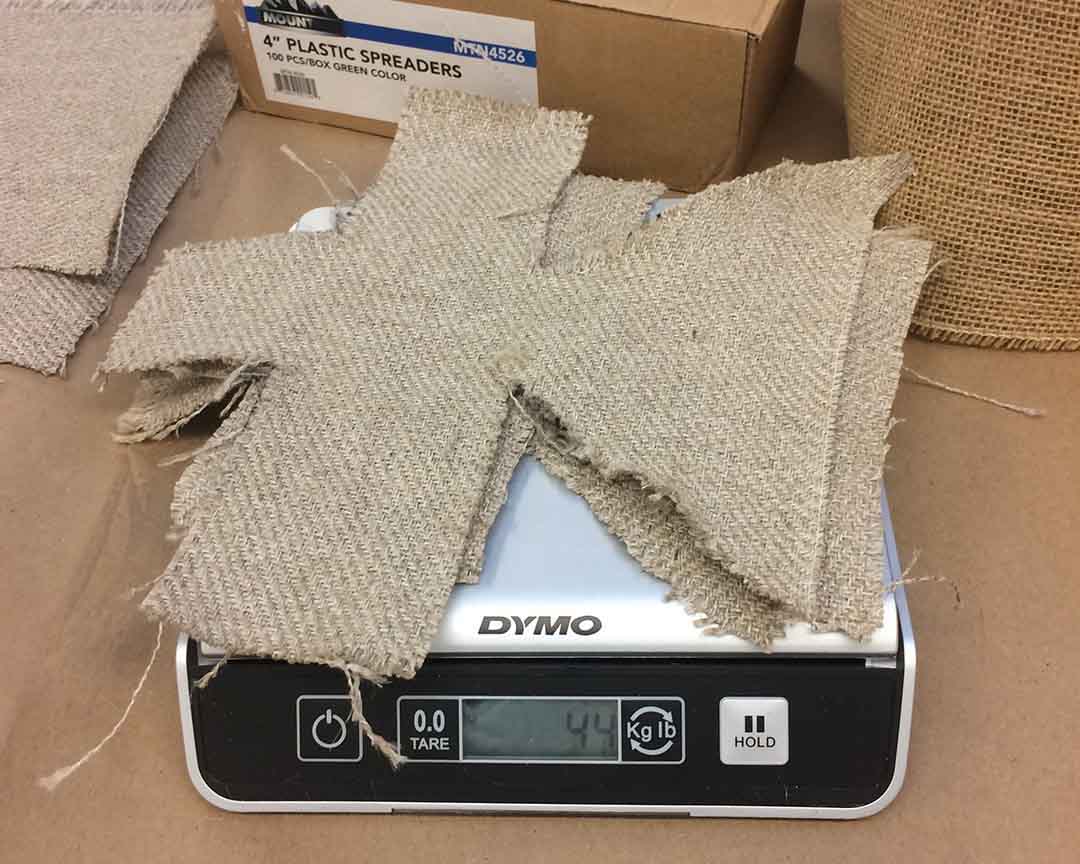
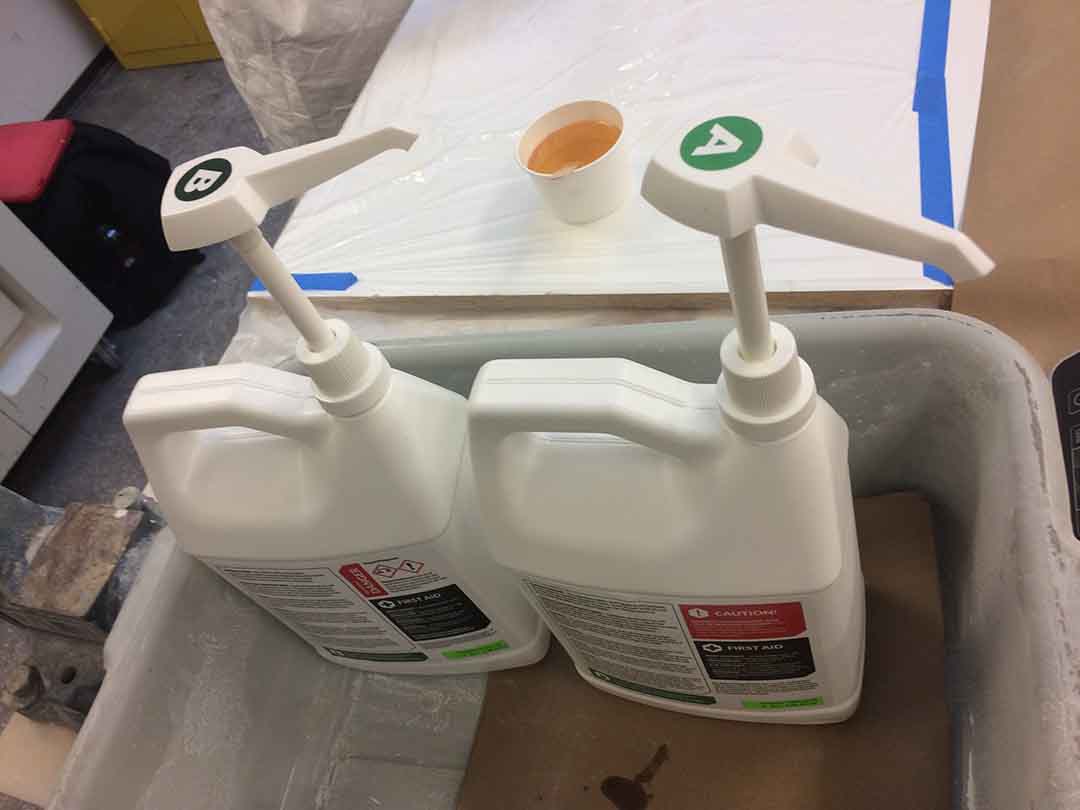
When you have the fabric ready, it is important you weight the material. This will help you calculate the amount of epoxy that you need to create the composite. In this case the epoxy ratio was 100:43, and the epoxy must be 2 parts of component A for one part of component B.
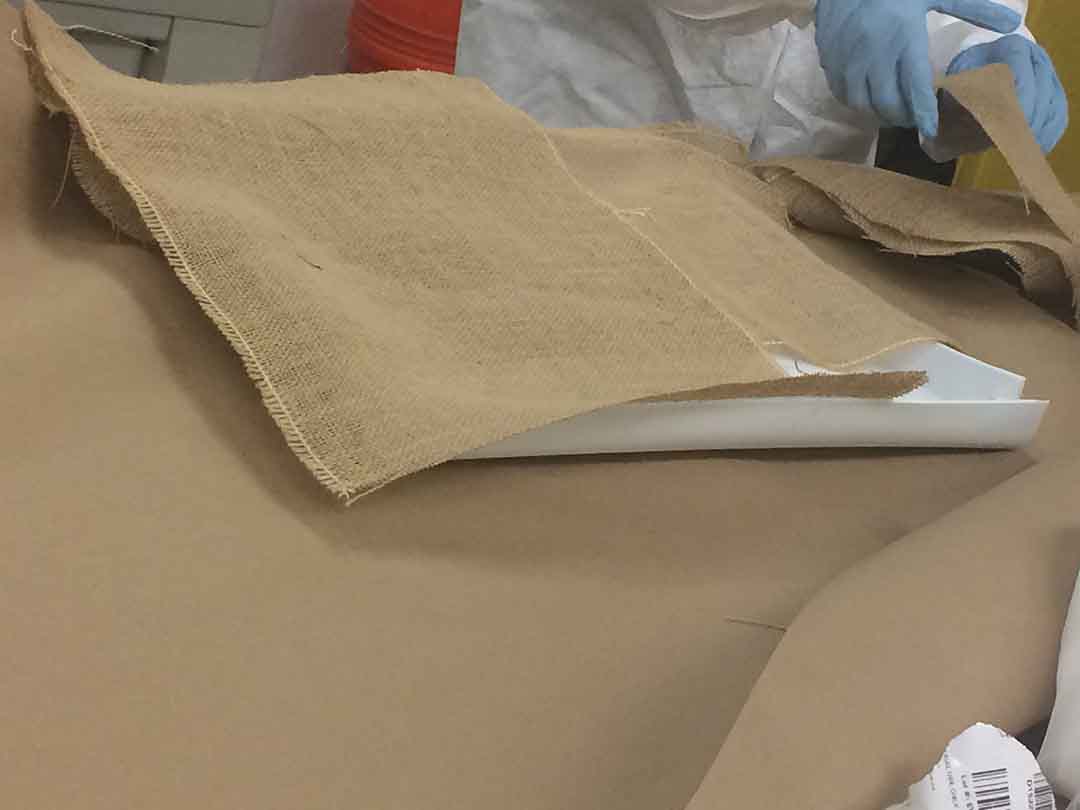
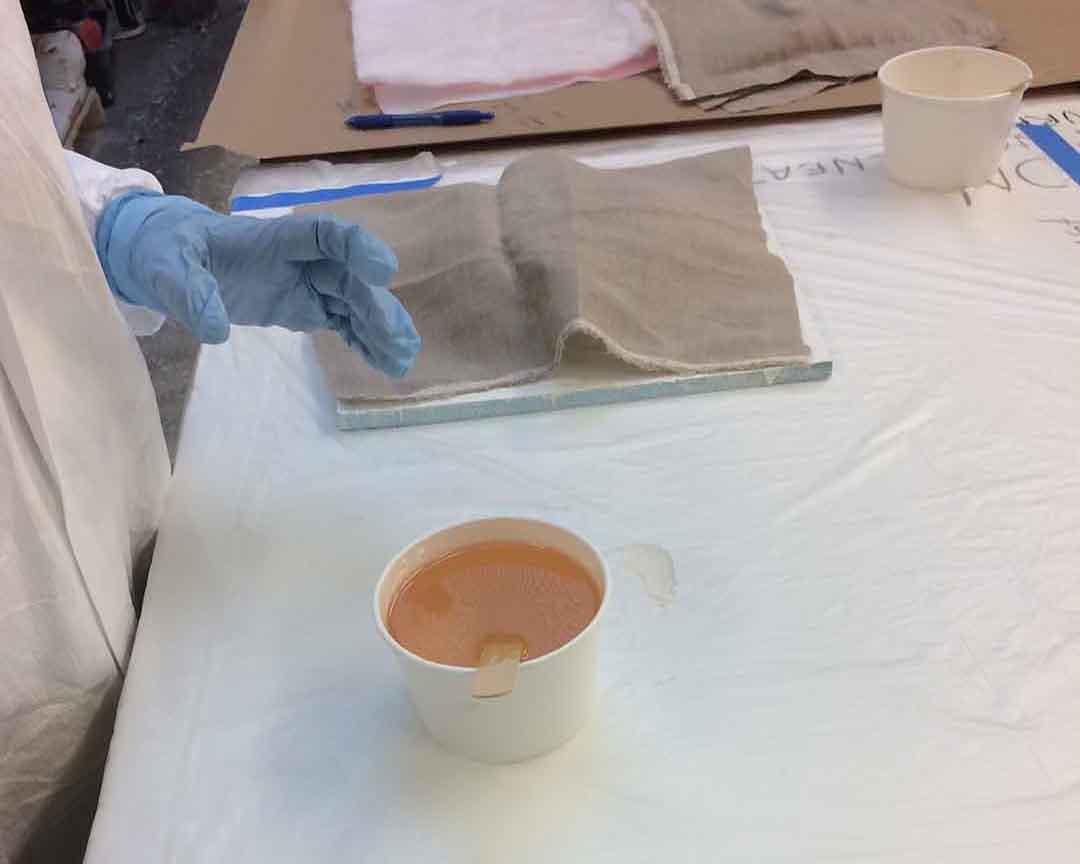
After that is important to have all the materials ready, since the epoxy cured in 18 minutes once mixed. So once you have everything ready you can start mixing the epoxy and apreading it in the fabric.
Finally when you have everything ready you have to put the bleeding layer and put the model in the vacuum bag.
Although I manage to get a good composite, i failed to get the composite out of the model. The base of my model was not big enough at it deform the fabric making it almost impossible to separate the piece from the model.
