[03] Electronic Production
Summary
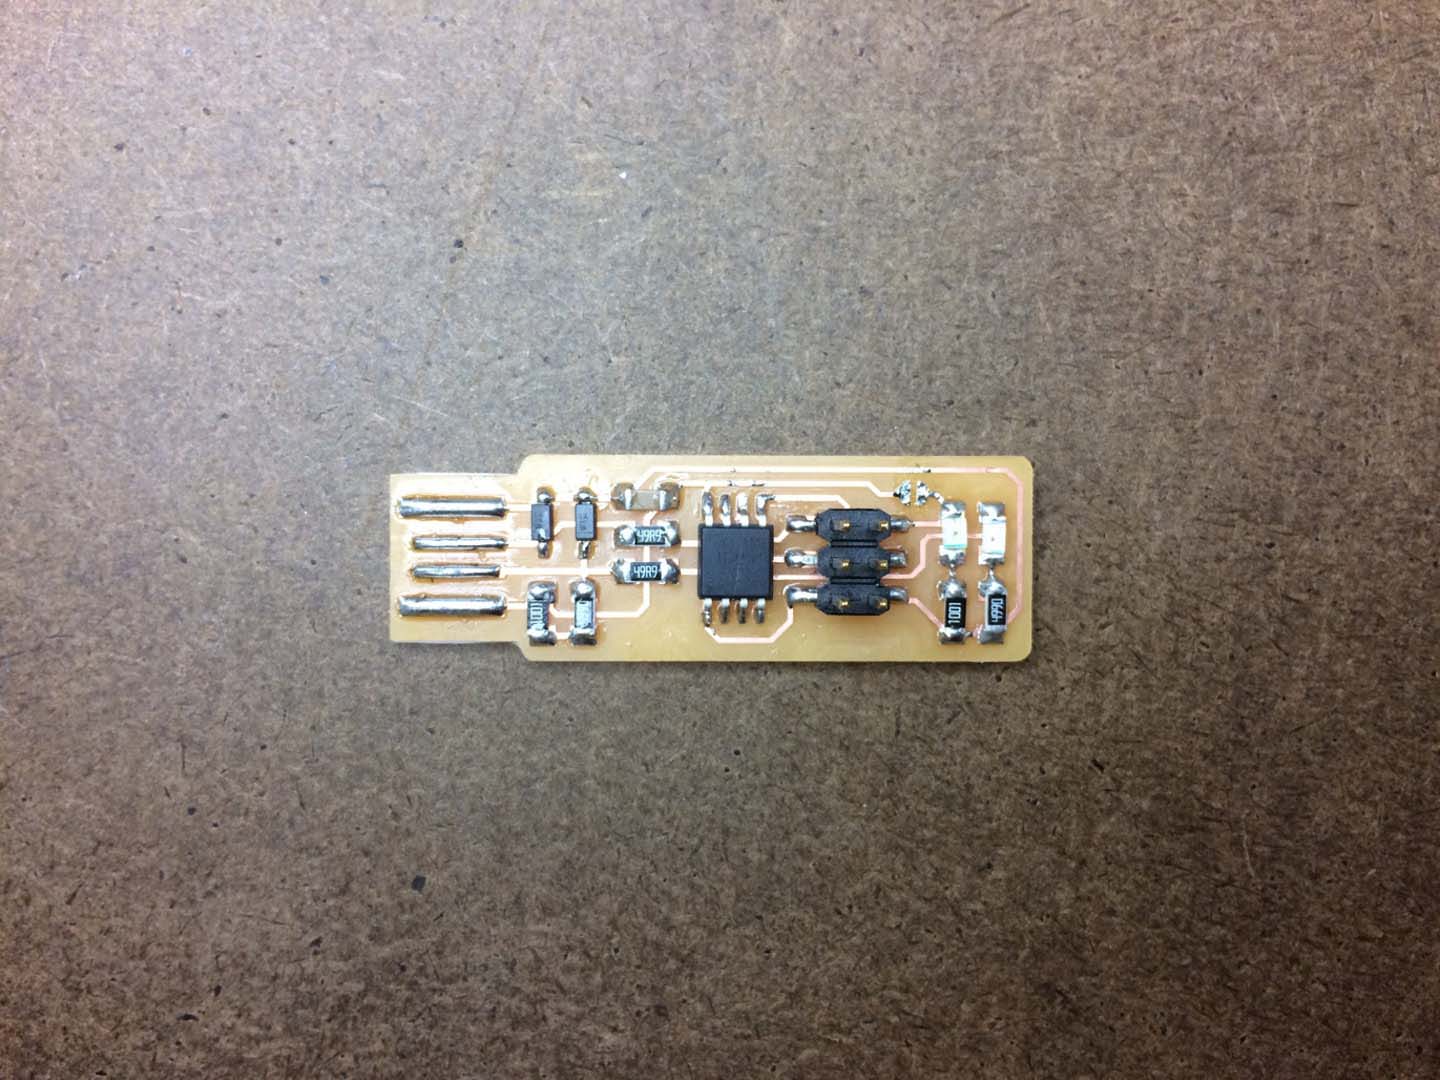
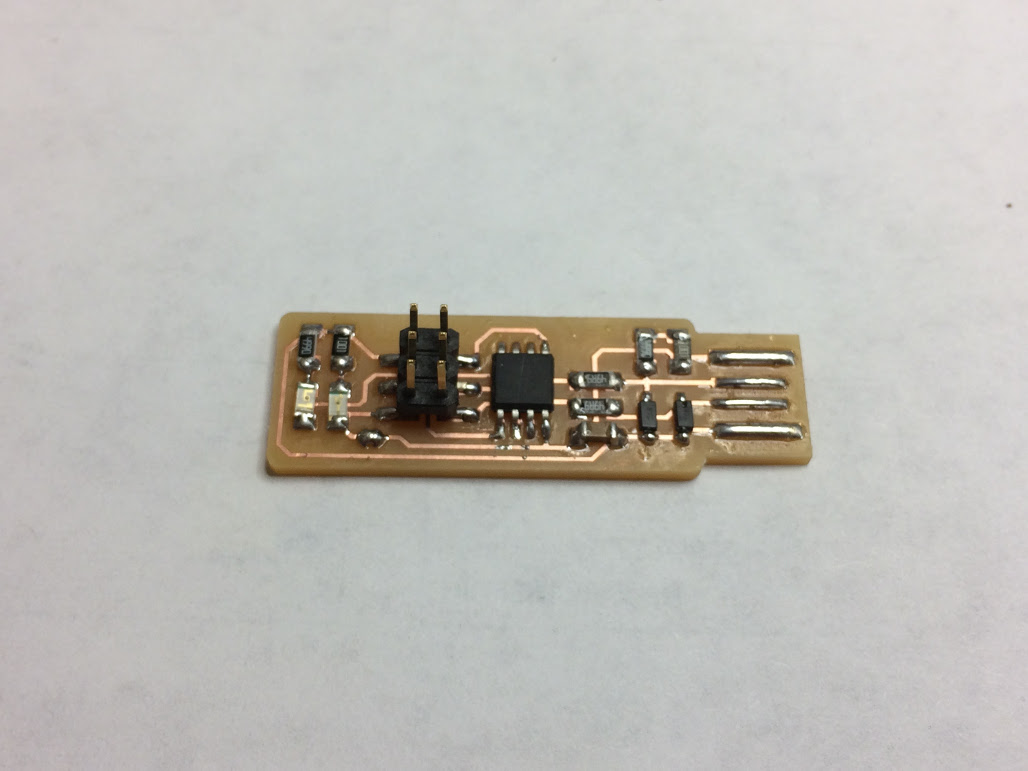
Create a circuit board with a milling machine and a soldering iron.
To build the programmer we use:
- Roland Mill SRM-20 (It is possible to use the Vynil Cutter to create the Circuit Board).
- Soldering Iron.
- Tutorial: Building the FabTinyISP
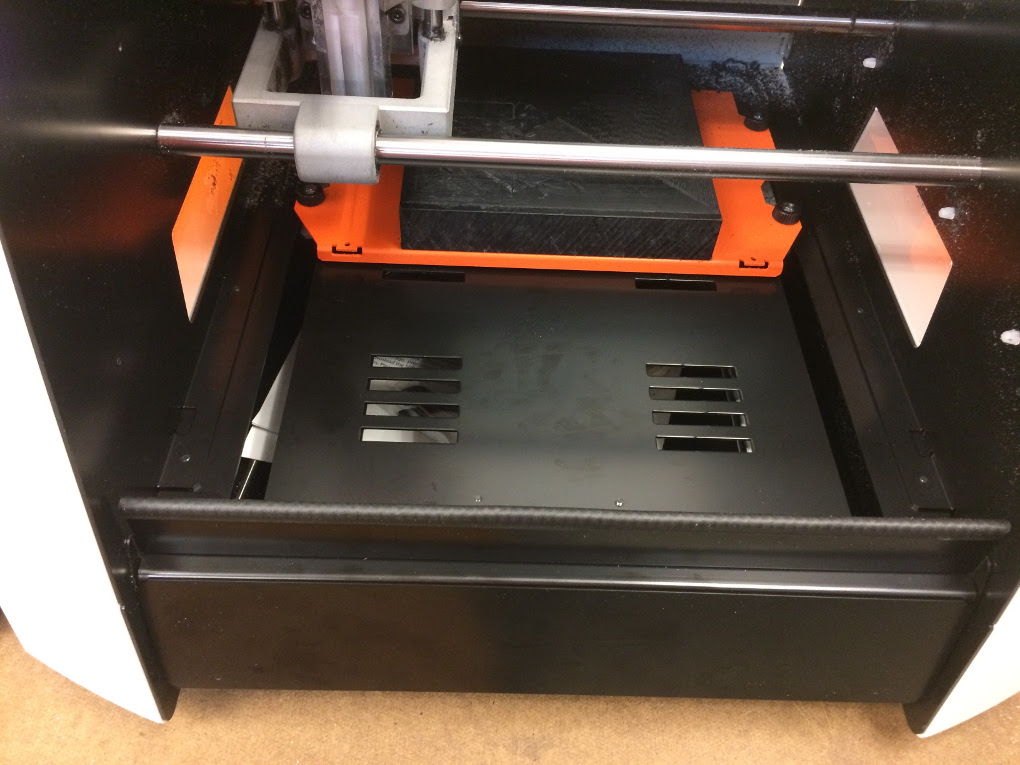
Creating the Circuit Board with a Rolland Mill SRM-20
Thanks to the mods the process of milling a circuit board is very easy. The tricky part is to follow the process carefully.
- Clean the machine and the sacrificial board. A nicely evenly scarificial boar is a requirement for the milling process to work correctly.
- Have your Circuit board in a PNG file. Black is the part that is going to be milled and white is the part that you want to conserved.
- Load the Mod (depending on your milling machine) and open the image.
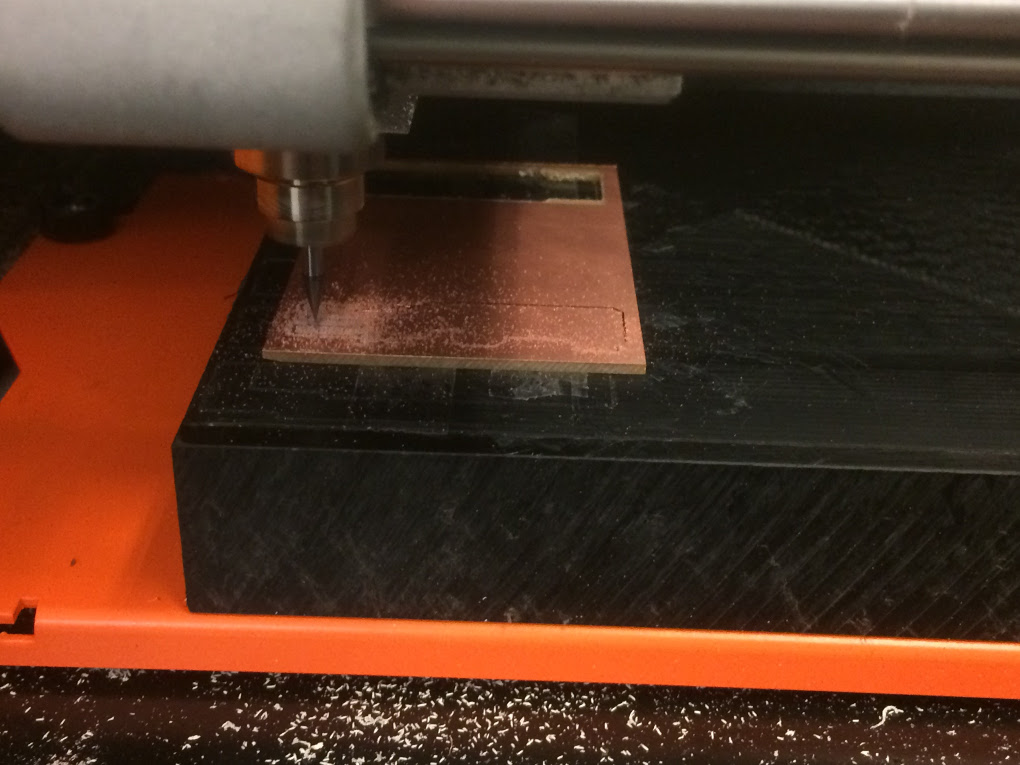
- Attach the 1/64 milling cutter. Take into account that this is not the final position of your cutter, you must put it a little bit upper so you can move your cutter to the origin position.
- Move the cutter to the origin position. This can be made with the coumputer. When you have put your cutter in the origin, adjust the cutter so it is touching the board.
- Decide the number of offsets (depending on how clean you want your circuit board). Press Calculate and send to printer.
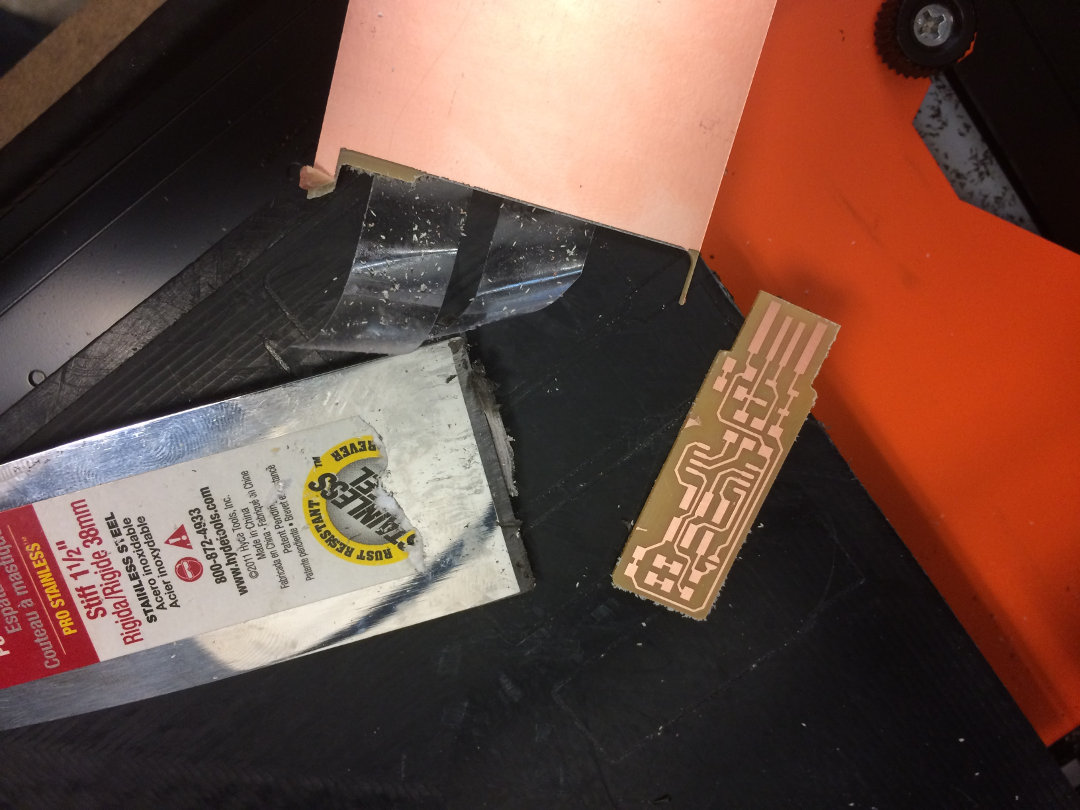
- Once the process is done, change the cutter to the 1/32. Upload the outline image and repeat numbers 3 to 6.
- When you are done clean the machine again and remove any tape left in the sacrificial board
Note: Look carefully that if the milling cutter is broken. If the cutter is broken your milling process would not produce the desire effects.
Note: Some machines uses two screws to hold up the cutter, some only use one. Be aware of this so you do not damage the machine.
Note: Be careful when you lower the cutter. The movement must be gentle, otherwise the cutter tip can break.
Soldering the microcomponents
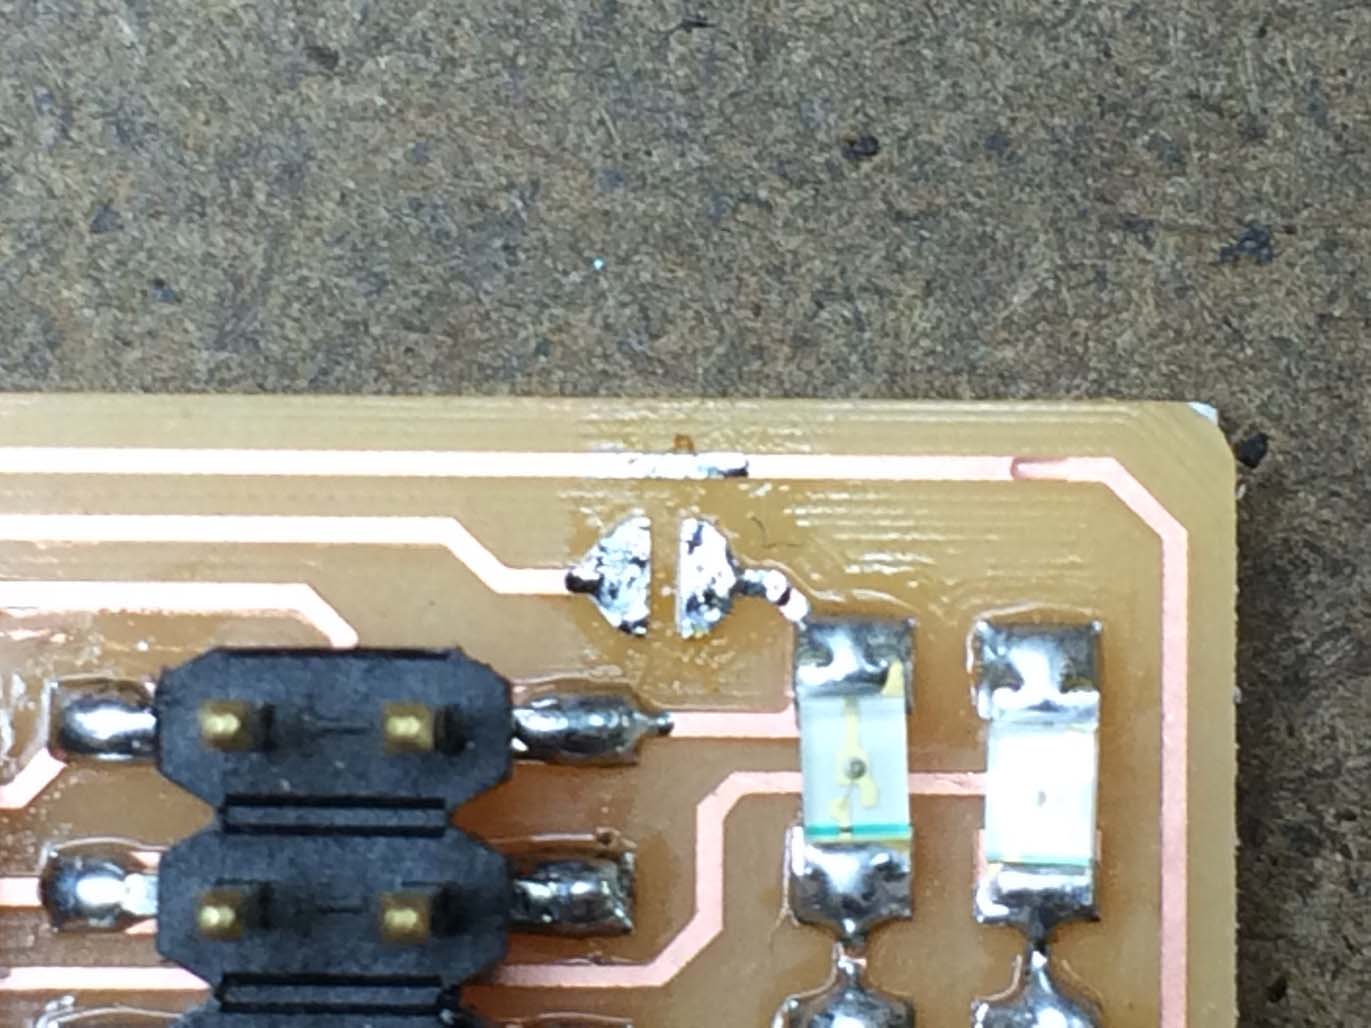
Soldering is a difficult task, this was my first time soldering. My main learning takeaways are:
The tip must be in good conditions. A dirty tip can make your work a lot more difficult
The tip of soldering irons can become soiled with residue from previous soldering so occassionally will need clearing of debris with a file and/or ‘wet and dry’ paper.
Prepare the parts
Prepare all the components that you are going to solder and have the drawing of the location of the components. I used tape to attached the Circuit Board to piece of paper and tape the pieces that i will need in the same place.
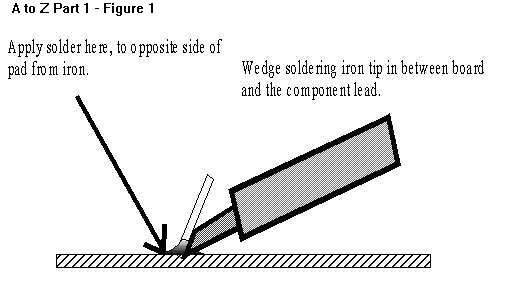
Touch both the component and the Circuit Board
You must heat both the component and the circuit board before adding the solder.