Introduction
3D printing is a lot of fun!
In this week, we learned 3D printing and 3D scanning. For the 3D printer, it can be very cheap, like few hundreds of dollars. However, if the requirement for precision and part strength is increased, the cost for 3D printing can increase dramatically. Nevertheless, 3D printer can be very powerful in many industries.
There are some points to note when designing model for 3D printer:- Remember that the 3D printer will construct the part layer by layer, therefore, sometimes supportings are needed for hanging parts or components with large angles (which most of time will be set up by the software).
- Make sure that you have correct size for your model, otherwise the time needed for printing will be way too long.
- There are several 3D printers in the Science center. Most of them are common 3D printers, but there is a special 3D printer, Form 2. This printer uses laser to solidify the gels. One advantage of Form 2 is that it can achieve very high resolution, and require less supportings.
- When using the 3D printer, it can be tricky sometimes.
- 3D print a part that cannot be fabricated subtractively.
- 3D scan an object, and print it out optionally.
3D Printing
Because I'm very interested in 3D printing, I have spent most of my time in this target.
I have two designs for the 3D printing. The first one was just a testing for my 3D model skills. The second one was much more complicated and interesting.
Design of the 3D Models
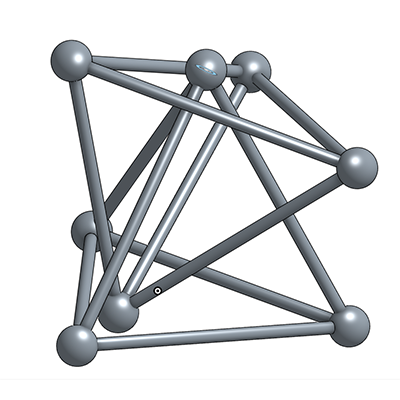
1st design:
This is basically two tetrahedrons locked together.
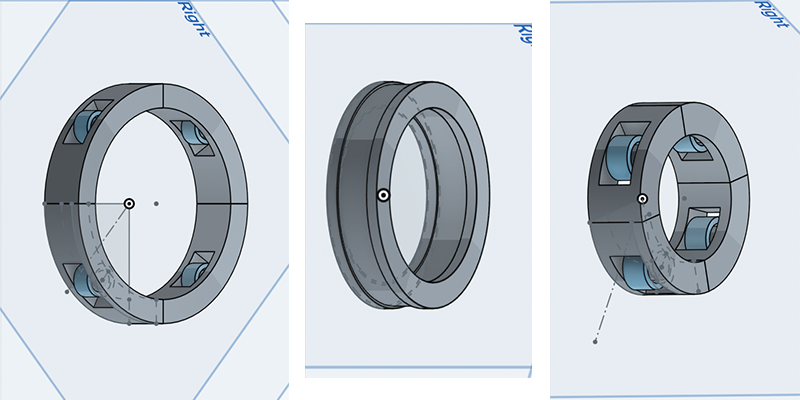
2nd design:
This is a bearing fabricated by 3D printer. From left to right, there are outer rings, middle connectors, and inner rings, respectively.
Printed Models
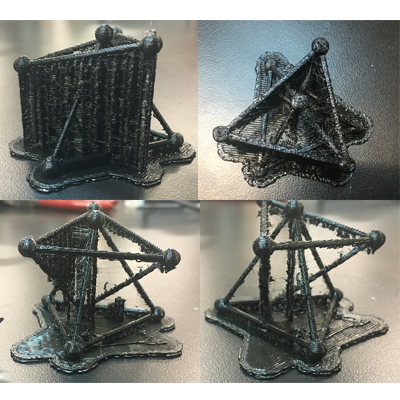
This is the printed 1st design.
As we can see, there are a lot of supporting structures, even including some walls. In addition, as shown in the plot, cleaning up supporting structures is just very nasty, partially because there are too many of them, and partially because the rods in my design are just too thin.
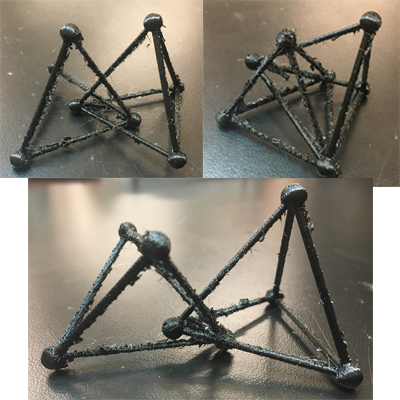
This is the model 1 after all supporting structures are cleaned up.
I would say it's not bad. Although there are too many nasty things left by supporting structures, the overall shape is good. We can also see that because the radius of small ball is too small, it's no longer a round shape.
Therefore, I have learned from my very first printing that
- If your structure is very fine, the supportrings can really mess it up.
- If your design contains a lot of hanging structures and hallow structures, you should consider more advanced printers like Form 2 to do your job.
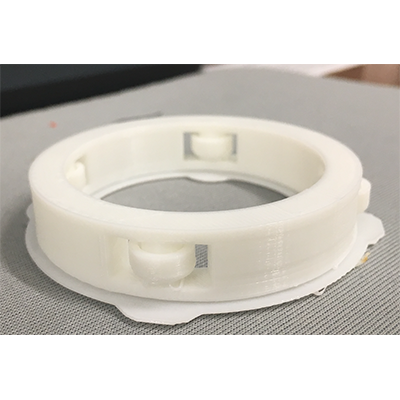
This is the first part I printed for my second design. Basically, it will work as the outer ring of the bearing.
It takes about one and a half hour to finish this part, and it finishes pretty well. After breaking the supporting connections for the small wheels and rods, all four wheels can be rotated freely.
However, I just realized I had made a mistake in the design of this part after I finished all the part. Therefore, I had no choice but to reprint this part.
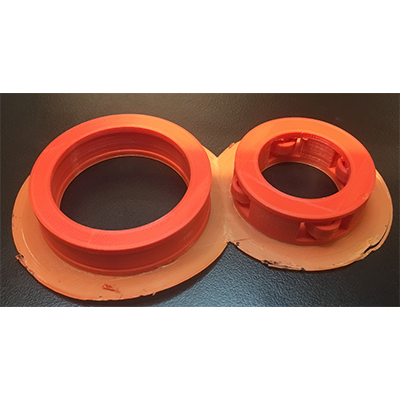
The inner ring and middle layer are printed with another printer, as well as PLA with a different color.
There was no problem in finishing these two parts, but I had noticed that the quality of these two parts were not as good as the previous one (with white color), and I think it's maybe related to the nozzle size.
After cleaning up all the supporting structures, it's very easy to assemble these two parts together.
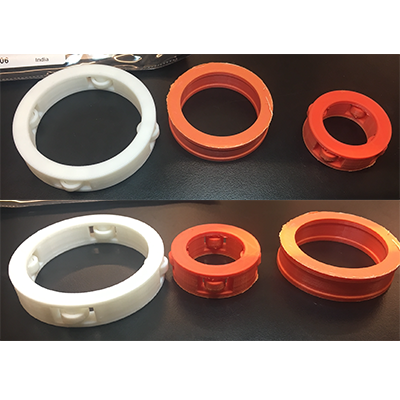
A picture shows all three parts together.
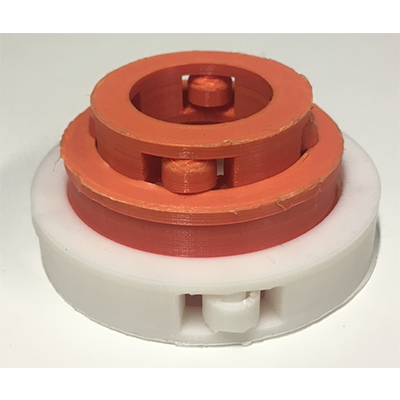
Scheme shows how the three parts are connected together.
3D Scanning
This is a 3D scanning of my watch.
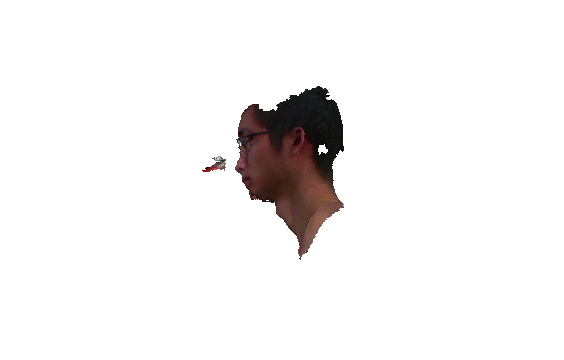
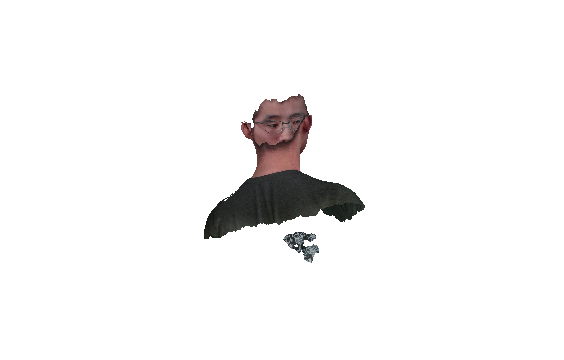
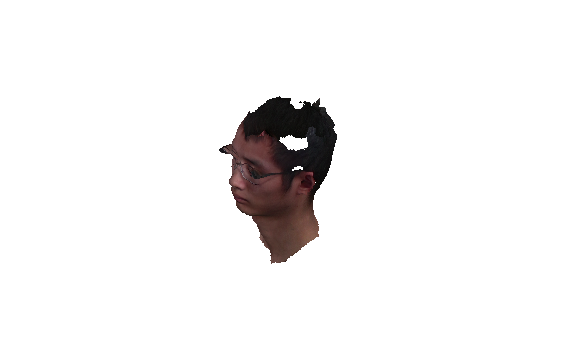
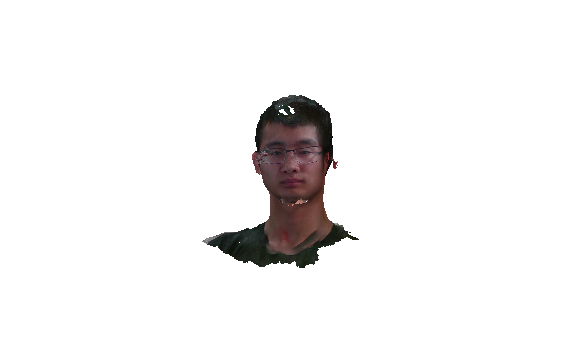
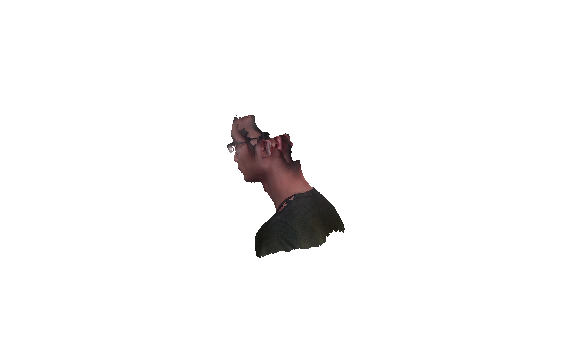
This is the best I can do with 3D scanning my head...