Introduction
In the modling and casting section, we will practice making modling by machining wax into designed shape, and making silica molds out of that. Then we will cast the model out of either hydro-stone or metal alloy.
Before actualy starting this week's assignment, I have attended the talk given by the representatives in a local vendor for molding and casting staffs on Friday. The most impressive part is the transparent casting of an insect. I'm pretty sure I will try making one of this!
In this week, I need to complete at least folowing practices:
- Cut a wax with 3D machining
- Make a silica mold out of the wax.
- Make a cast out of hydrostone/metal using the mold made with silica.
Silica Chinese Knot
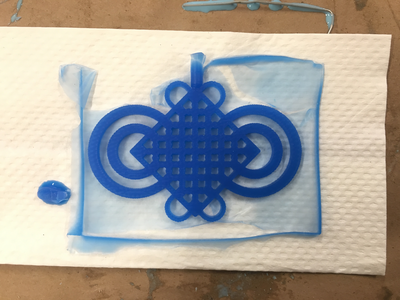
In this practice, I decided to make a silica Chinese knot. The idea is that I will machine a mold out of wax directly, and then I will casting a silica Chinese knot using the wax mold.
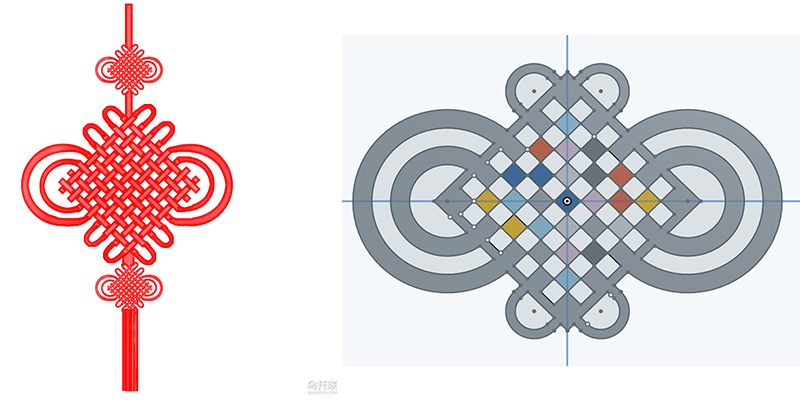
On the left shown a real Chinese knot made by sewing, and on the right is the design of my silica Chinese knot.
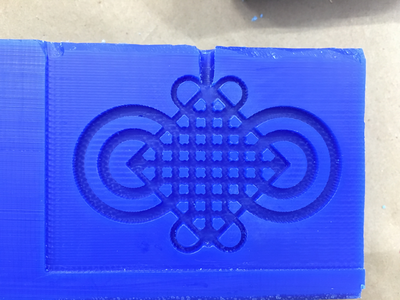
This is my first try to make the wax mold:

As shown in the picture, the finish was just a mess, which probably is caused by melting of wax. Finally, I got the wax mold done in two steps: rough cutting with 1/8" flat end mill and finish cutting with 1/16" end mill. After that, I have used the heat gun to smooth the mold a little bit.
The first cast I made is the Smooth-on 25.

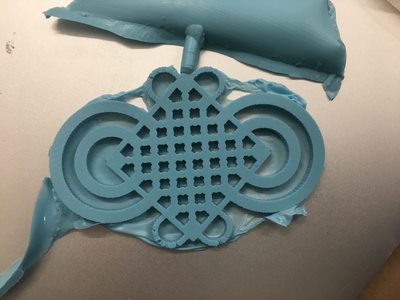
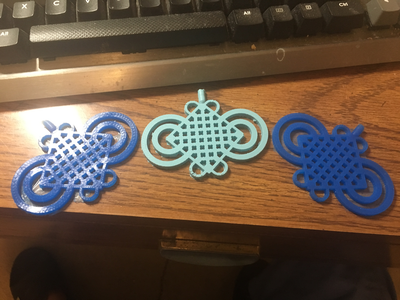
This is pretty good. However, the smooth-on 25 is too soft, which makes the Chiness knot too flexible. Therefore, I decided to make a new one out of smooth-on star 30. The 30 is twice stronger and harder compared to the 25 (the only drawback is that the 30 takes 6 hours to cure), and most importantly, it has a nice and clear blue color!
This is a picture of all the Chinese knots I have made:
Spinning top
The Chinese knot is pretty, however, I feel like that I haven't had any chance to actually cast an object. Therefore, I decided to make a spinning top with metal casting.
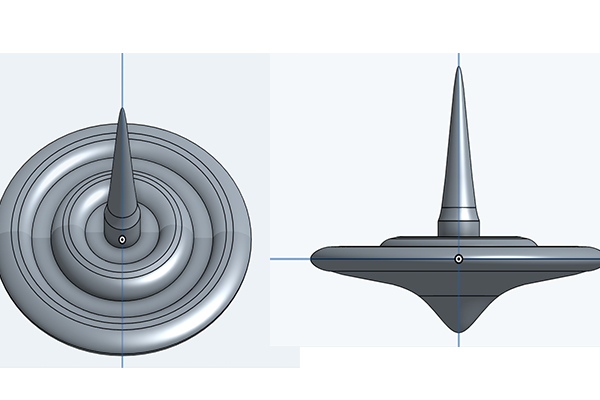
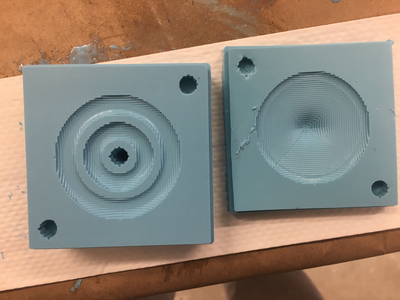
This is the design of the spinning top. The upper part is designed to be a standing wave on an atomically flat surface. The mold for upper part and lower part are machined separately.
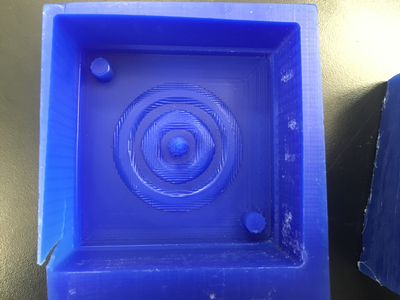
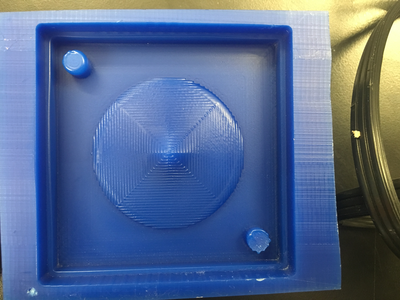
This is what the wax mold looks like:
It takes me four tries to get a good spinning top. The problems I have met are listed here:
- I forget to leave extra holes for air to come out, and thus the finish contains tons of bubbles --> drilling two extra holes next to the main hole
- I forget to add baby powder
- The two parts are not sealed properly, and thus liquid metal is laeking from side
This is the final silica mold I used to cast spinning tops (actually, because I didn't mix the 25 completely, the finish is very soft. Therefore, I had to heat the silica mold up in the oven, and after that, the silica molds were cured perfectly!):
Here are the first and the last spinning tops I got:
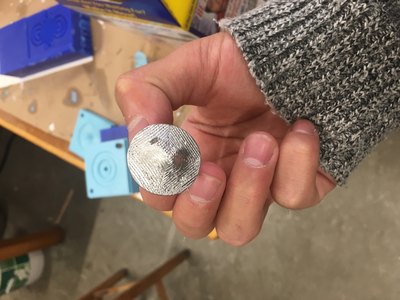
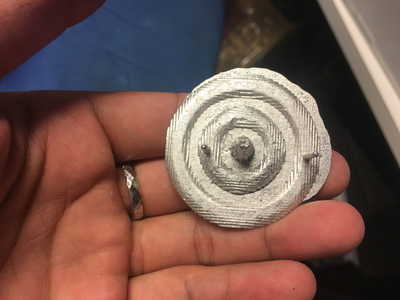
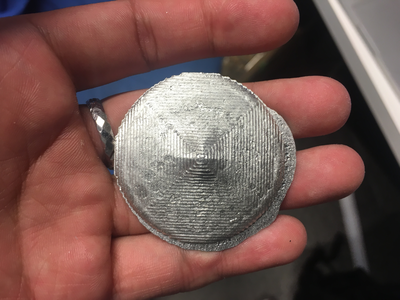
Because this time the mold is machined in a poor precision, I need to polish the spinning top manually to make it really look prety.