Web Design, Version Control, and Final Project Brainstorm
Laser & Vinyl Cutting
3D Scanning and Printing
Make Something Big
Molding and Casting
Electronics Production
Electronics Design
Embedded Programming
Input Devices
Output Devices
Networking & Communications
Interface and Application Programming
Final Project
Group Assignment
The group assignment was to characterize the lasercutter. This was done in collaboration with with Jordan, Maya, Gil, and Emma. The process and results can be viewed here.Assignment: Cut something on the vinylcutter. Design, lasercut, and document a parametric construction kit, accounting for the laser cutter kerf, which can be assembled in multiple ways, and for extra credit, include elements that aren't flat.
Design
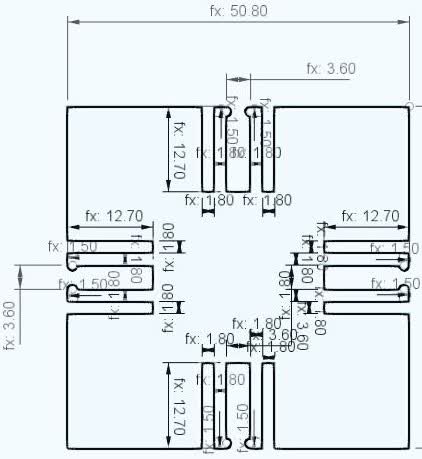
I wanted to make a few different joint types. The settings I used were those found from the group assignment: Speed - 30%, Power - 60%, Focus - 1.875" and a slot size of 3.6 mm.
My aim was to make all joints squares that were 2" x 2", with different slot types.
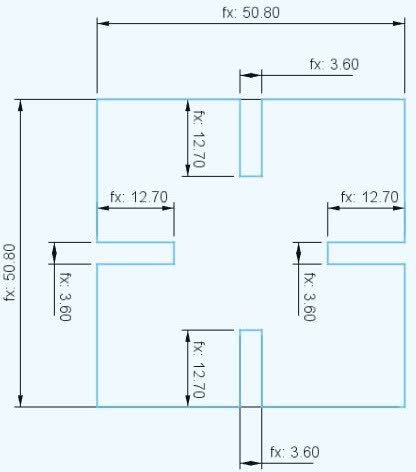
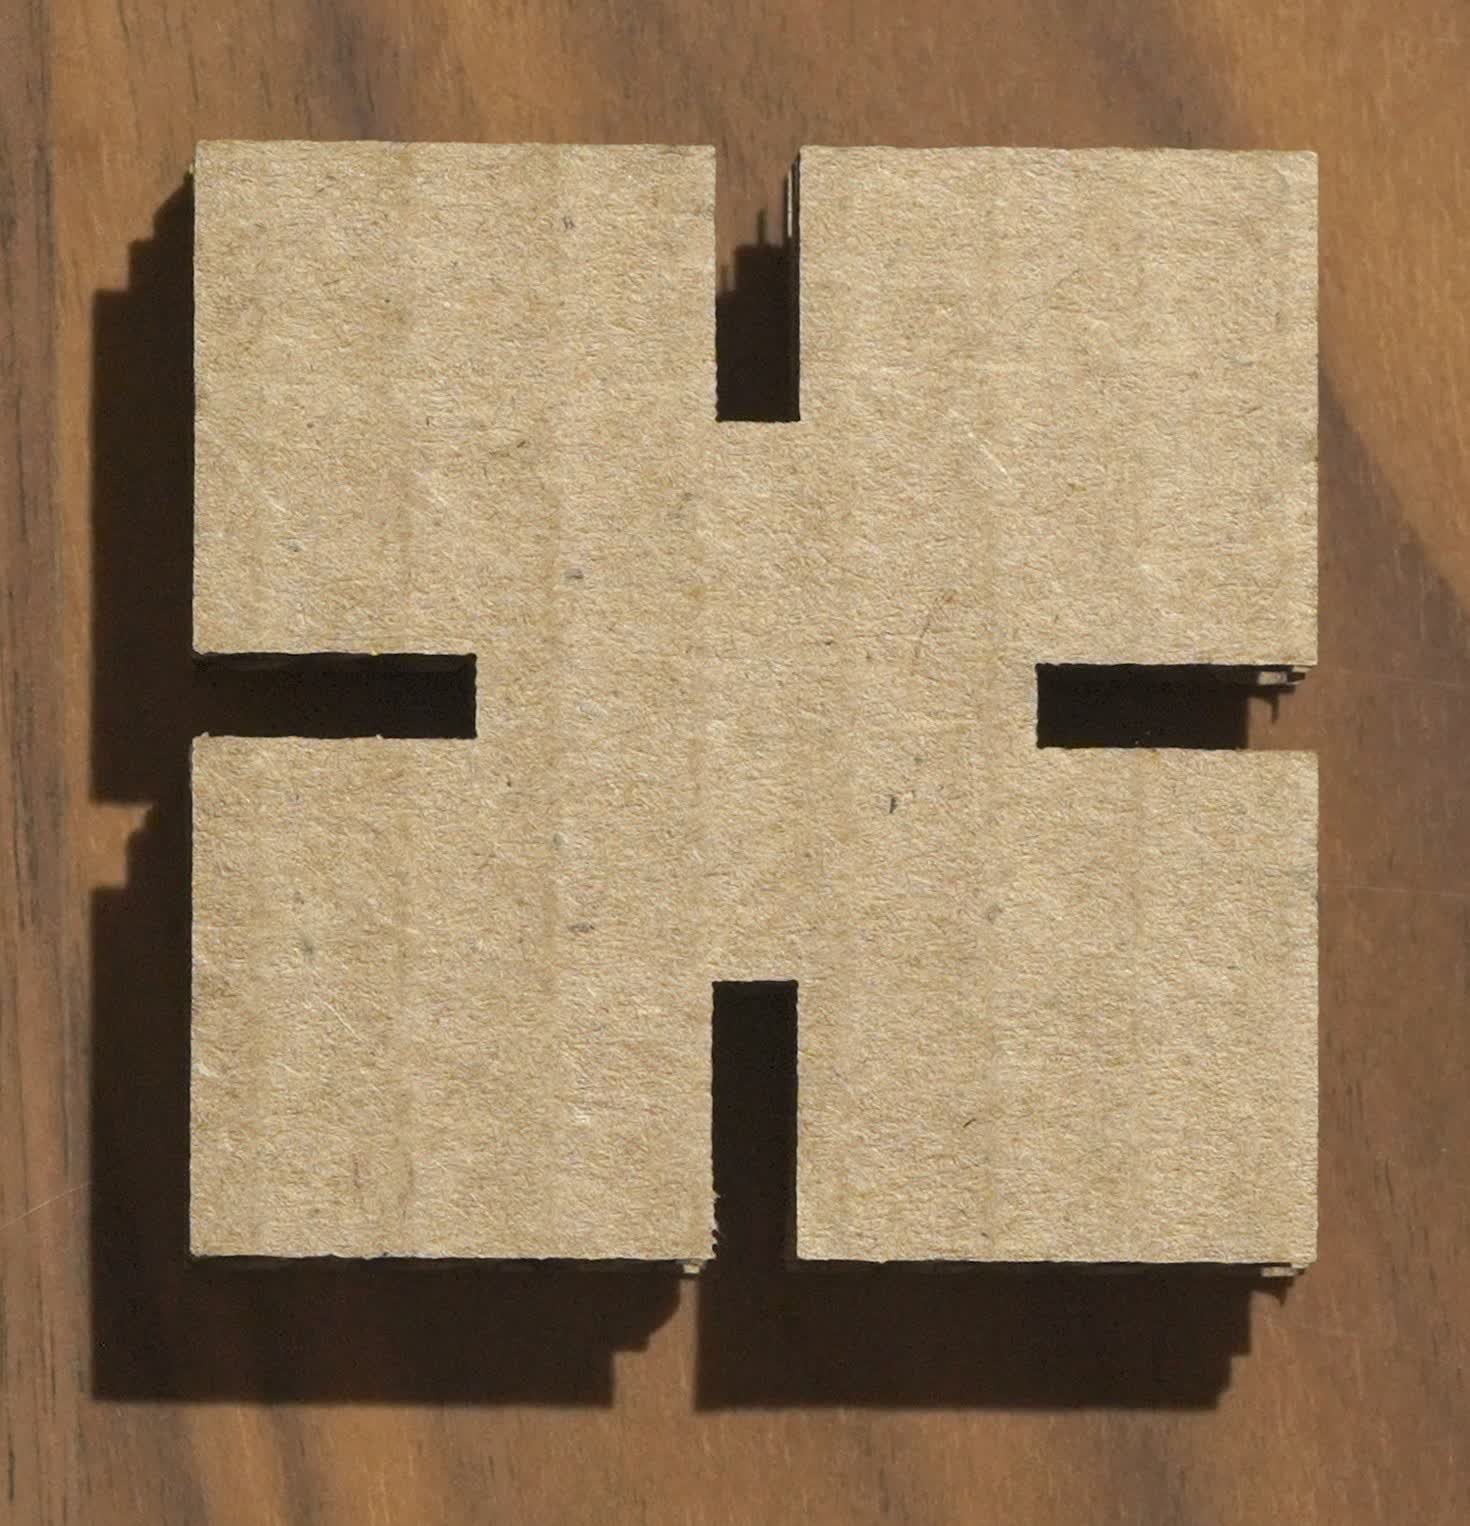
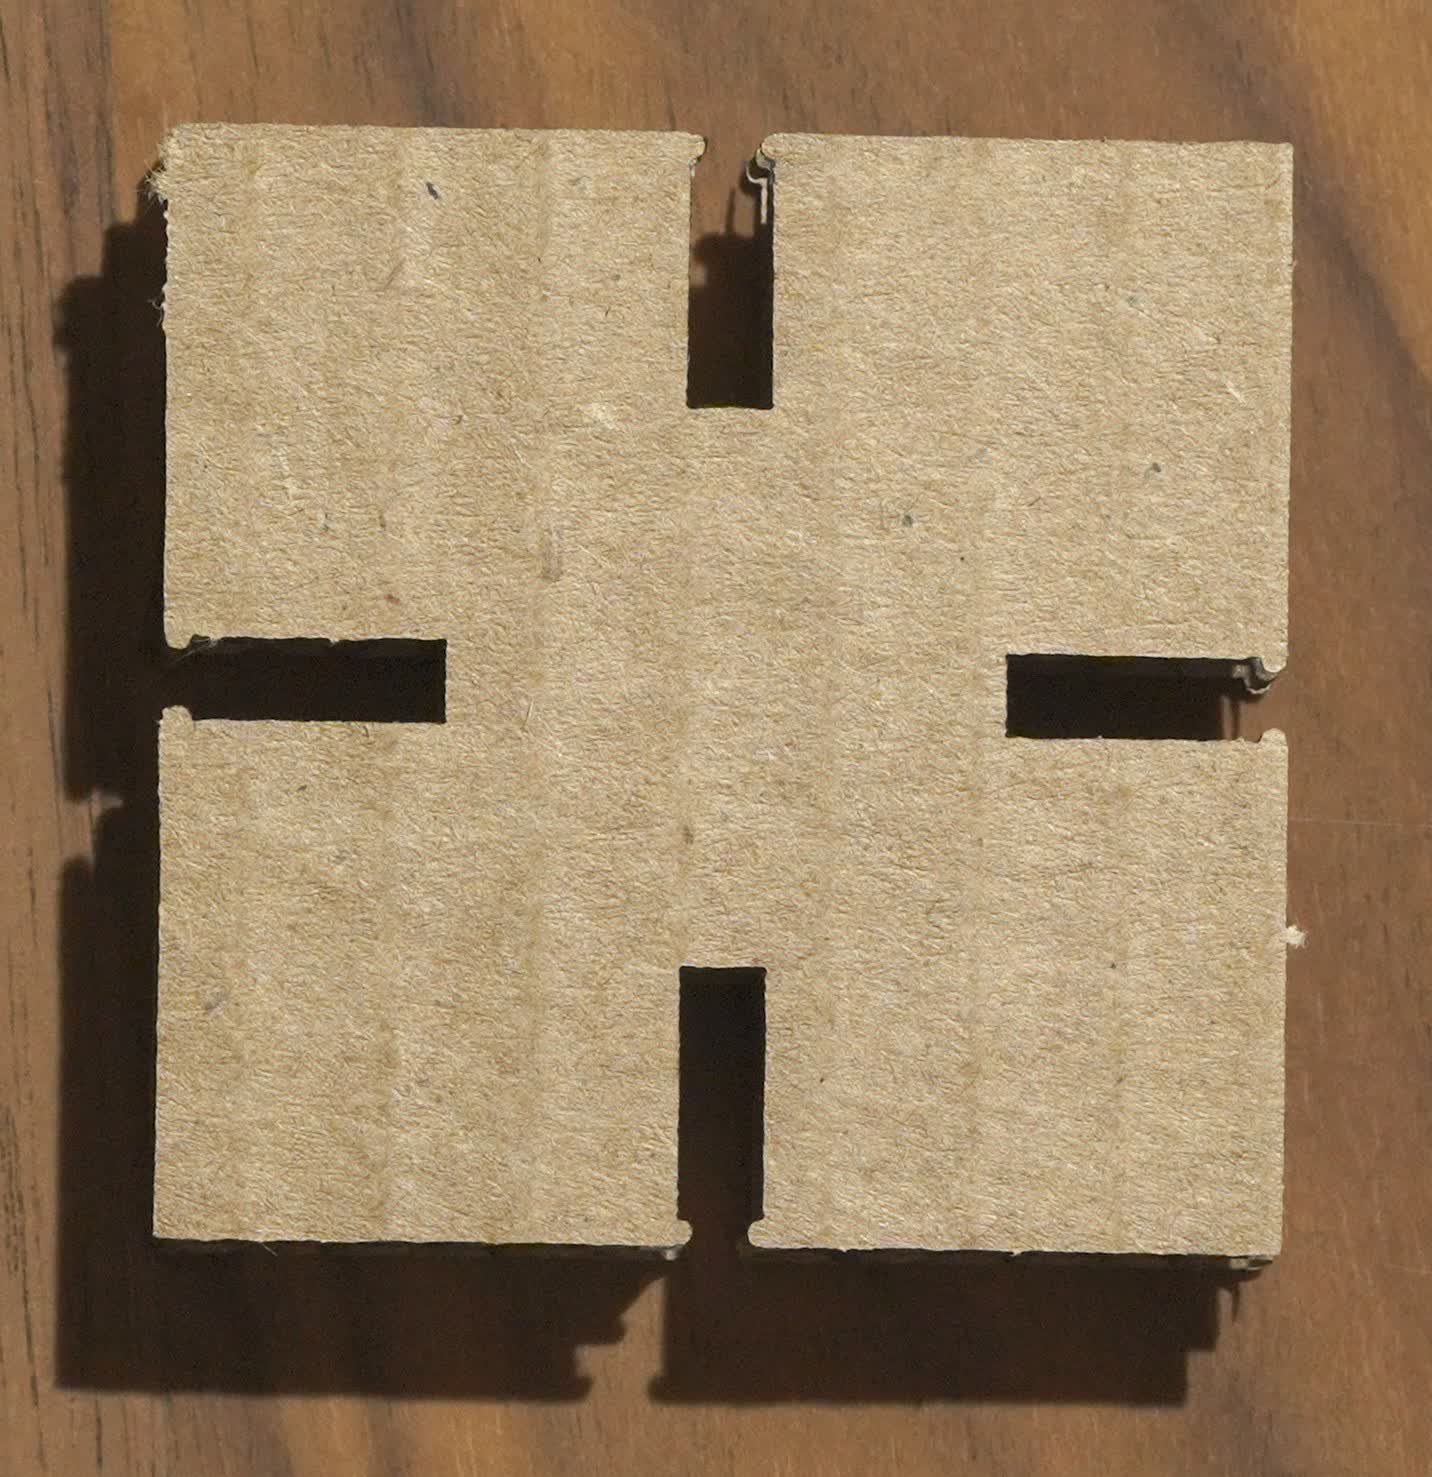
The first was the simple press-fit joint:
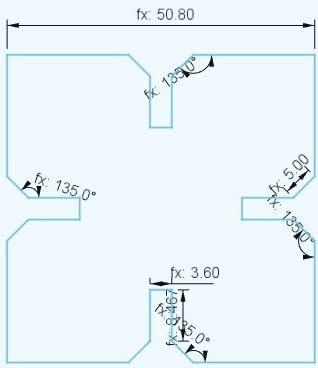
The second was the chamfered press-fit joint:
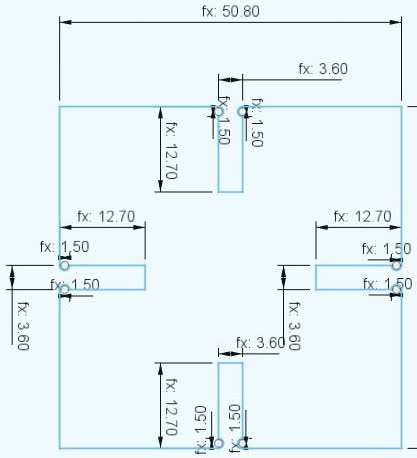
The third was the snap-fit joint:
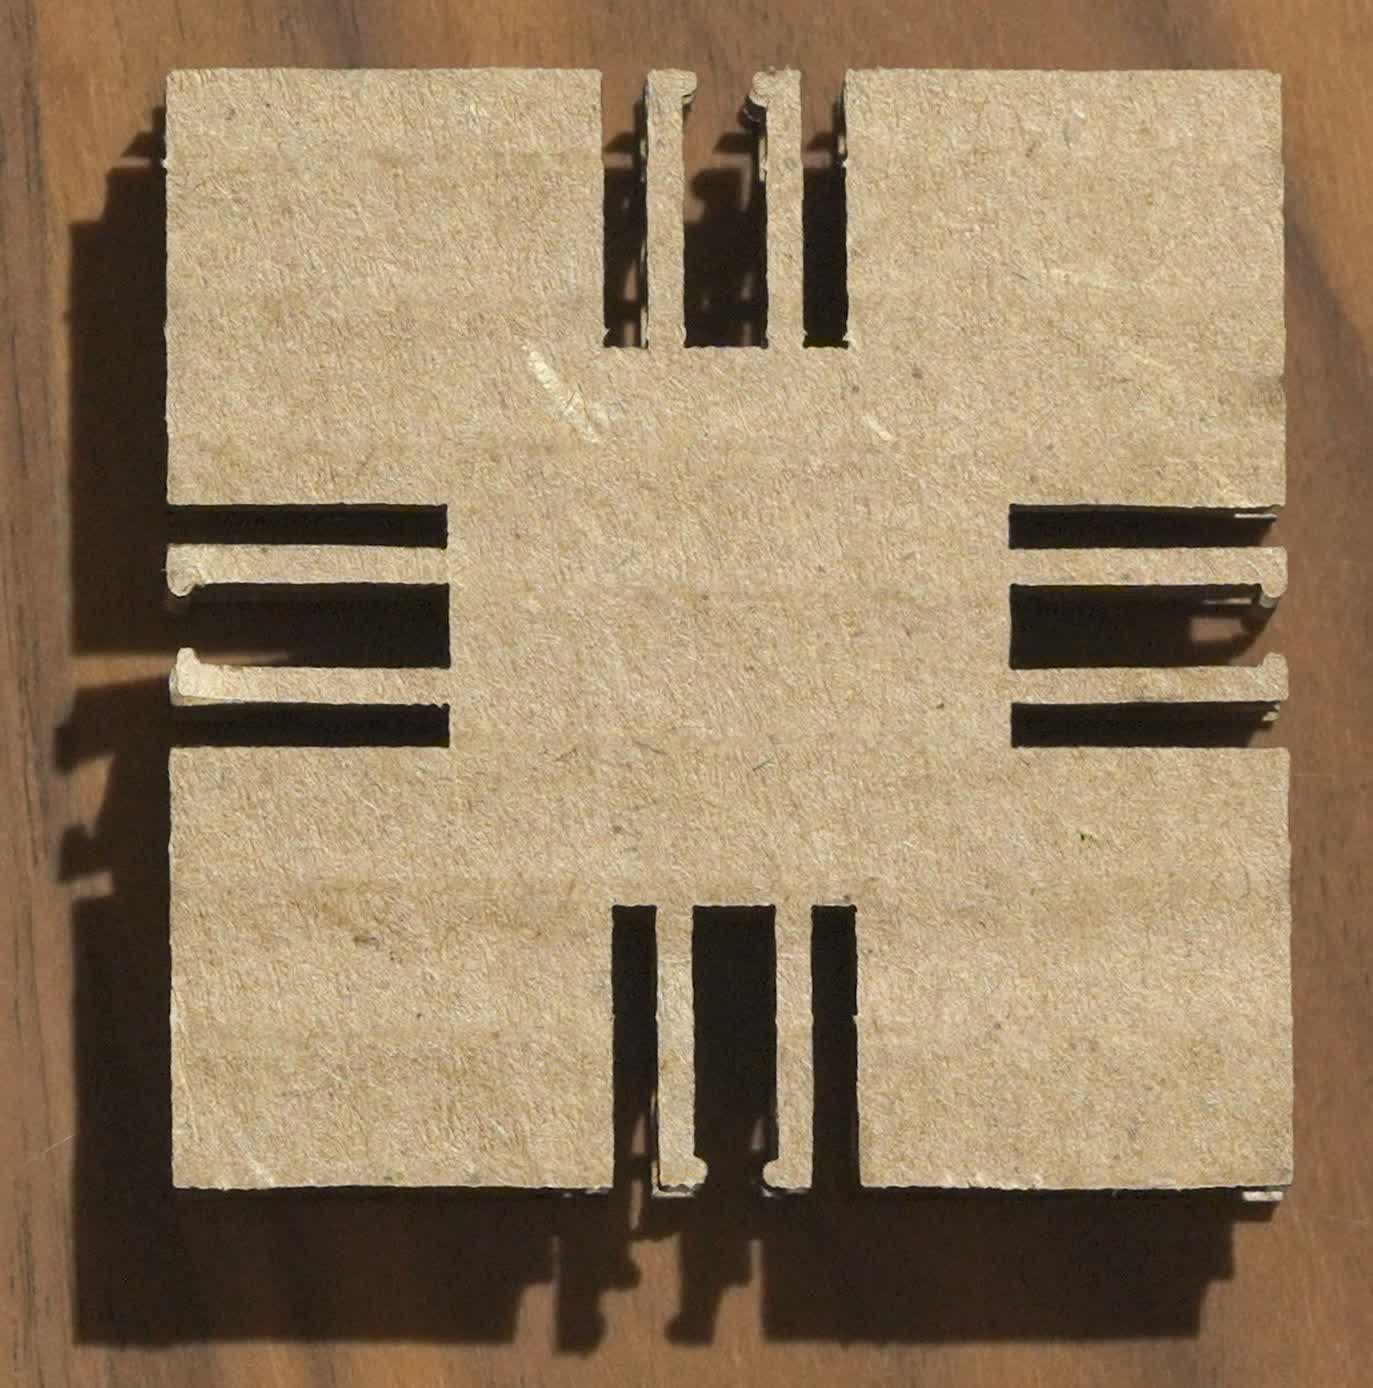
The fourth and final was the flexural snap-fit joint:
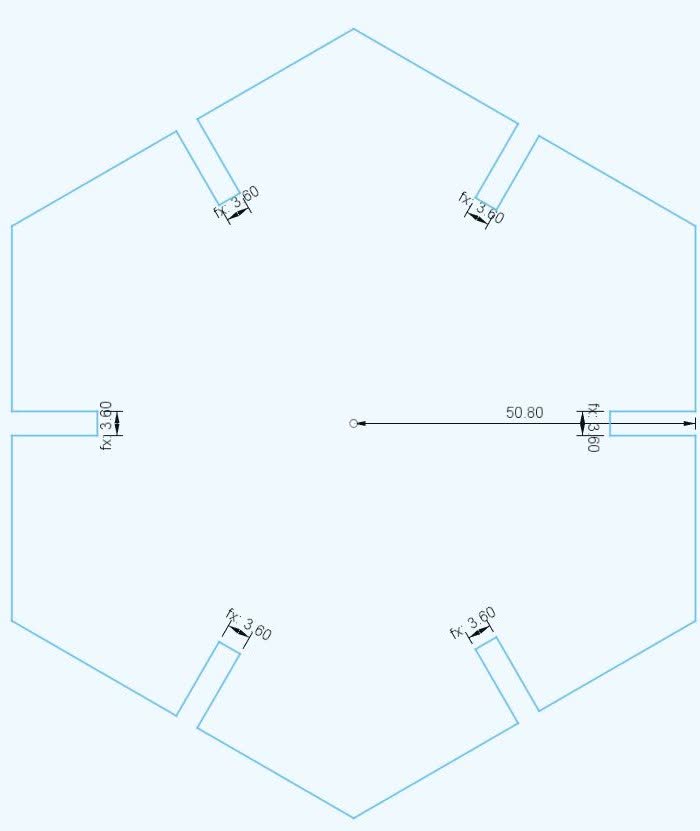
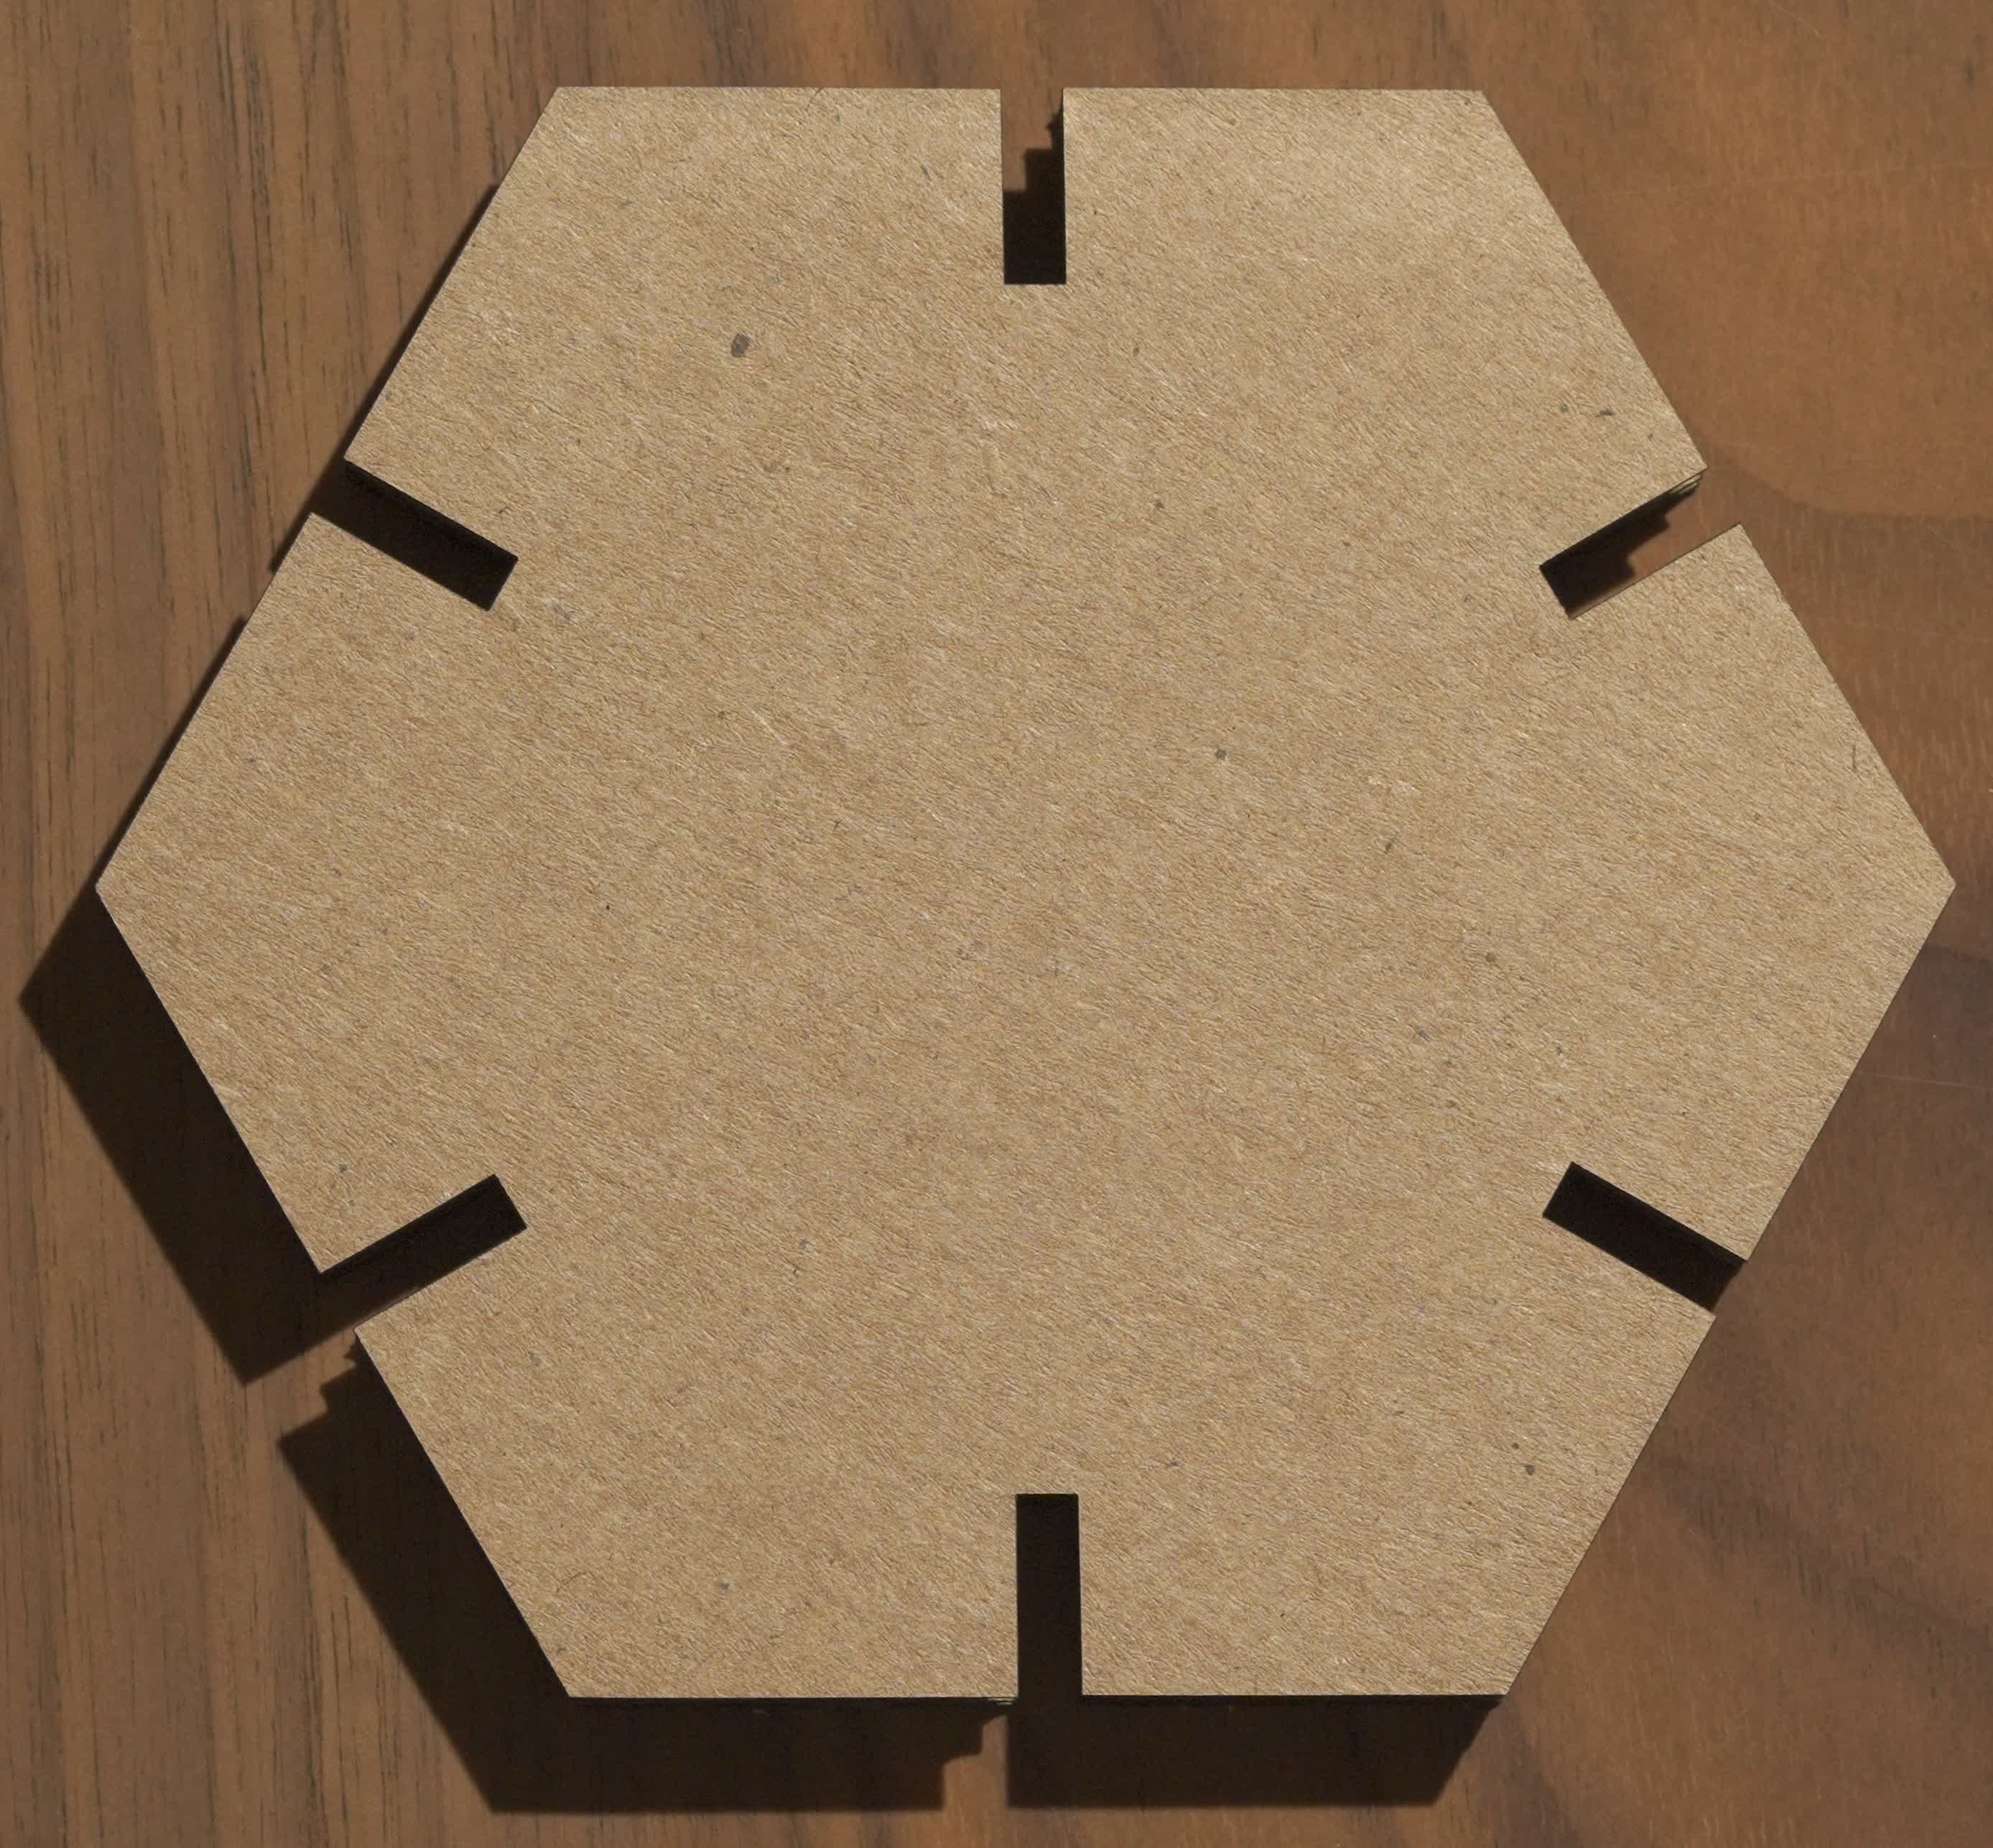
After designing the joints, I wanted to design a couple building units. I went with a 4" high hexagon with a slot perpendicular to each edge:
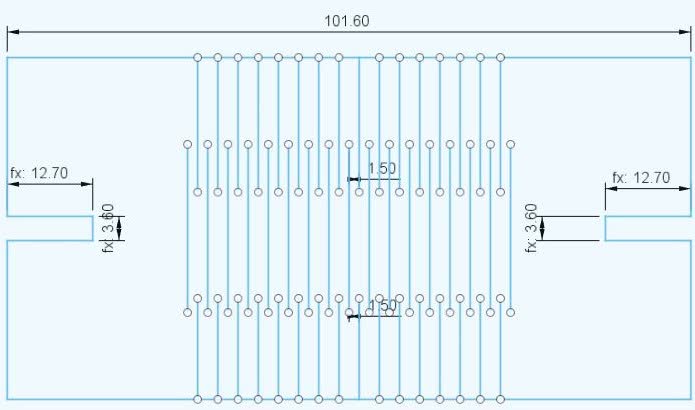
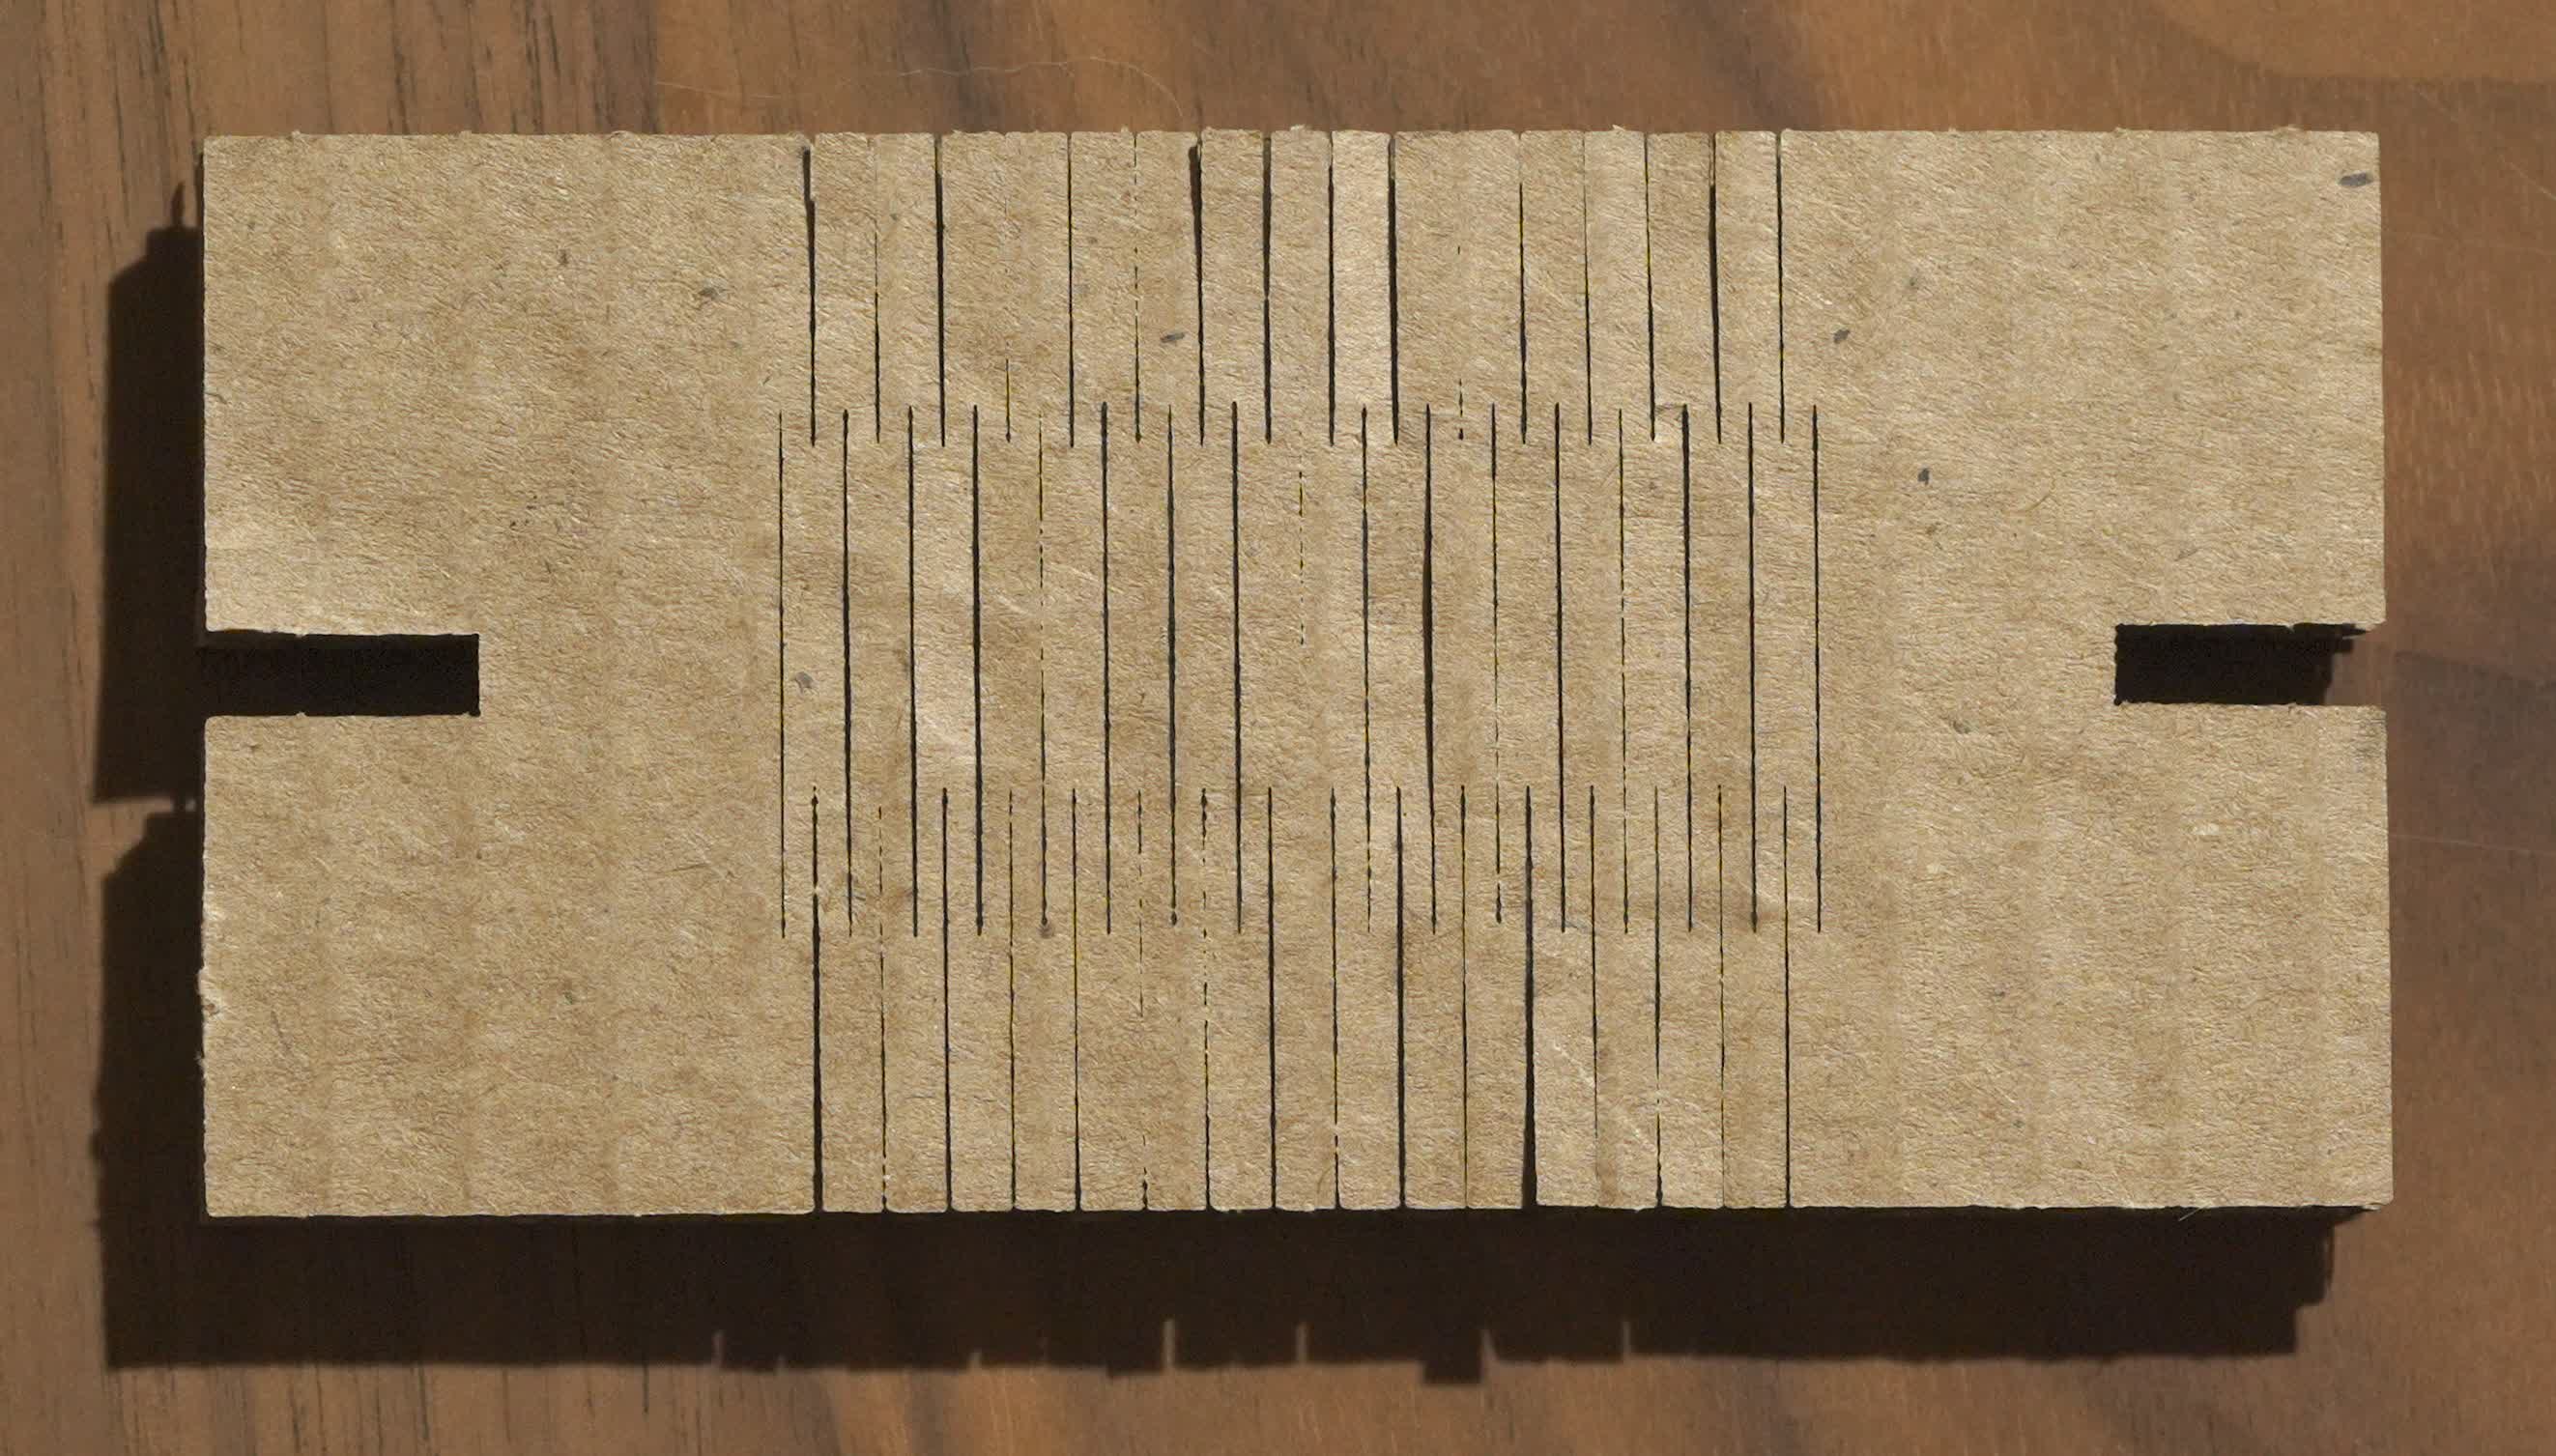
Finally, I wanted to try my luck at making a living hinge for a flexible piece. I went with a rectangle with evenly spaced (1.5mm) cutouts alternating between cutting from the middle and cutting from the edges as shown:
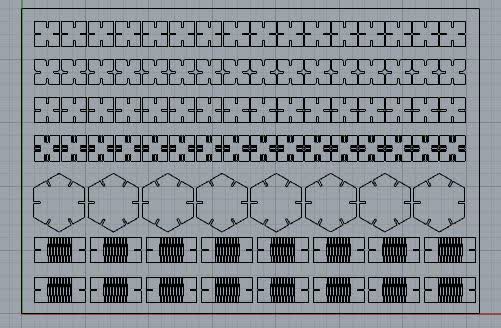
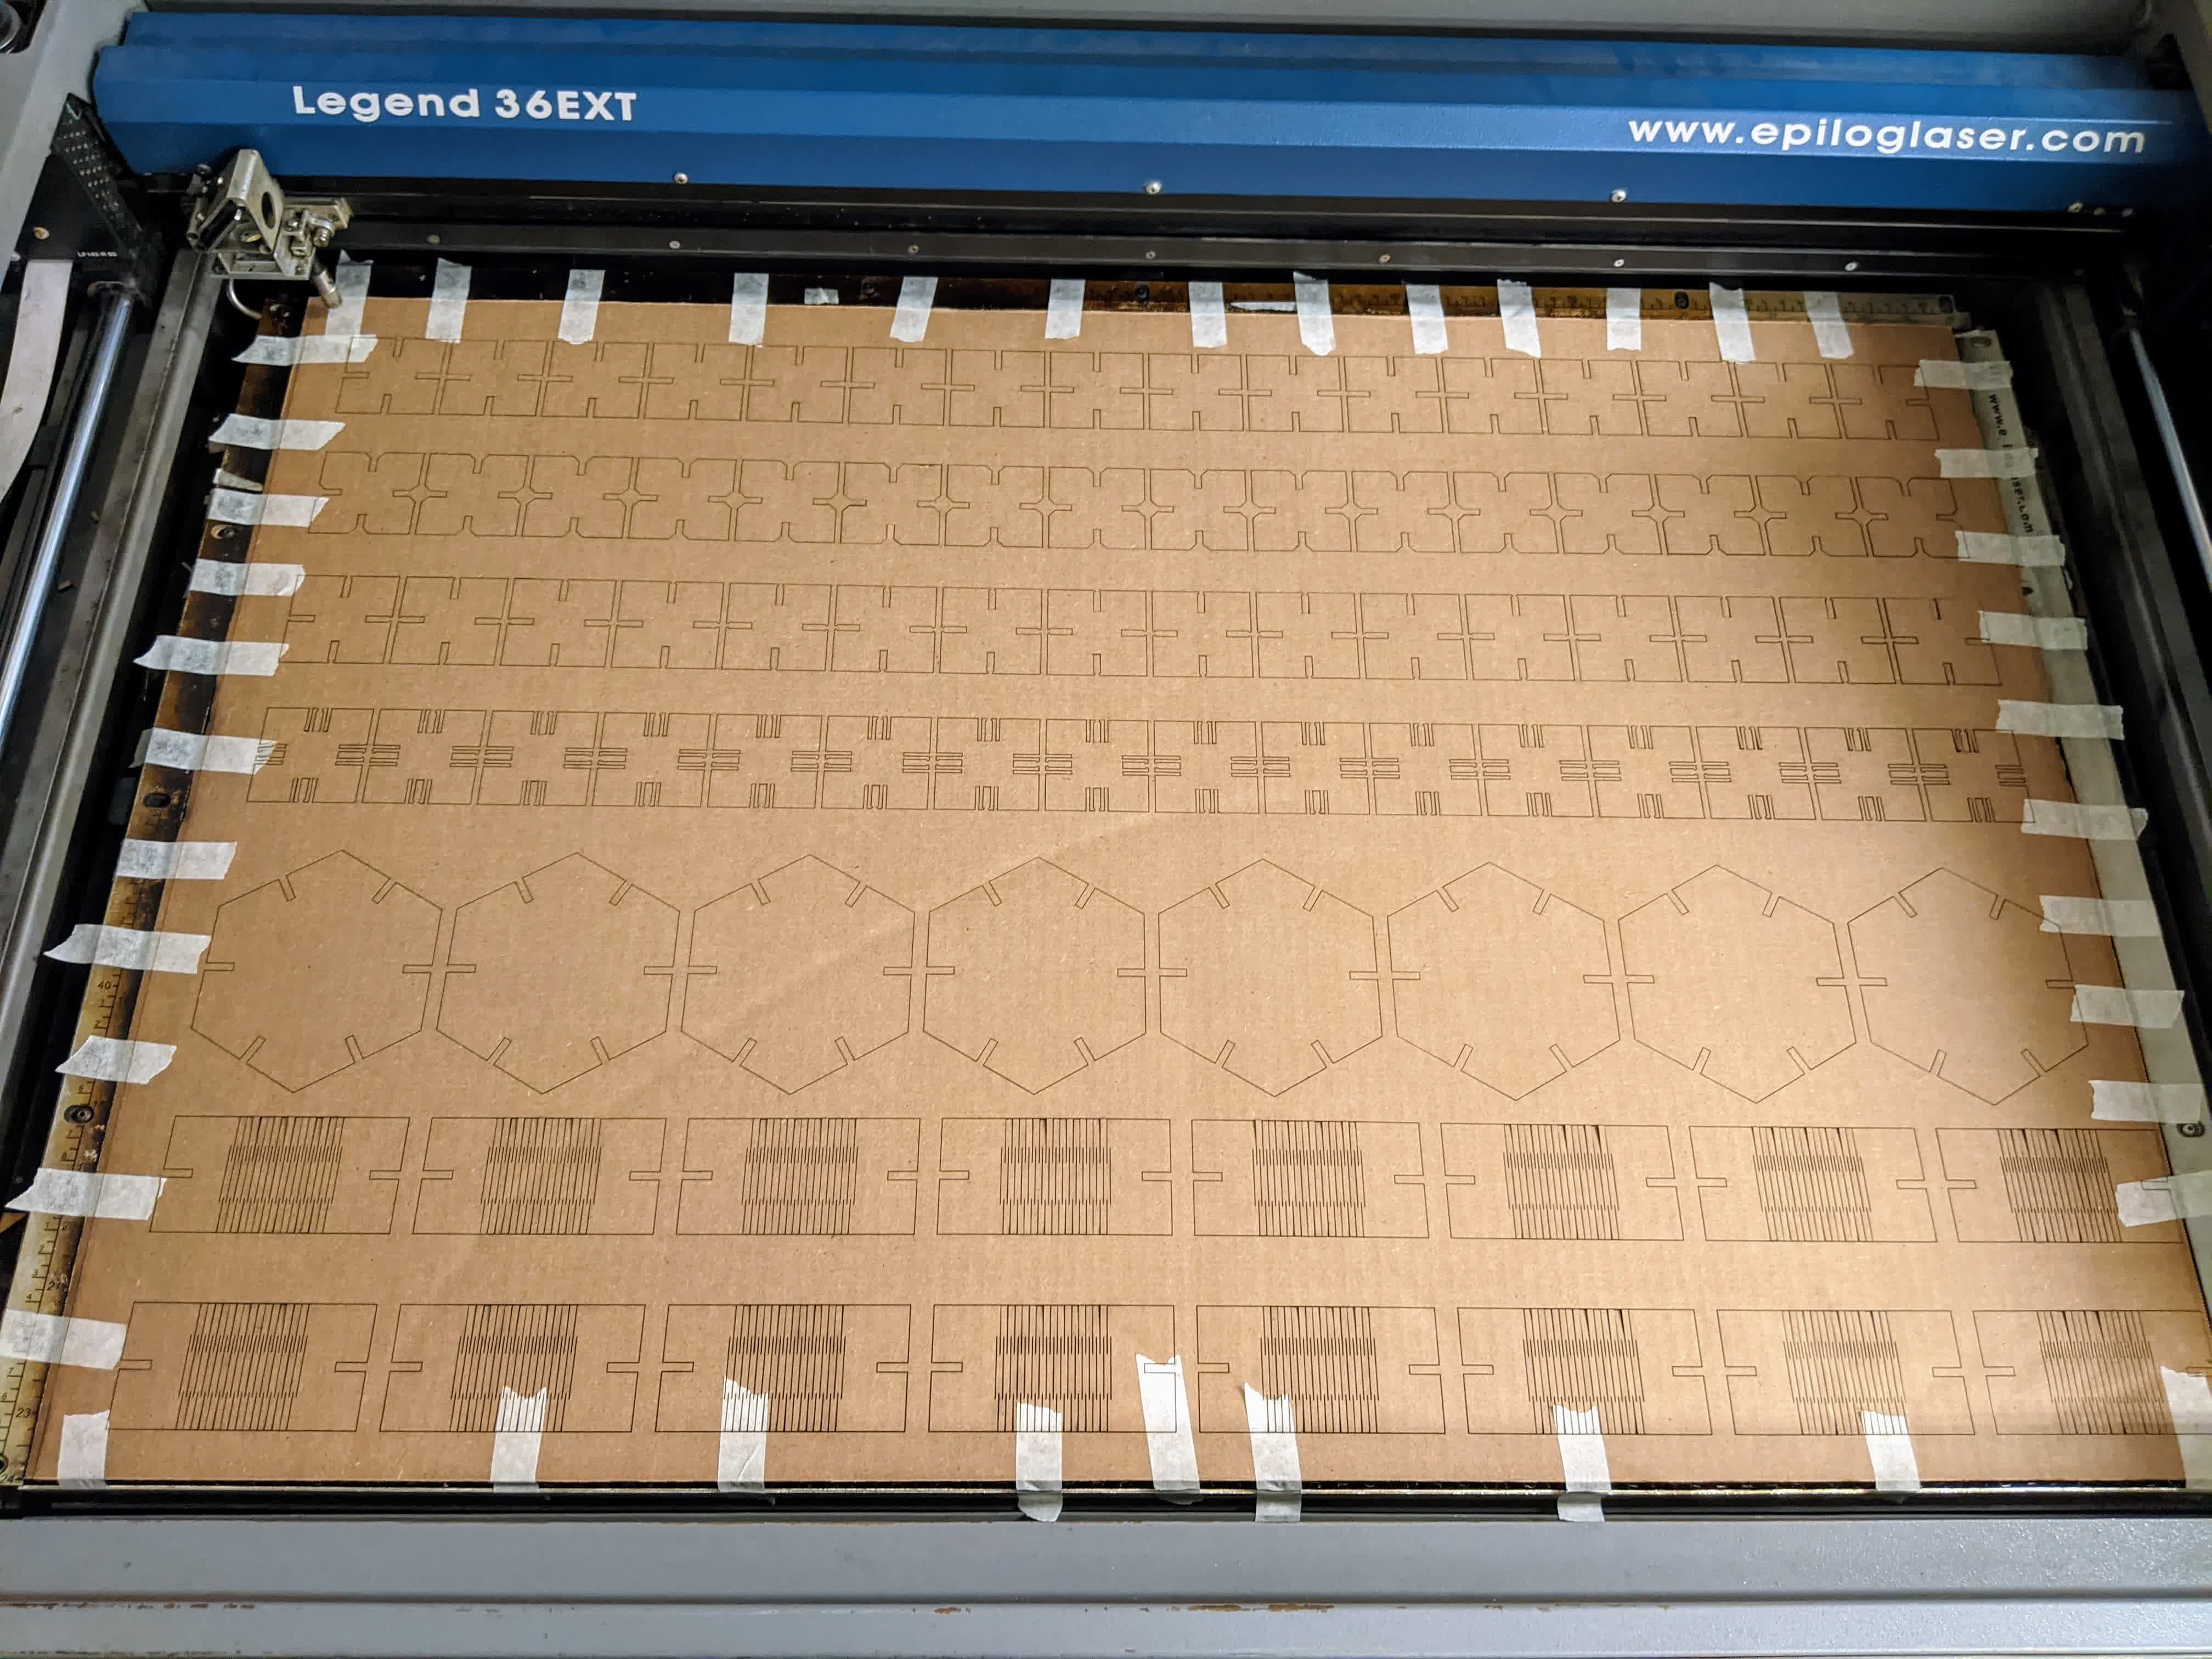
I knew the carbboard I would be cutting is 24" high and 36" wide, so I imported the above designs into Rhino (the software that communicates to the laser cutter), and made a 1" inner border to give room for error. I lined up my joints and made 16 copies. Then my hexagons and made 8, and made 16 of my living hinge rectangles. After setting the print settings mentioned above, we print and send the job to the laser cutter.
Execution
Before we hit go on the laser cutter, there were a few steps that had to be completed. The cardboard I was using was not flat, meaning the focus would change as the laser moved accross the board. Even the vacuum suctioned bed was not enough to flatten it out, so I taped down the edges. As you can see, I needed LOTS of tape!! In addition, I always like to do a test run. With the top of the laser cutter open, hitting go will make the laser cutter go (aka "cutting air"), tracing along the path of the cuts. I do this just to make sure that things are being traced out where they should be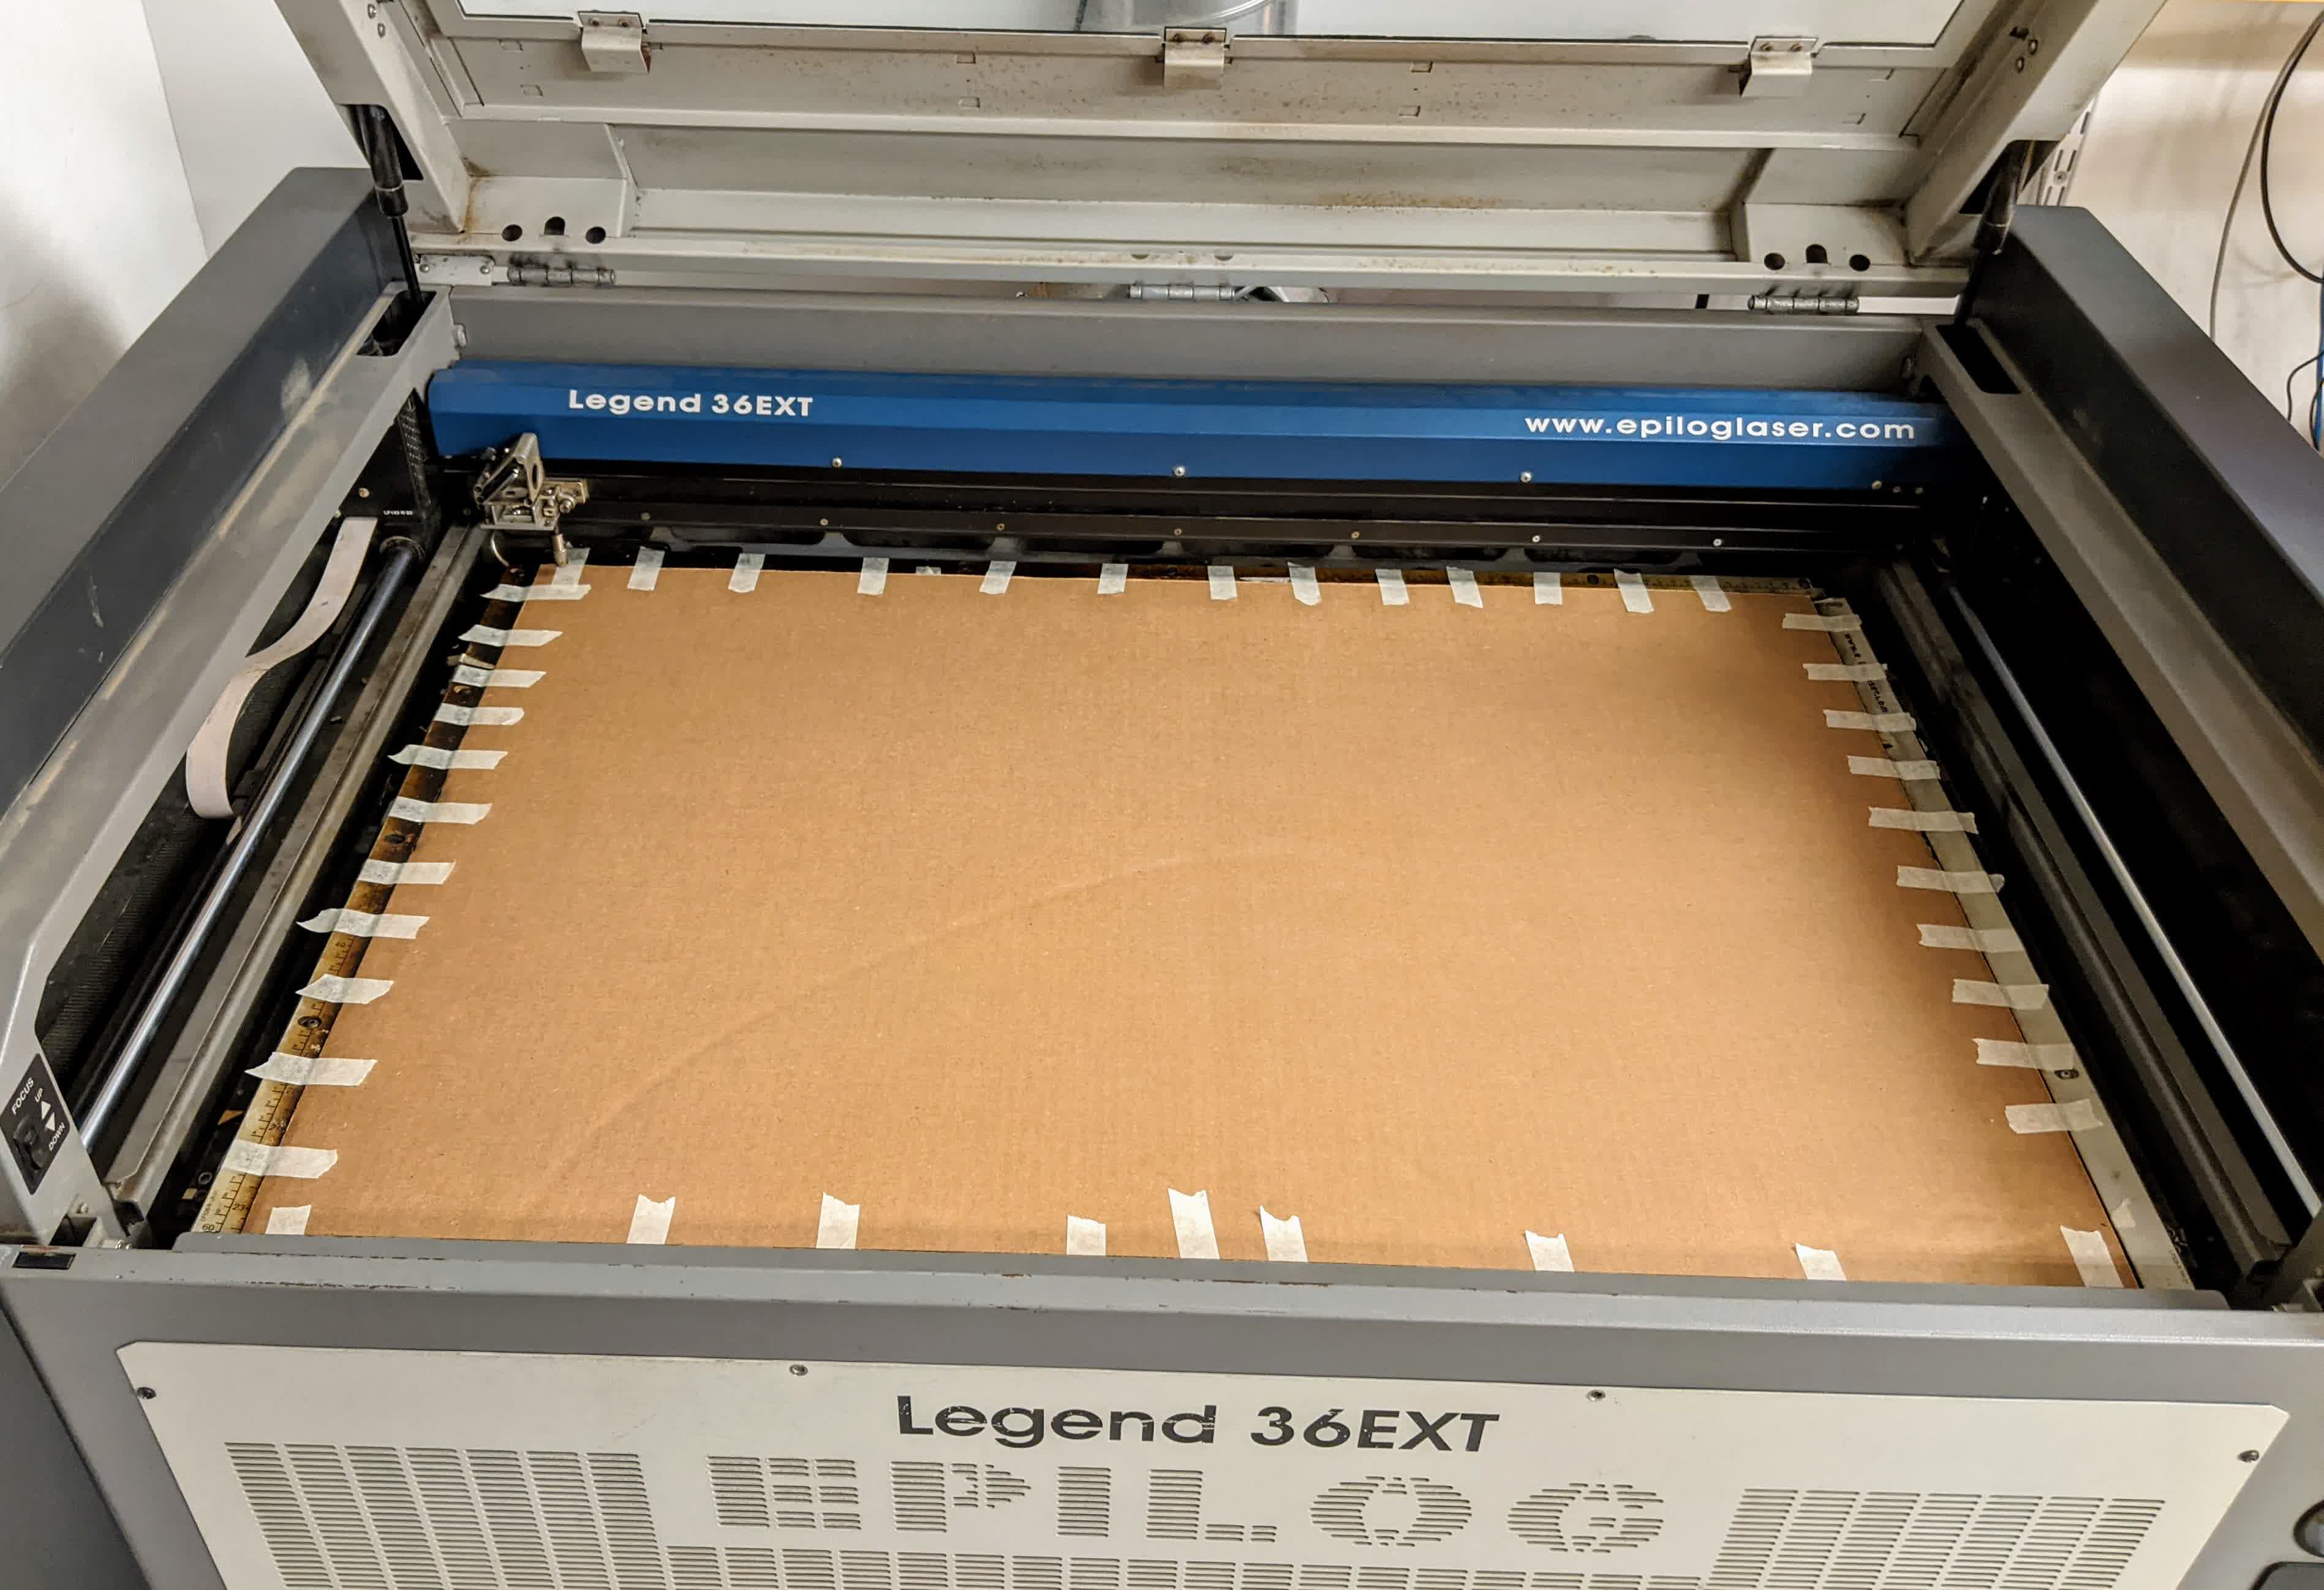
The next step is the easiest. With the job sent, the cardboard flattened, and witnessing a normal test run, close the top, and hit go. Watch and be amazed! Seriously, do not turn your back on the laser cutter!!
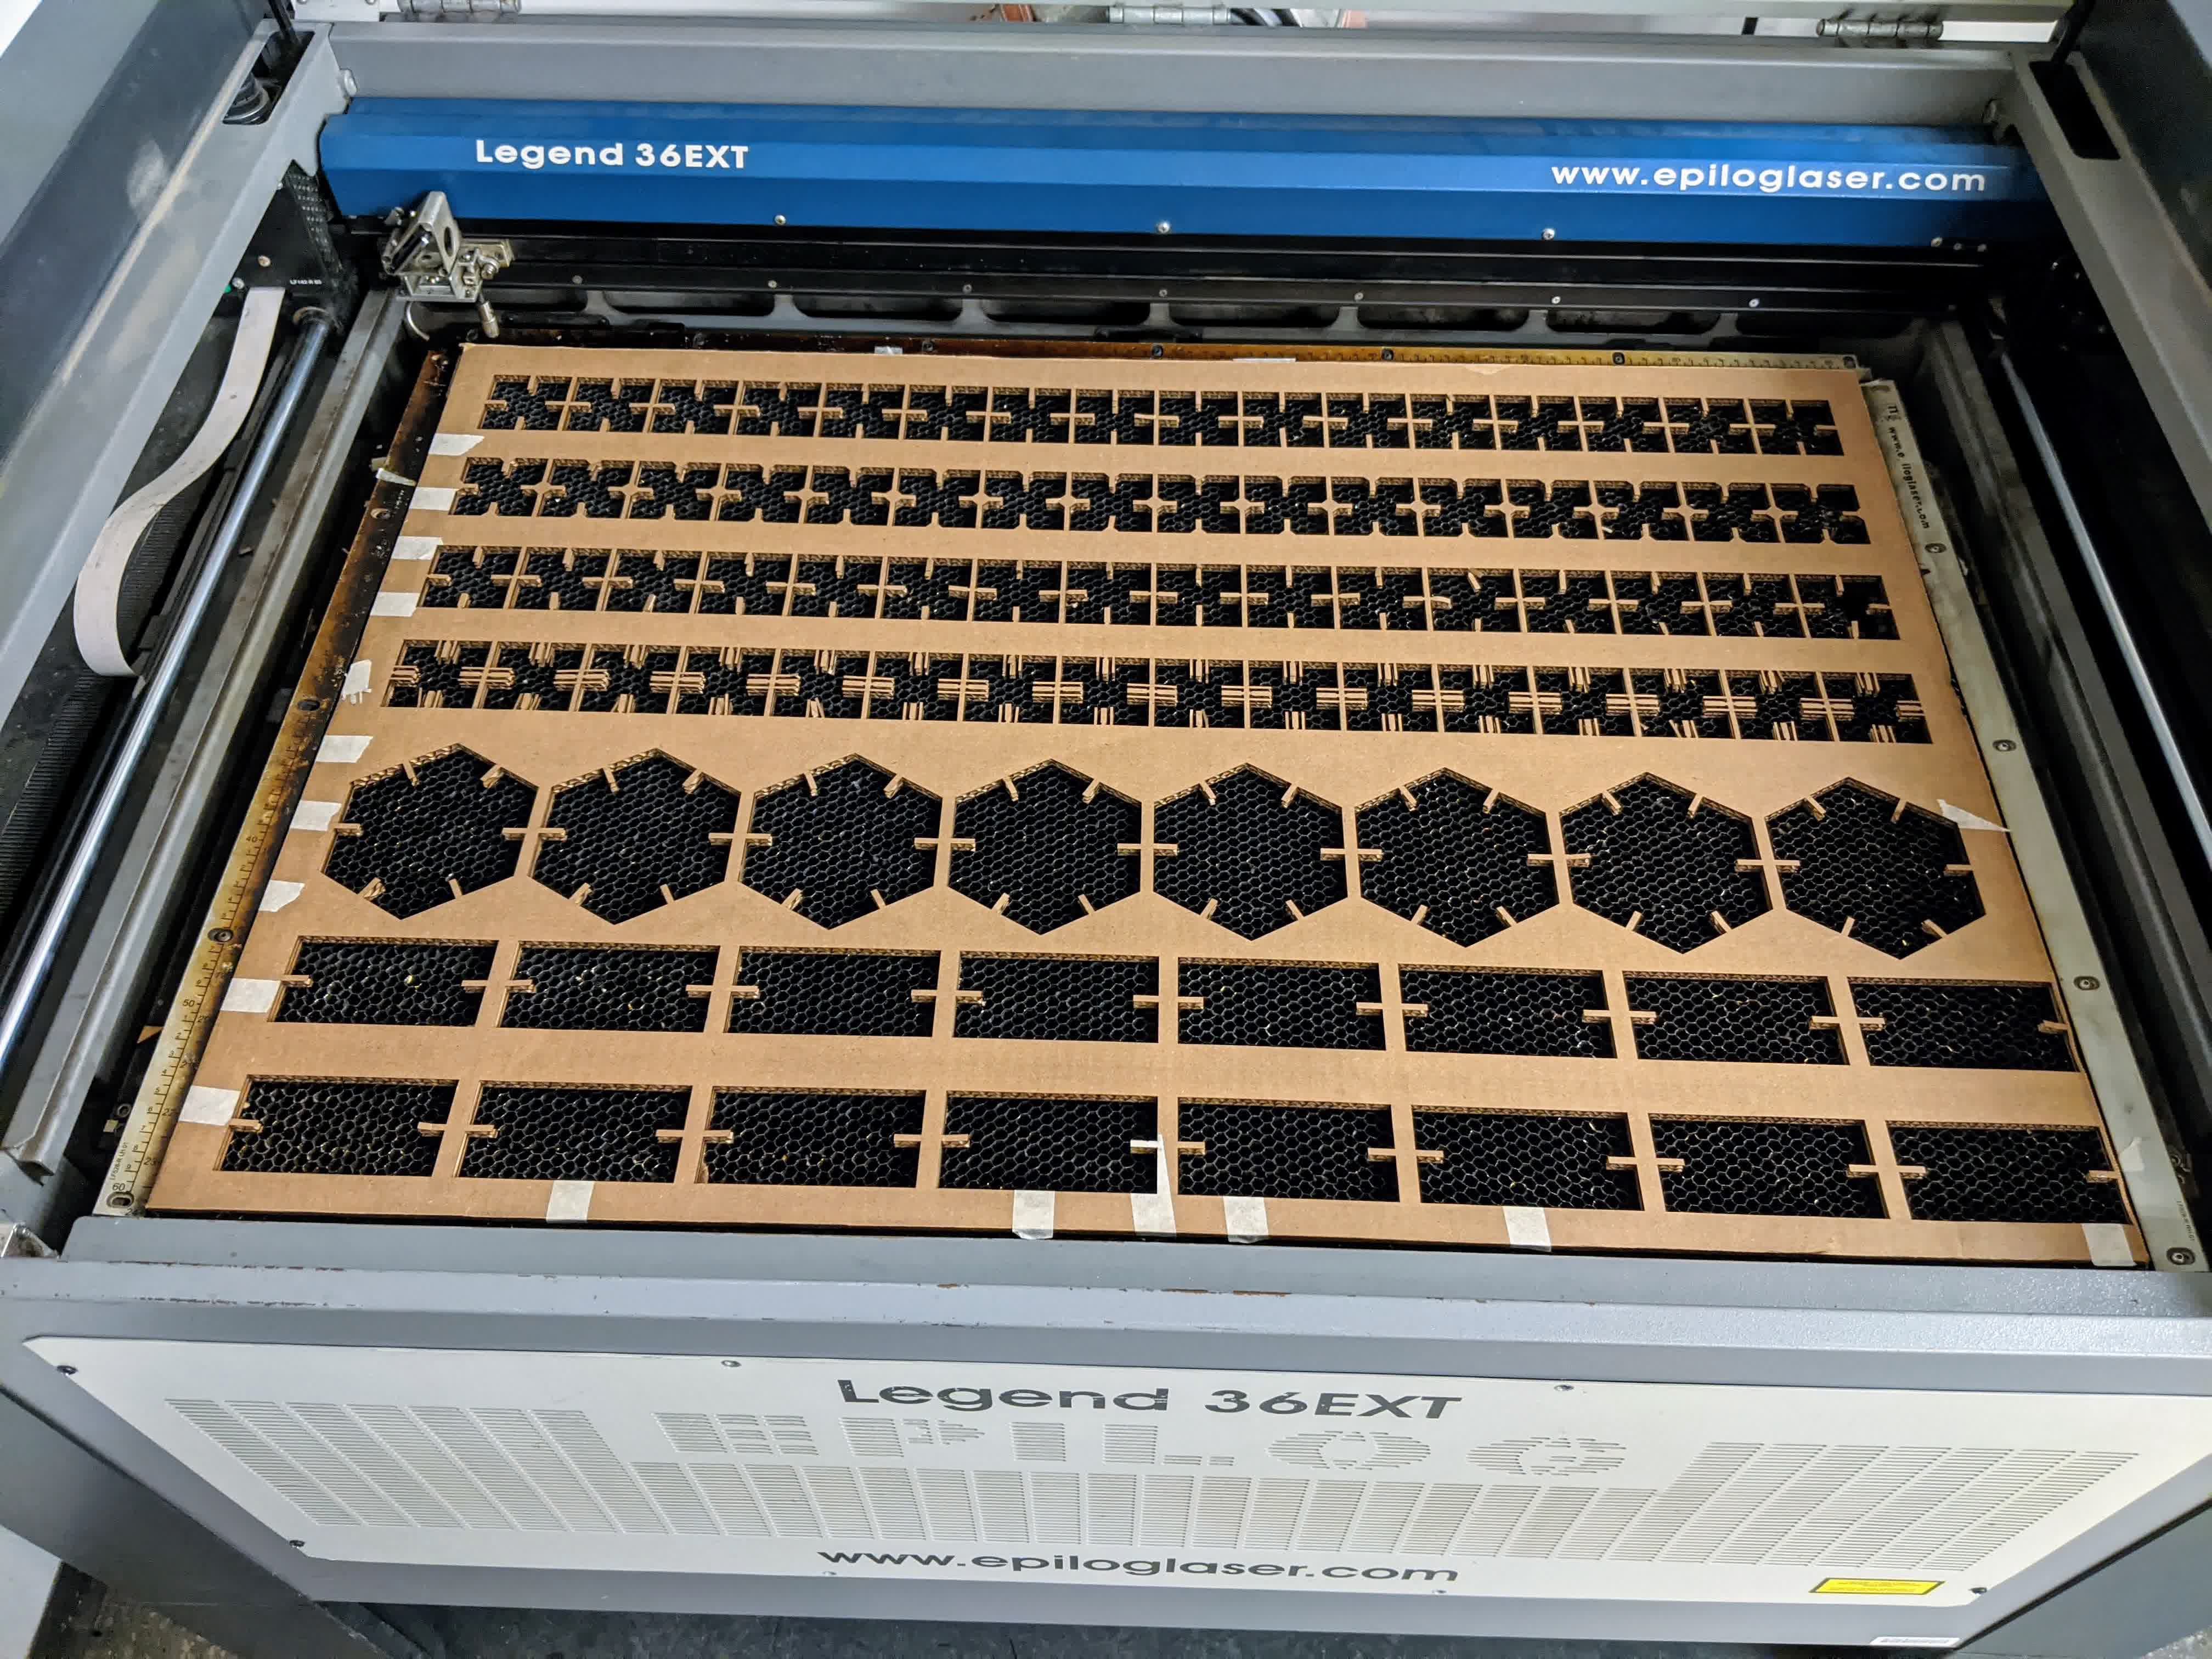
After the laser turns off. You should wait a minute or two for the fumes to be vented. Then open the top, and go through the laborious task of removing tape, and then removing the cut peices. I know you see thet left over cardboard back in the bed, but this was just for visual confirmation that all the pieces came out perfectly (each cut went all the way through with minimal burning). This piece of cardboard was cut with some scissors into 4 pieces to fit in the recycling bin.
The press-fit joints came out beautifully:
as did the chamfered press-fit pieces:
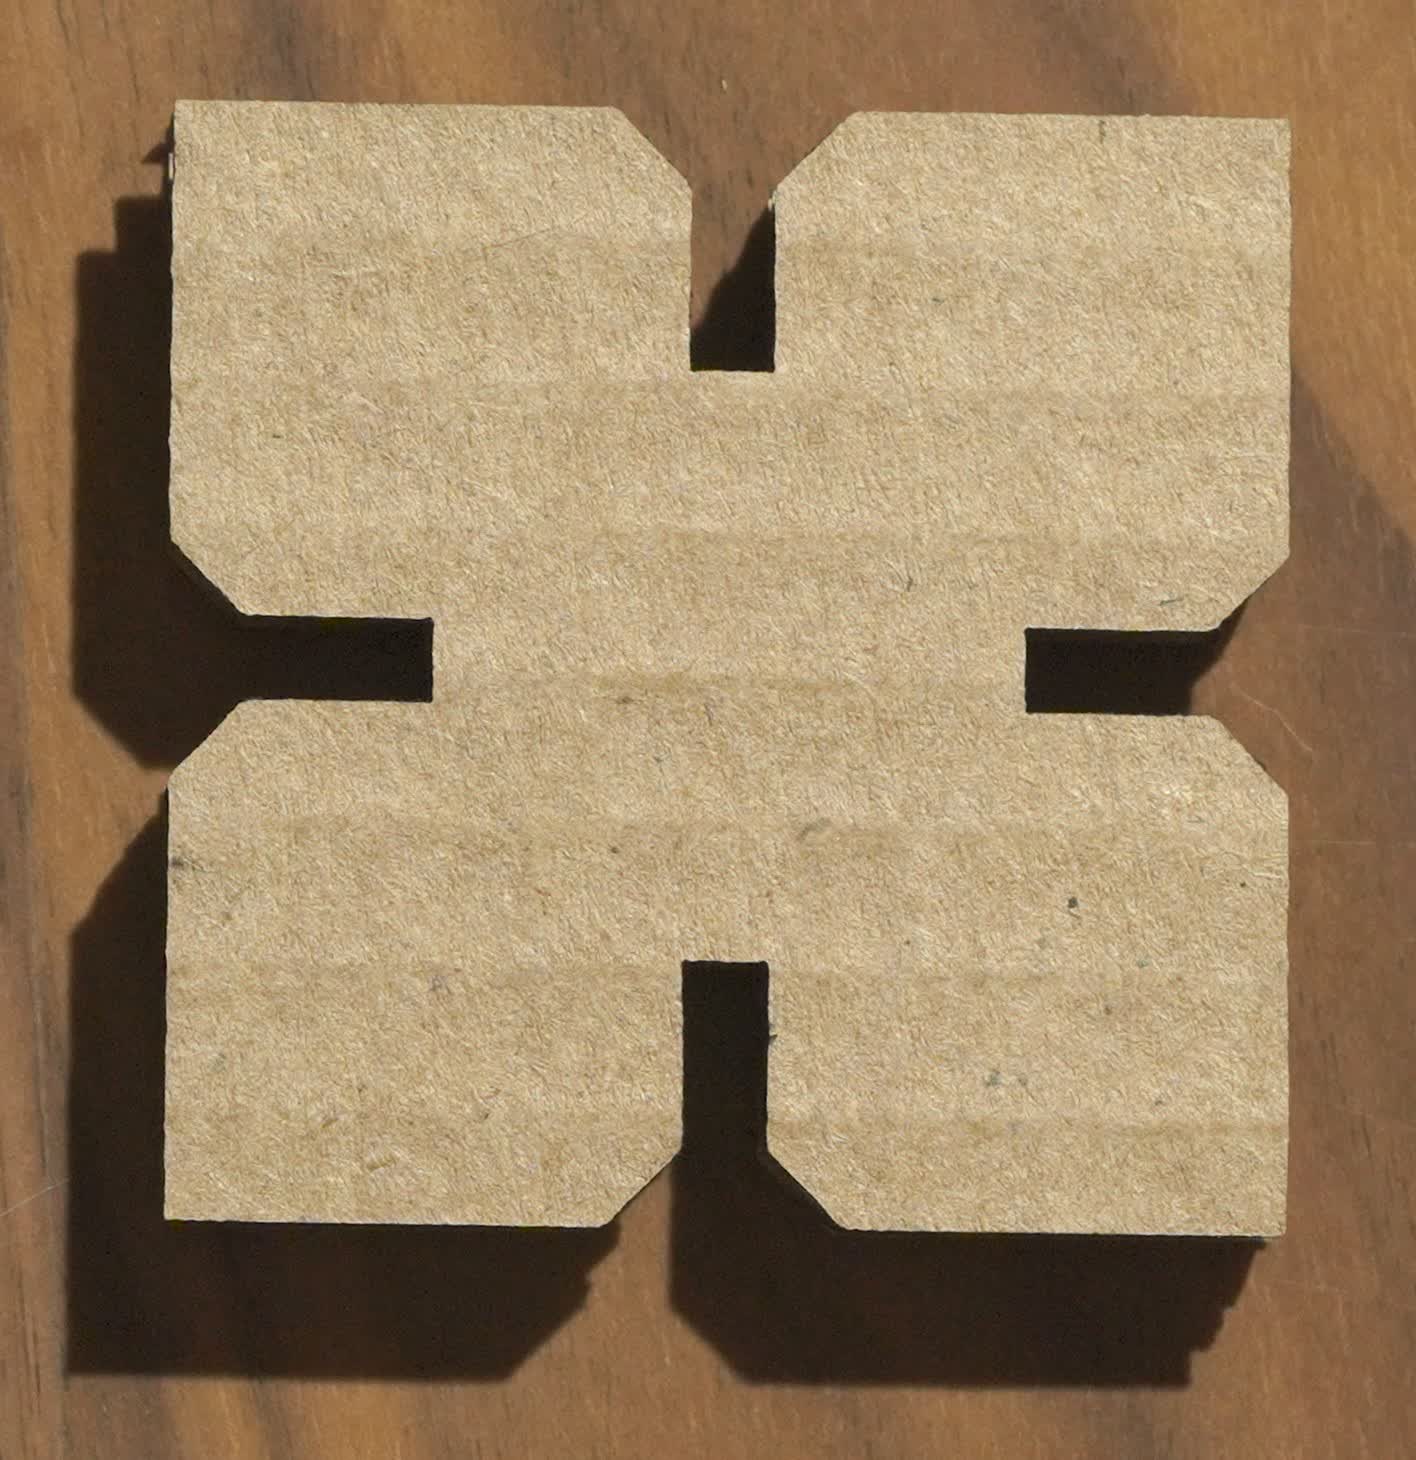
My snap-fit joints turned out fine, but the tolerance of my slots were extremely tight without the circular snaps. So fitting these was a challenge, but doable.
The flexural joints cut nicely, but were not functional at all. Yes, they flexed where they should, but because this material is not ideal. I essentially ended up with 4 pieces of paper with no structural integrity whatsoever. If there were a solid block of something like wood or acrylic, I think it would work nicely. Alternatively, The width of pressing beams should be increased if one wanted to do this with cardboard. Definitely cool looking though!
The hexagon units came out perfectly,
as did the living hinge recangular units.
Building
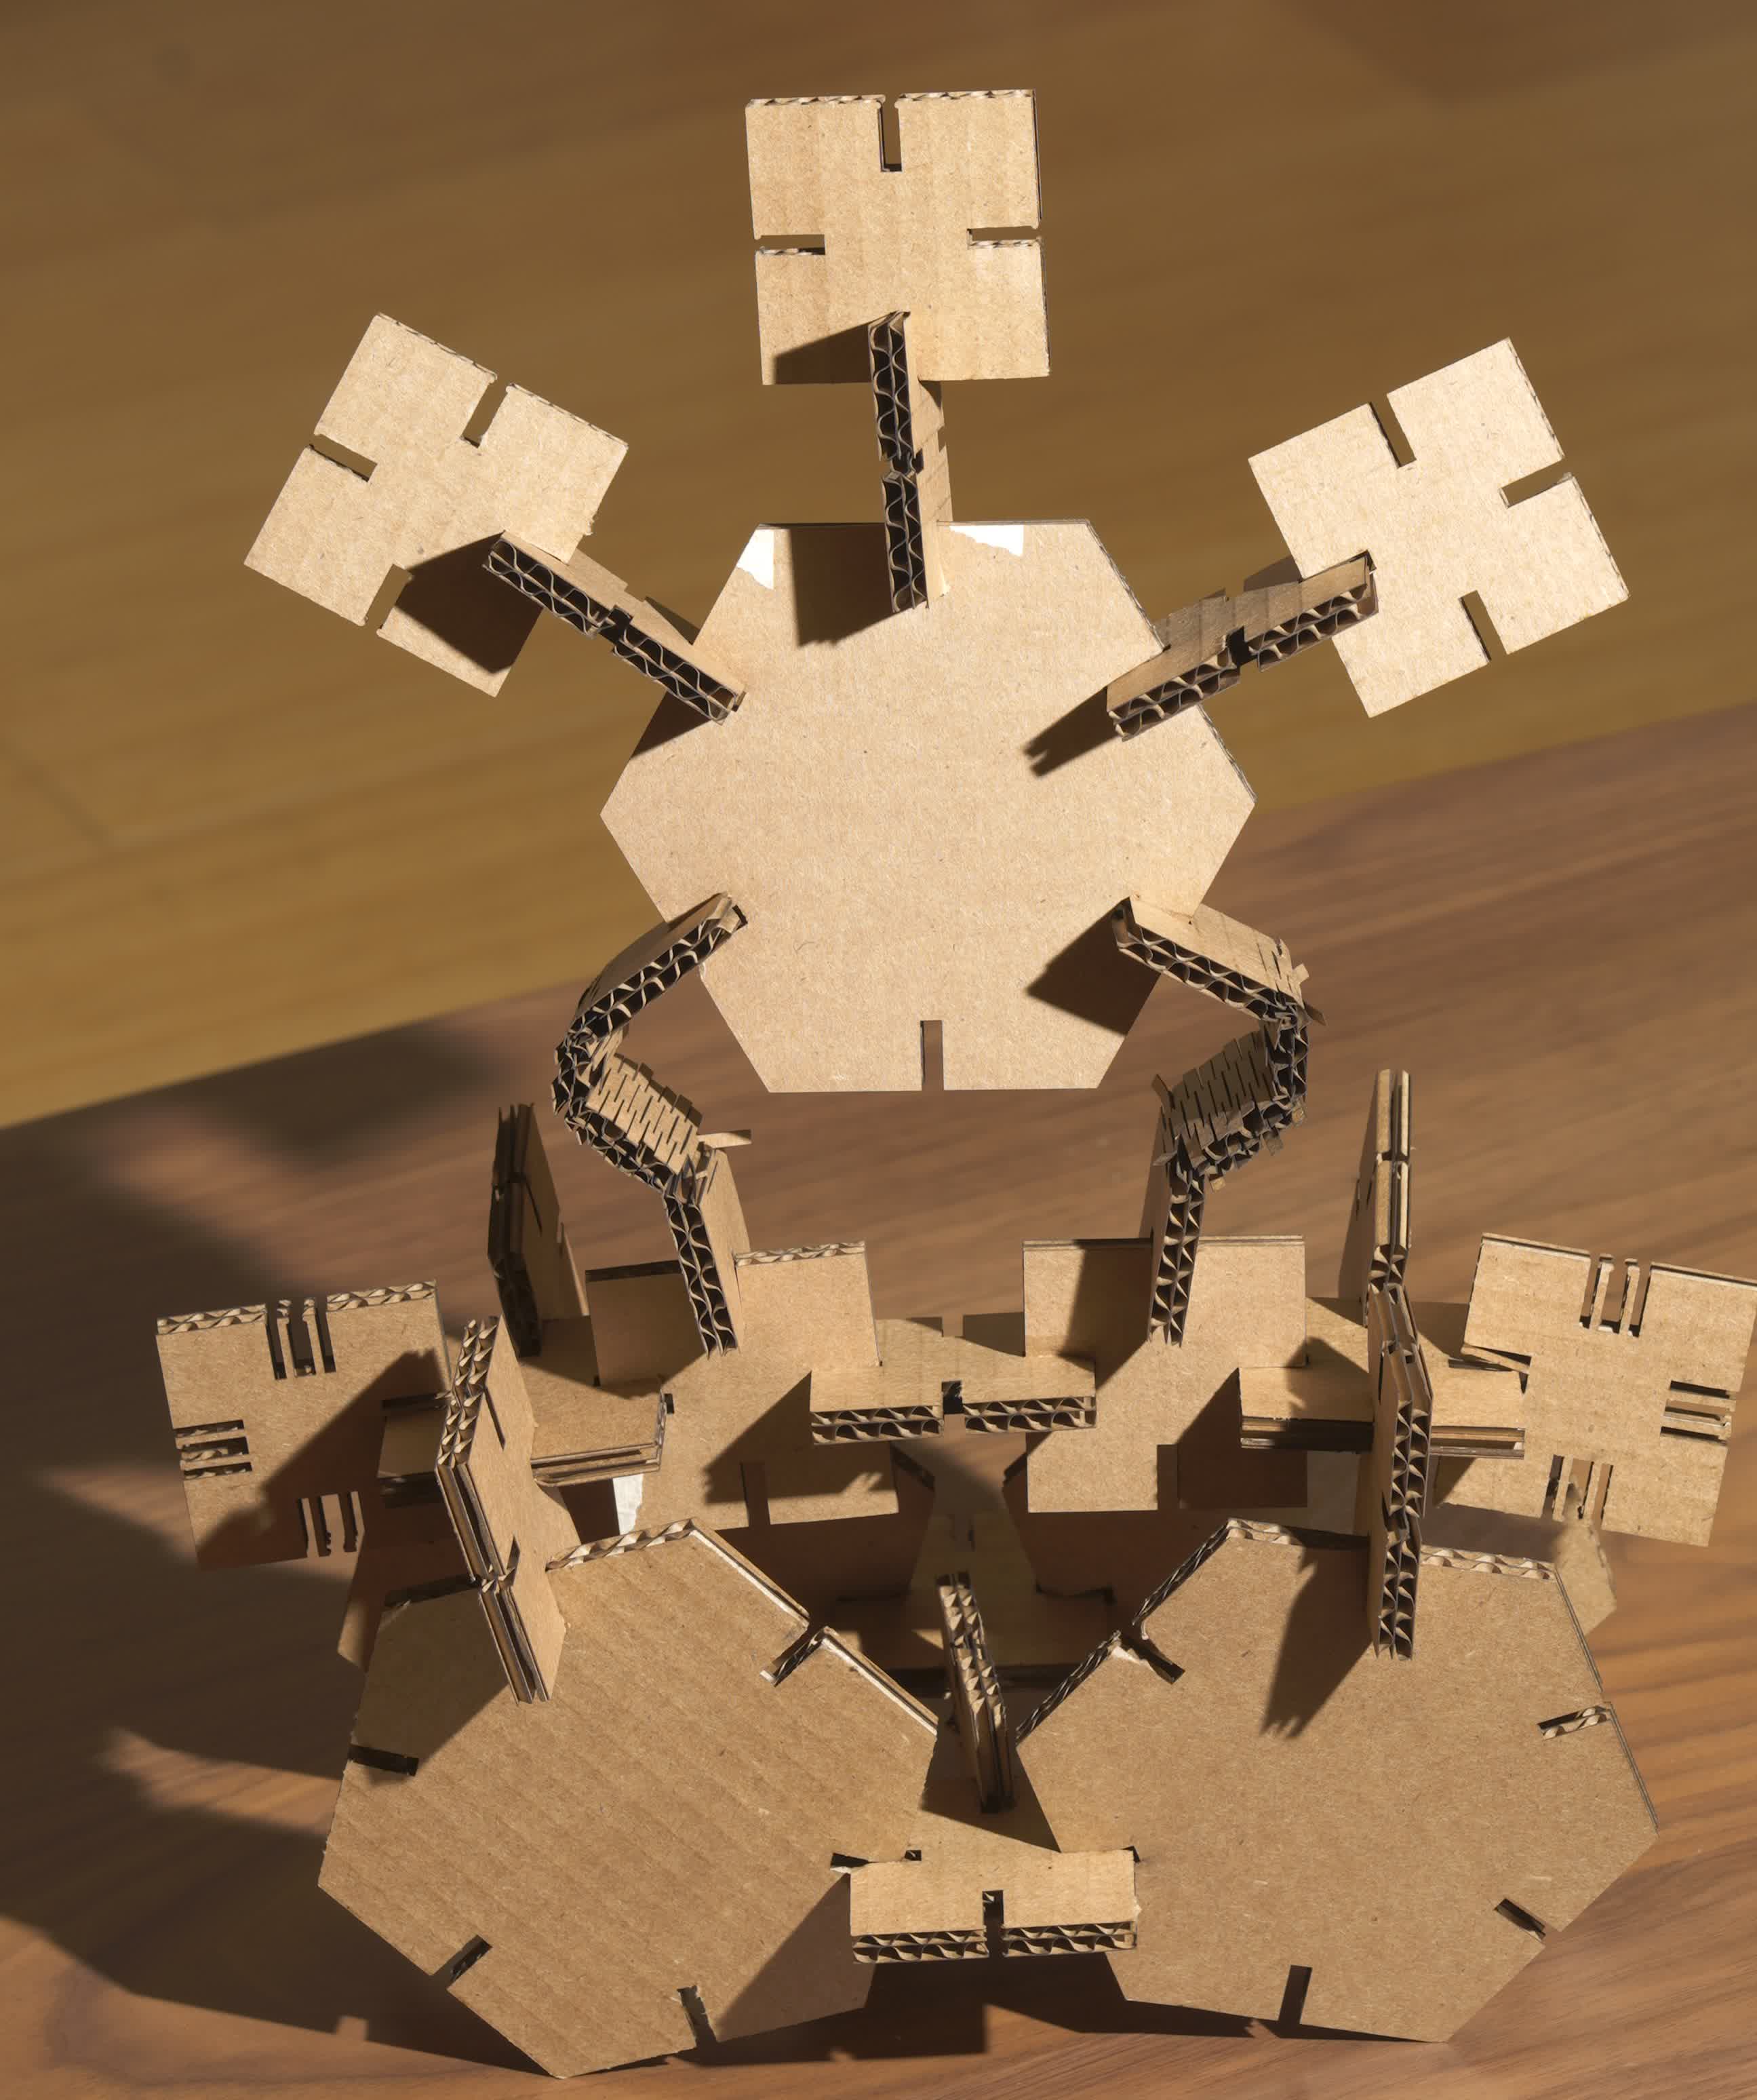
I made all the above pieces with nothing to build in mind. My wife and I worked together and got creative.Here is an alien on a skateboard. No, the wheels don't turn, but you can imagine the alien hovering through space, right? The living hinge rectangles gave it knees!!
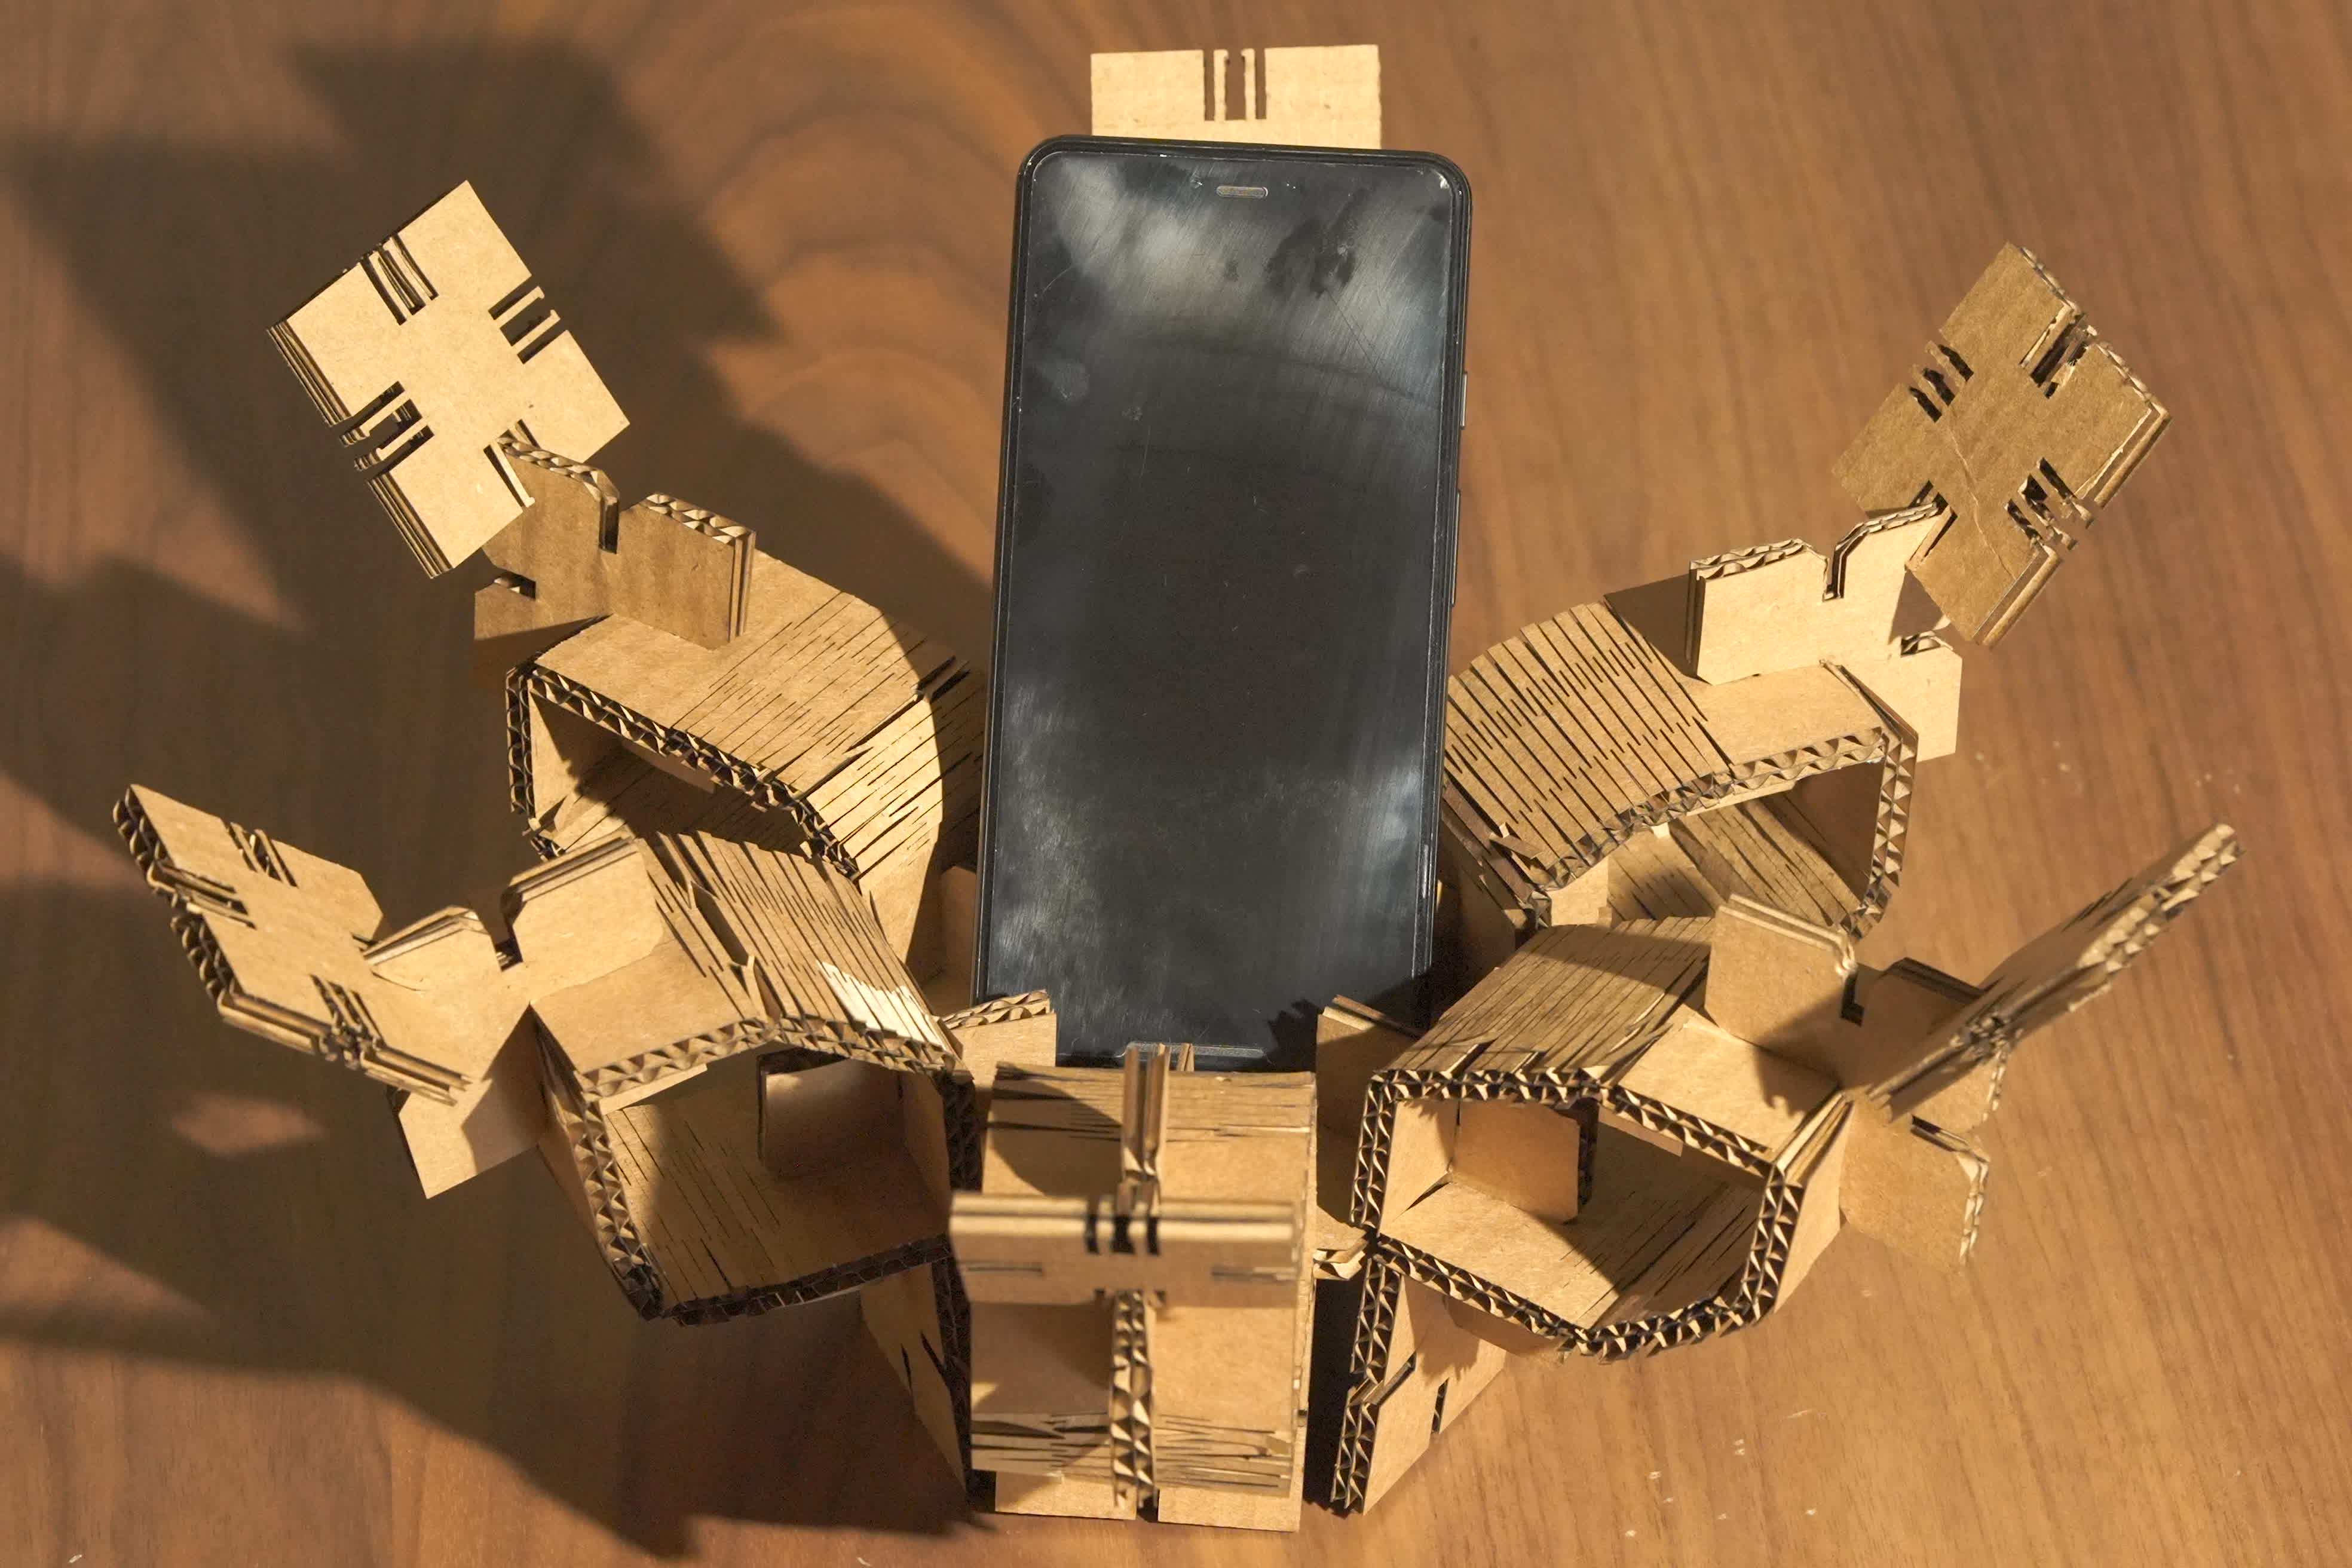
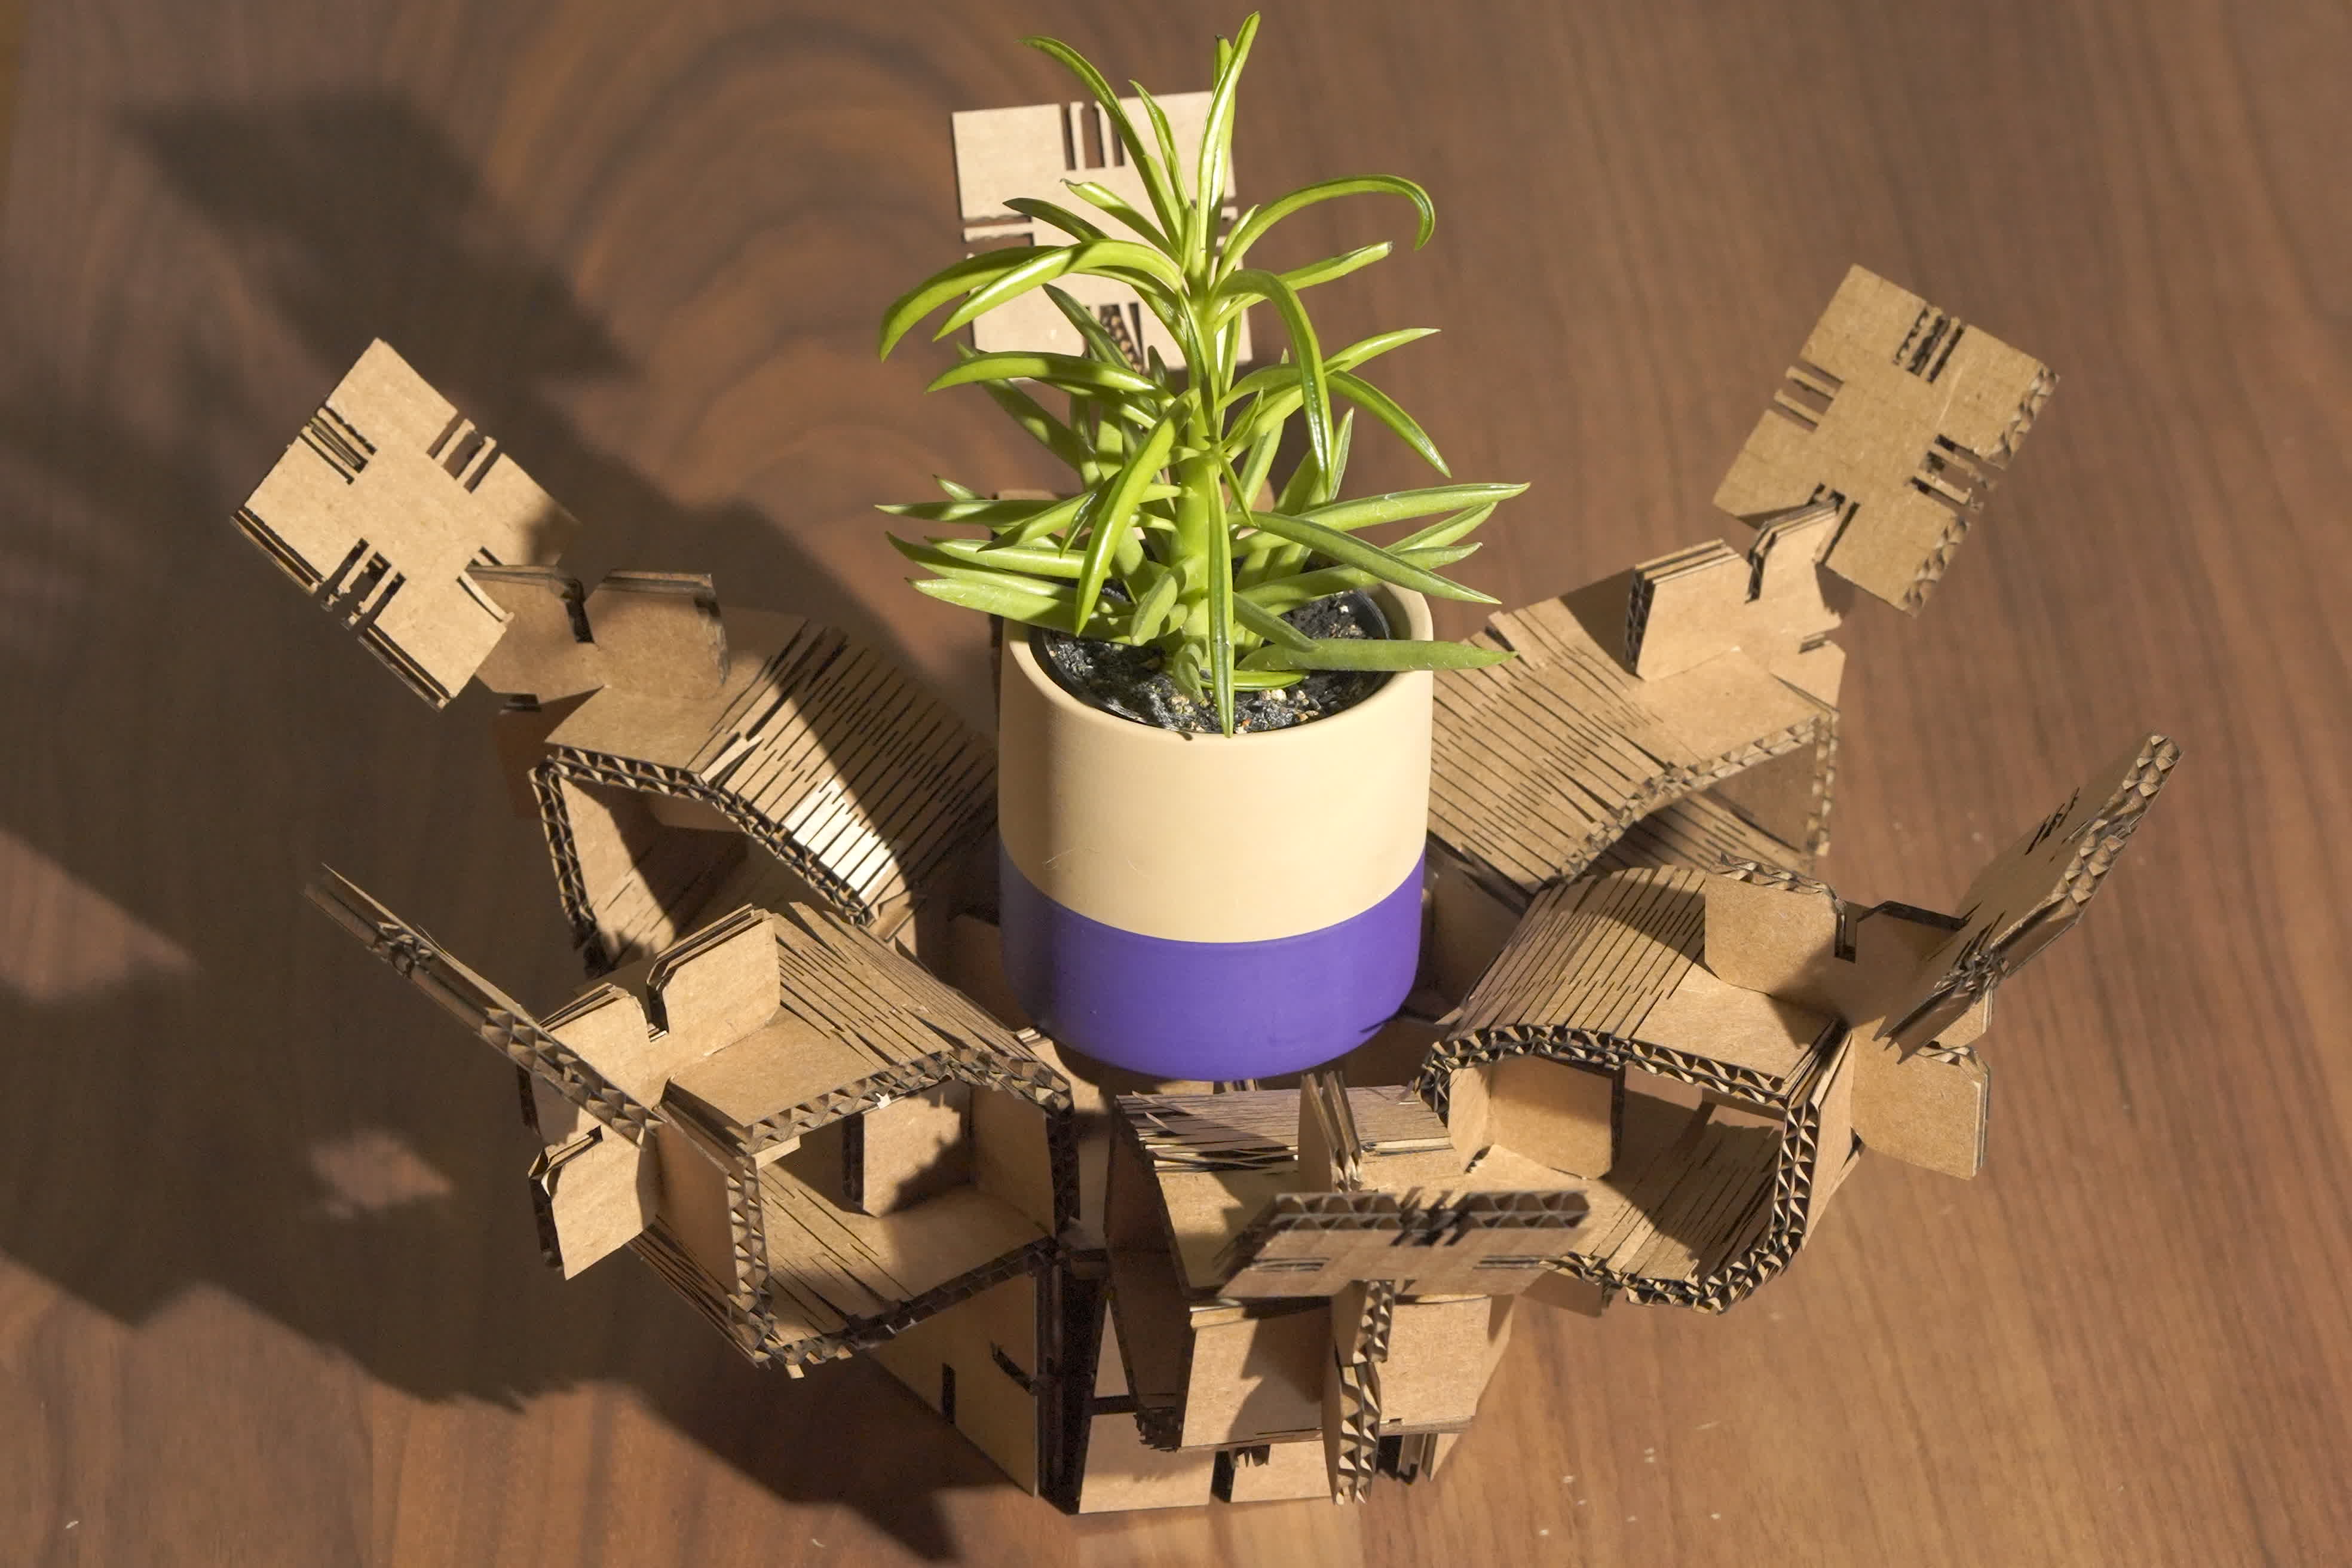
Next, we made a multi-purpose centerpiece. The living hinges look like flower pedals when doubled up like this:

You can use it as a fancy phone holder,
a coaster,
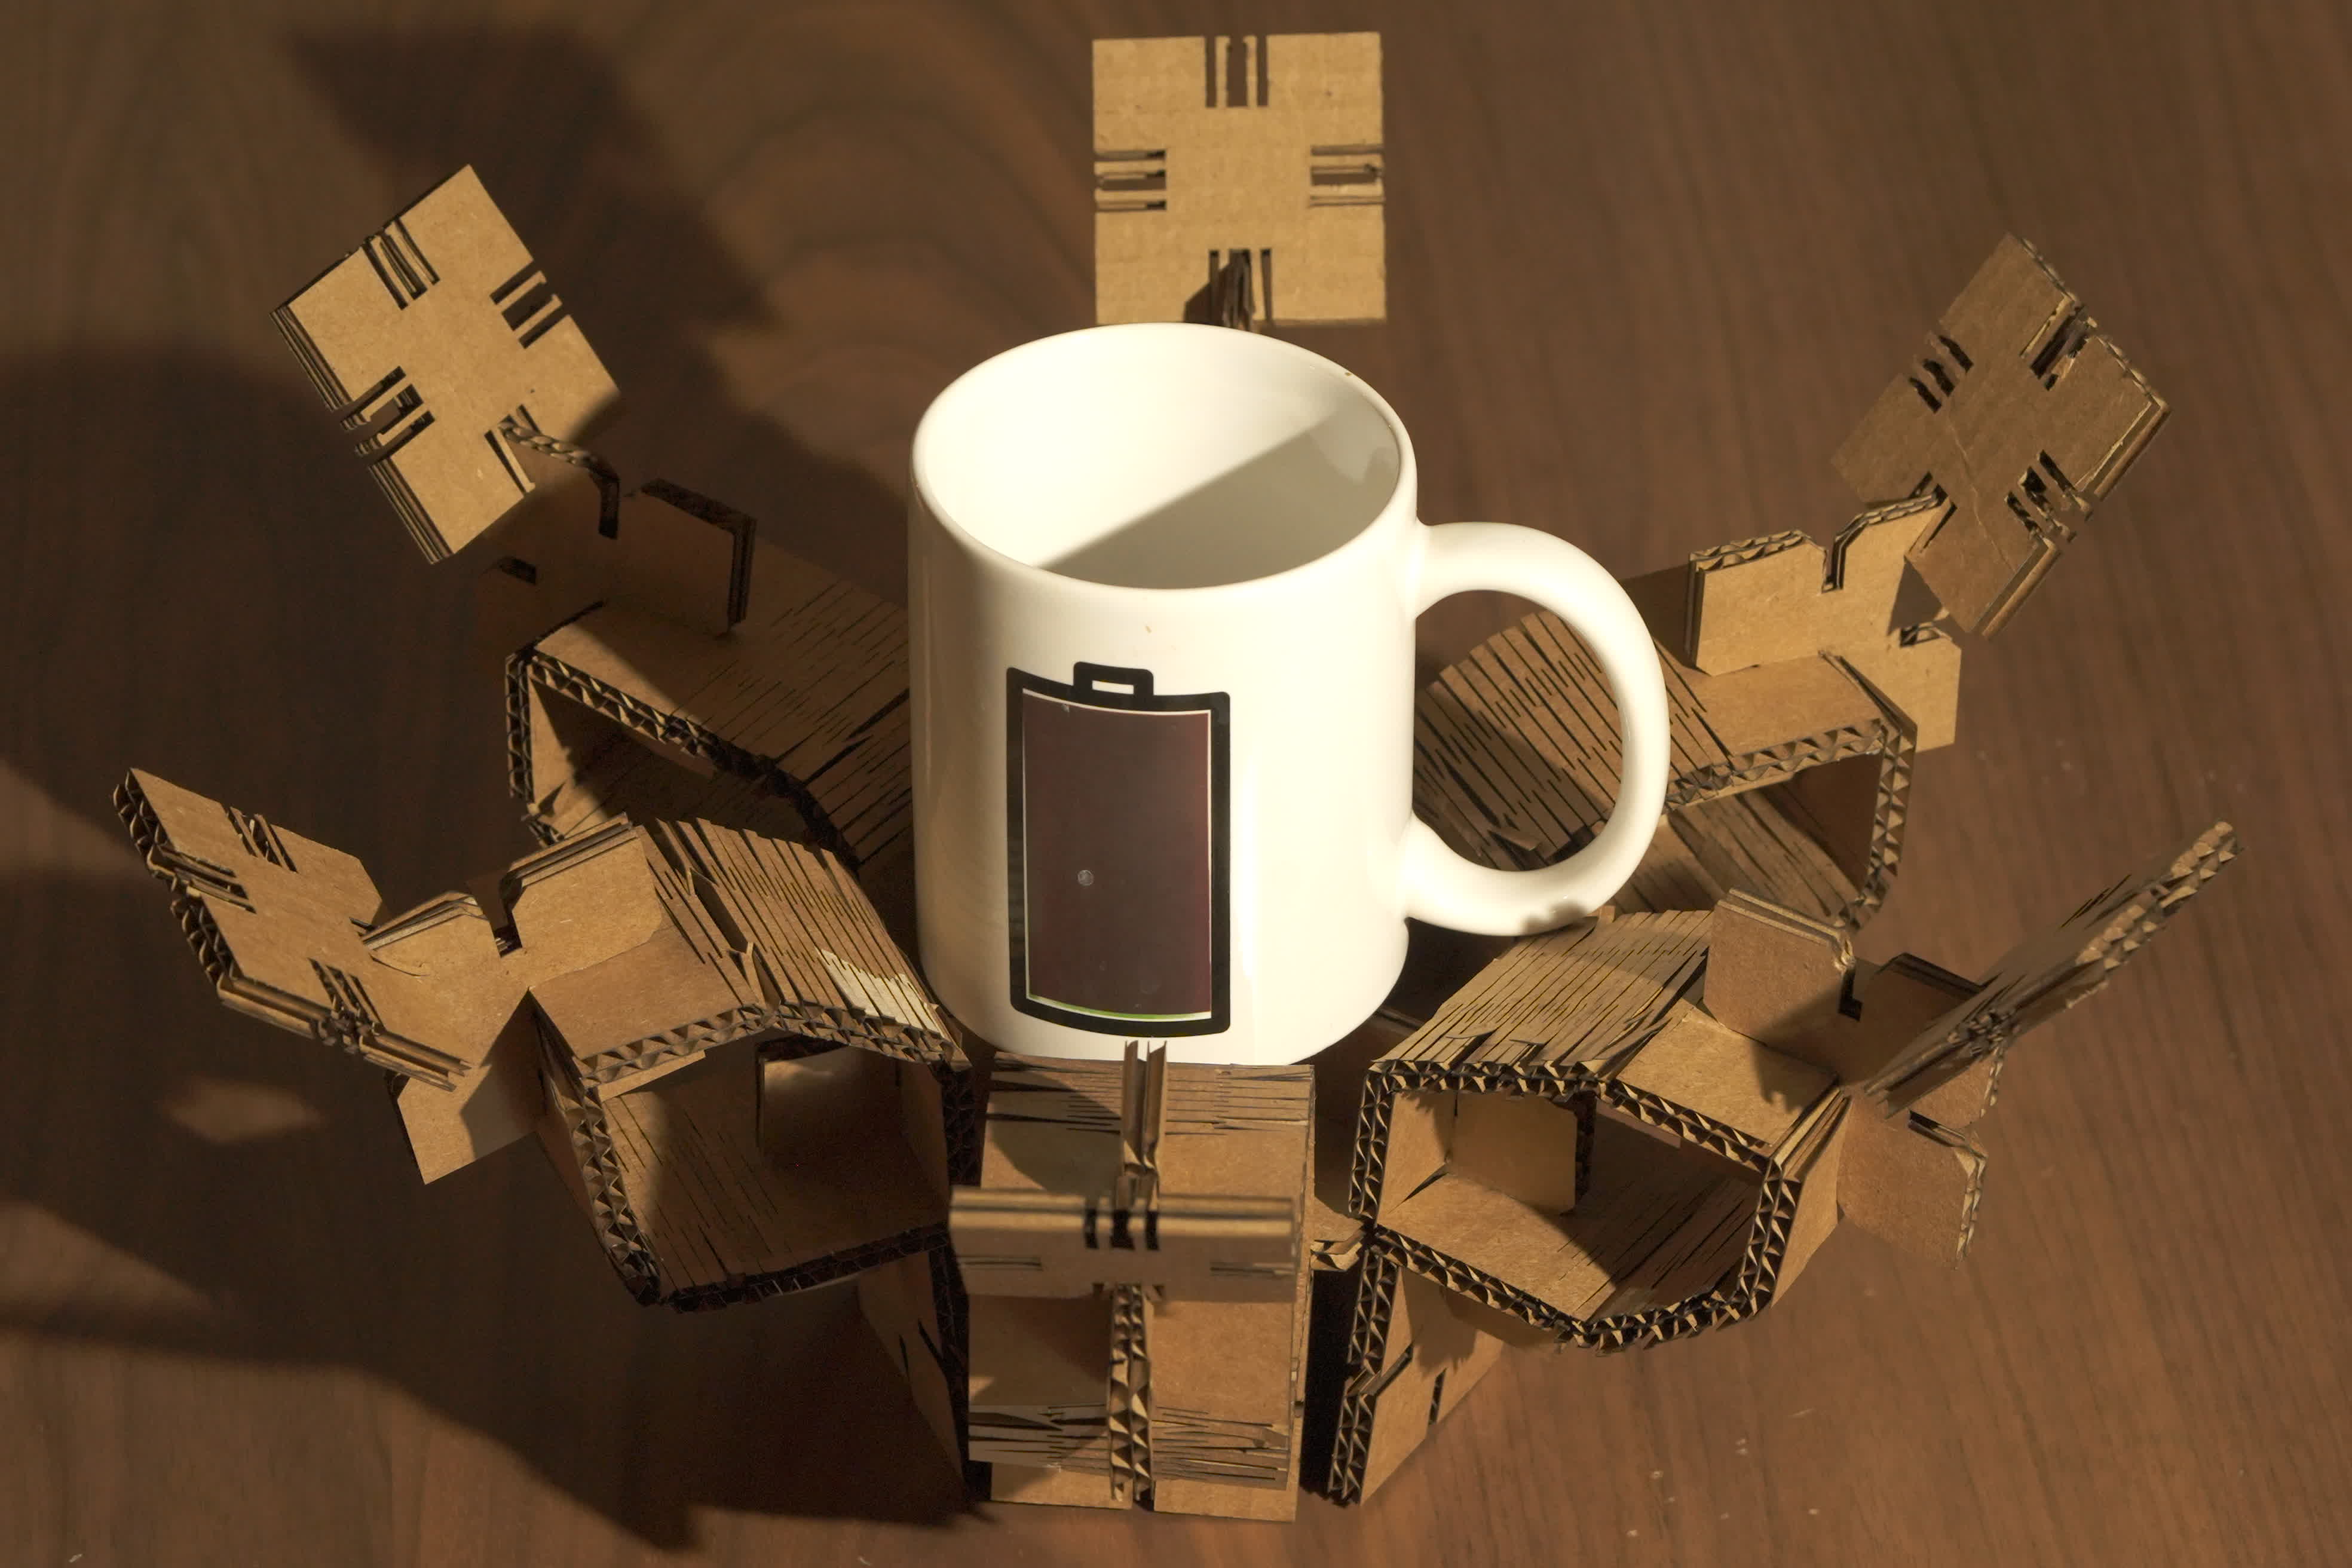
or the proper use, put a plant or some flowers:
Overall, very fun excercise that brough me back to building random things from Legos as a kid!
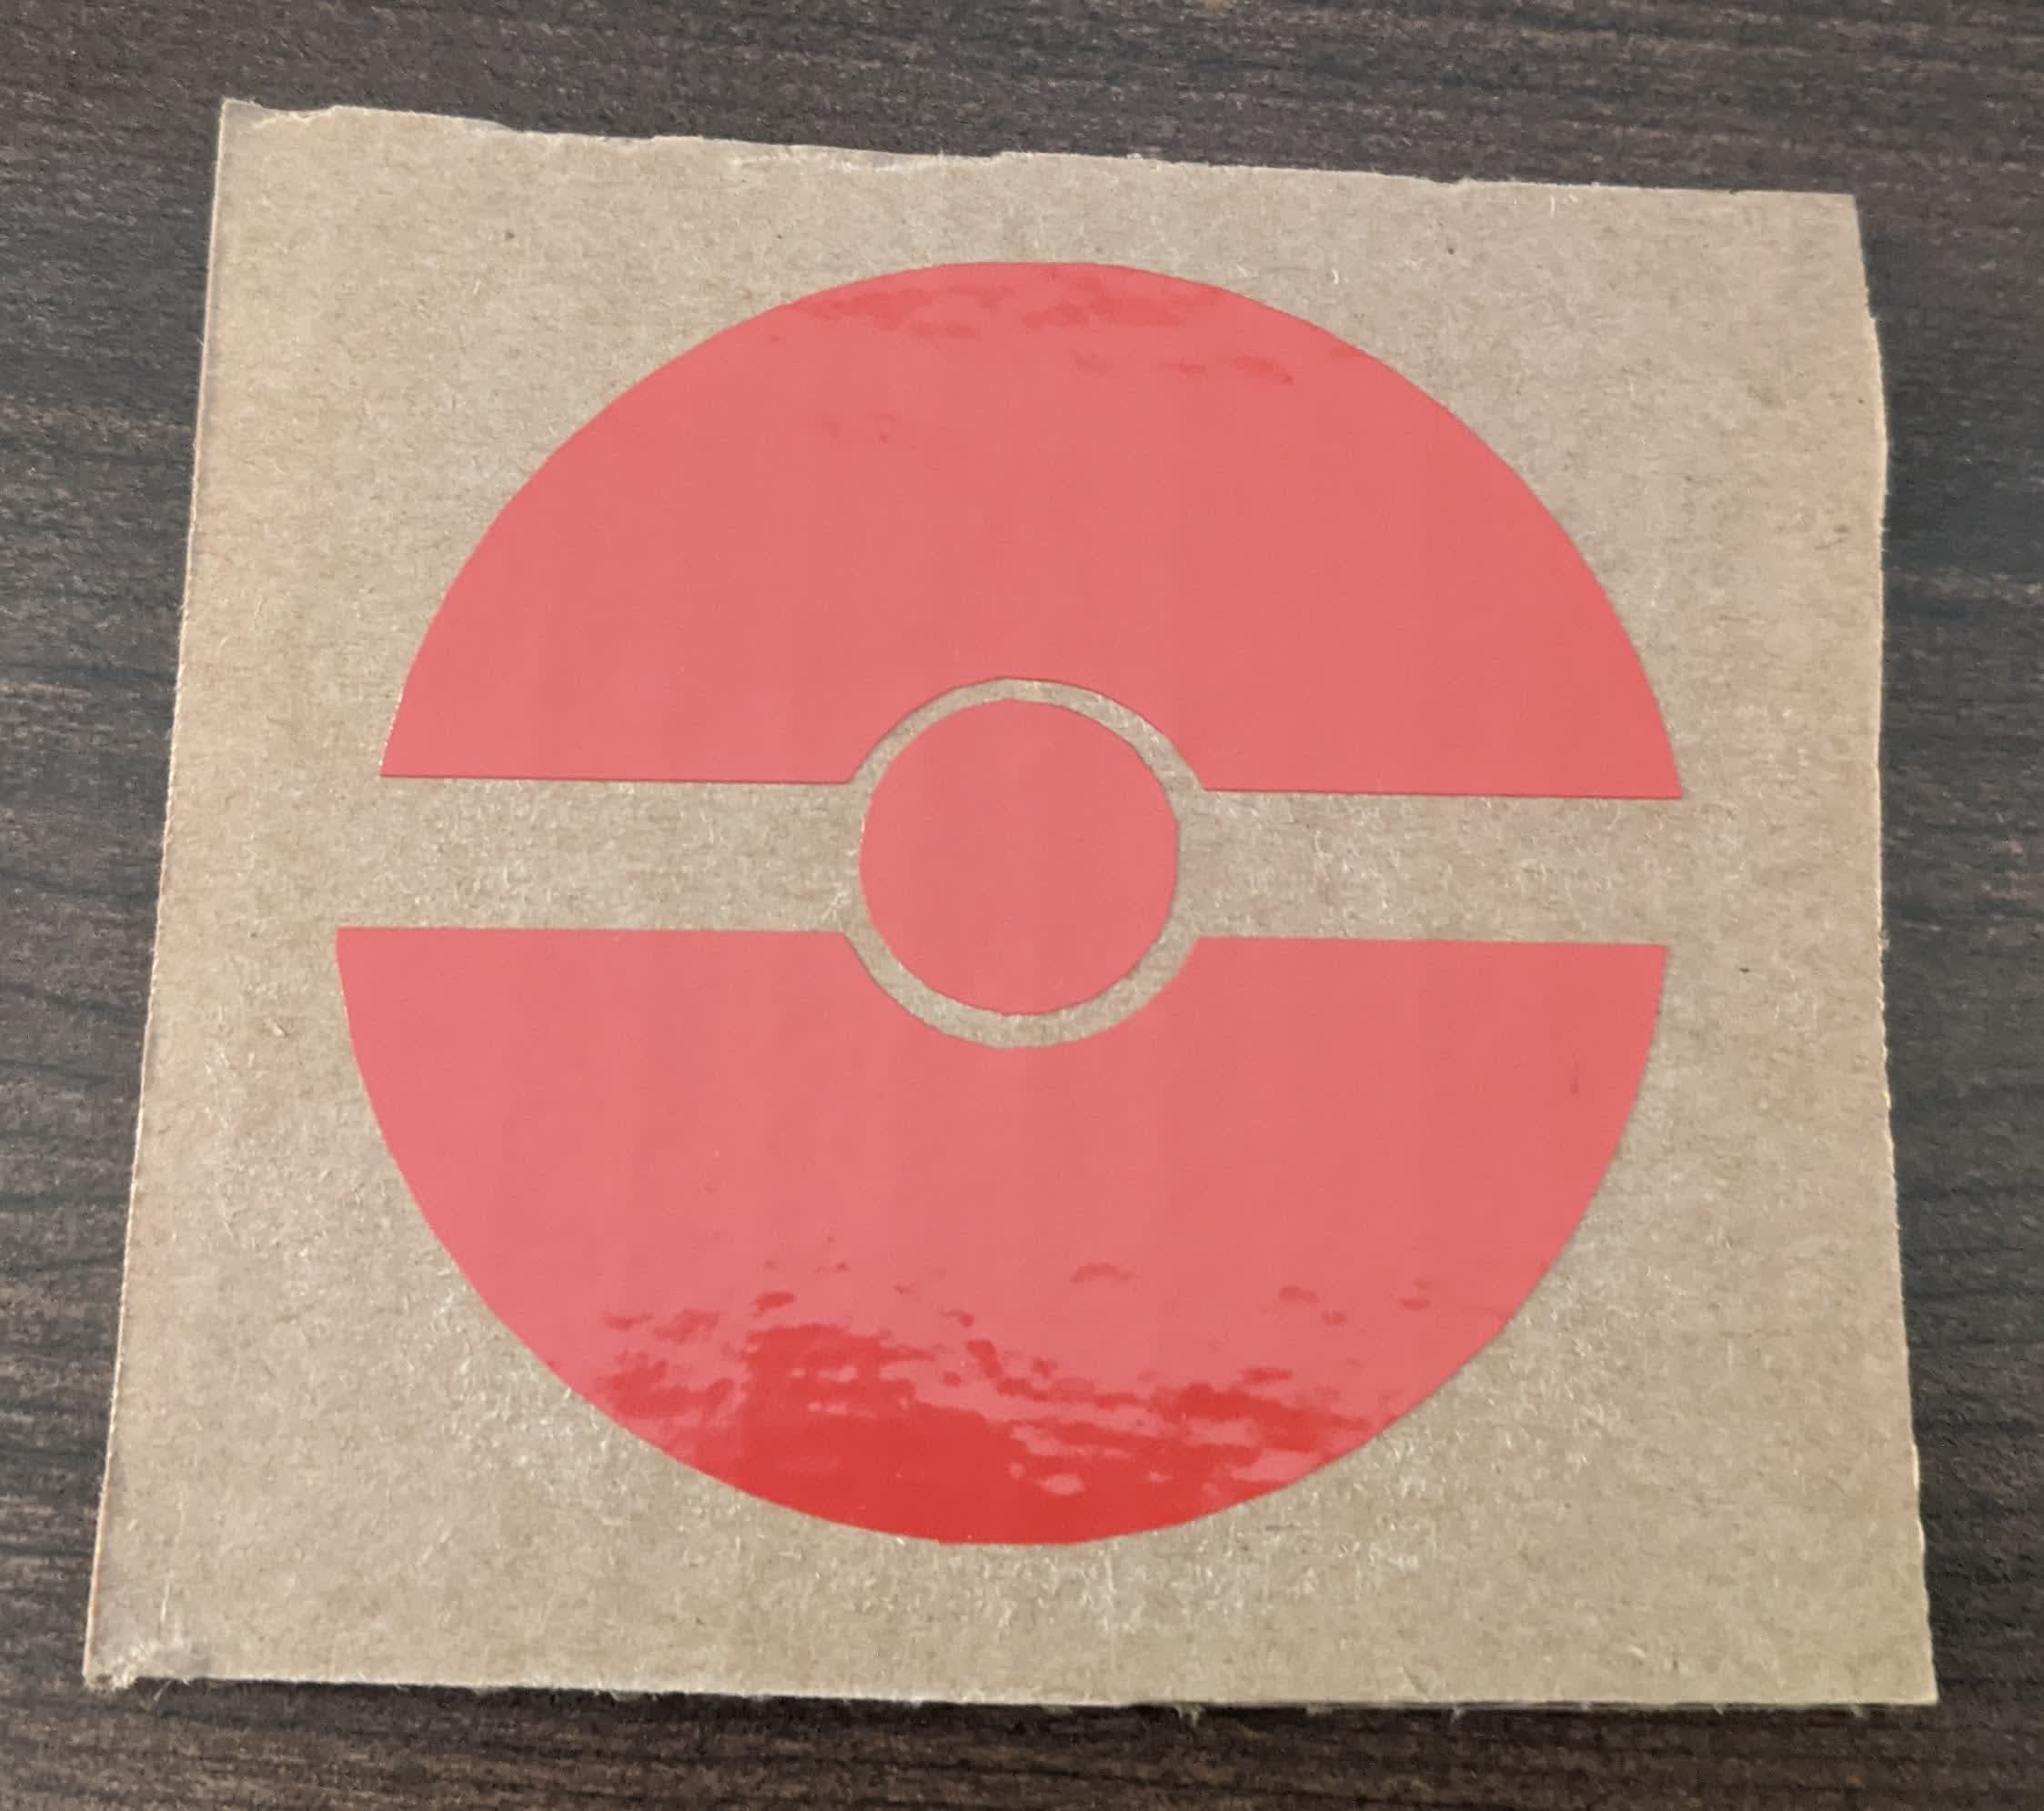
Vinyl Cutting
The final assignment this week was to use the vinyl cutter. I downlaoded a .png picture of a Pokeball. I followed the tutorial and cut this on the vinyl cutter: