Group Assignment
Mission
Test the design rules for your 3D printer(s).
Process
We printed a series of test prints listed under “design rules” from 3D Scanning and Printing page of HTMAA We can then each examine them to come to some conclusions about designing 3D models to successfully print using this printer.
Design Rules for the Prusa 3D printer
Below are the takeaways from doing these prints with the Prusa printer in our CBA lab..
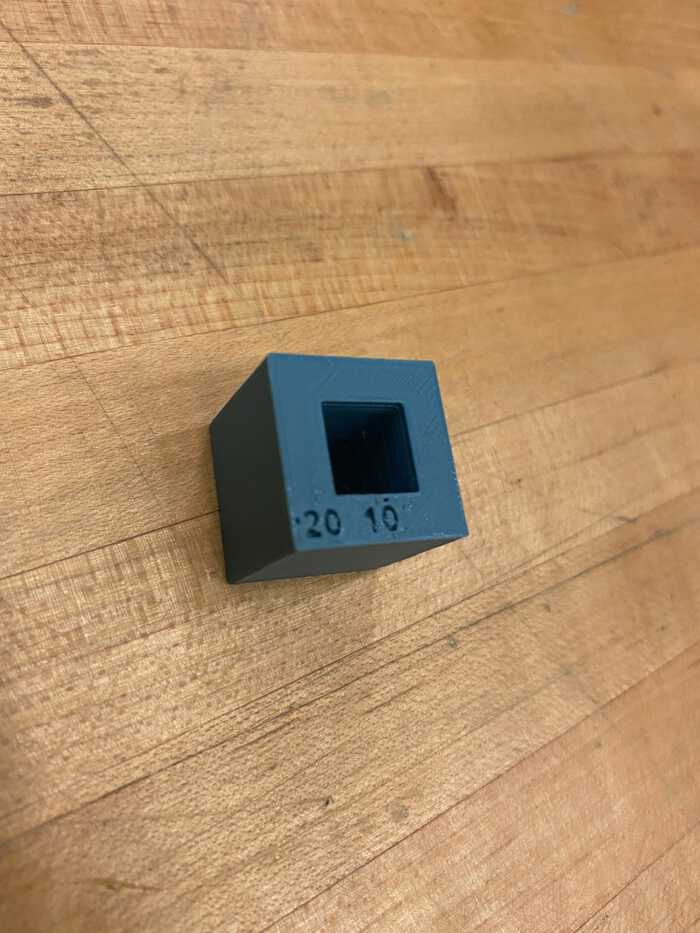
Dimensions
The dimensions are very close to true, but they are slightly off. A 2 cm width might be off by 0.5 mm or so. 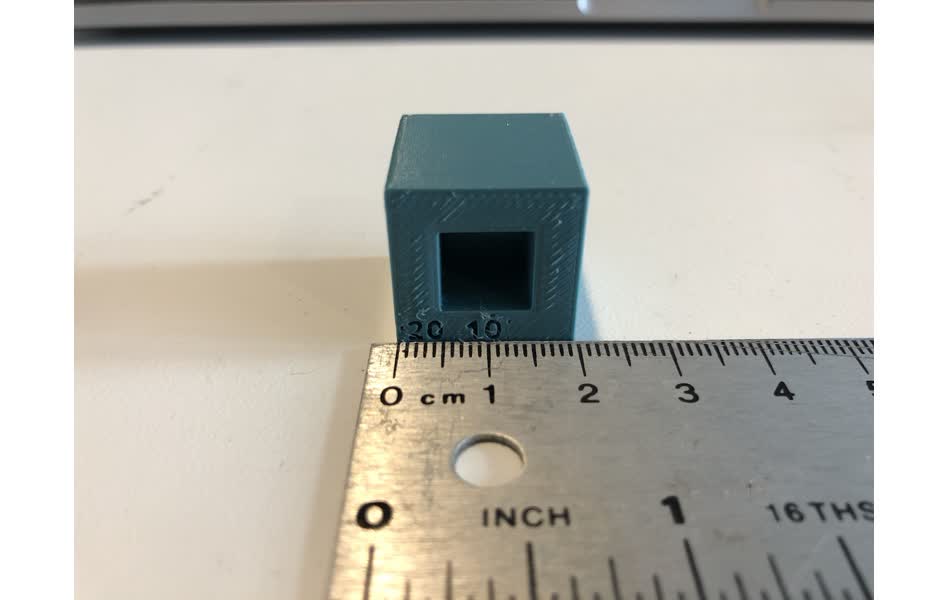
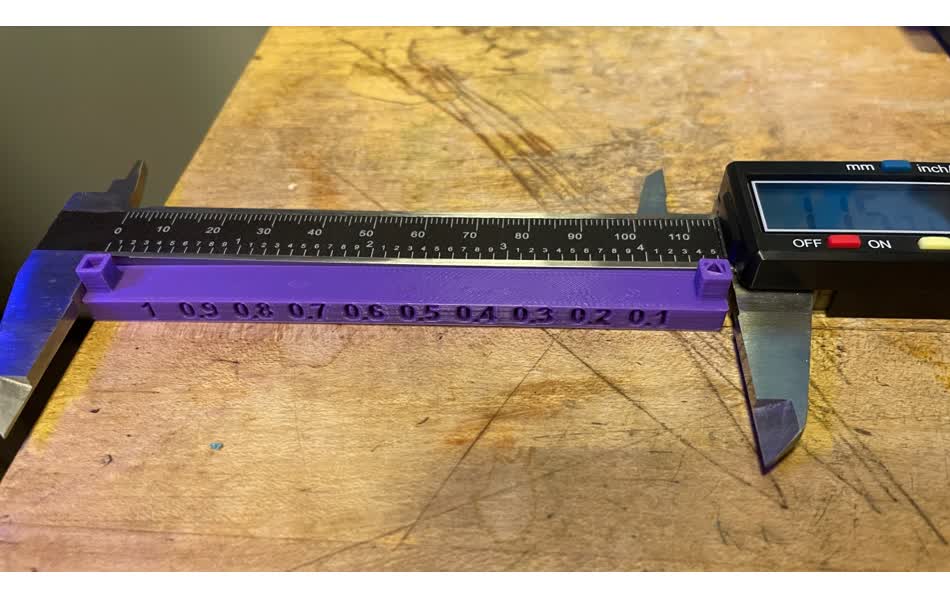
Wall Thickness
Here you can see that a wall thickness can not be printed if it’s equal to or less than 0.4 mm in thickness. Anything above it can. In terms of a gap, it seems that it can handle up to 0.4 mm of a gap. Lower than that, wit will try but it seems that it is unreliable at that point. 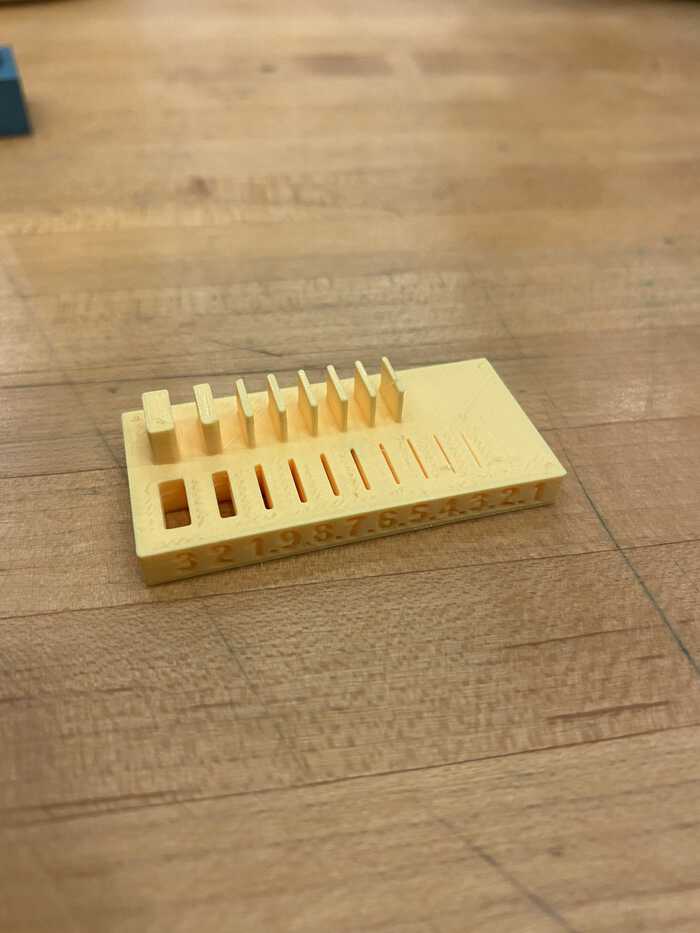
Anisotropic
This term means that the physical properties of the object are different when measured in different directions. For extrusion-based 3D printing, it make sense that this is true because it prints layer by layer. Therefore, for instance if you apply a kind of shearing force, the printed object will be weaker if you apply it parallel to the grain rather than perpendicular to the grain. 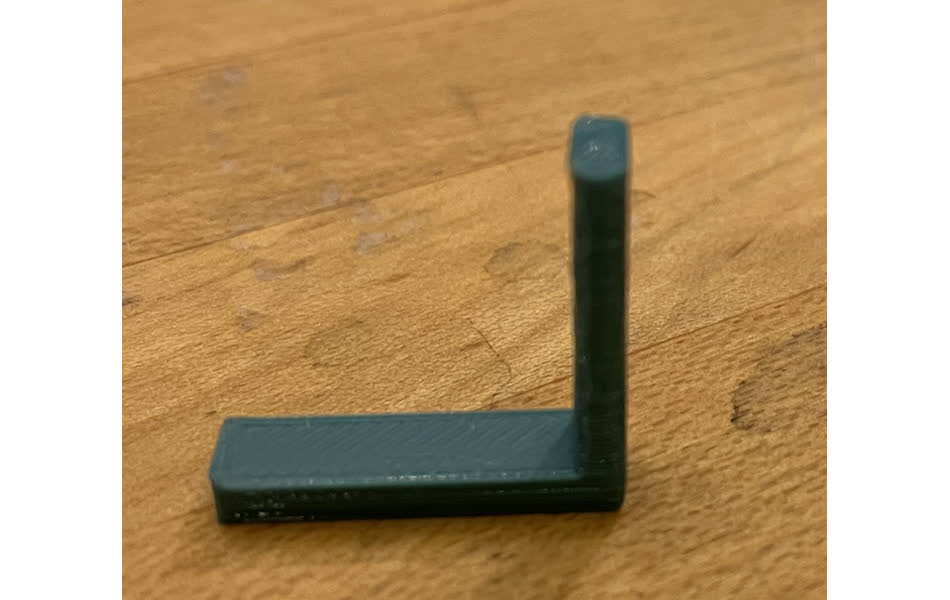
Overhangs
Spaghetti will be printed if you don’t have supports for horizontal overhangs. This issue gets worse the longer the unsupported overhang. 
However, if you do build a support for the overhang, then the print quality is much better. You can avoid the spaghetti printing. 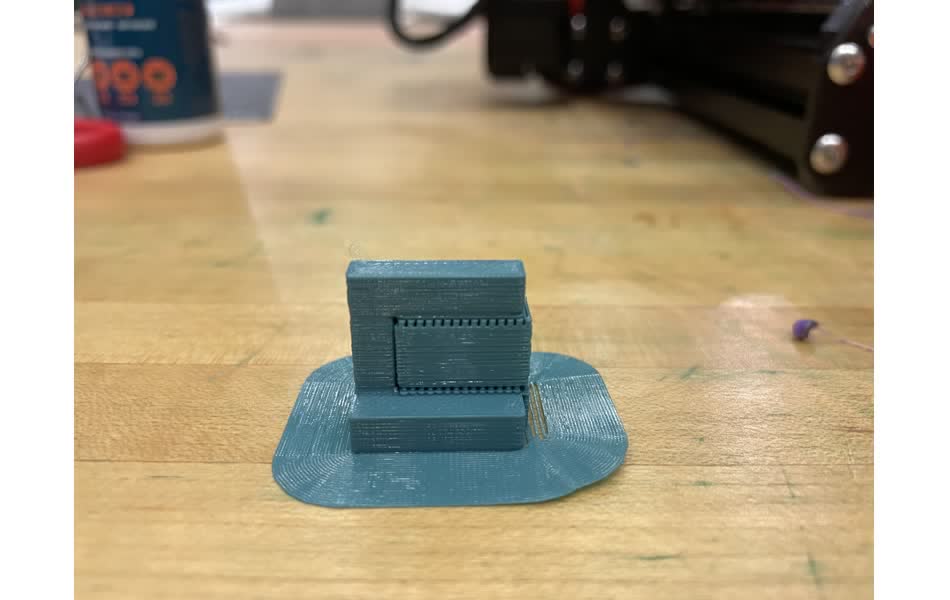
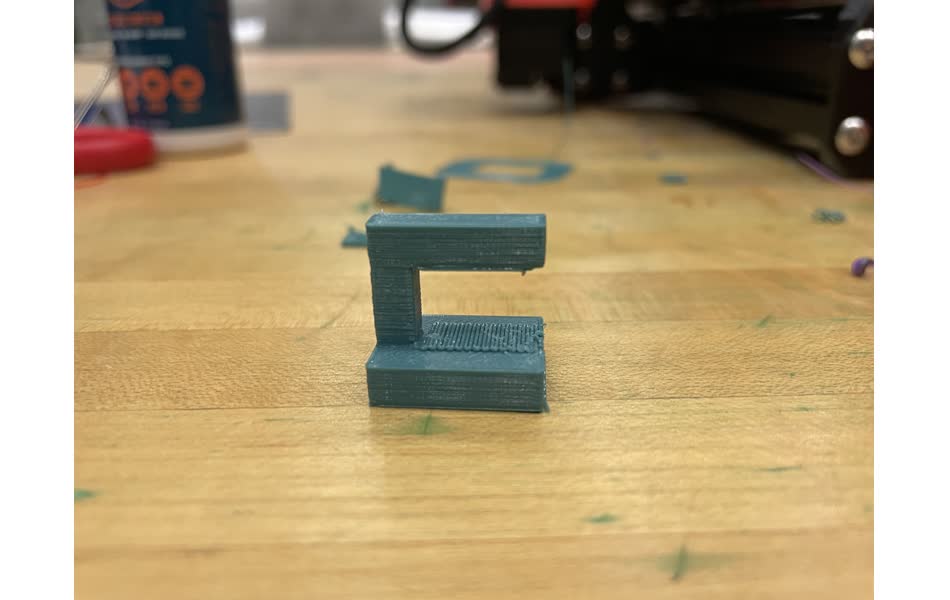
If you print at angles, you may be able to get away from having a support. The print still looks very clean at `60° angle from the base. Angles lower than that start to get a little bit messy. 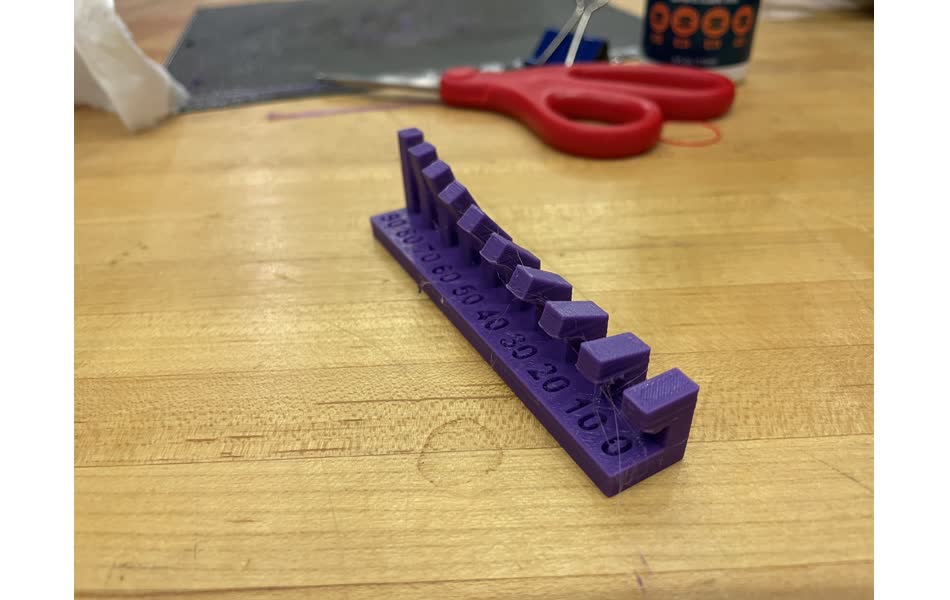
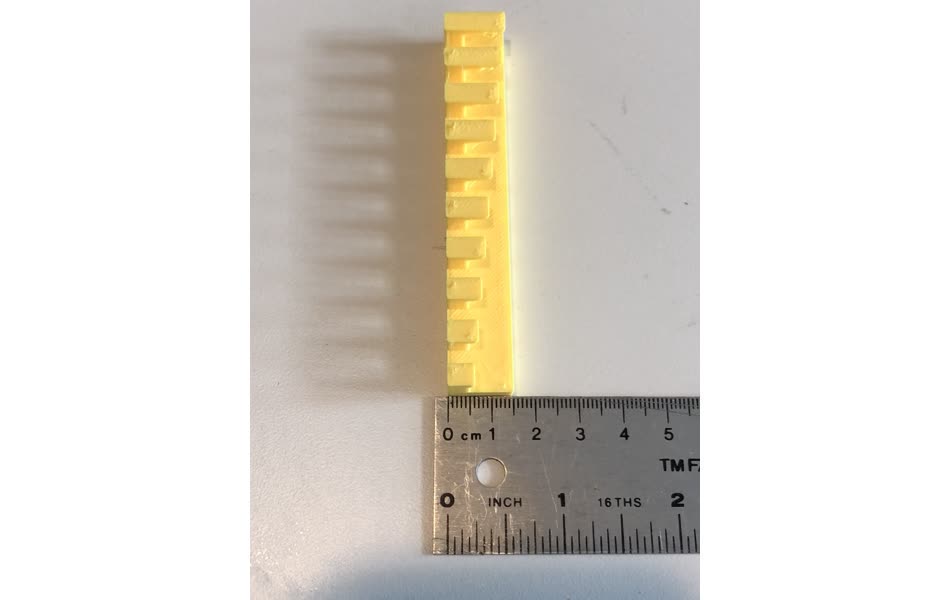
Bridging
The printing works surprisingly well if you bridge across two points. The printing will tend to sag a little in the middle of the bridge, but it fares better than the overhang since two sides of the print are supported. 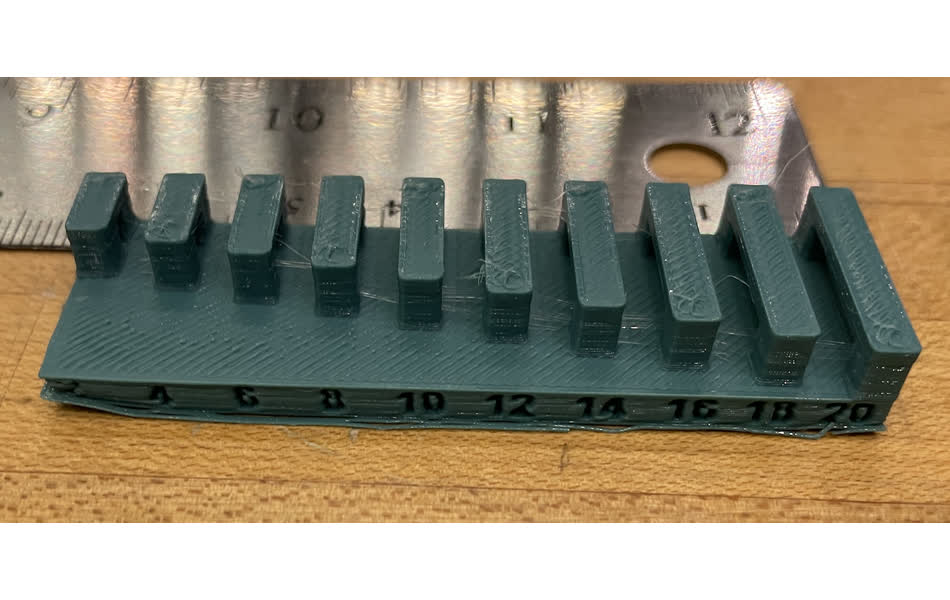
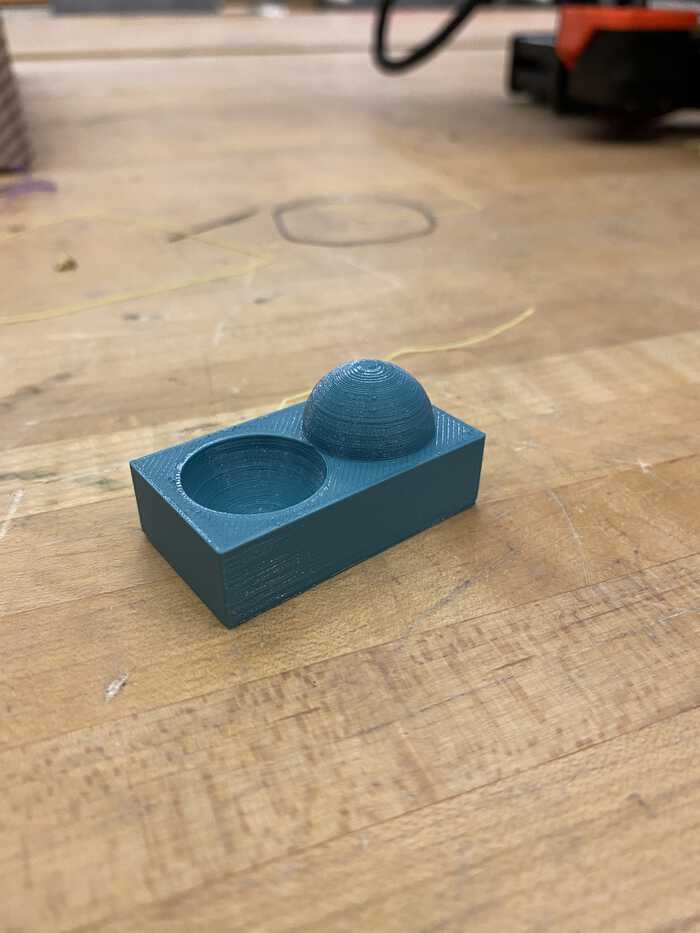
Surface Finish
The Prusa prints pretty well. If you print a sphere-like shape, you will see striations. It does not print perfectly smoothly. However, for prototypical purposes I’d say it is still pretty satisfactory if you care more about the overal structural geometry and less about the smoothness of the print. Compared to the Stratasys J55 printer though, you can see that the quality is much lower.
Infill
It seems it ends up as spaghetti sometimes… 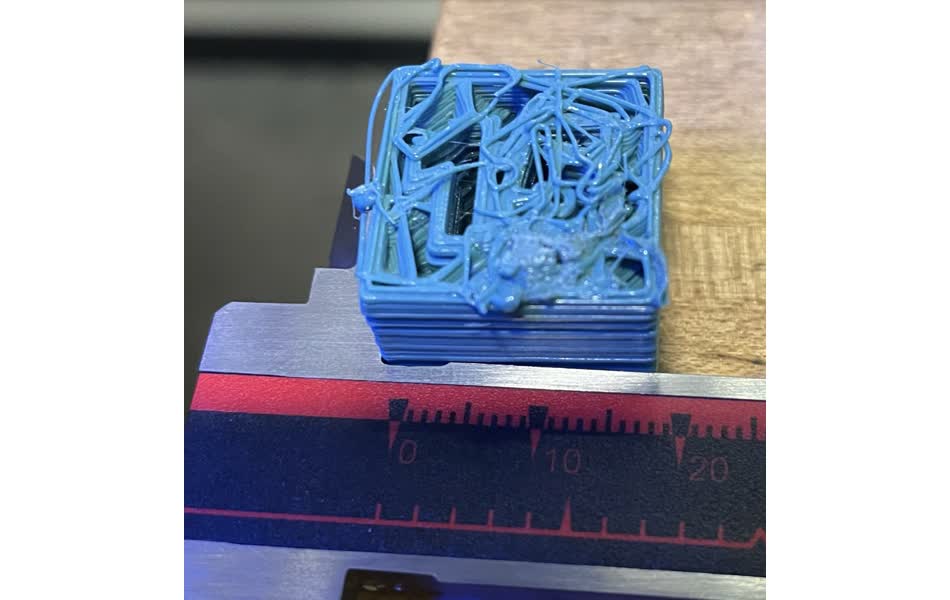
But here it is looking better. Despite the number always being 15, the infill is changing (0, 15, 50, 100?). Seems that an infill of 15 would be sufficient if you only care about the geometry. Otherwise, there is a trade-off to consider. A higher infill will yield a stronger object that is harder to break, but can take considerably more material and time to produce. 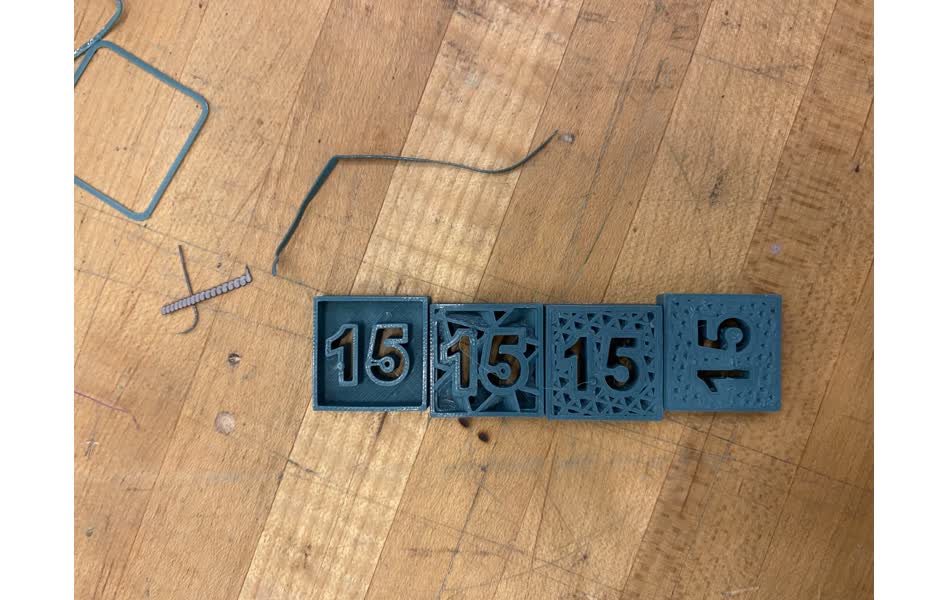
TBD Design Rules
Some of the design rule printing attempts did not work out so far…
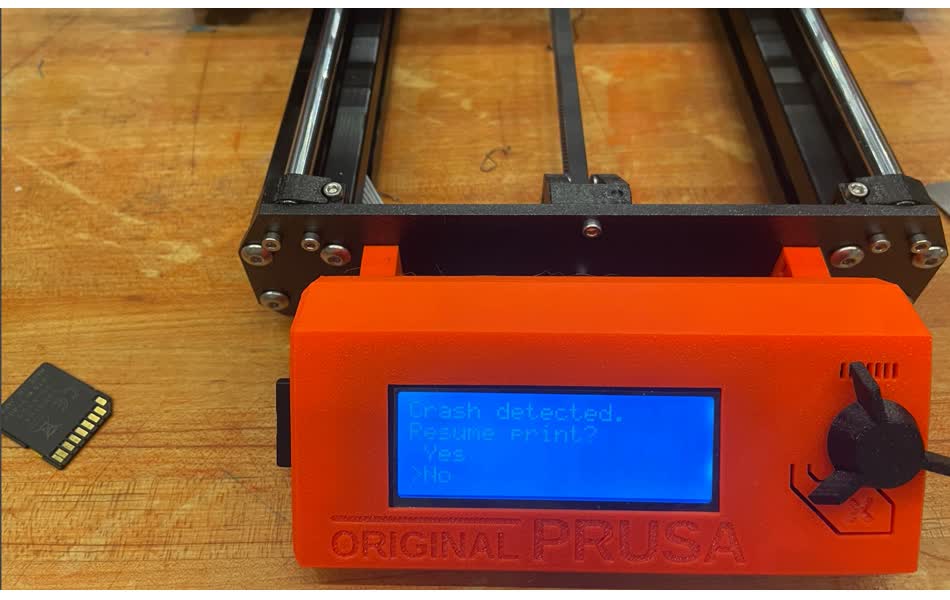
Clearance
This one seemed to cause a crash? Or stopped itself from printing