Group Assignment
Review the safety data sheets for each of your molding and casting materials, then make and compare test casts with each of them.
Safety Data Sheets
- not considered hazardous by the US occupational safety and health administration (OSHA) nor the Canadian Workplace Hazardous Materials Information System (WHMIS)
- No hazardous ingredients!
- If in contact with eyes, flush eyes with plenty of water
- If in contact with skin, wash thoroughly with soap and water and remove contaminate clothing and launder before wearing it again
- If ingested, do NOT induce vomitting
- If inhaled, move victim to fresh air
- this is relatively safe to use
- particulates an dust may cause irritation to the eyes or trigger coughing
- doesn’t pose a skin hazard
- ingestion may cause stomach discomfort
- can cause serious eye damage/irritation
- can cause skin irritation
- can be carcinogenic when inhaled
CerroTru
- I couldn’t find a safety data sheet. I guess because this is actually not a chemical. Seems like there is no lead though, so no need to worry?
Individual Assignment
Design a mold around the stock and tooling that you’ll be using
- mill it (rough cut (at least) three-axis finish cut)
- use it to cast parts
Materials and Tools
- Software: Adobe Illustrator, Partworks3D
- Protective Glasses (don’t want shrapnel in your eyes)
- Ear Buds (want to avoid loud sounds)
- Hair tie (keep your long hair out of the way!)
- Shopbot 3-Axis Desktop Milling Machine
- Digital Scale
- Vacuum (remove shredded wax bits)
- Block of Wax (Dimensions: 7x3x1.5 inches)
- OOMOO from SMOOTH-ON
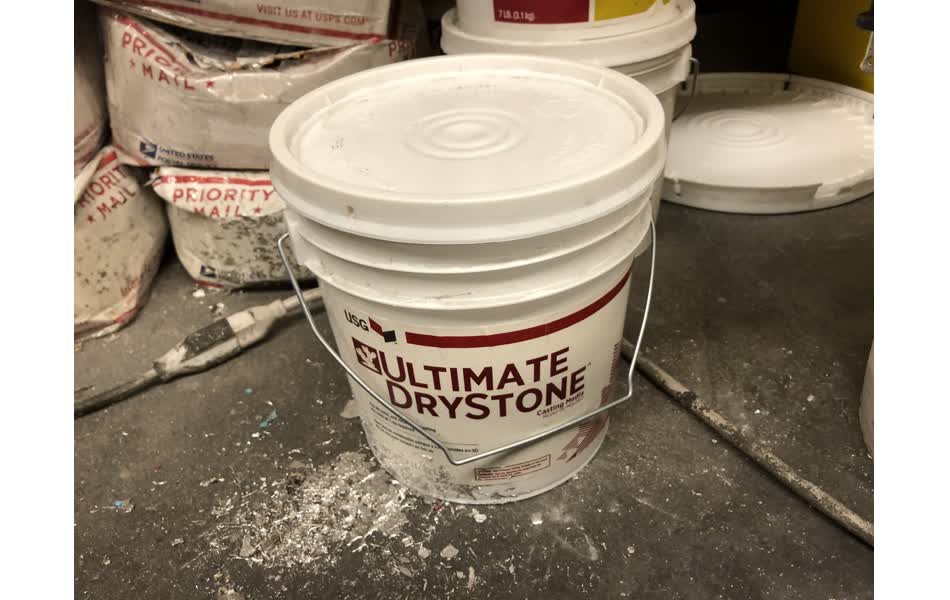
- USG Drystone™ Casting Media
- USG HydroStone® Super X Gypsum Cement
- Cerrotru Bismuth/Tin Alloy
- Popsicle Sticks for stirring
- Plastic Cups for pouring and mixing of materials (SOLO clear plastic cups are good for this)
Process
Files
2D Design (.ai) 2D Design (.dxf) 3D File (.stl) Toolpath (.sbp)
Design a Mold
I was very inspired by the molding done by Ani Liu in a previous year for HTM(A)A. I also wanted to try to cast the Chinese character for my family name. To do this, I first looked at an existing calligraphic representation of my name “Leong”. I brought this into illustrator and created filled shapes for each stroke. I modified the design to make it compatible with the 0.125 inch end mill that would be available on the Shopbot. I tried to create a circle with the given dimension of the endmill, but it turns out (later) that this is buggy method and Illustrator cannot be trusted for a compatible estimate on the dimensions for milling. Once you have a design in illustrator, you can export it as a .dxf file, so that the design can be imported and extruded in Fusion 360. I chose a height of .25” for the base, and .75” inch for the character. Note that I did seven iterations of this ![]() . Finally, I had a 3D design that would work. I exported this as an
. Finally, I had a 3D design that would work. I exported this as an .stl file to import into PartWorks3D for generating a toolpath.
The main problem I ran into is that the chinese character has many fine details. Thus, in my original design, when I checked the design in PartWorks3D, I saw in the toolpath that the endmill would not fit into the spaces between some of the strokes. This would mean that the character would not turn out correctly. I went back into Illustrator several times to slightly modify the character. I didn’t want to modify it so much that the character would be unrecognizable or ugly. I also initially had a design with a border, but I removed it because I needed to scale the character up larger to allow space for the endmill. It was also sitting too close to the limits of the wax block, meaning that I wouldn’t be able to carve a margin around the border to create the negative mold. Next time, I will be sure to make a design that fits well within the limits of the material so I wont’ have this problem. You’ll see that I eventually tape cardboard around my design to make a mold. This is because I couldn’t design it any smaller to create a wall around the design to hold the liquid mold material.
This is an example of an unsuccessful toolpath in Partworks3D. You can see that the end mill will not get into all the spots. 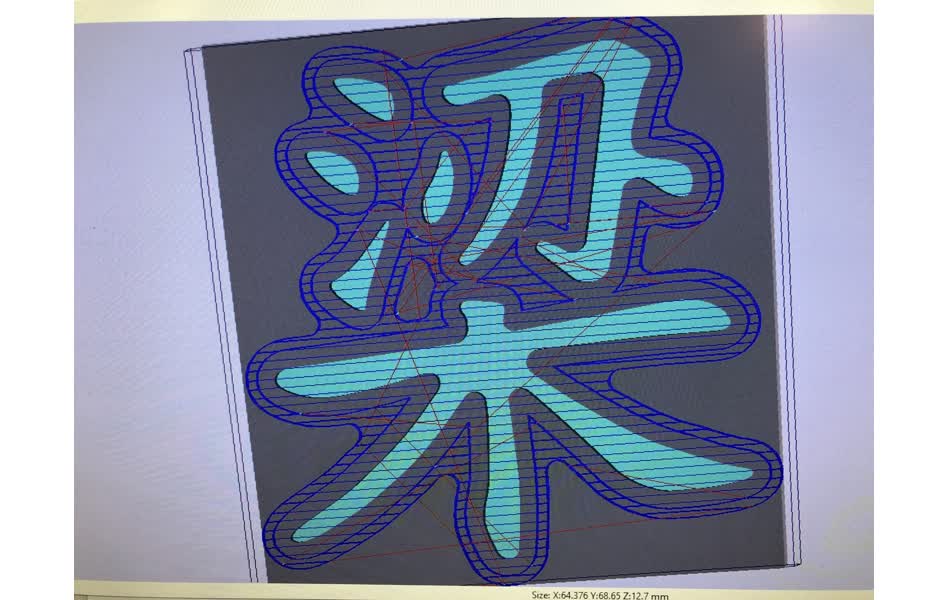
Below is the successful toolpath I created after several iterations. You can see the end mill will reach all the spots. There is a weird island in this preview. Tom said he had never seen this bug before, but suggested I could go with it and manually knock it out. It turns out that after however that after I introduced a positive base for the letters, it disapppeared. 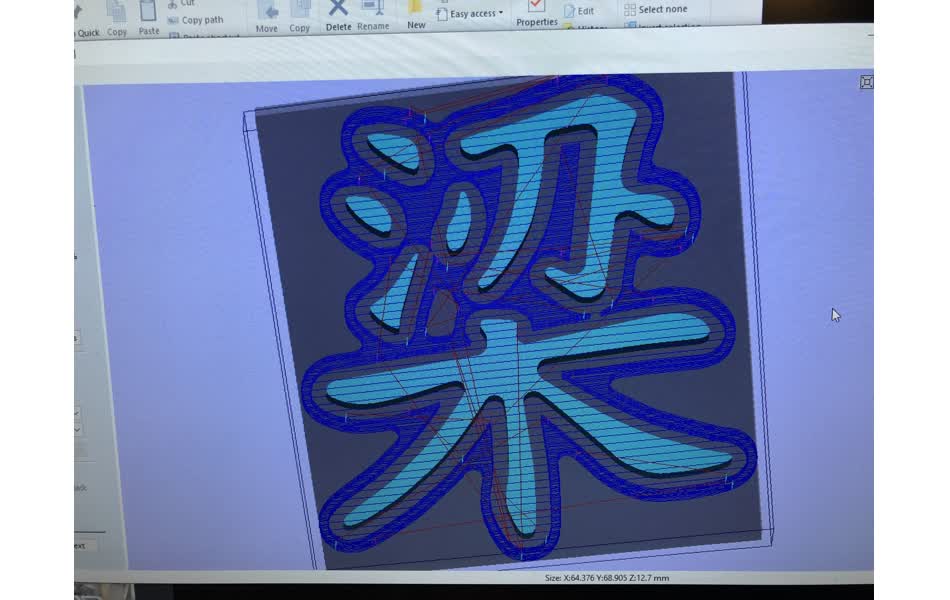
Prepare the Tool Path
I imported the 3D design .stl file into PartWorks3D. From here, you need to choose the settings carefully.
Things to watch out for:
- Choose the correct dimensions for your material. Check the units, sometimes it can be in
mmand other timesinches - Choose the top, bottom-left corner of the material as your zero point
- Embed the design deeply enough into the material, so when you make the mold, your mold will have a base
- Make sure the parameters are correct. Tom gave us suggestions for what to use.
- Check the preview of the toolpath. This way you can see if your design should come out correctly, or if there will be missing parts.
As my design had flat, horizontal faces instead of sloping faces, I only needed to create a roughing toolpath. Sloped faces would need a second pass, for a finishing cut.
I took screenshots of the settings I used in Partworks3D…


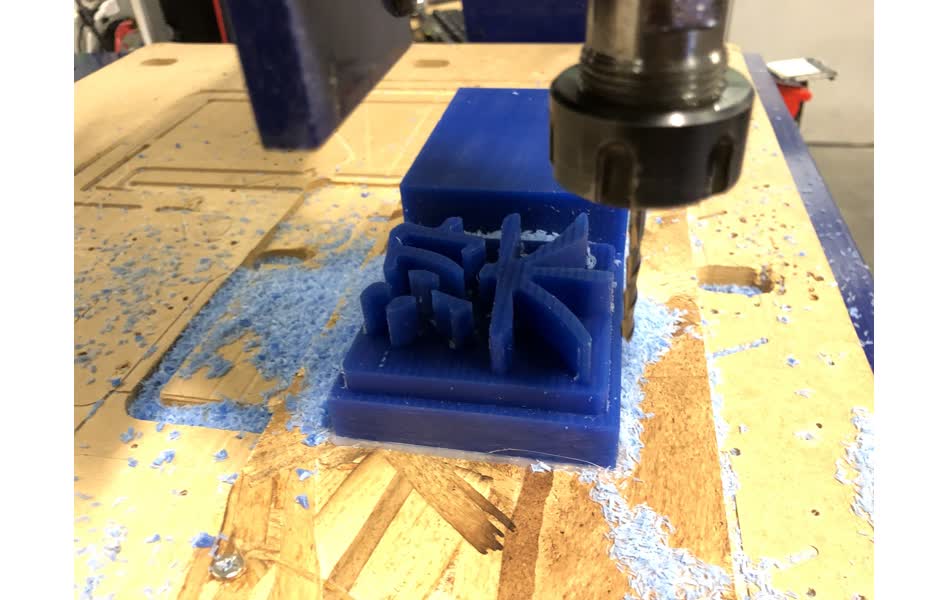
Milling
Now you need to set up your wax block on the machine, and zero the machine.
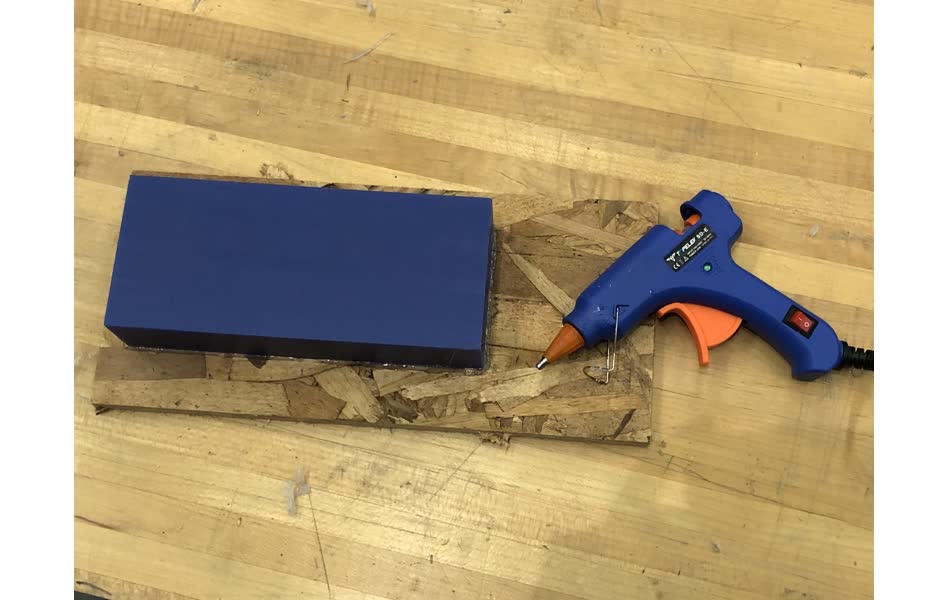
- Hot glue your wax block to the middle of a sacrificial board. We had OSB on hand. Just add a bead of glue around the bottom perimeter of the block to hold it in place.
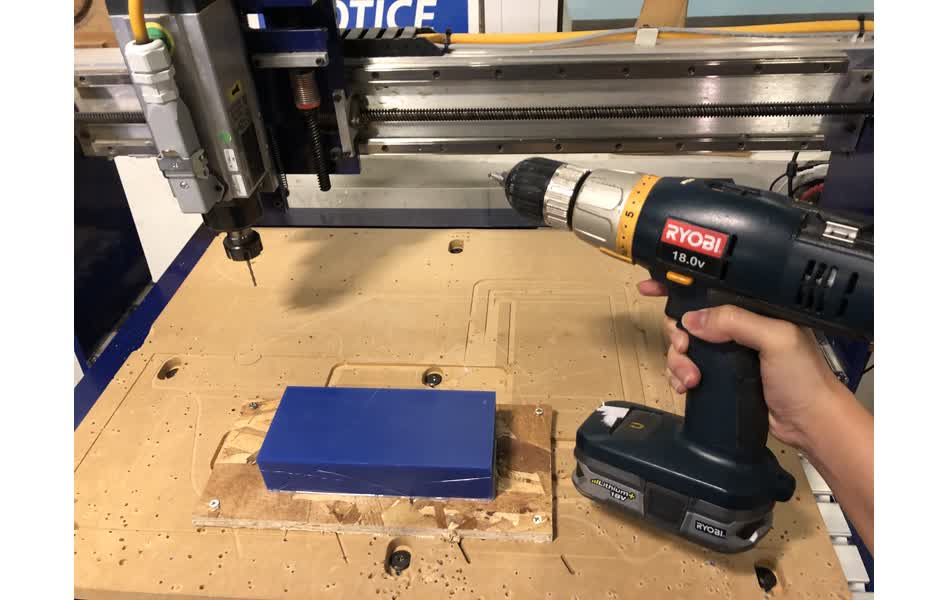
- Use a power drill the screw down the base sacrificail board to the sacrificial board of the Shopbot.
- Zero the head for XY coordinates using the up, down, left, right arrow keys. You may need to raise the head with the page-up, page-down keys.
- Zero the head for the Z coordinate. Make sure you affix the alligator clip to the head, and place the metal base plate comfortably on top of your material.
- Load your generated toolpath and start the machine.
- Enjoy the milling process by watching and vacuuming up bits of wax as they are flung into the air, and hearing loud sounds.
- When the job is done, position the head away from your stock using the same controls. Unscrew the board and remove your job.
Molding Time
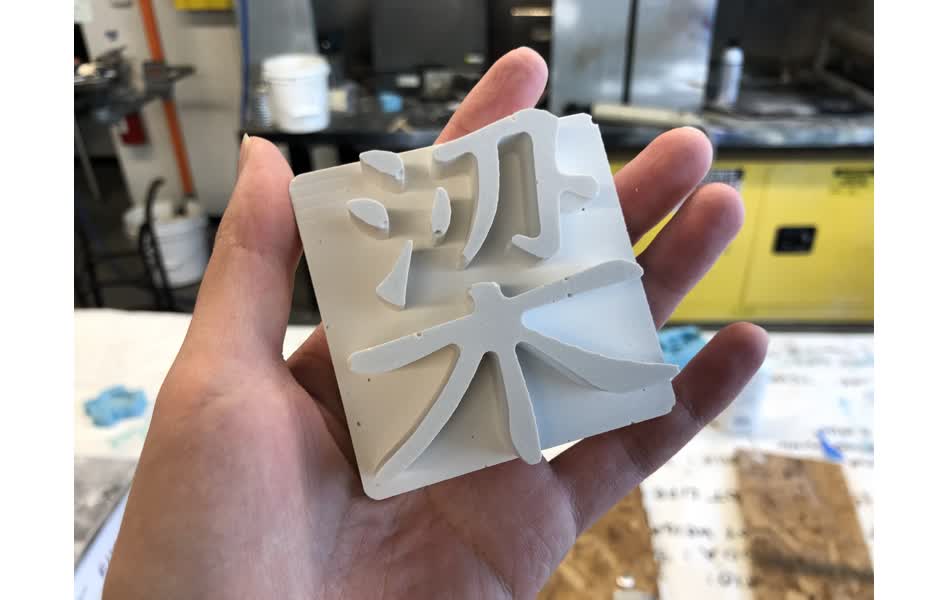
Now that you have your POSITIVE design, you need to make mold which will be the NEGATIVE of your design. We used a material called OOMOO (very friendly sounding name).
Preparing OOOMOO:
- Put on a coat or apron, some protective latex gloves and safety glasses! You don’t want this stuff touching your bare skin or getting into your eyes.
- Stir each component for 3-4 minutes.
- Pour our equal amounts of each component into plastic cups. You need a 1:1 ratio of this stuff.
- Pour the components into one large cup, and stir for another 3 to 4 minutes. Try not to add bubbles when stirring by folding the material. However, MIX WELL. I would say it’s better to mix vigourously and add bubbles, rather than undermix, which is what I did the first time.
- Pour the mixture into your mold. Try to pour such that you get a narrow stream of the material to come out. That way, bubbles tend to pop as they exit the cup, and you use gravity to get the material to fill the crevices to avoid bubbles.
- I recommend agitating the material after you’ve poured it.
- Wait for at least 75 minutes for it to harden.
This is my first failed attempt ![]() . I didn’t mix it well enough, so after waiting 2 hours it was still soft and couldn’t hold its shape when I tried to remove it.
. I didn’t mix it well enough, so after waiting 2 hours it was still soft and couldn’t hold its shape when I tried to remove it. 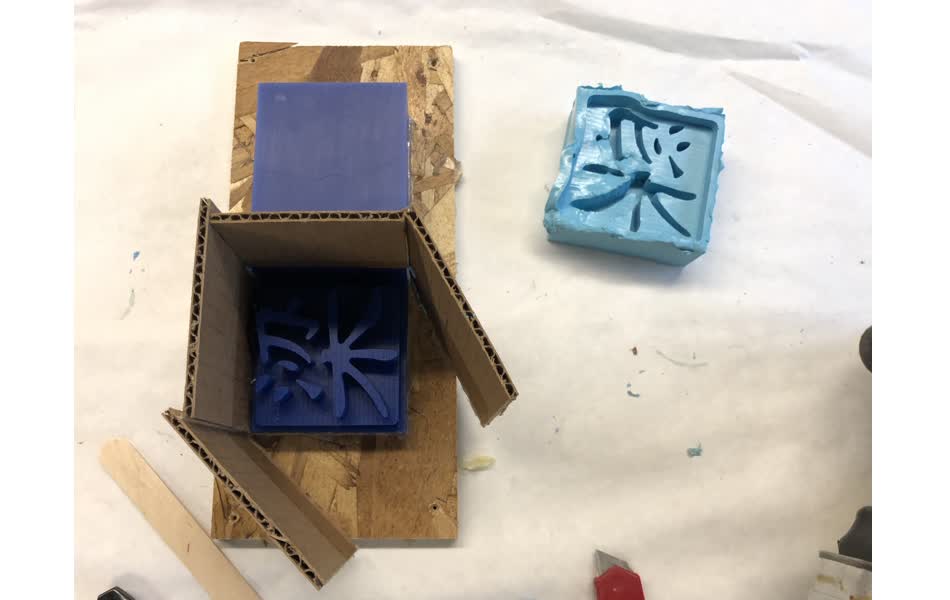
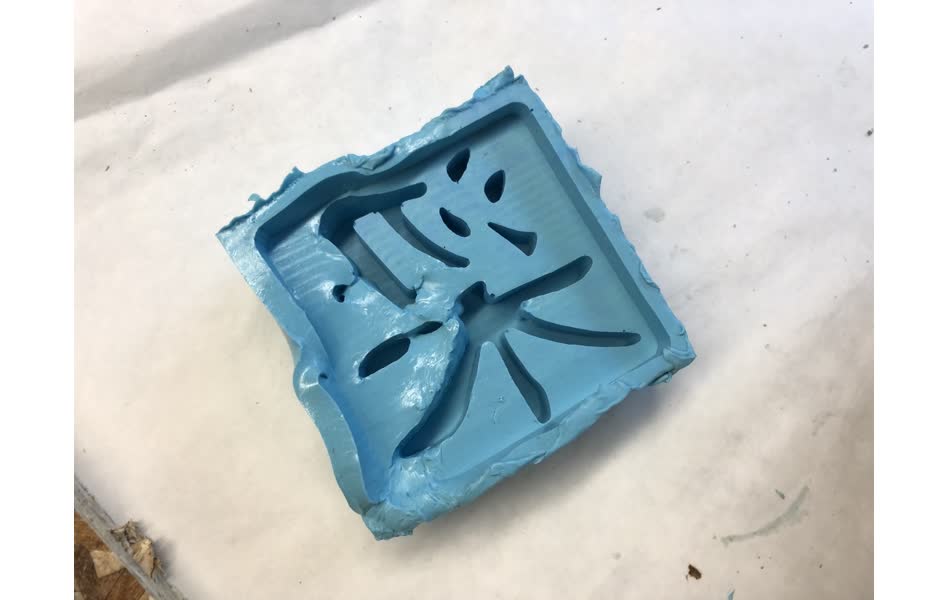
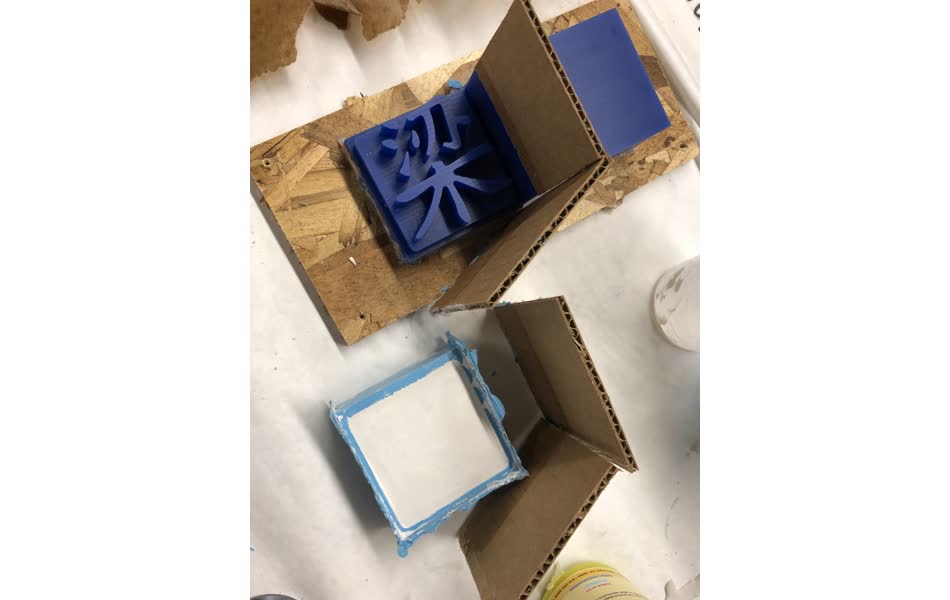
This is my second time, where I mixed the oomoo much more vigourously. It worked like a charm. 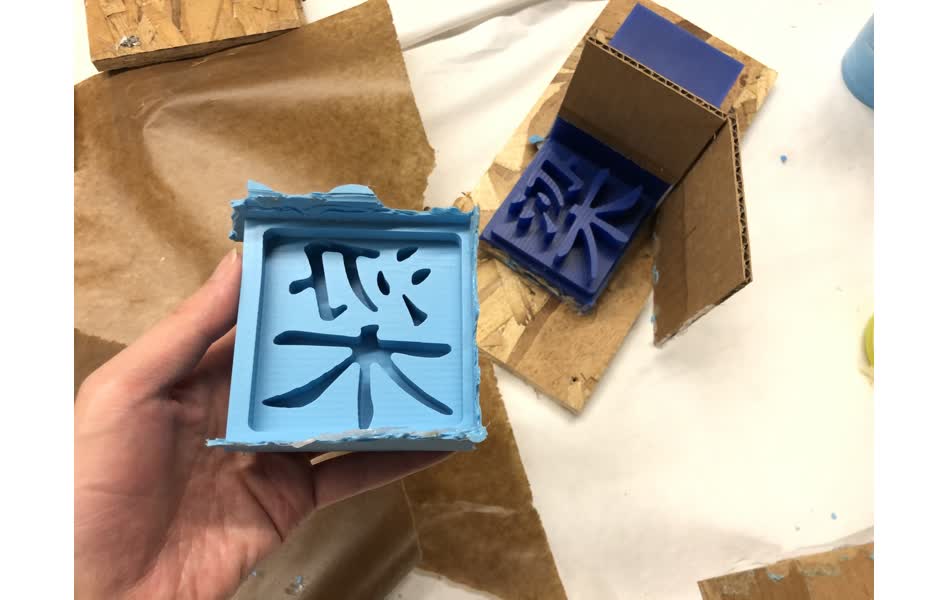
Casting Time
Great! Now that you have a functional mold, you can cast your design.
I decided to use the Drystone material, because I liked the bright white color of the solidified material, compared to the grey-ish tone of the hydrostone.
Preparing Drystone:
- Put on your protective gear again.
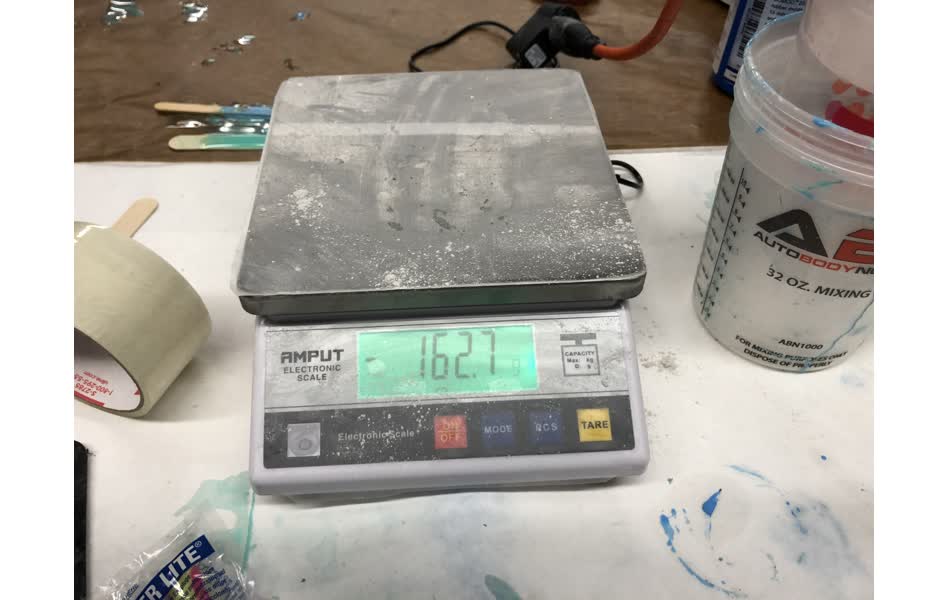
- Pour about 20 ml of water into a cup. You can place it on a digital scale to be precise.
- Add in 100 g of the Drystone.
- You can let it sit for a 1-2 minutes.
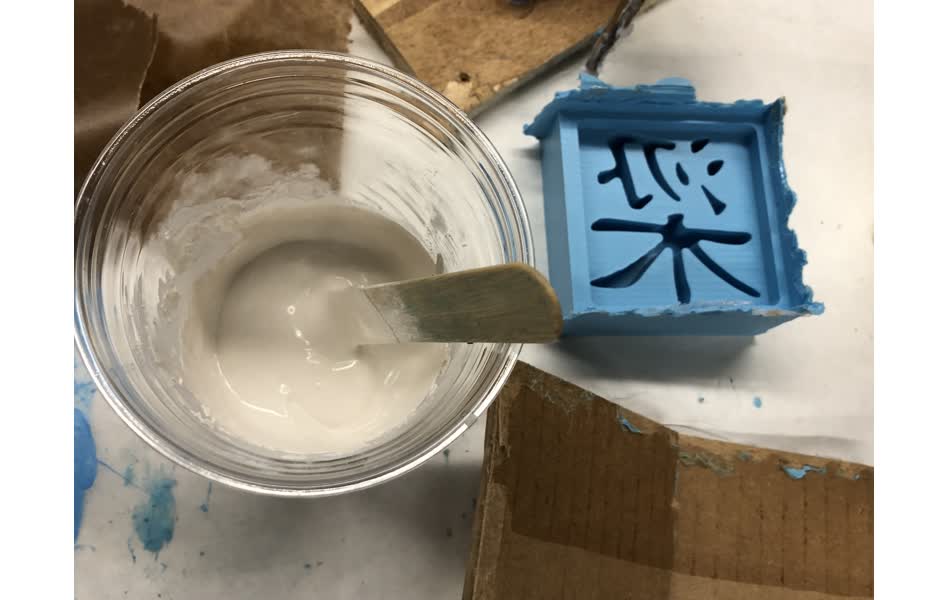
- Then mix vigorously! You don’t have to be as scared of bubbles with this one.
- Pour the mixture into your mold.
- I recommend to agitate the mold and the mixture by tapping the sides of the mold for a while. This encourages bubbles to be released so they don’t damage your design. I did this for a few minutes.
- Leave it alone to solidify for around 4 hours. I left my overnight!
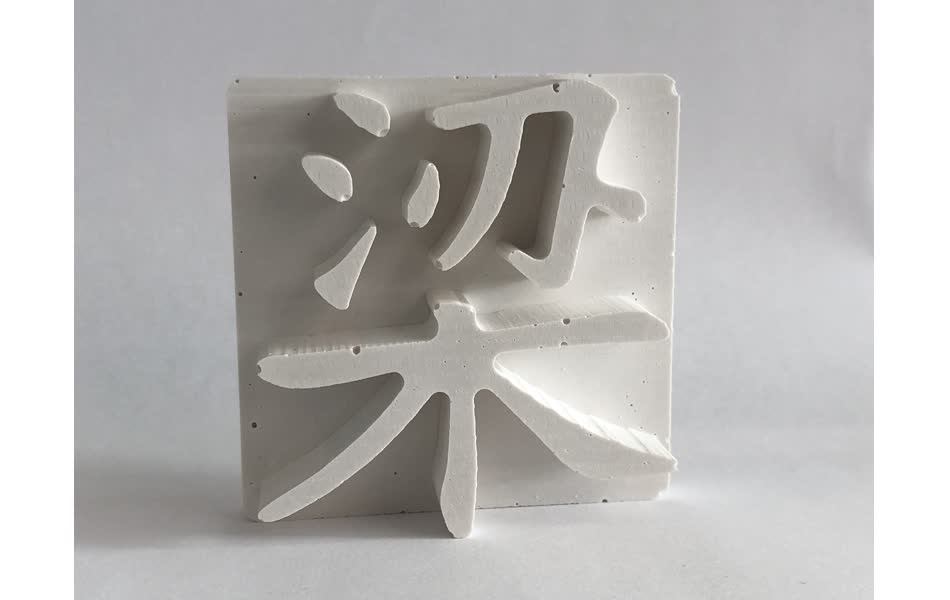
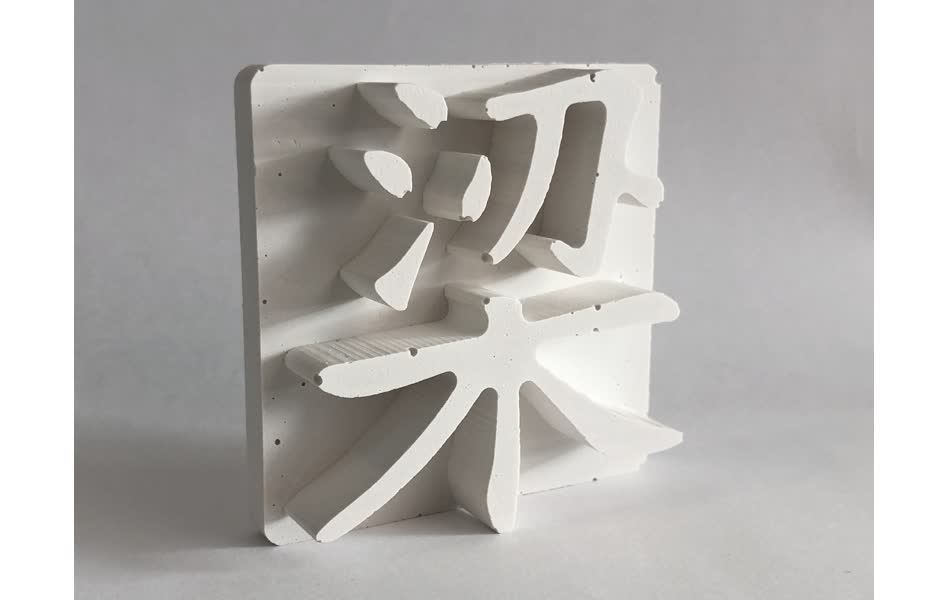
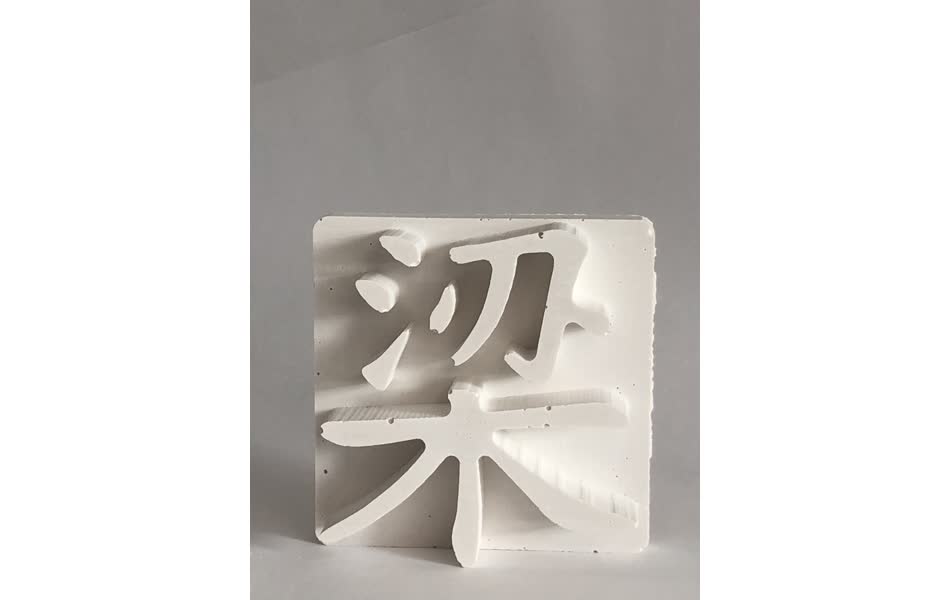
Final Design
This is how it turned out! Not too bad, I had some bubbles in my Drystone. This could have been helped by painting some of the wet mixture into the deep channels before pouring.
I’m pretty happy with how it turned out! I am now inspired to make a version that is mirrored, so I can use my cast as a stamp to stamp future artworks. ![]()
![]()