Individual Assignment
Mission
Model and print a design that cannot made using a subtractive manufacturing process.
Process
Modelling in FreeCad
The assignment was interesting - you have to print something that could not be made with a subtractive manufacturing process. I thought that one thing a subtraction manufacturing process cannot do is create something with a somewhat free-standing object embedded inside it. Another way I thoguth about it is you need to have pieces that an external tool would not have a straight-line access to. Speaking with Tom, we had this idea of a “ship in a bottle.” I thought this was neat and did my take on it.
Heart in a Bottle
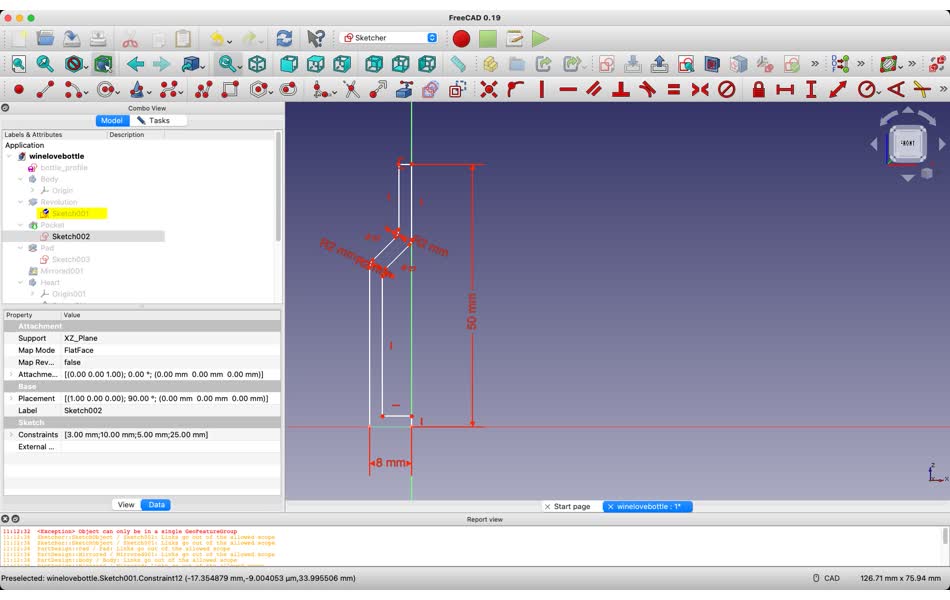
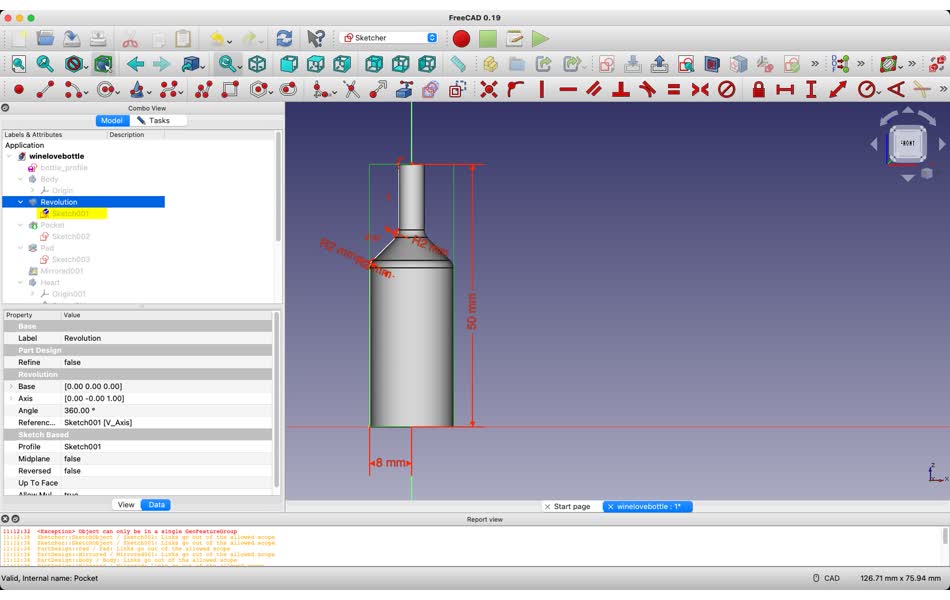
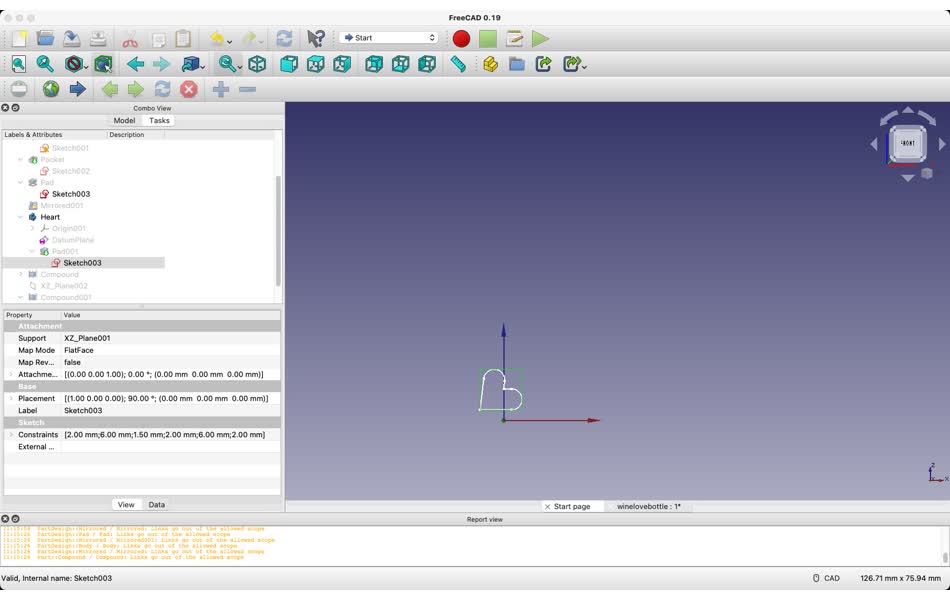
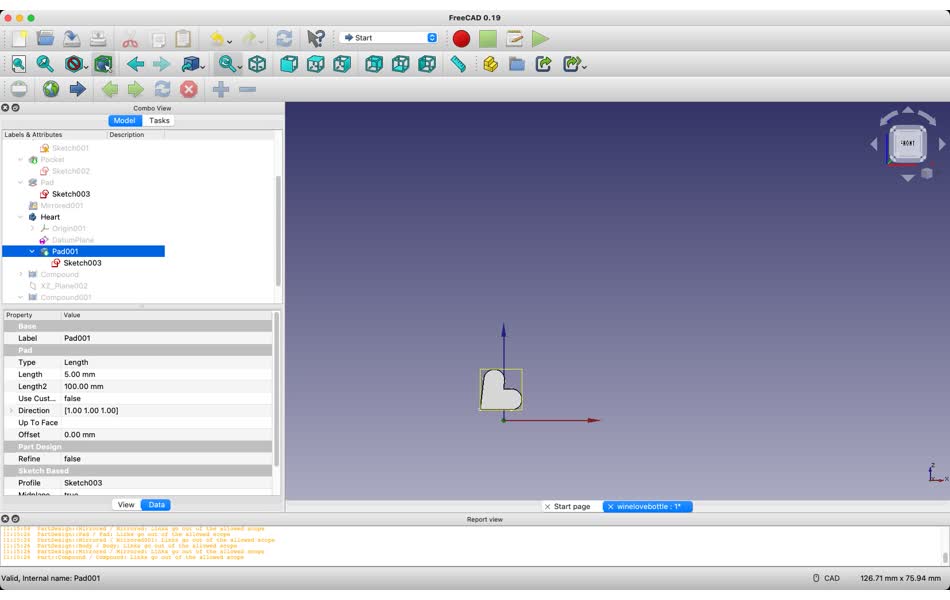
I had to learn quite a few things to get the effects I wanted in FreeCad. Hello Sketches, Part Bodies, and many many functions. I used a revolve function to get the bottle after drawing it’s profile. I then created a rectangle, padded it, and applied it as a pocket to the bottle to cut out a side of the face. I created the heart by sketching half a heart, mirroring the sketch, and adding a pad to it. It was tricky to position the piece where I wanted it to be. Eventually I modified the sketch to where I wanted it to be in the overall coordinate system and applied a padding to it. Finally I added a cylinder to the top as the wine stopper. There has to be a better way though, right? Anyways, rather than putting a ship in a bottle, I decided to put that little heart.


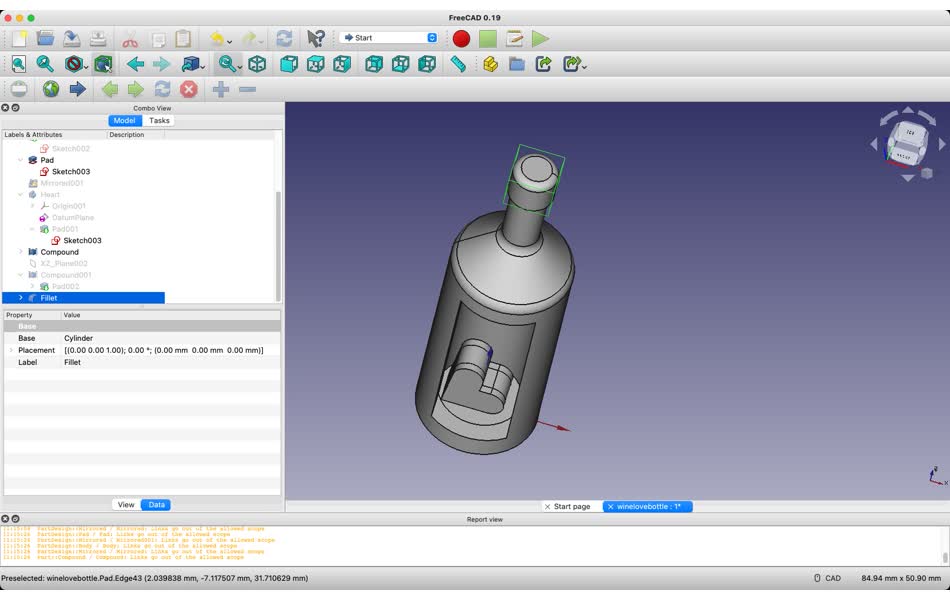
Heart in a Bottle (.FCStd) Heart in a Bottle (.stl)
Ship
Thinking of putting in a ship in a bottle, I also modelled a ship. One option I thought is to simply embed a ship in a filled geometry of a bottle. In this way, I think I could print a ship submerged in a bottle. However, I also wanted to model one that could simply be printed on the Prusa. Unfortunately, I couldn’t think of a way to print a ship in a bottle without suppports. If I put the ship in length-wise into a bottle, there will always be overhangs. If I print the bottle sideways, I would also need support. Therefore, I went ahead and modelled the ship alone, which also cannot be made with a subtractive manufacturing proccess. I’ll need to think more about how to print a ship in a bottle that doesn’t have unsupported overhangs.
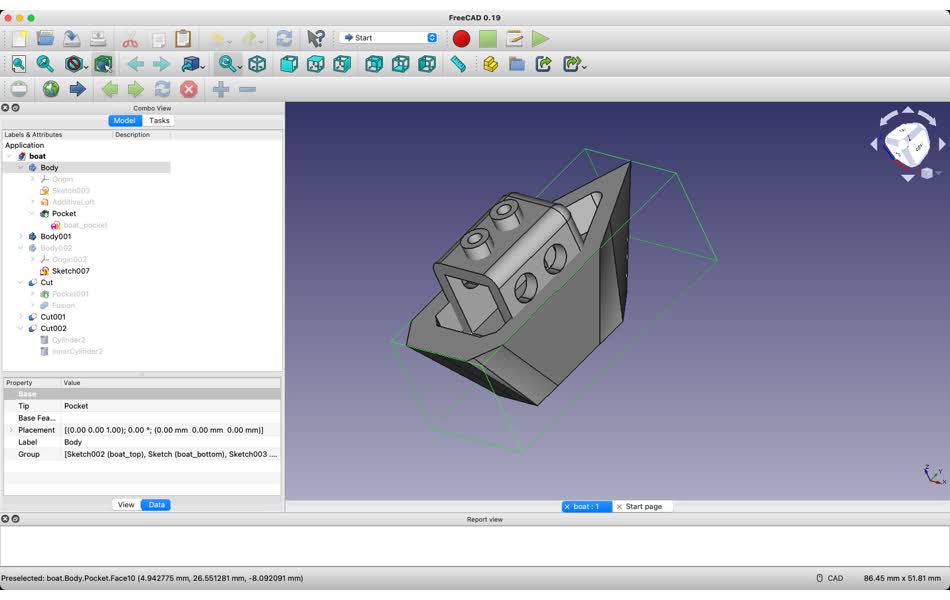
Printing on the Prusa
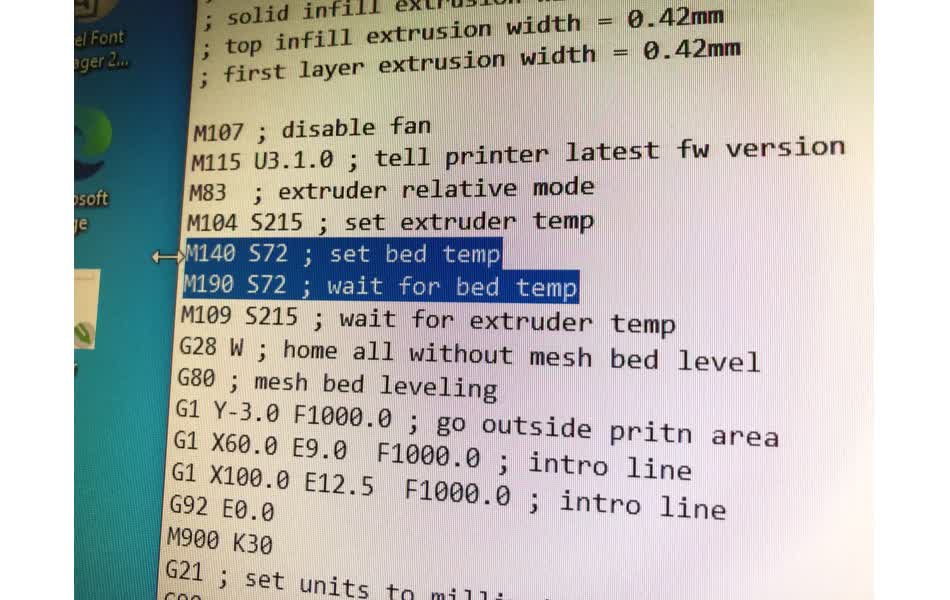
This was really a pretty straight-forward process! Export your model from FreeCad in a format such as STL. Open the Prusa software and import your model. Choose the settings you would like. Generate the gcode. Save the gcode file and edit the bed heating temperature to 72, up from 55. This seems to help with adhesion, keeping your print secured to the printing bed while printing. Put the file on an SD card, and insert the SD card into the printer. In the simplest case, simply select your file and it will start printing. Otherwise, you have an option to change some settings (e.g. slowing down the movement to help with overhangs, or changing the filament first). Just follow the prompts.
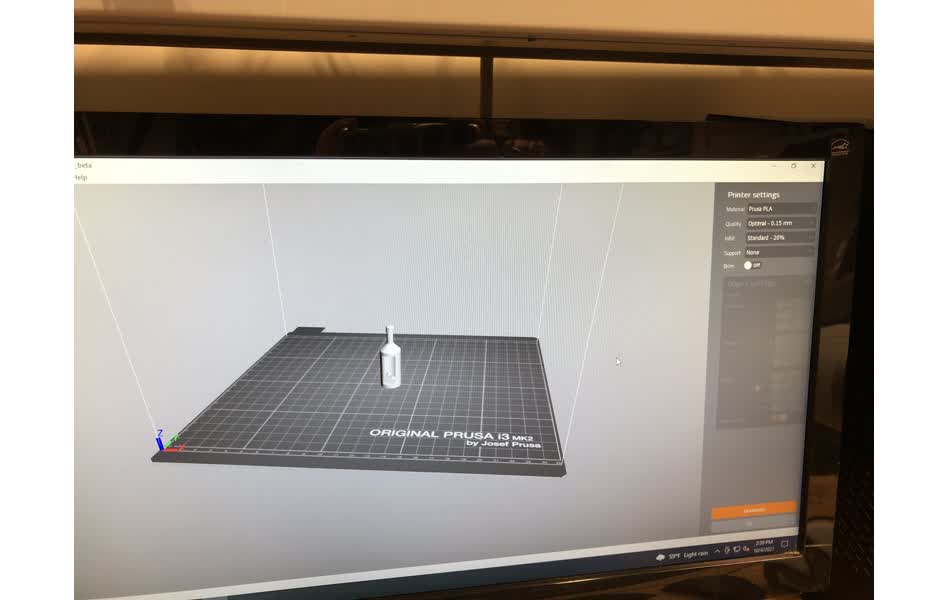
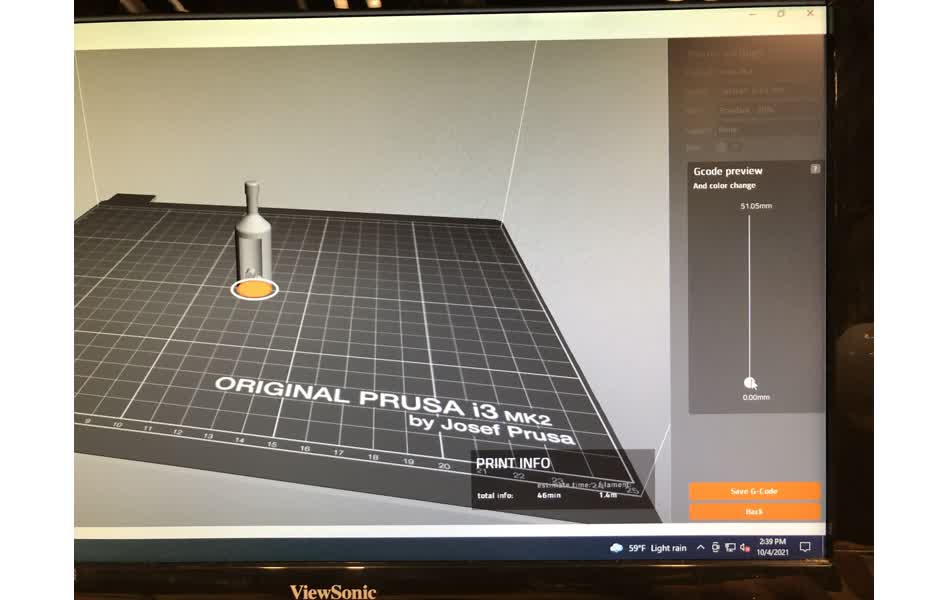
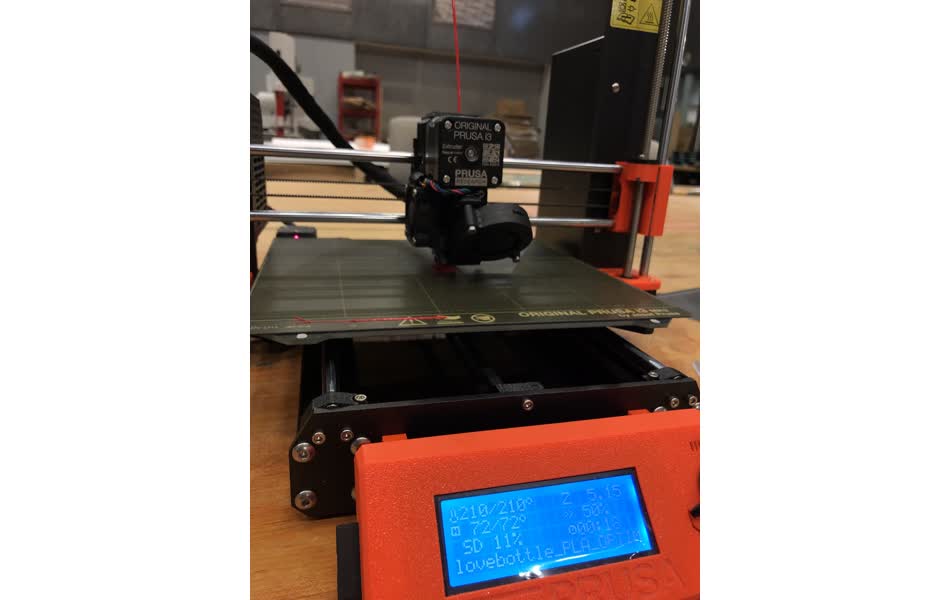
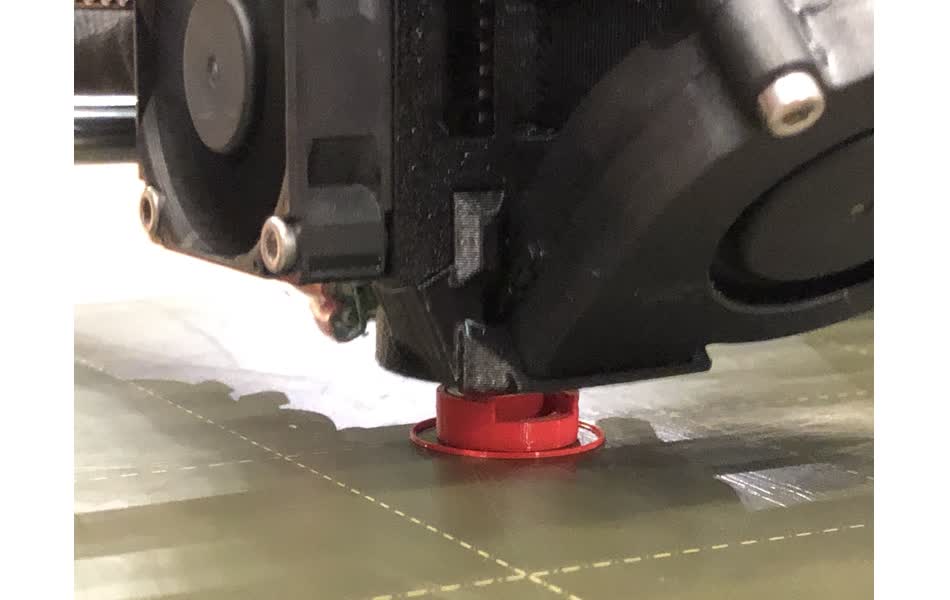

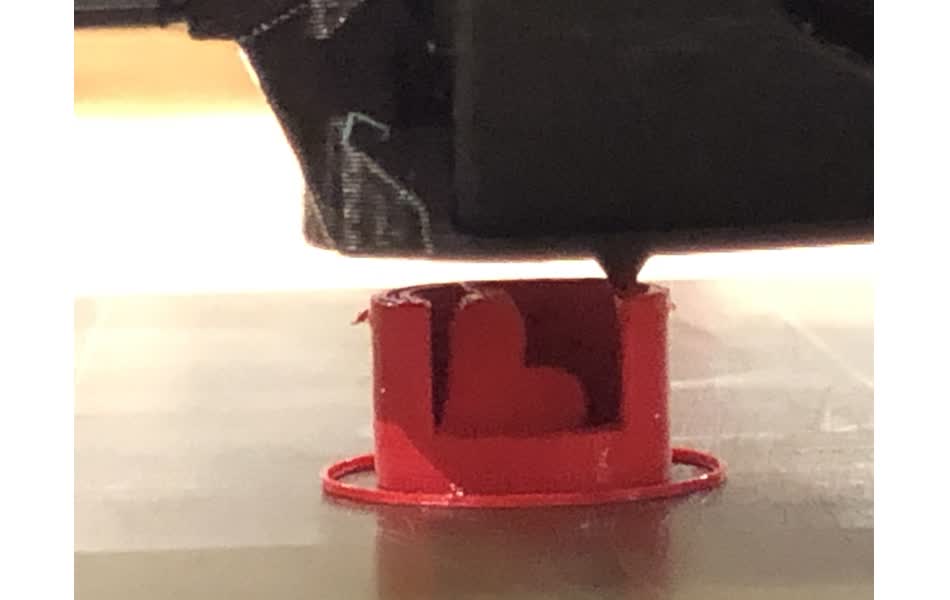
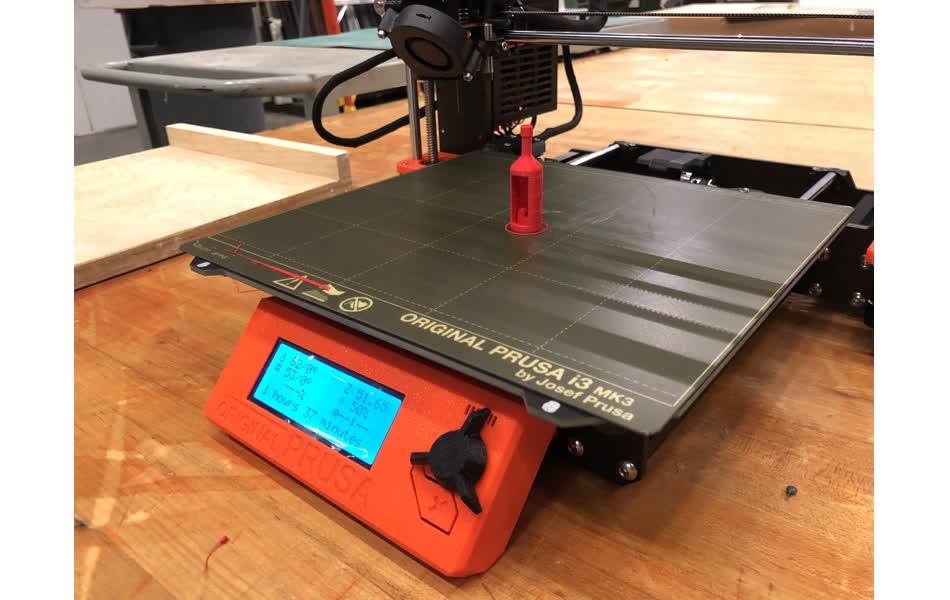
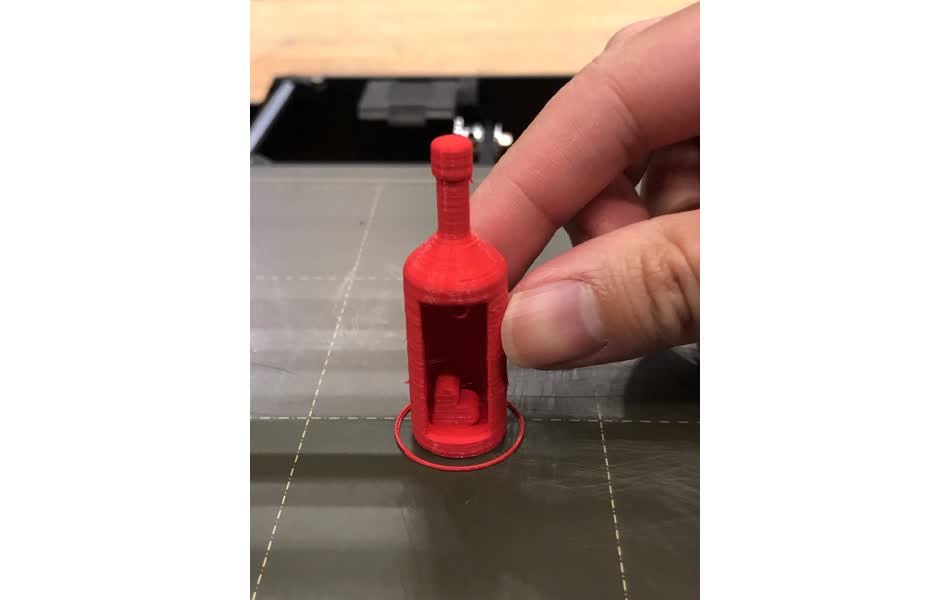
The print quality was pretty good, however you can see it did struggle on the overhang, at the top of the opening of the bottle. Otherwise, it printed very cleanly. ![]()
![]()
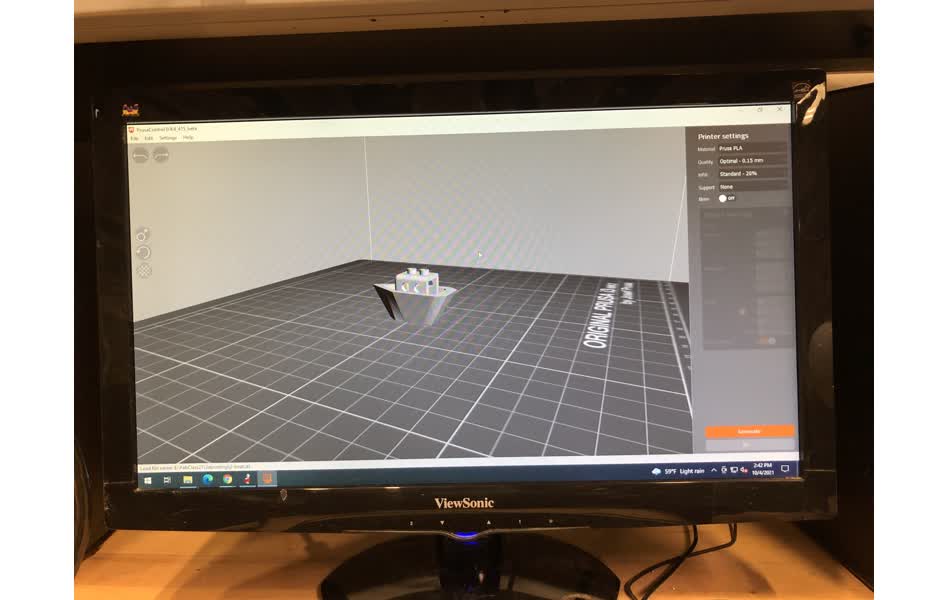
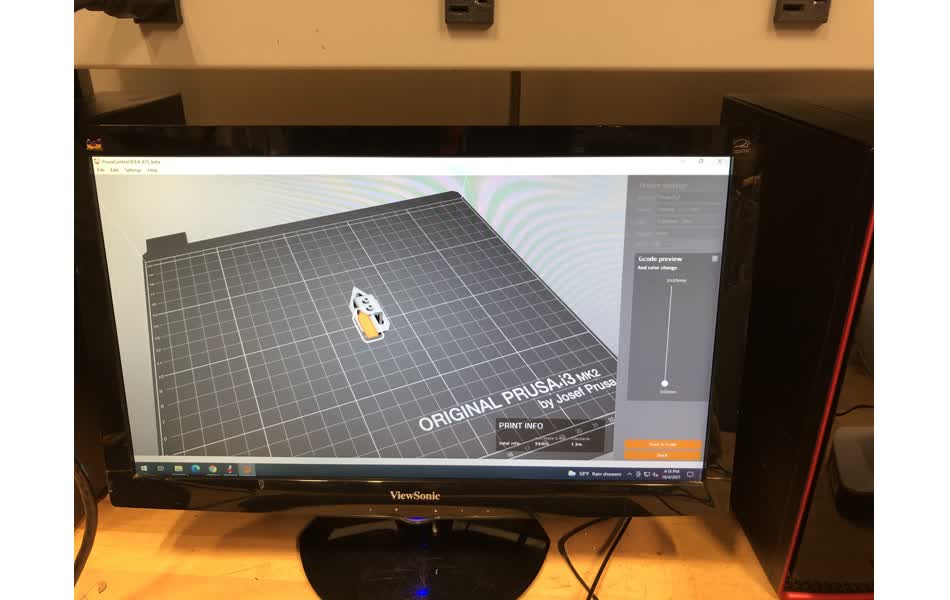
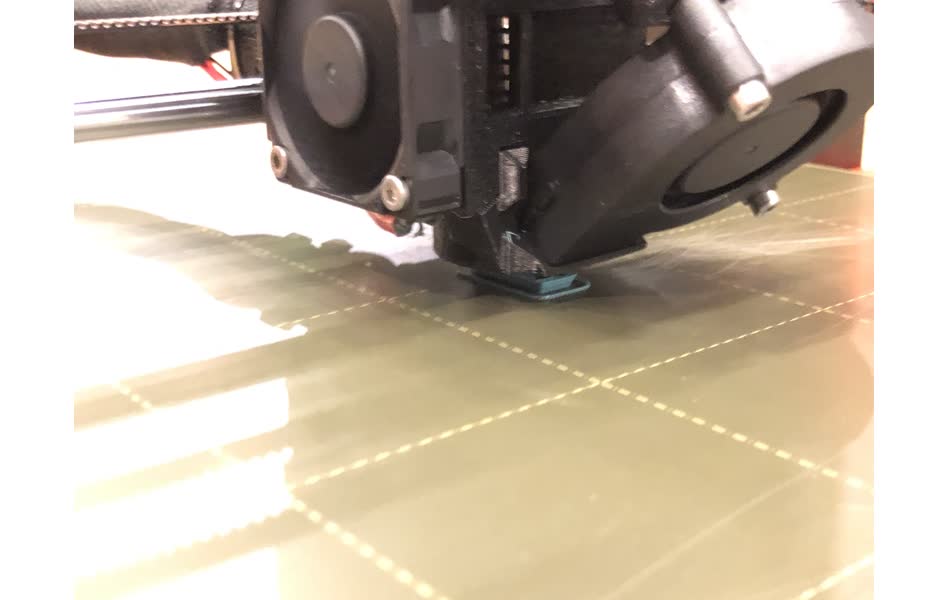
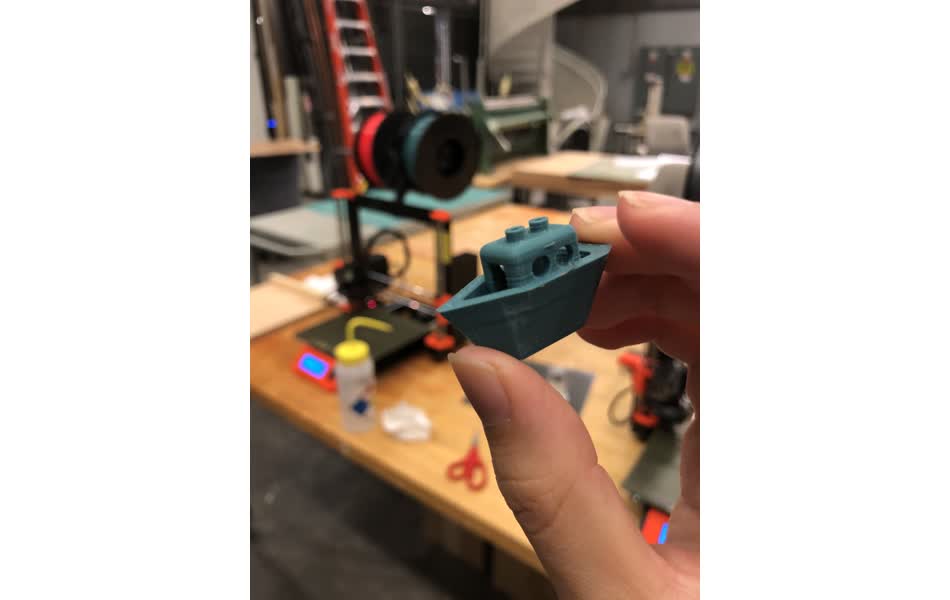
For the ship, you can see that it printed very well. ![]() Dare I say it was pretty smooth sailing? However you may see that the tops of the circular windows are slightly flat. There might be some loss in fidelity due to the relatively small size of the overall ship versus the thickness of the filament.
Dare I say it was pretty smooth sailing? However you may see that the tops of the circular windows are slightly flat. There might be some loss in fidelity due to the relatively small size of the overall ship versus the thickness of the filament.
Overview

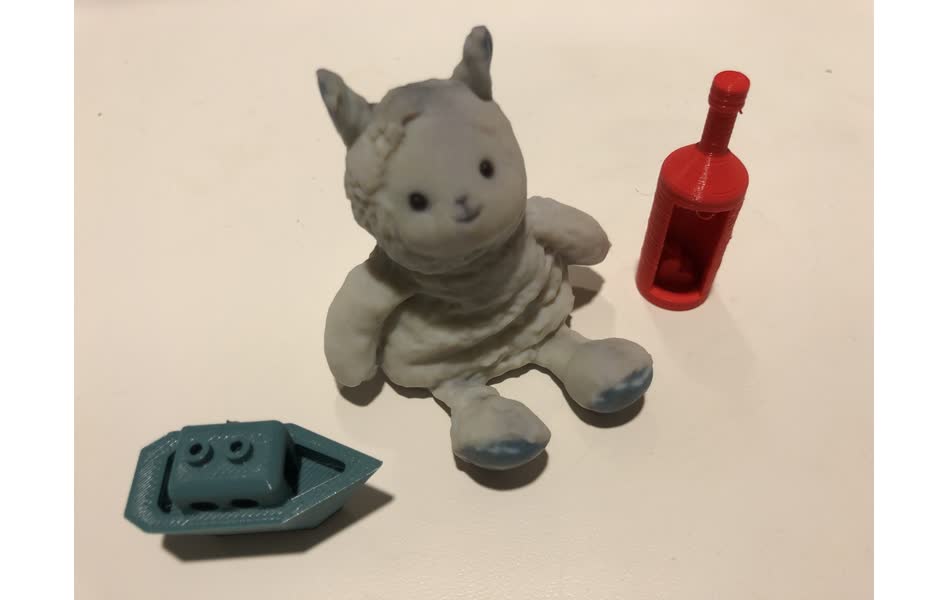 It’s kind of cool to see all the prints together. It looks like the Prusa printed objects are toys for the creature! The creature is docunented in the 3D Scanning section.
As a next step, I would like to try some programmatic generation of 3D models, perhaps using threejs to make more complicated geometries!