Vinyl Cutting
 In addition to the laser cutter, the task this week is to make ~anything~ using the vinyl cutter. This machine is a circuit maker 3, and it can make a variety of things. Starting simple, my goal is to make a sticker. I downloaded a design from the internet for a nonprofit that I am a member of – AstroAccess. AstroAccess is dedicated to increasing the accessibility of human spaceflight for the disabled community. Their logo is a great place to start for this assignment, seen left.
This logo was loaded to the circuit maker 3 software and then cut. I used a purple vinyl to match the logo color as best I could. Lots of rolling and carefully sticking the vinyl to the baseboard happened since I was nervous about the impact of bubbles during the cutting process.
Weeding took a bit of time and fine handywork, but thankfully the logo was easy enough to separate. Moving the logo to transfer tape was also relatively painless, and I then added a white vinyl backing to complete the sticker. The process of cutting, weeding, and transfering is shown in the panel below.
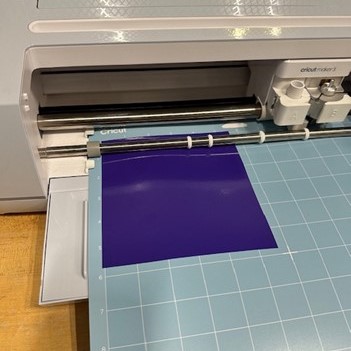

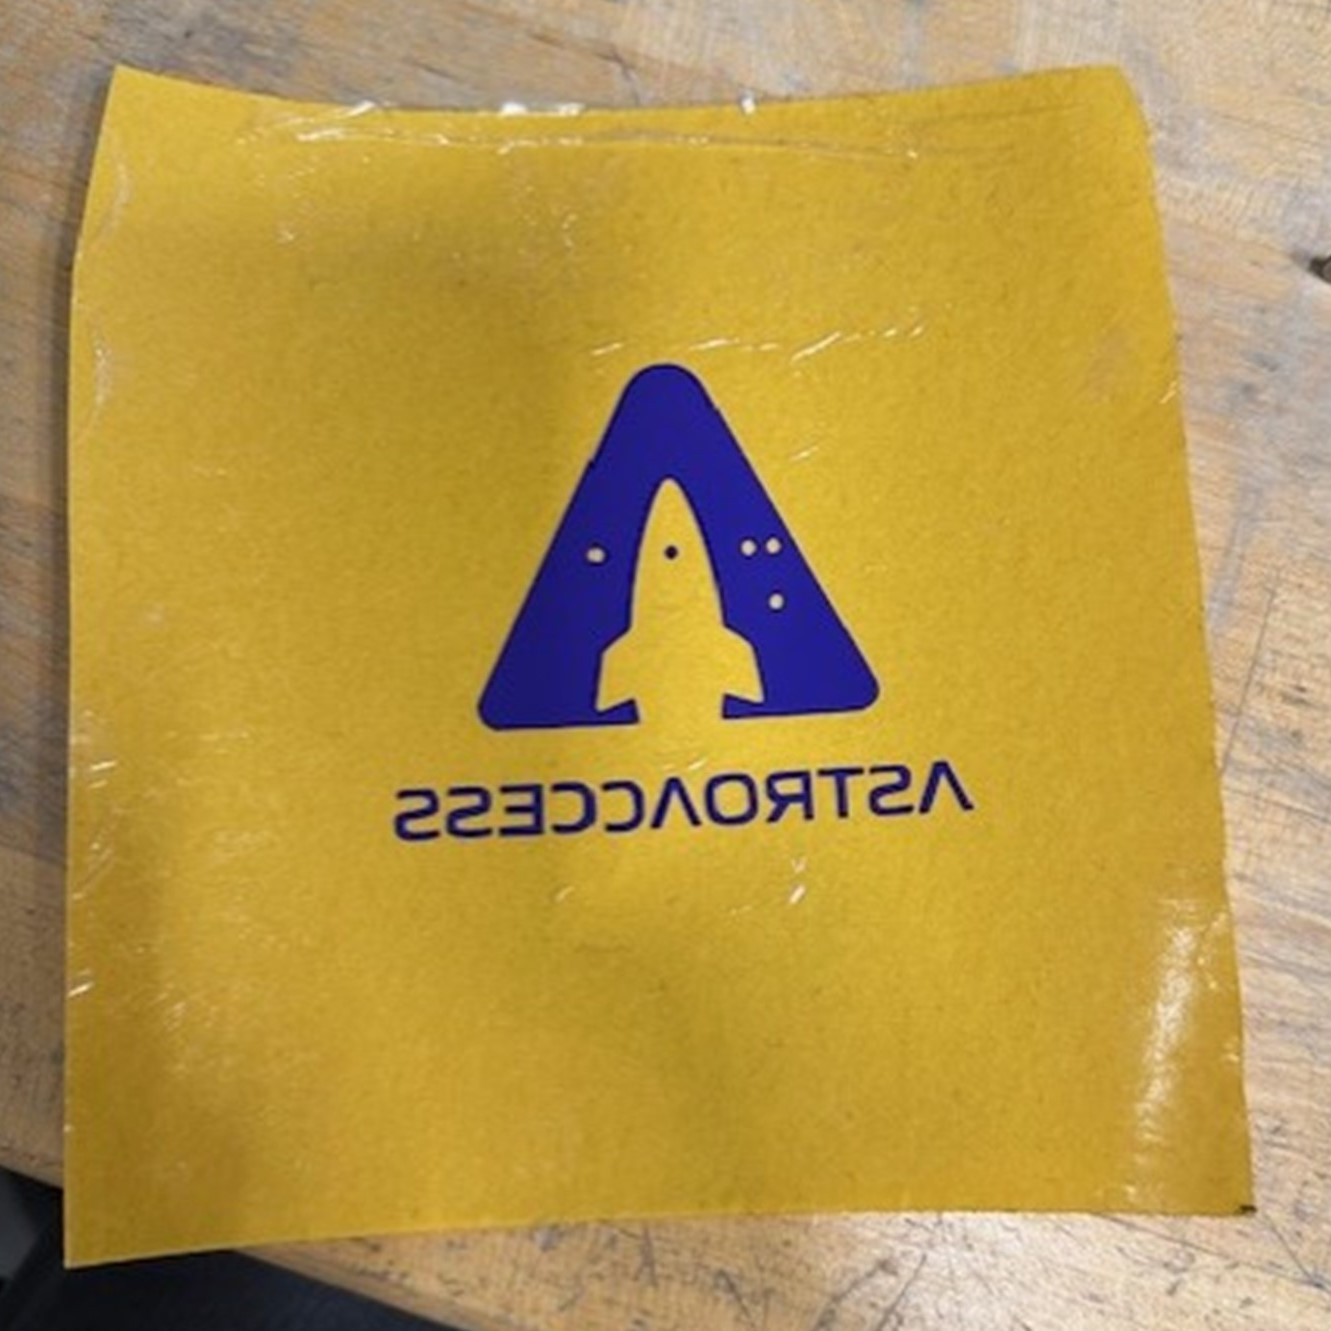
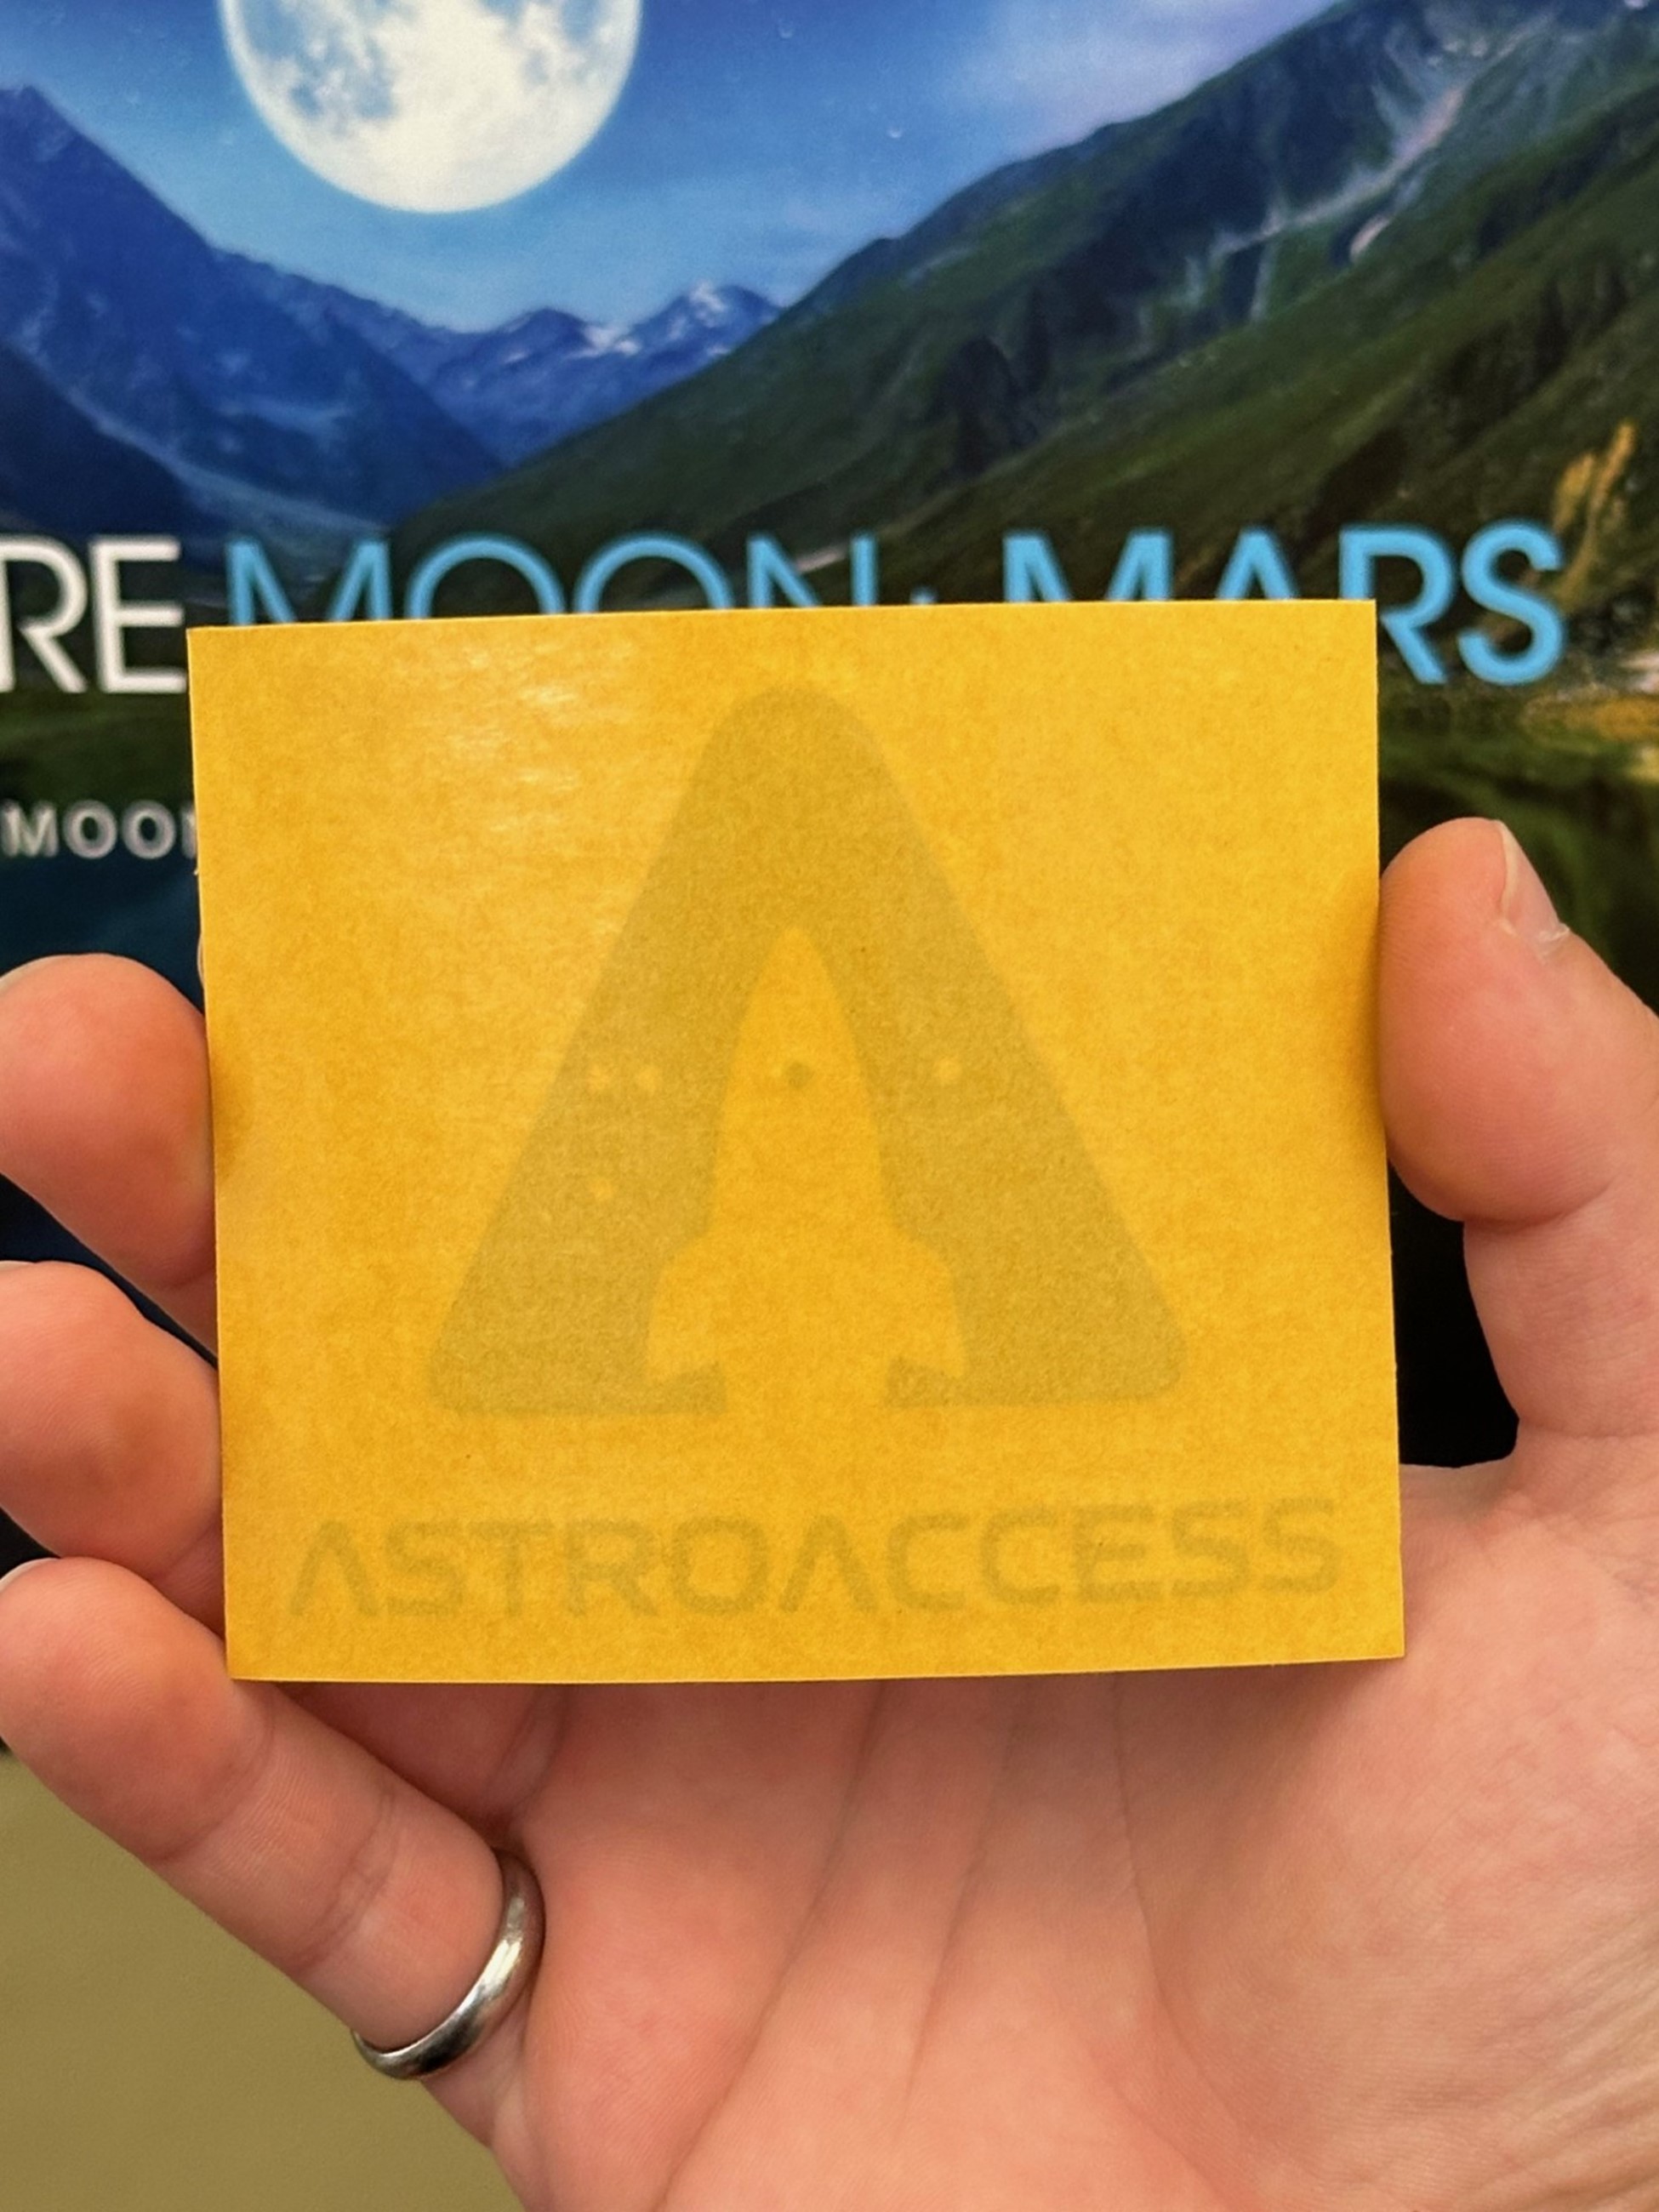 One thing I discovered after moving the cutout to the backing, is that the transfer tape I used was, in fact, not transfer tape, but a double sided clear tape. This is great for some applications, but not really useful for the one I had intended. Thus my sticker just became a window sticker instead of an “anywhere” sticker. I have yet to find a window I want to stick it to.
This also is a 90% success. Given more time, I could redo this process with a masking transfer tape and do a similar thing – but more classmates need to use this machine so I’m calling it here and am satisfied with another (mostly) successful make!
